How To Configure Carrier Bag
Introduction
Retail stores may offer Carrier Bags to customers to make it convenient for carrying the items that they purchased. In some regions, there are regulations or guidelines regarding the distribution of Carrier Bags, such as charges for single-use plastic bags to discourage their use to promote environmental sustainability. In such cases, the POS can be configured to add a charge for each Carrier Bag that a customer requests.
When you enter the tendering process in the transaction by clicking on the Total button in the POS, a new Carrier Bag prompt will display, allowing the operator to add the number of Carrier Bags to be purchased by the customer for the transaction. A non-merchandise Carrier Bag product will be used for this purpose. The number of bags entered in the prompt will add a line quantity item to the basket increasing the total basket value.
The Carrier Bag product is configured in the POS Terminal Template and retailers have the ability to enable this function as required.
Overview
This guide will cover the configuration for the following:
-
Non-merchandise Product Configuration - Configuring a Product of type Non-merchandise Product to be used as the Carrier Bag.
-
POS Terminal Template Configuration - Enabling POS Terminal Template to offer Carrier Bags.
Prior Training / Experience
Successful completion of the "Introduction to Enactor" course, which would have covered all the basics required for this document.
Configuration Steps
Configuring a Non-merchandise Product
The Product Maintenance application can be accessed through:
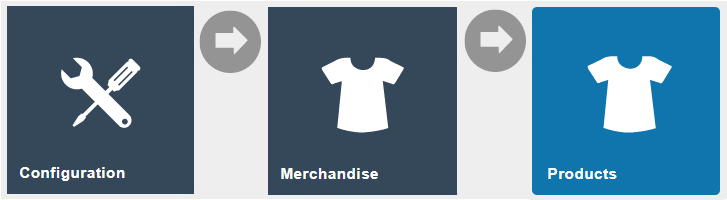
Configuration > Merchandise > Products
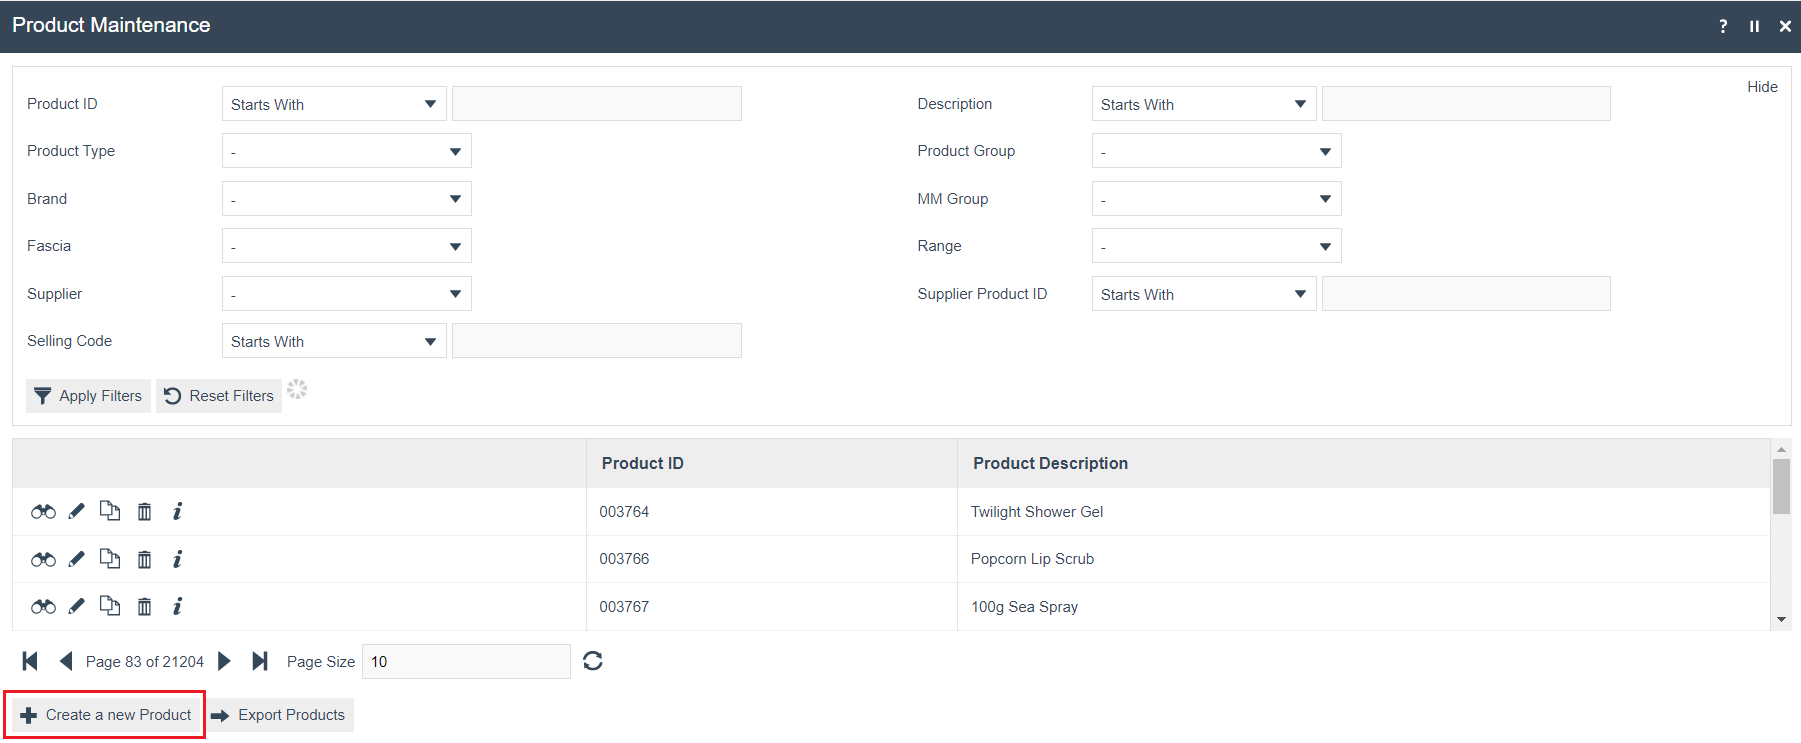
To create a new Non-merchandise Product, select Create a new Product on the Product Maintenance page.
Select Non-merchandise Product from the Product Type drop-down.
No selection should be made for Template. This document covers how to manually configure the mandatory and common settings relating to a Non-Merchandise Product.
Enter a unique Product ID which can be alphanumeric and contain a maximum of 20 characters.

Select Create.
Note: The Product ID cannot be changed once the Product has been created.
Numerous tabs and sub-tabs are presented under Product Maintenance. Refer How-to Guide Configuring a Merchandise Product for more information.
General tab - General sub-tab
The General tab records all the basic information that captures the identity of the Non-merchandise Product.
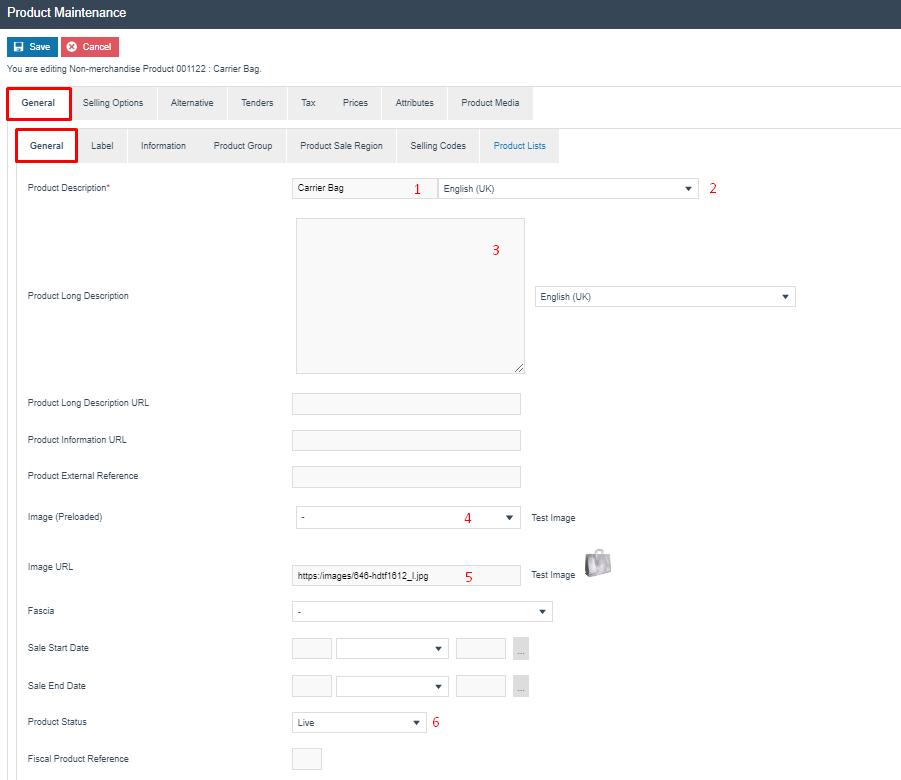
Set the appropriate values on the General tab as follows:
| No. | Configuration | Description |
|---|---|---|
| 1. | Product Description | Enter a user-friendly, meaningful name for the Product that can be alphanumeric with a maximum of 30 characters. |
| 2. | Product Description | Select the locale in the second field from a dropdown list of all configured locales. |
| 3. | Product Long Description | Enter a long description of the Product, if necessary, that can be alphanumeric with a maximum of 30 characters. |
| 4. | Image (Preloaded) | Select the ID of an image from the drop-down list to choose the Product display image. Images are managed through Image Maintenance (this is described in a separate How-to Guide). |
| 5. | Image URL | Add a URL that points to an externally stored image. |
| 6. | Product Status | Select an appropriate status of the Product from a drop-down list populated with Product Statuses configured in Product Status Maintenance. |
Prices Tab
The Prices tab records all the price details of the Product.
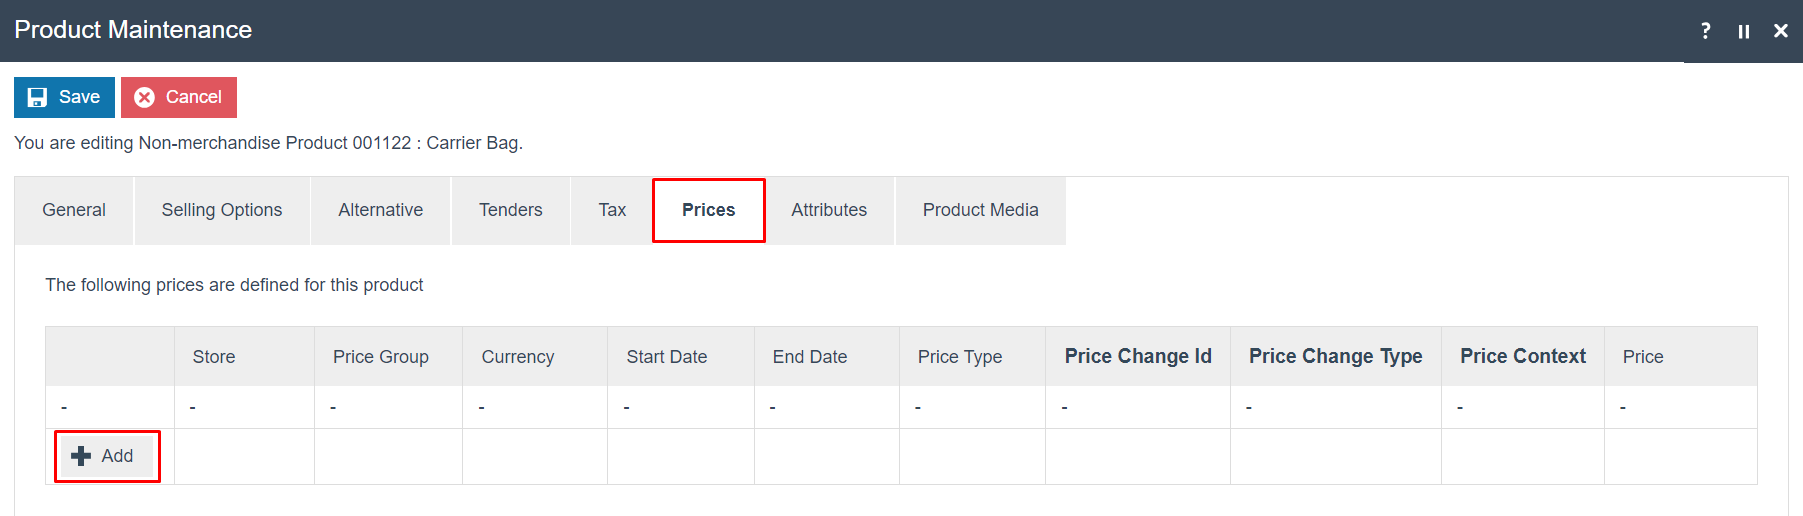
To configure the price of a product, refer the How-to Guide Configuring Product Prices.
Following is after a price of £0.10 has been added to this Carrier Bag product:

POS Terminal Template Configuration
POS Terminal Template allows to enable the prompt for carrier and is also used to assign the Carrier Bag product to the POS Terminal Template. After configuration this behaviour can be seen in the POS Terminal which is using this configured POS Terminal Template.
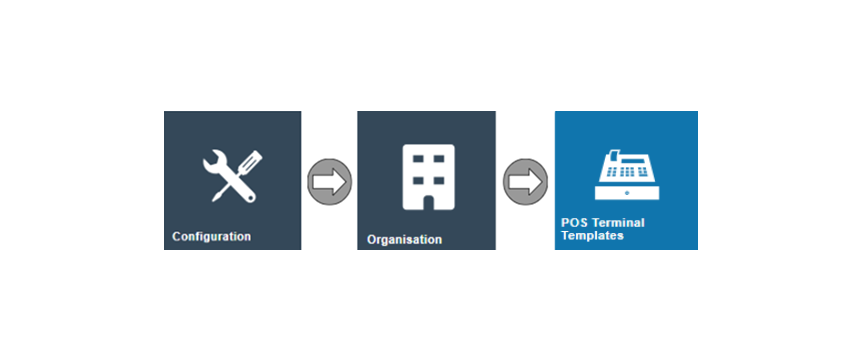
The POS Terminal Template Maintenance application can be accessed through:
Configurations > Organisation > POS Terminal Templates
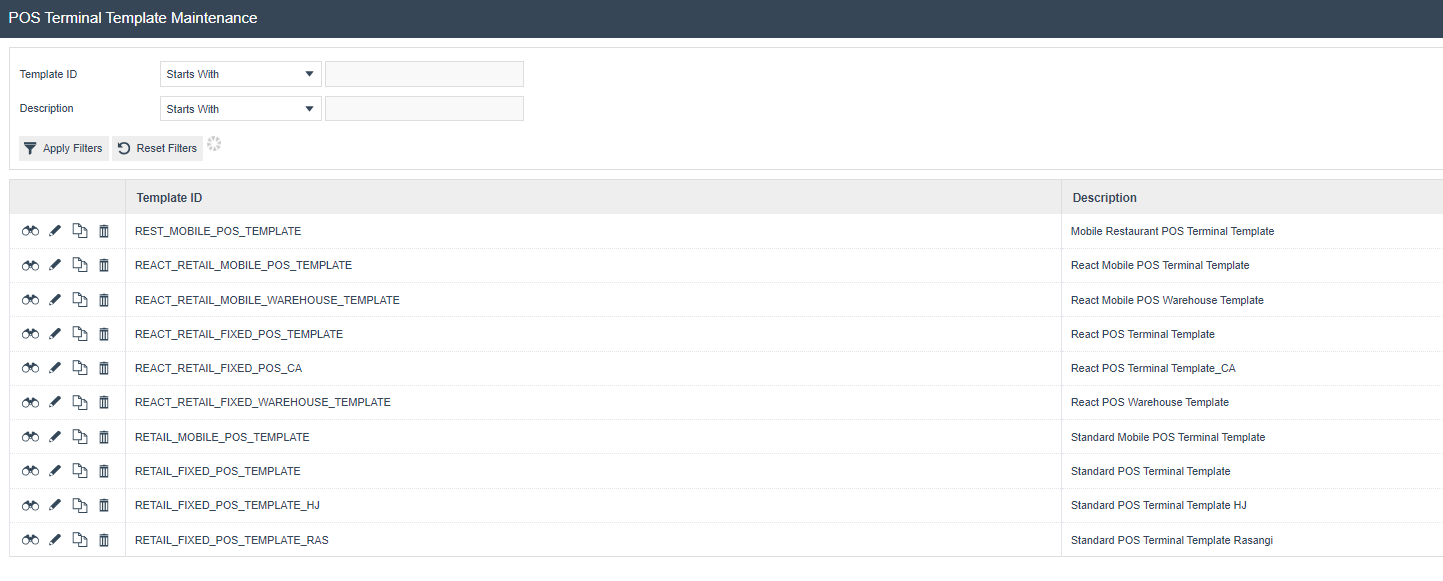
From the POS Terminal Template Maintenance click on the edit (pencil) icon of your POS Terminal Template.
POS Terminals Template - General - Transactions sub tab
The Transaction sub-tab contains all transaction-related properties specific to the chosen POS Terminal Template. Enable the below flag to display the Carrier Bag Prompt whenever the Total button is clicked.

Then link the created Carrier Bag (Non-merchandise product) with the Carrier Bag Product field. You can do this by either typing it into the field or by finding the product through product maintenance using the search icon.
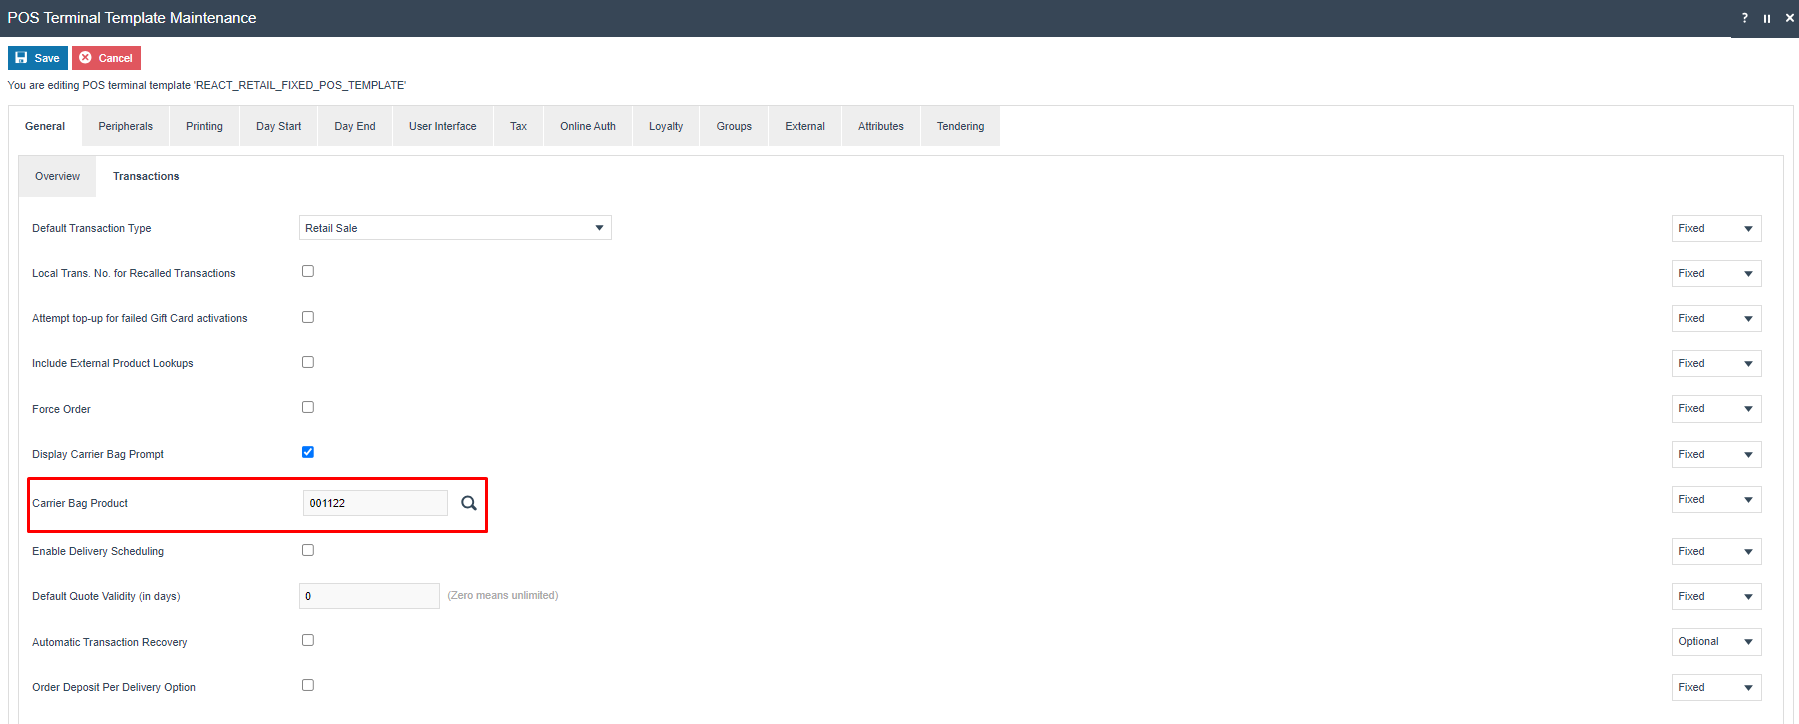
Click the Save button to apply the changes.
Broadcasting
To deliver the configuration changes to the POS, broadcast the following entities.
-
Product.
-
Product Price.
-
POS Terminal Template.
POS Functionality
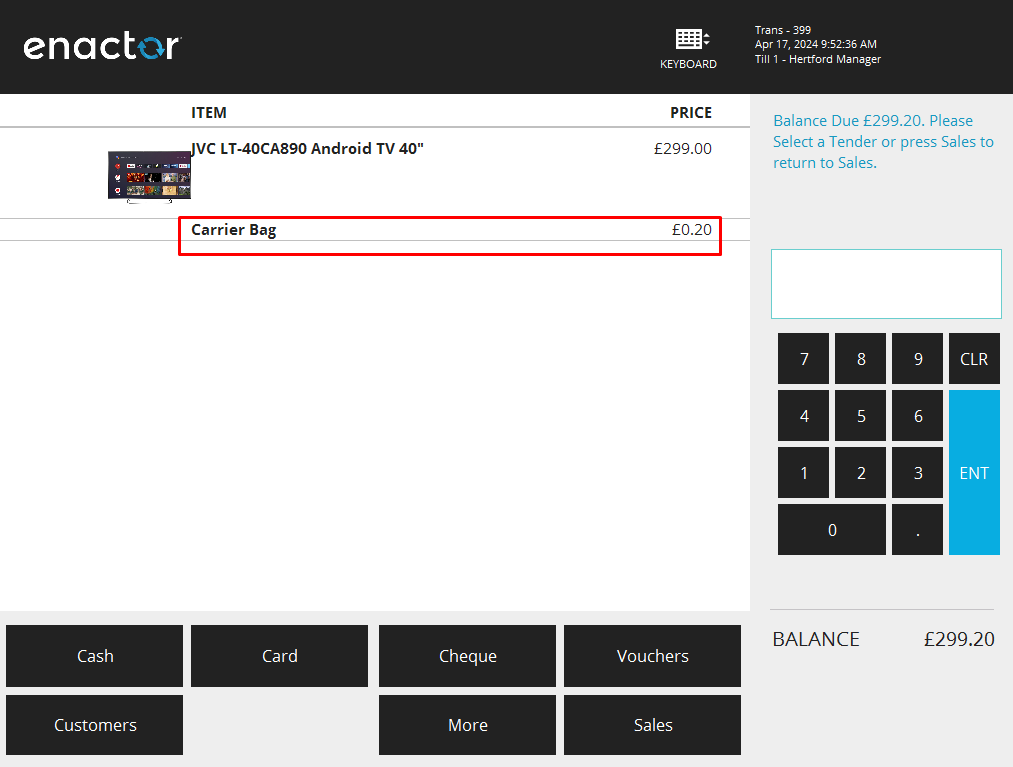
After adding product(s) to the basket screen, clicking on the Total button triggers the prompt for Carrier Bags. This prompt enables the operator to input the quantity of Carrier Bags bought by the customer during the transaction. The non-merchandise Carrier Bag product is pre-configured in the POS Terminal Template specifically for this function.
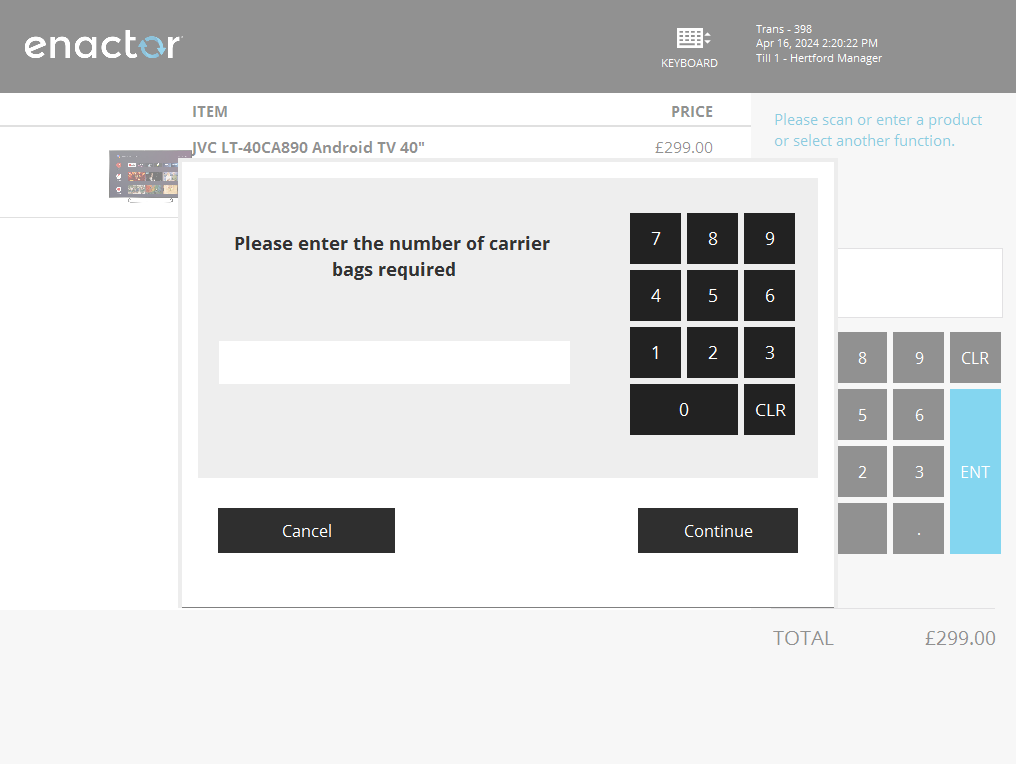
Then the number entered will add a line quantity item to the basket increasing the subtotal value.
In the example below, you will notice that 2 carrier bags have been included, each priced at £0.10.