How To Configure Product Media
Introduction
The purpose of this guide is to show how to configure Product Media for Enactor Products. This guide explains the required configuration in the Estate Manager and the results of it in the Rich Product Search, Product Details and Basket screens of the POS application.
Overview
This guide will cover configuration for the following:
- Image Category Maintenance - Defining Image Categories.
- Image Maintenance - Uploading new images to the Estate Manager.
- Product Maintenance - Configuring the Product General and Product Media tabs.
Prerequisites
Resources
Before starting, you should have the following resources in place:
- Enactor Estate Manager.
- Enactor POS (configured within the UK Region, connected to the Estate Manager).
- Standard Configuration, including:
- Base Configuration.
- UK Retail (UK is used in this document, but it could be other regional config packs).
- Regionally appropriate data including Product.
Prior Training/Experience
The Introduction to Enactor training course should have been completed and you should be familiar with the following:
- Estate Manager configuration.
- Enactor configuration concepts, including Locations, POS Terminals, Products etc.
- Data Broadcasting.
- Standard POS Rich Product Search process.
Configuration Steps
This section describes the configuration in Image Category, Image and Product Maintenance, which covers all the aspects of adding images to products.
The sections on Image Category Maintenance and Image Maintenance are not required if the retailer maintains their product images in a remote server (e.g. a retailer's own image server or CDN). In this case, the image URL can simply be used in the Product Media tab of the Product Maintenance for each of the products. This is discussed further in the Product Maintenance - Product Media Tab section.
Image Category Maintenance
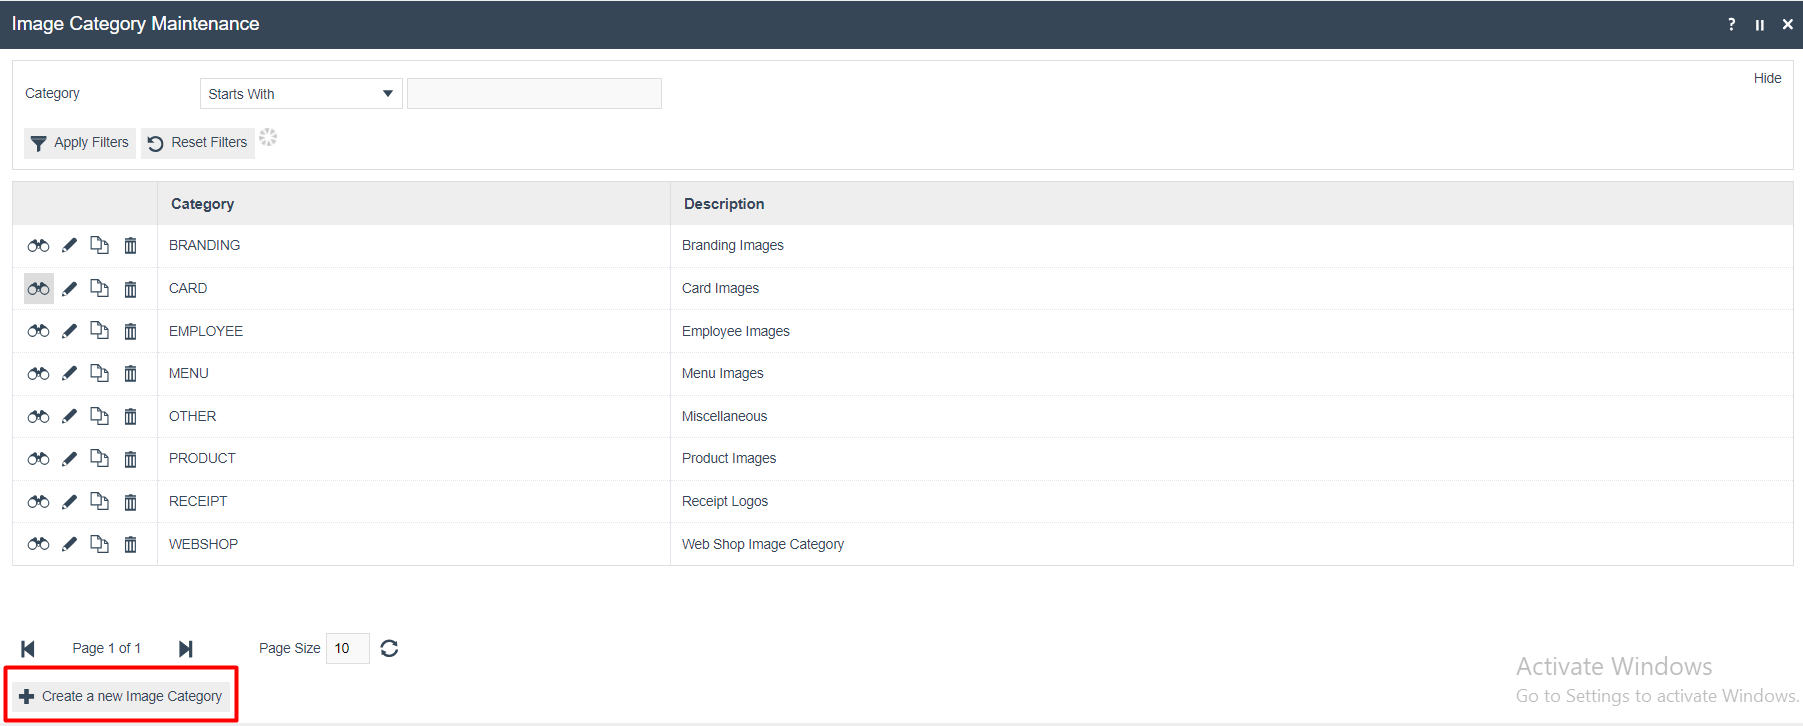
Image Categories identify the type of usage of a configured Image and are used to filter the list of Images available for selection in dropdown lists associated with the usage type. A built-in set of Image Categories is predefined in configuration by the standard Enactor Retail Applications, which are (as seen in the illustration below) Branding, Card, Employee, Menu, Product, Receipt, Web Shop and Other. Other than for customisation, this standard set normally should suffice.
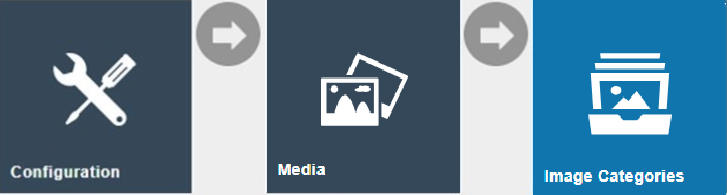
The Image Category Maintenance application can be accessed through:
Configuration > Media > Image Categories
To add a new Image Category, select Create a new Image Category on the Image Category Maintenance page.
Enter a unique Category ID for the new Image Category and click Create. The ID can be alphanumeric and contain a maximum of 20 characters and will be used to uniquely identify this new Image.
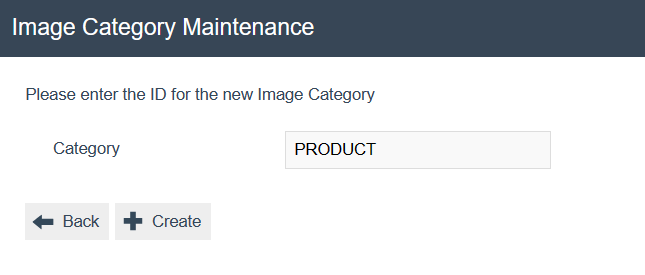
Clicking on Create will redirect the user to the General tab:
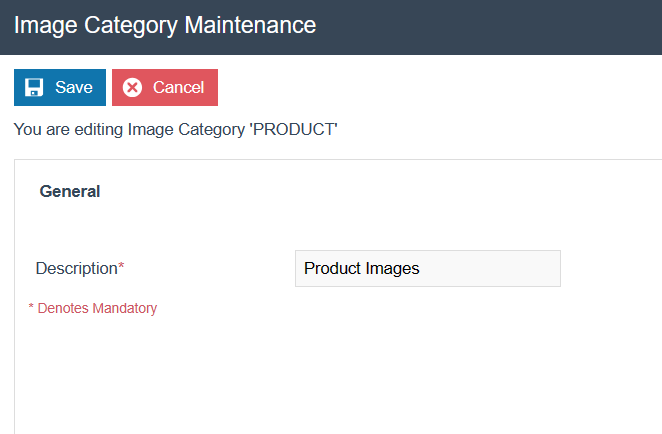
Set the appropriate values on the General tab as follows:
| Configuration | Description |
|---|---|
| Description | Alphanumeric; maximum 30 characters. A user-friendly identifier for the Image Category, which indicates usage of the Images associated with it. |
Images broadcasted from the Estate Manager to a POS device will be saved in the location <ENACTOR_HOME>\pos\Data\Common\Image. The folder structure in this location will be determined based on the defined Image Categories.
Image Maintenance
Images are used in Product, Card, Employee, Receipt and other types of configurations. Image Maintenance is used to create identifiers for images which may be uploaded into the database and used directly from the database at runtime or referenced by URL in an external repository.
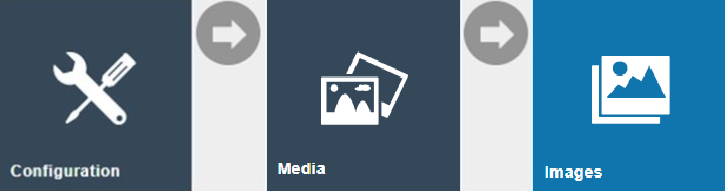
The Image Maintenance application can be accessed through:
Configuration > Media > Images
To add a new Image, select Upload a new Image on the Image Maintenance page.
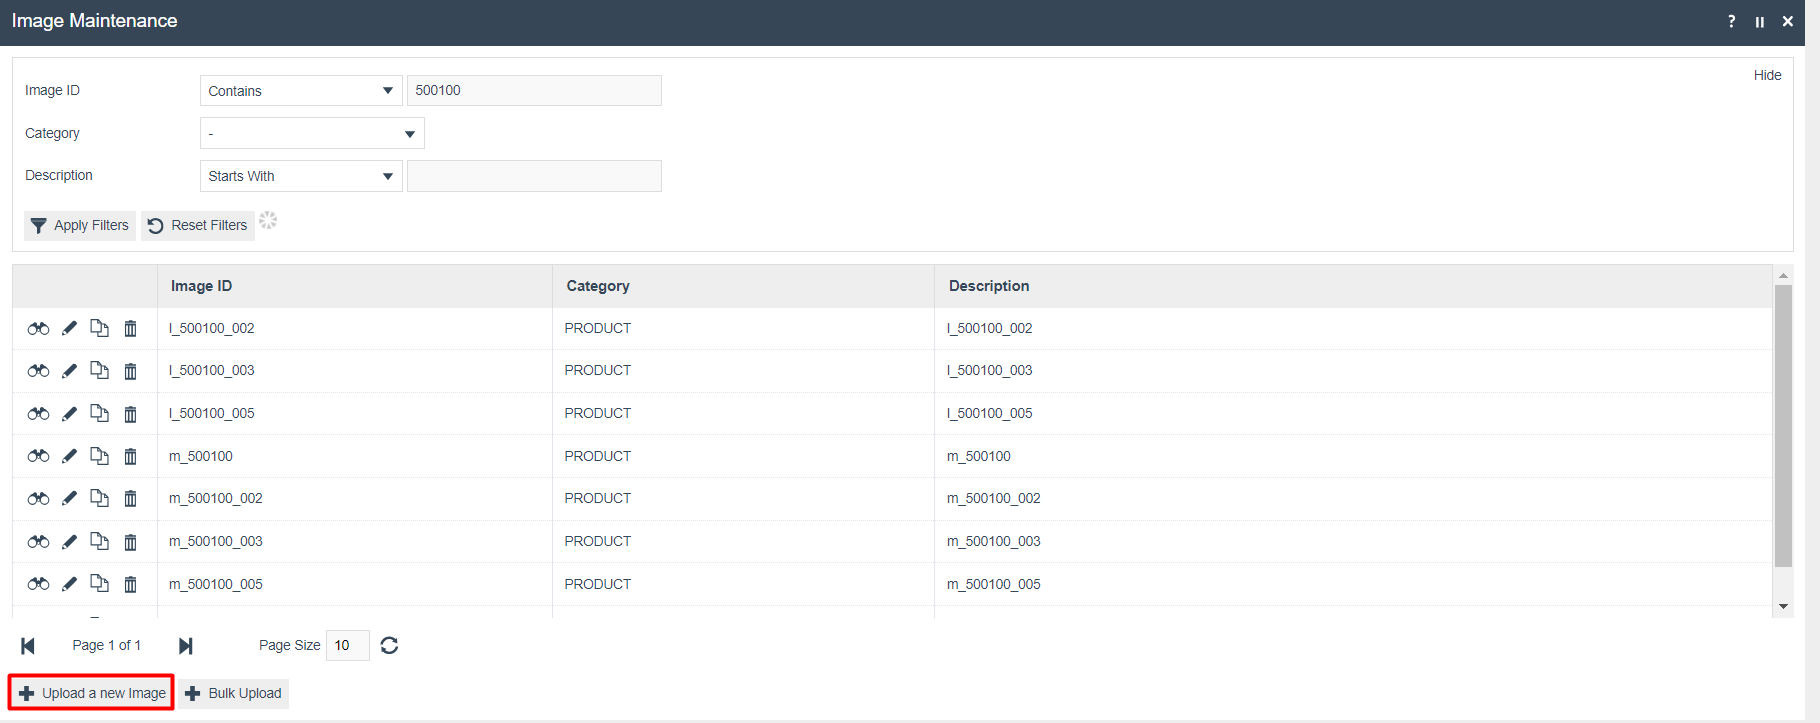
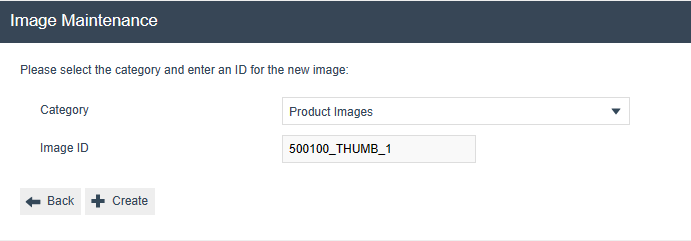
Select from the Category dropdown either Product Images or the Image Category that you have defined in the previous section.
Enter a unique Image ID for the new Image and click Create. The ID can be alphanumeric and contain a maximum of 20 characters and will be used to uniquely identify this new Image. Use of a systematic naming convention is recommended here.
Clicking on Create will redirect the user to the General tab:
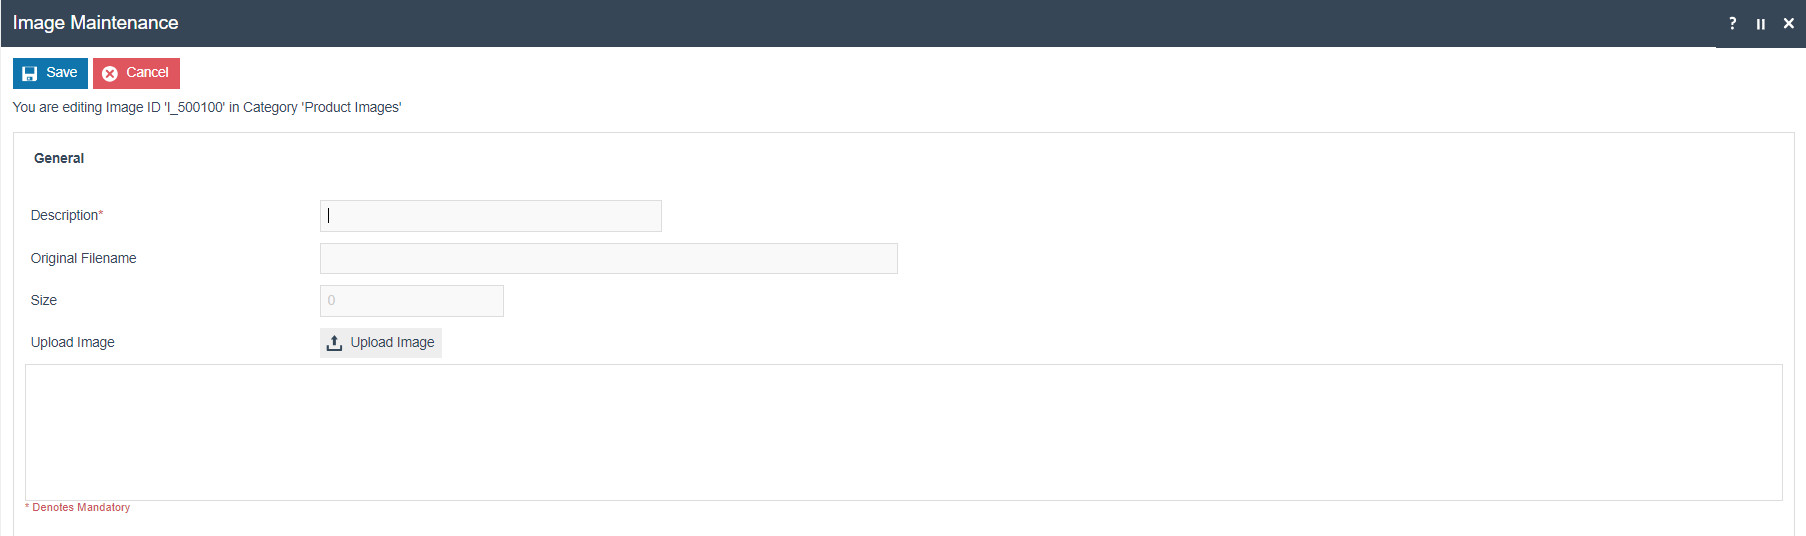
Set the appropriate values on the General tab as follows:
| Configuration | Description |
|---|---|
| Description | Alphanumeric; maximum 40 characters. A user-friendly identifier for the Image by which Users may recognise and select the Image in other configurations. |
| Original Filename | Alphanumeric; maximum 100 characters. If the filename is not known (i.e. this field left blank) and the User selects Upload Image the User will have the option of browsing to the required file's location. |
| Size | This is read-only. The value is automatically populated by the system when the image is uploaded. |
| Upload Image | This button will initiate the upload of the image. |
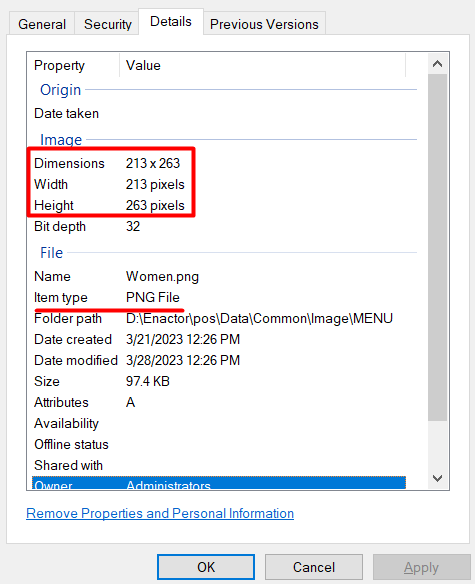
The image uploaded should be saved with properties as set-out below:
Clicking on Upload Image will redirect the user to the Image Upload screen:
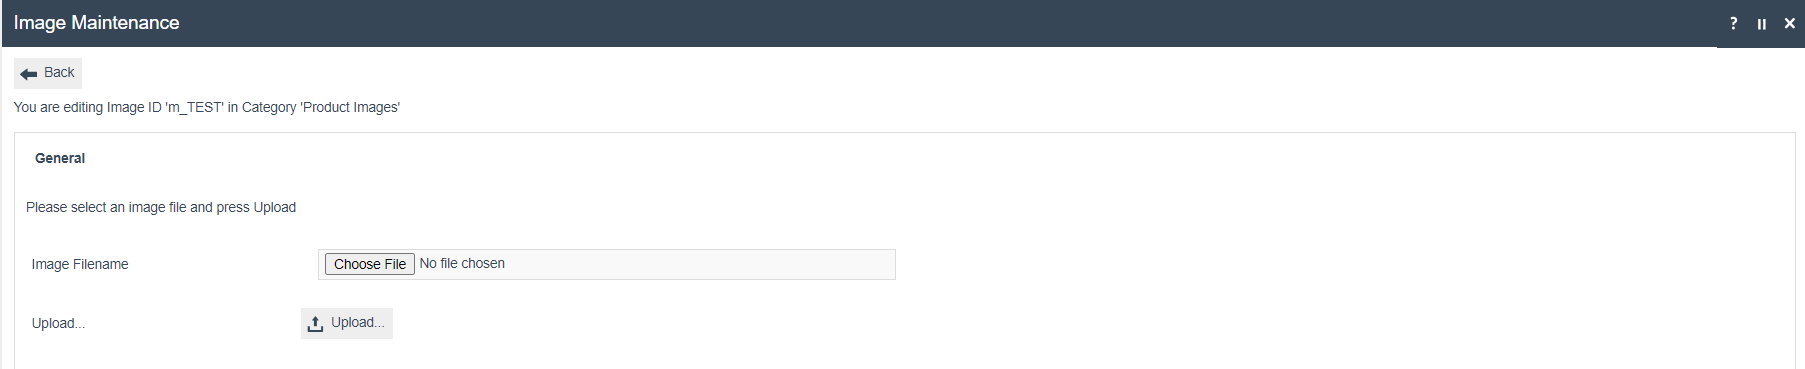
Click on Choose File to select an image and click on Upload to upload the Image.
Click on Save to save the changes.
Product Maintenance - Product Media Tab
The Product Media Tab in Product Maintenance allows the configuration of product image data for each product, which will then be used to display the product images in the product details screen for that product.
Product Maintenance application can be accessed through:
Configuration > Merchandise > Products
Select a Product and navigate to the Product Media tab.
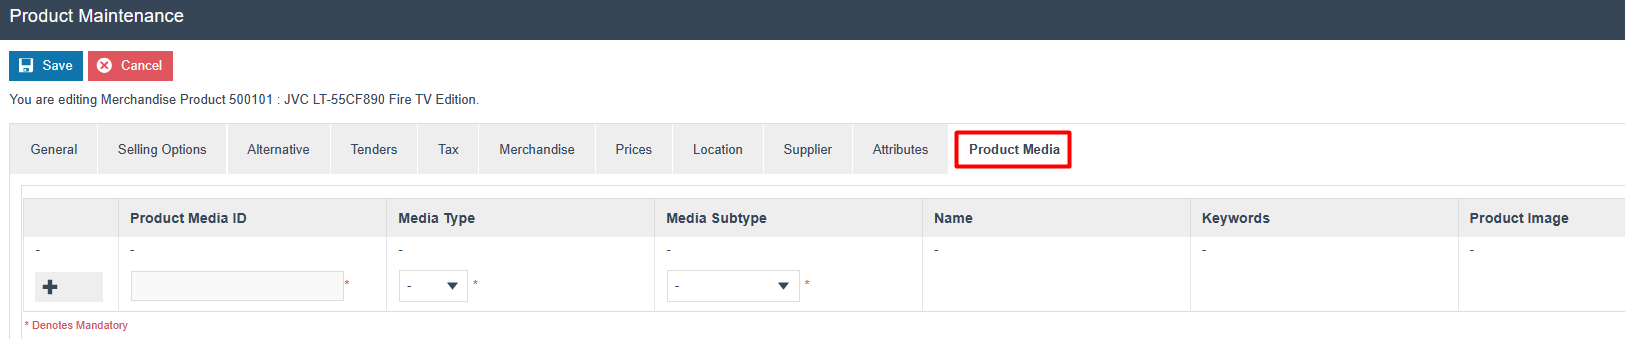
Set the appropriate values as follows:
| Configuration | Description |
|---|---|
| Product Media ID | Unique identifier for the image being uploaded. |
| Media Type | Drop down list selection of Image or Image URL. If Image is selected, the user has the option to select an Image that has already been uploaded to Image Maintenance. Image URL identifies an image resource stored remotely, perhaps in a dedicated Image Server. |
| Media Subtype | Drop down list selection of preconfigured Media Subtypes of Thumbnail, Medium, Large etc. |
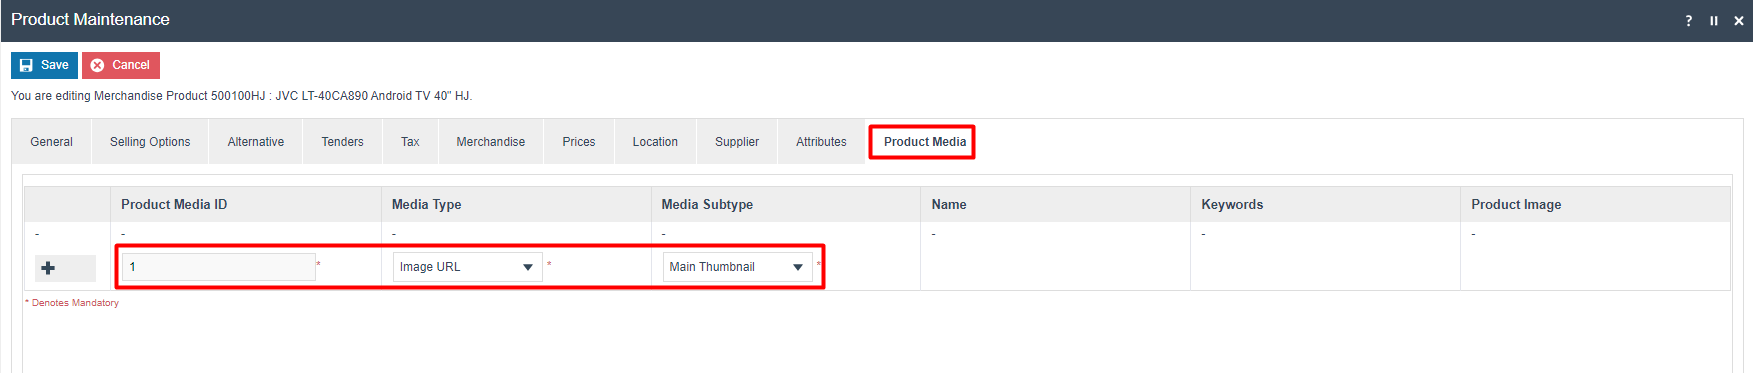
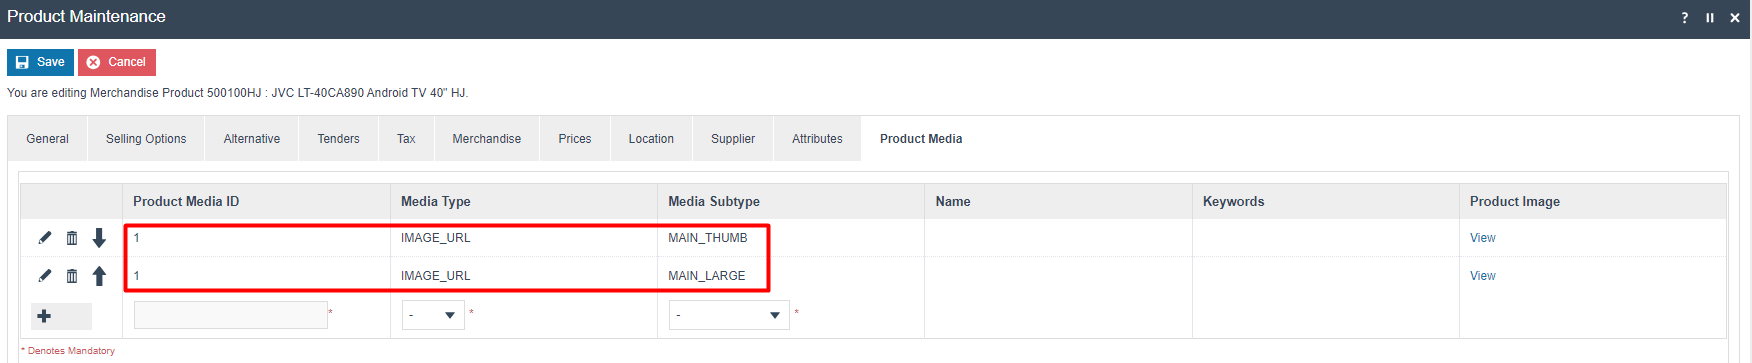
Enter a Product Media ID, select the Media Type as Image URL, select the Media Subtype as Main Thumbnail and click on + to add the first thumbnail image.
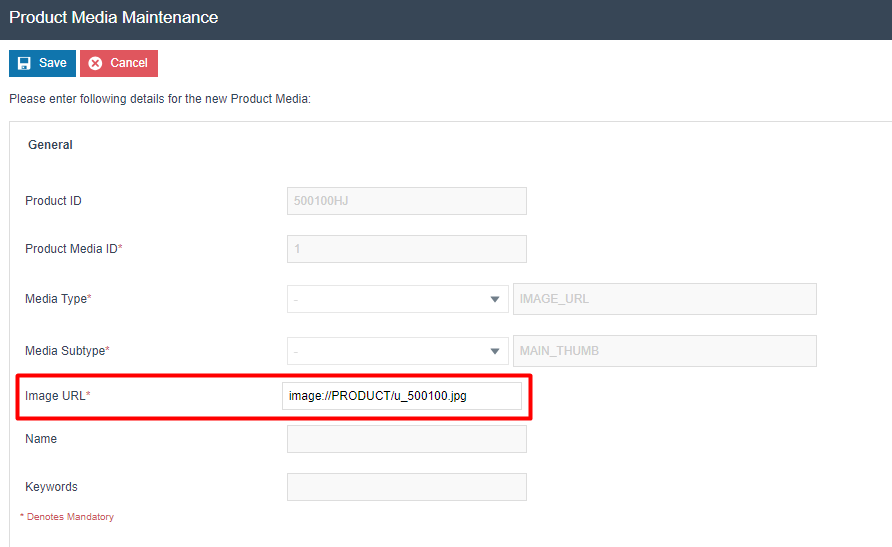
Enter the correct Image URL.
This image URL does not have to be the image that was uploaded using Image Maintenance. This can be any URL of the image that could even be in a remote server (e.g. from a retailer's image server or CDN).
Following is an example URL of the image that has been uploaded using Image Maintenance:
Click Save and the Main Thumbnail image record should now appear as follows:

Similarly, a Main Large Image for the above Main Thumbnail image should also be added using the same steps as above. The Media Subtype to be selected from the dropdown here would be Main Large Image.
Make sure to give the same Product Media ID as the one given for the Main Thumbnail image. This will make sure that the pair of Main Thumbnail and Main Large images are identified appropriately as shown below:
The Main Thumbnail and Main Large images are only added to the first instance of the product. All other pairs of Thumbnail and Large images should use the Thumbnail and Large Image Media Subtypes.
Add pairs of THUMB (Media SubType is Thumbnail) and LARGE (Media Subtype is Large Image) images as needed. Again, make sure to give the same Product Media ID for each Thumbnail and Large Image that is added as follows:
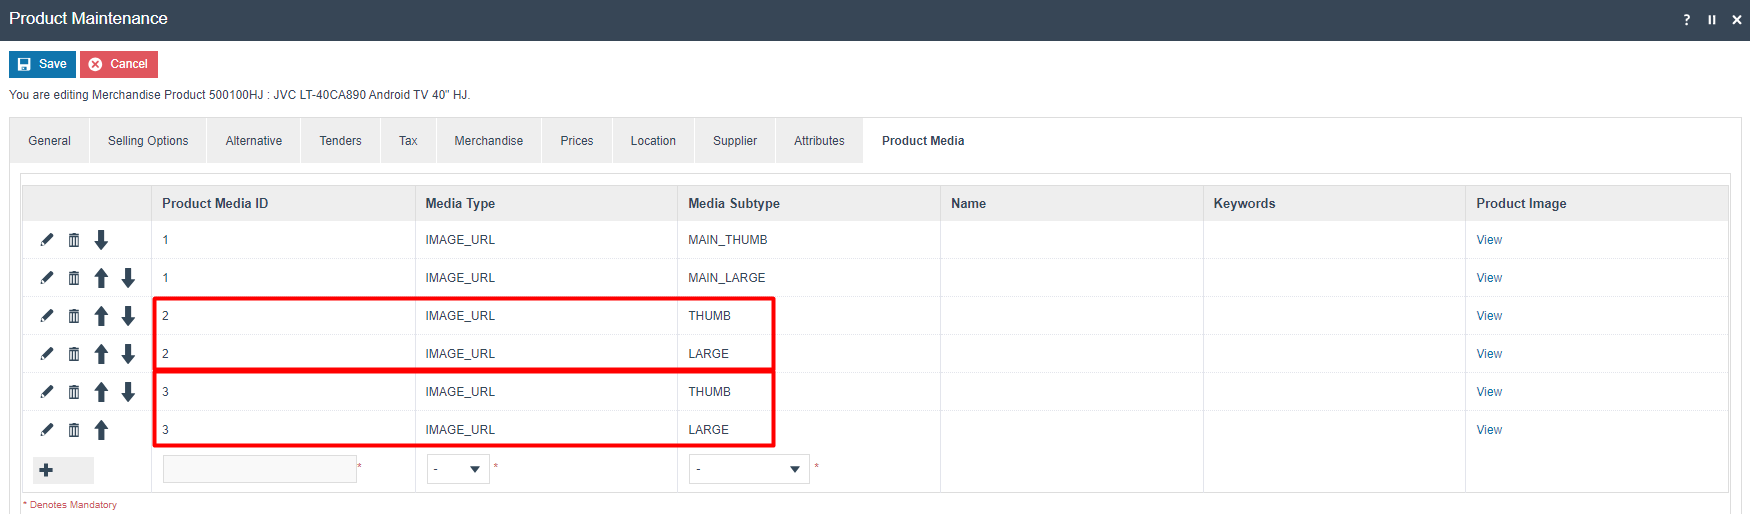
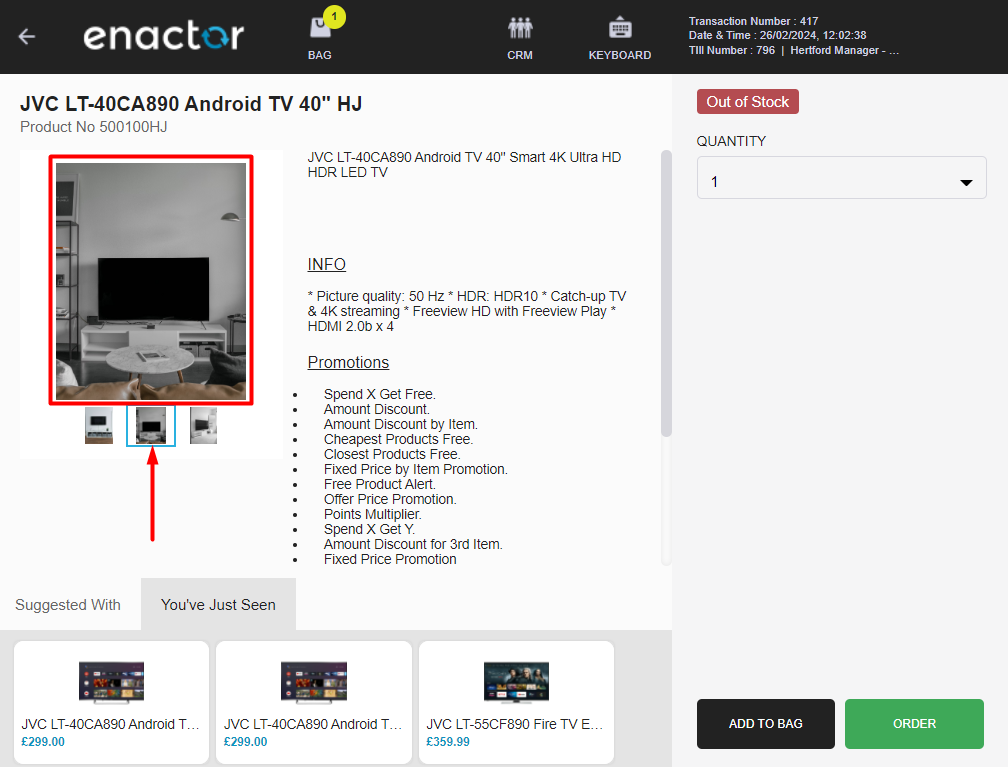
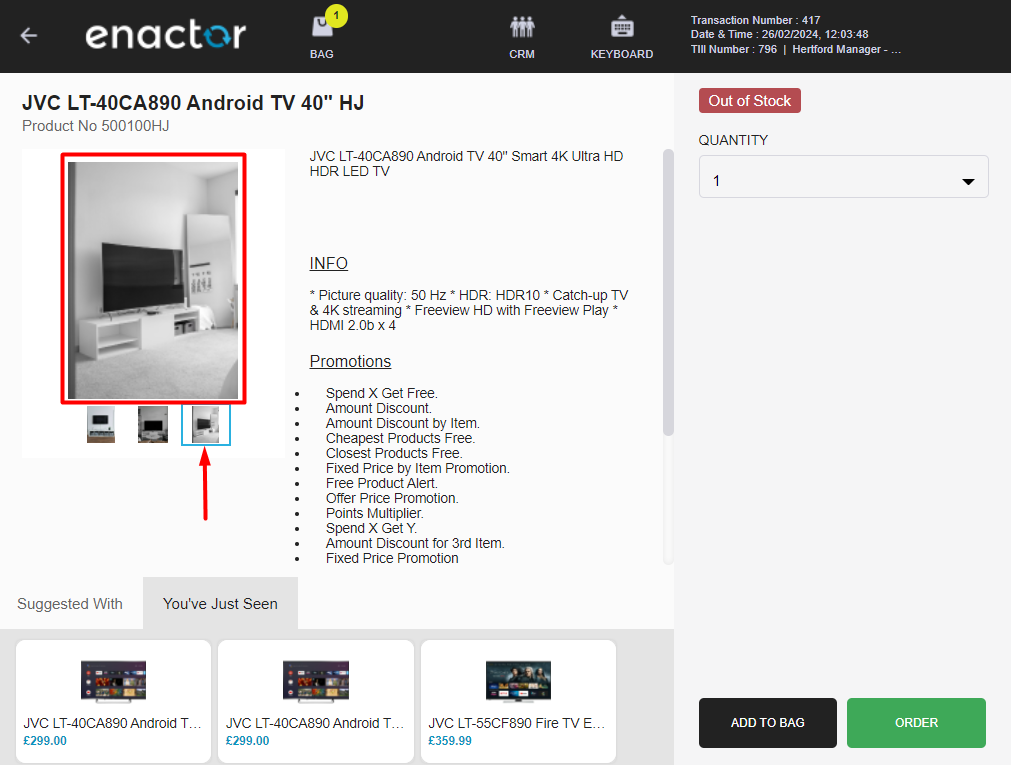
The above Product Media configuration would now ensure that there are 3 large images with 3 thumbnail images displayed in the product details screen of this product as follows:

Following table shows how these configured images would appear in the POS product details screen:
| Media Subtype | Description |
|---|---|
| Main Thumbnail | This is the very first thumbnail image that is loaded in the Product Details screen. 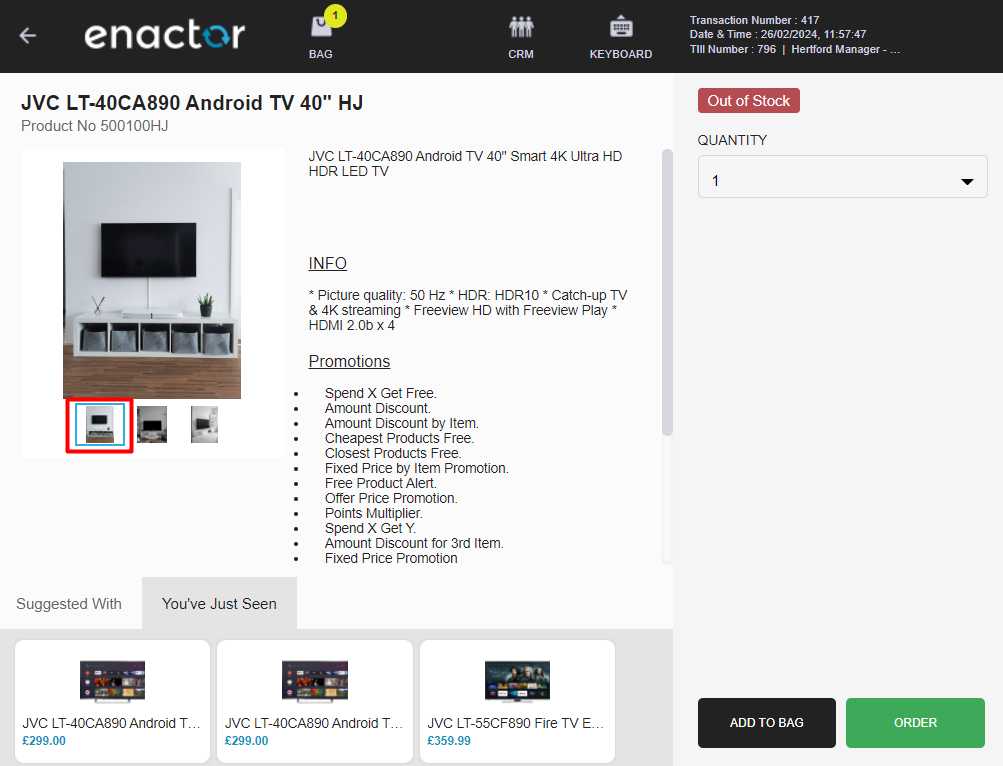 |
| Main Large Image | This is the very first large image that is loaded in the Product Details screen.  |
| Thumbnail | This will be all the thumbnail images (after the first main thumbnail image) that are loaded in the Product Details screen.  |
| Large Image | This will be all the large images (after the first main large image) that are loaded in the Product Details screen. 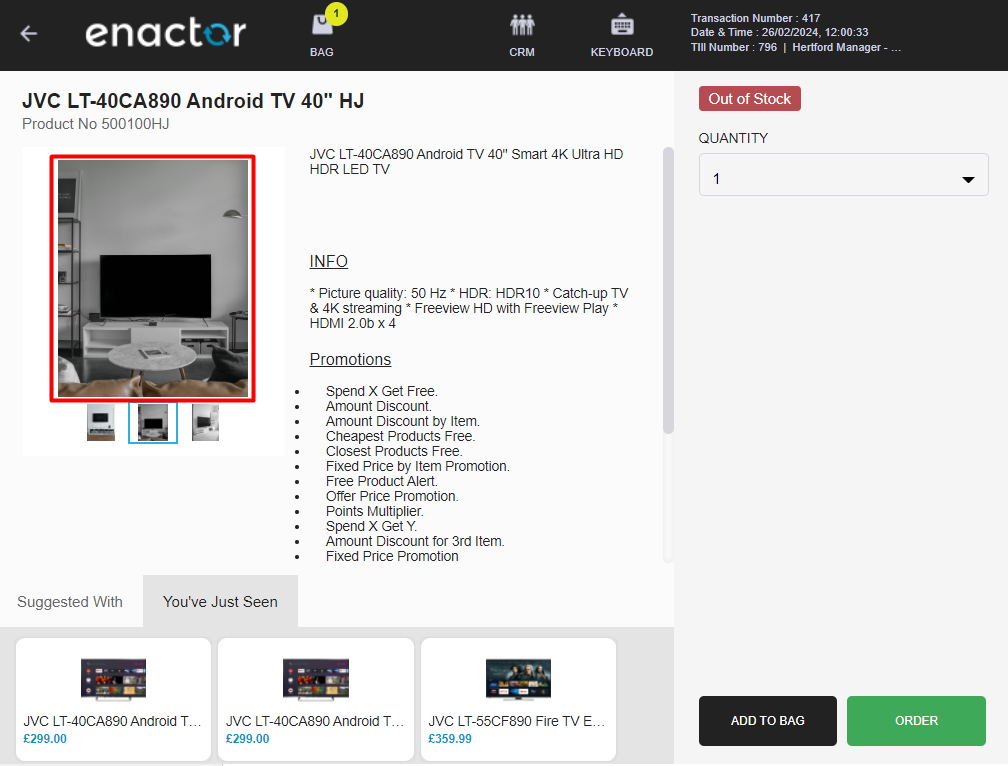 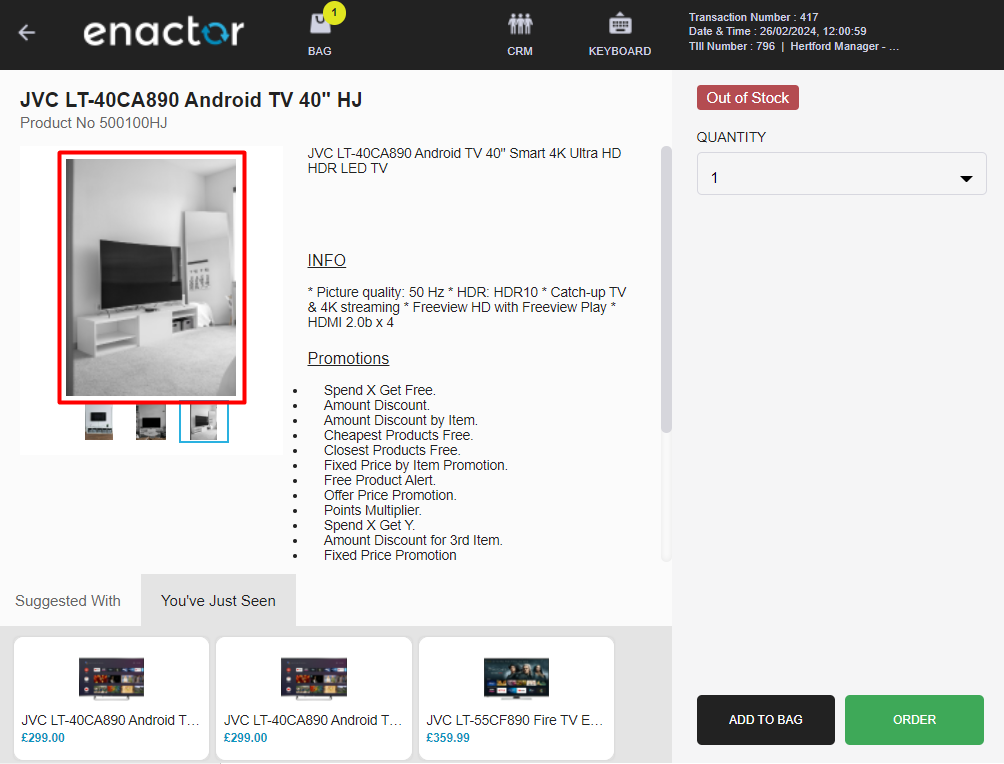 |
Product Maintenance - General Tab
This section covers details on the Product Media related fields of the General Tab of Product Maintenance. Following are the fields and the result of these configurations in the POS:
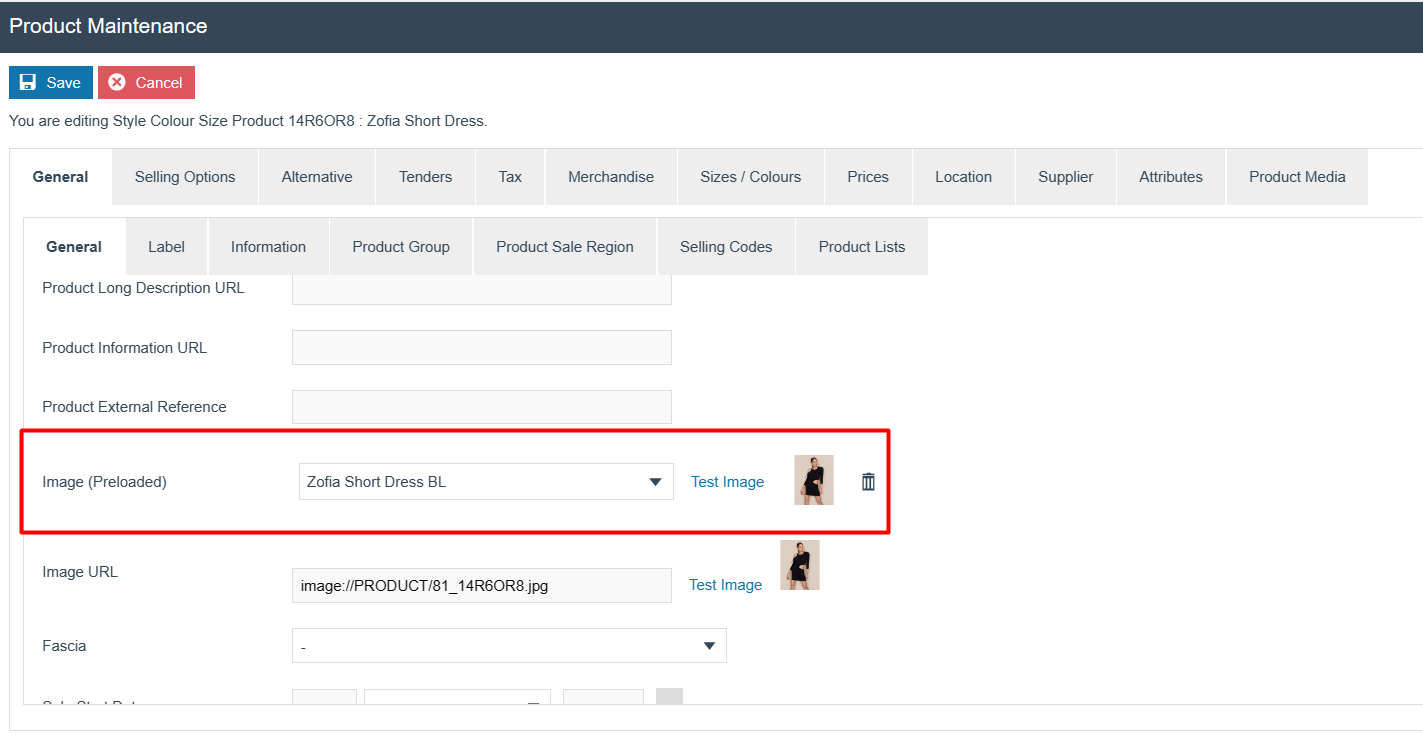
Image (Preloaded)
Image (Preloaded) is a dropdown of the images that have already been uploaded to your server, and selecting this would allow to configure the image to be displayed when a product is added to the basket.
The configured image will load in the basket screen of the POS as shown below:
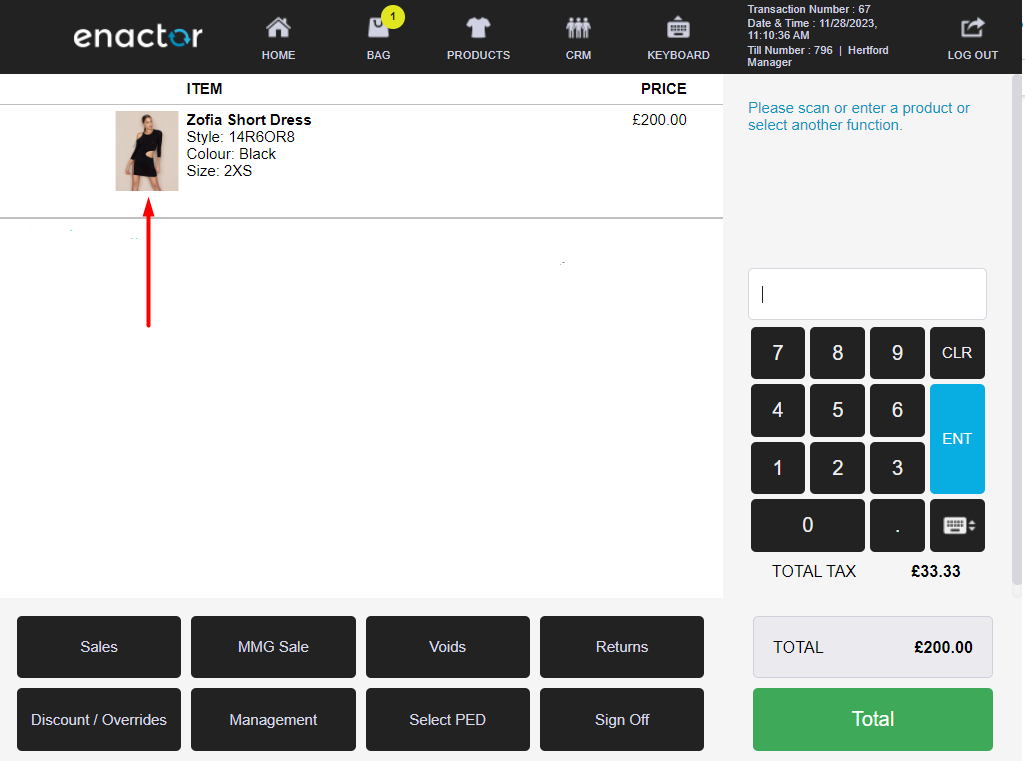
Image URL
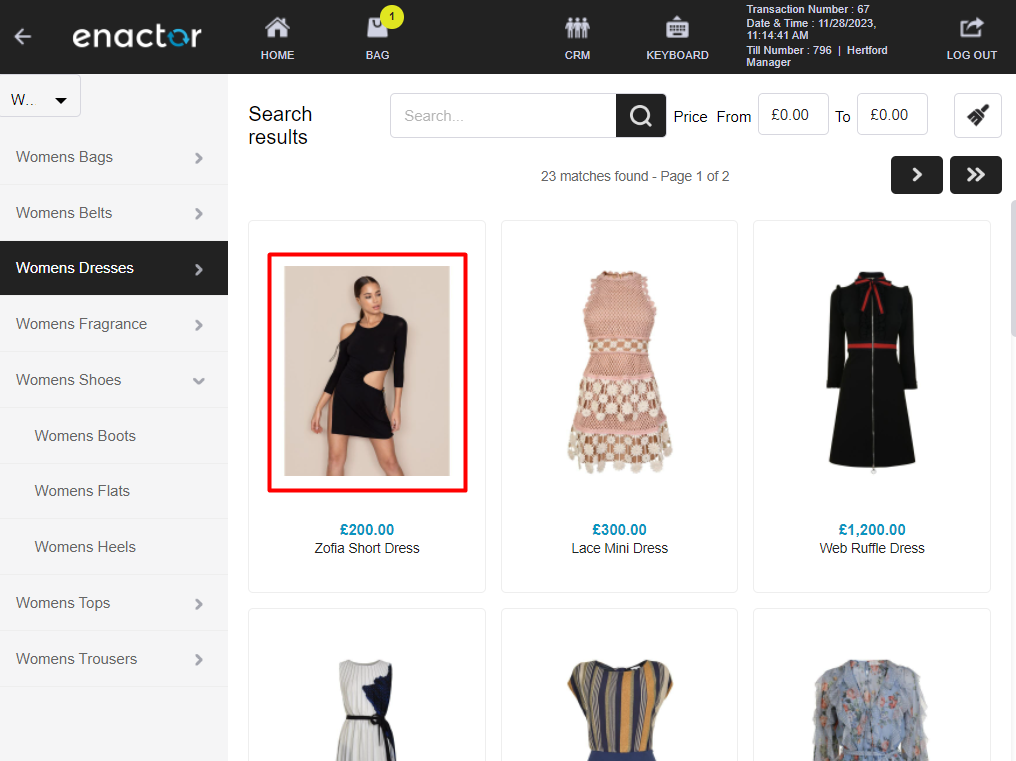
Image URL will allow to configure the image to be loaded in the Rich Product Search result screen.
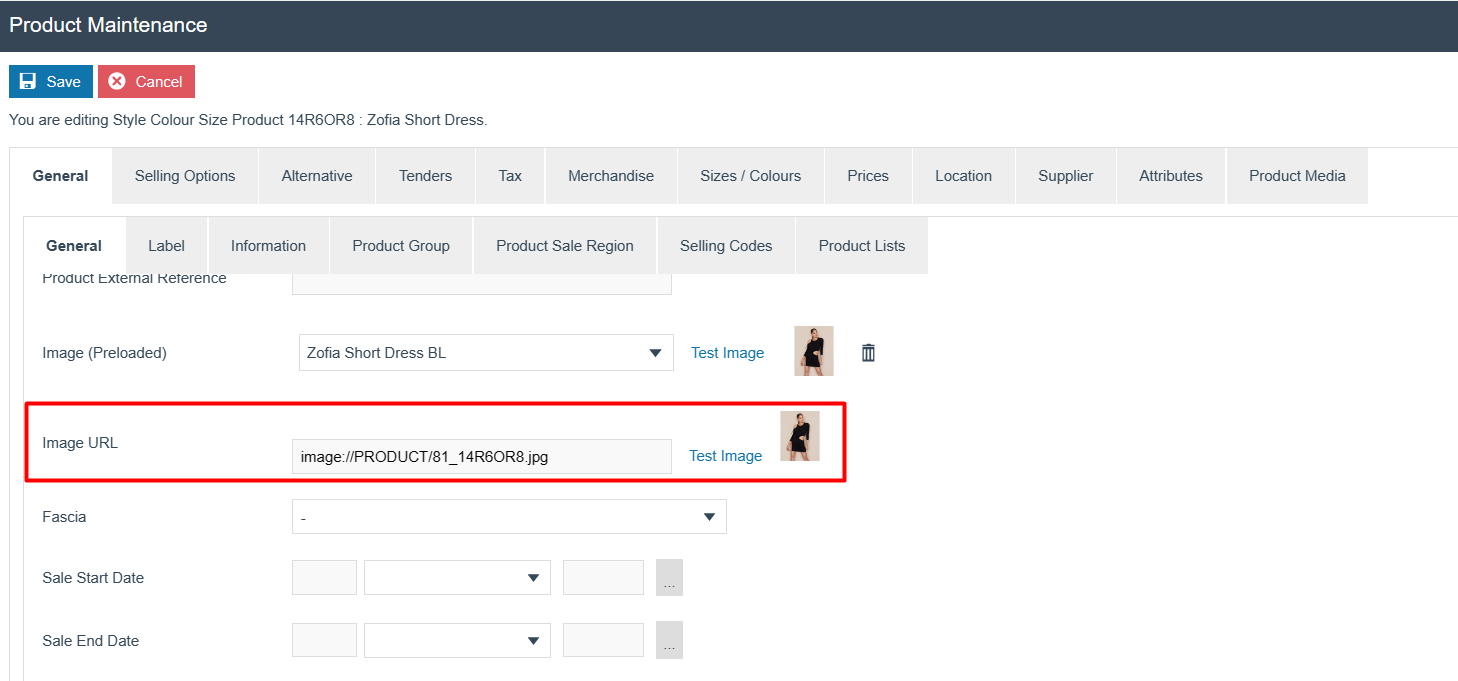
If there is no Image (Preloaded) defined, it will take the image of this field and display in the basket screen and will also be the image that is displayed in the Rich Product Search result screen as shown below:
Broadcasting
The following entities should be broadcasted to the POS:
- Product
- Image
- Image Category
- Product Media
Ensure that the Update Lucene Indexes job is run, in order for the changes to take effect in Rich Product Search.
POS Functionality
The Product Details screen in the POS will be updated with the Product Media added for each Product. When the user clicks on a Main Thumbnail/Thumbnail image, the corresponding Main Large/Large Image will be displayed.