How To Configure Allergens
Introduction
The purpose of this guide is to show how to configure allergens that will enable the user to carry out allergen-based functions in a restaurant.
Allergens are substances which cause an allergic reaction to individuals. In a restaurant, hospitality products are made with the use of various ingredients, and this poses a risk of individuals consuming ingredients which may cause allergic reactions.
This guide provides a foundational understanding of defining allergens with images, configuring the allergens to the specific hospitality products and then using them in the POS transactions of a restaurant.
Overview
All activities required to define and configure a new allergen are provided here.
This guide will cover the configuration for the following:
- Privilege configuration
- Image configuration
- Allergen configuration
- Product configuration
- POS functionality
Configuring products is covered in the How To Configure Hospitality Products guide. Products should be configured before the configuration of allergens in restaurants.
Prior Training / Experience
You should be familiar with the following:
- Estate Manager Configuration
- Data Broadcasting
Allergens Configuration
This section covers all the necessary configurations that need to be made in the Estate Manager in order to successfully use the options and capabilities of allergens.
The privileges will first need to be enabled and then a new allergen will be created using the Allergen Maintenance in the Estate Manager. Images which act as icons for the configured allergens will be created and assigned, and finally the specific products will be configured to associate with the allergens that have been created. All these configurations are then broadcasted to the POS device from the Estate Manager and the allergen functions can then be used successfully.
User Roles Configuration
Specific allergen-based privileges must be configured to access the allergen functions in the Estate Manager. This section lists the privileges that are specific to allergens.
Privileges should be enabled in the User Role Maintenance of the Estate Manager. The User Role Maintenance application can be accessed through:
Configuration > HR > User Roles
In the User Role Maintenance, select the Edit icon of the desired user to enable the privilege for.
Navigate to the Authorised Functions tab of that selected user and apply the following filters:
Application Package > RestaurantMaintenance
Process > Allergen Maintenance
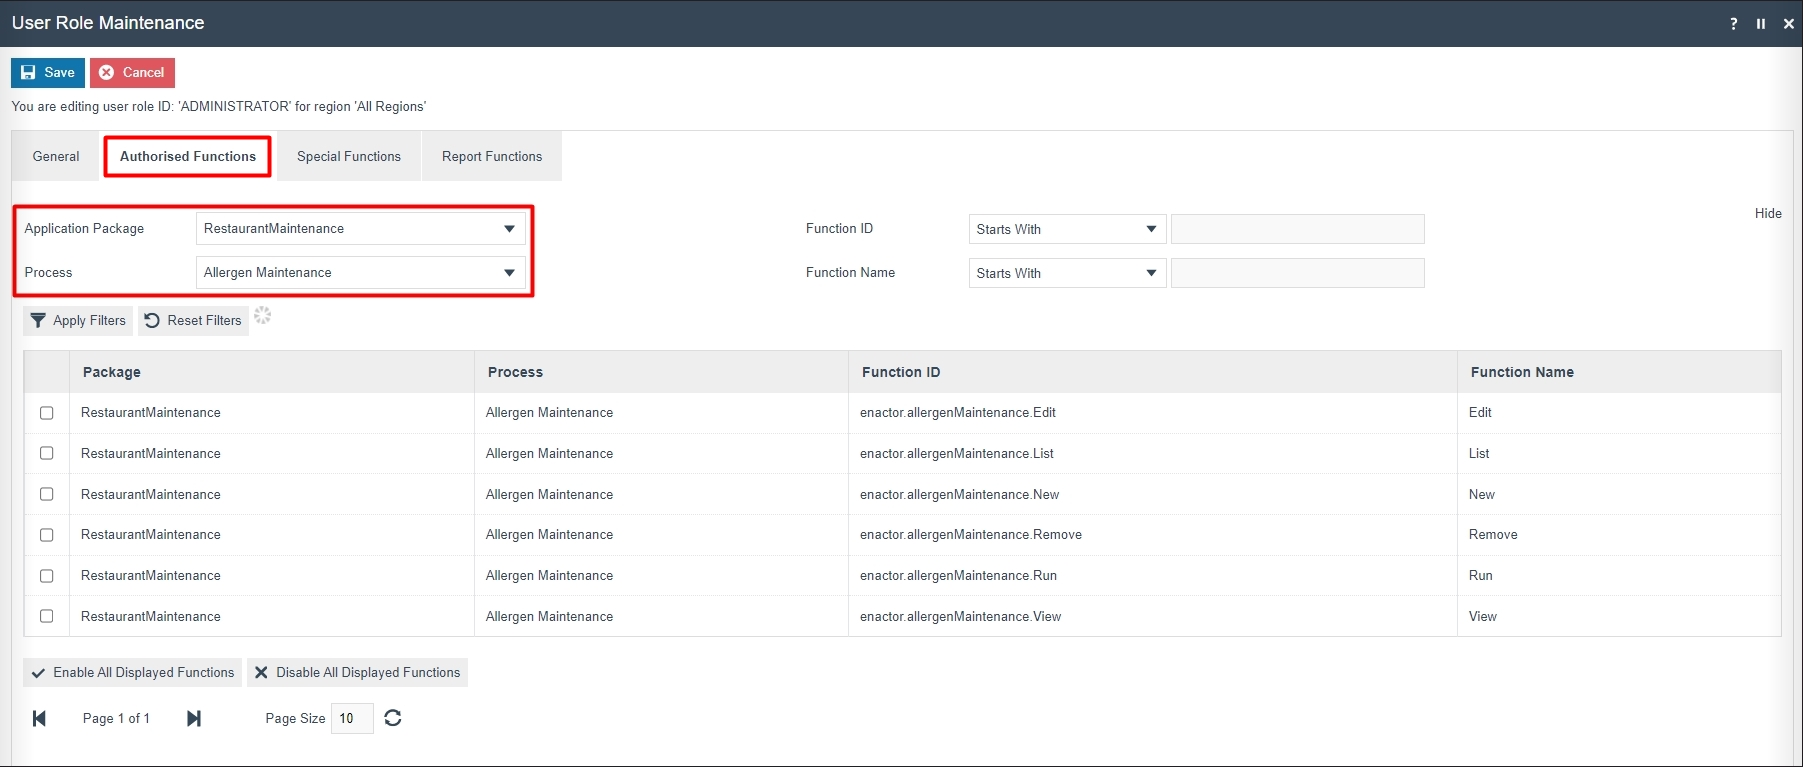
This lists the privileges that are required to access functions of the Allergen Maintenance:
| Package | Process | Function ID | Function Name |
|---|---|---|---|
| RestaurantMaintenance | Allergen Maintenance | enactor.allergenMaintenance.Edit | Edit |
| RestaurantMaintenance | Allergen Maintenance | enactor.allergenMaintenance.List | List |
| RestaurantMaintenance | Allergen Maintenance | enactor.allergenMaintenance.New | New |
| RestaurantMaintenance | Allergen Maintenance | enactor.allergenMaintenance.Remove | Remove |
| RestaurantMaintenance | Allergen Maintenance | enactor.allergenMaintenance.Run | Run |
| RestaurantMaintenance | Allergen Maintenance | enactor.allergenMaintenance.View | View |
Ensure that the selected user has the required privileges enabled by ticking on the necessary functions that are listed.
Select Save.
The user will now be able to carry out all allergen functions in the Estate Manager.
Create a new Allergen Image
Image icons can be optionally added to display in the POS alongside the allergens. Images have to first be created in the Image Maintenance and can then be selected for the specific allergen at the time of configuring the allergen.
To create a new allergen image, follow the below steps:
The Image Maintenance application can be accessed through:
Configuration > Media > Images
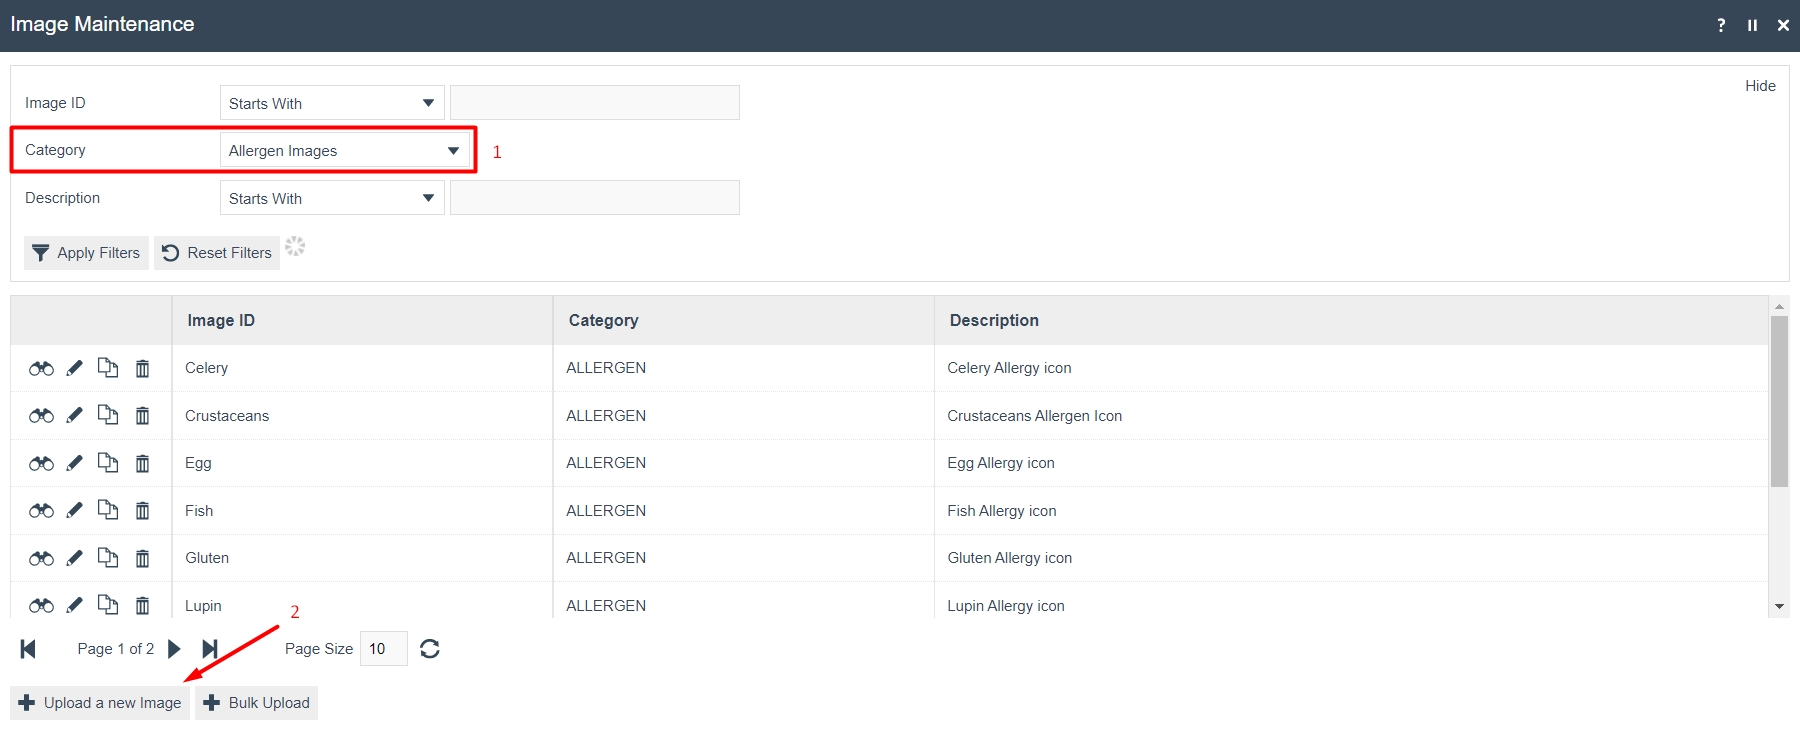
To create a new allergen image, filter the Category as Allergen Images and then select Upload a new Allergen on the Allergen Maintenance page.
Enter a unique Image ID for this allergen image that can be alphanumeric and contain a maximum of 20 characters.
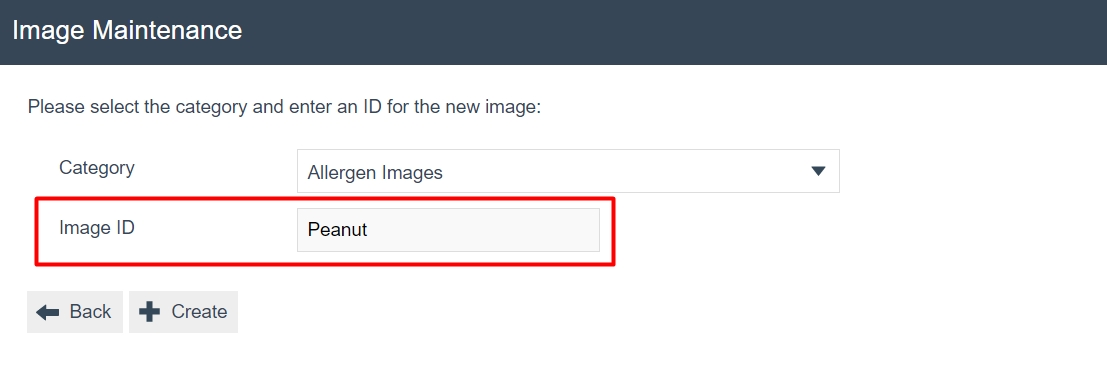
Select Create.
Image - General Tab
The General tab captures the basic information of the new image.
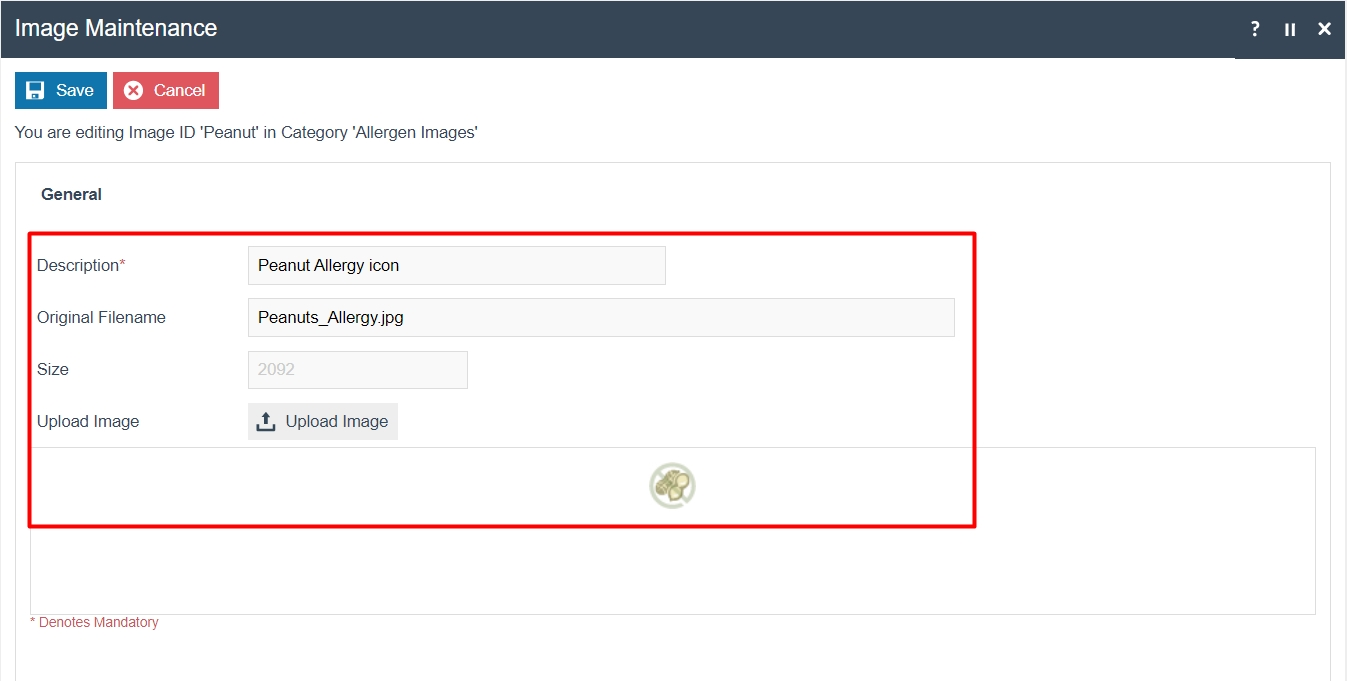
Set the appropriate values on the General tab as follows:
| Configuration | Description |
|---|---|
| Description | Enter a user-friendly, meaningful name for the image by which users may recognise and select the image in other configurations. This can be alphanumeric with a maximum of 40 characters. |
| Select the locale in the second field from a dropdown list of all configured locales. | |
| Original Filename | Alphanumeric; maximum 100 characters. If the filename is not known (i.e., this field left blank) and the user selects Upload Image, the user will have the option of browsing to the required file's location. |
| Size | This is read-only at this point. The value is automatically populated when the image is uploaded. |
| Upload Image | Select this to initiate the upload of the image. |
| Preview | The uploaded image is shown here as a preview. |
Select Save.
Create a new Allergen
To create a new allergen, follow the below steps:
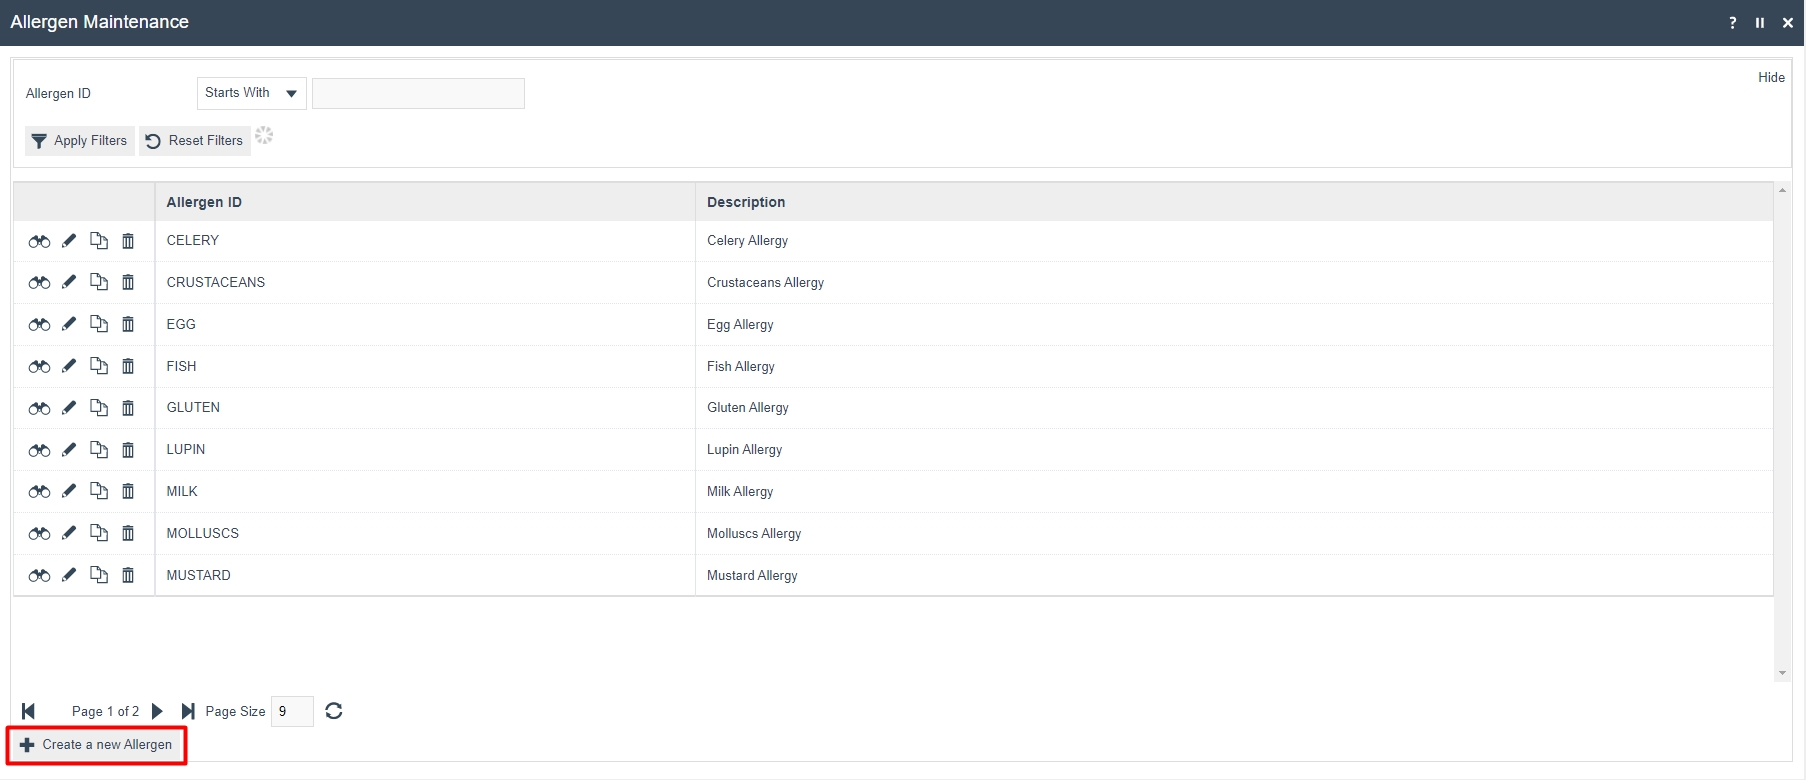
The Allergen Maintenance application can be accessed through:
Configuration > Hospitality > Allergens

To create a new allergen, select Create a new Allergen on the Allergen Maintenance page.
Enter a unique Allergen ID for this allergen that can be alphanumeric and contain a maximum of 20 characters.
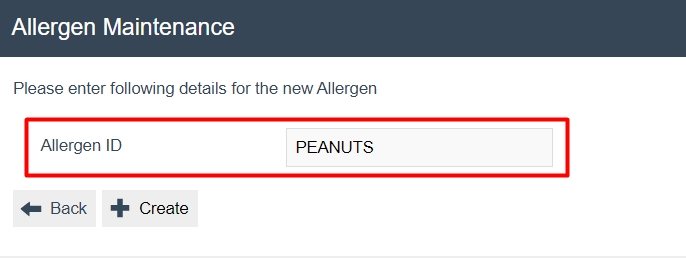
Select Create.
Allergen - General Tab
The General tab captures the basic information of the new allergen.
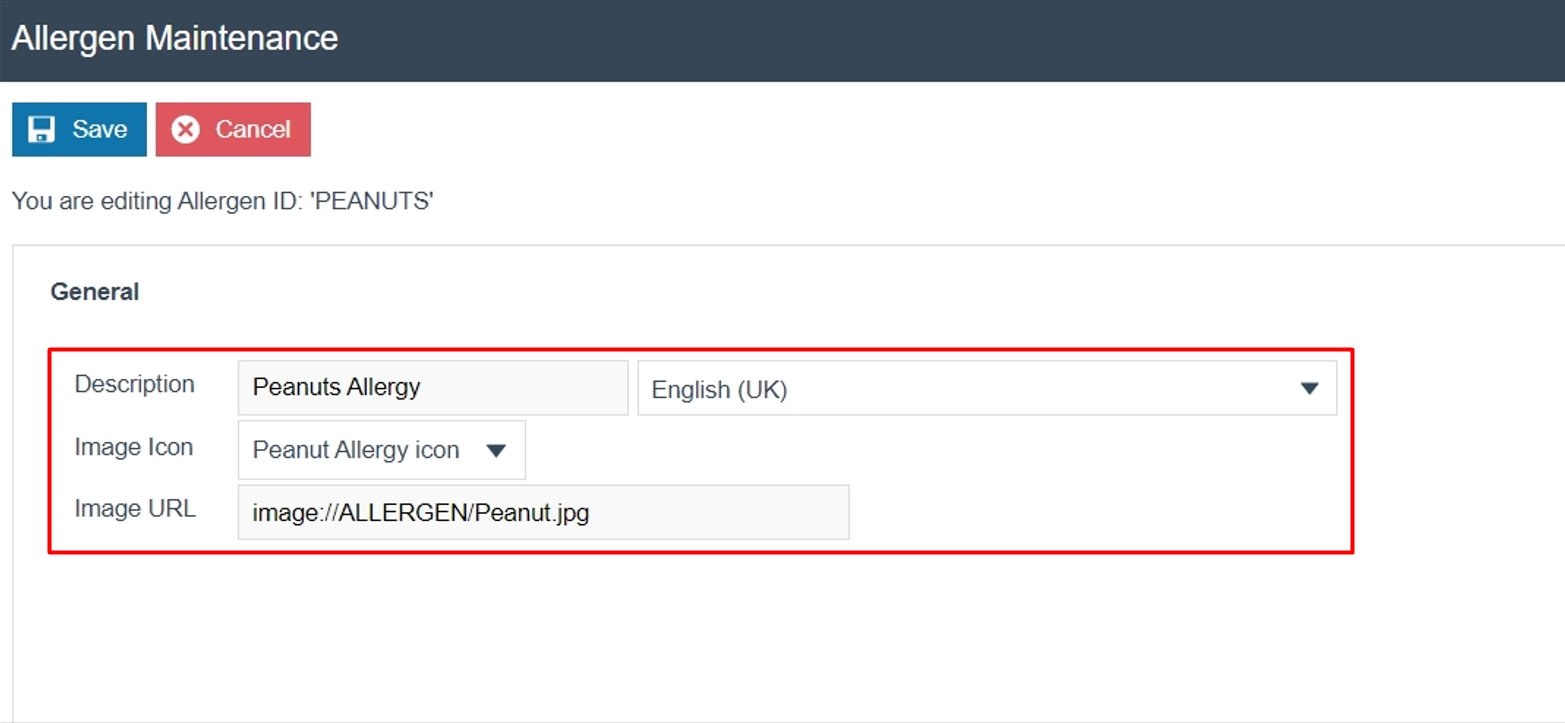
Set the appropriate values on the General tab as follows:
| Configuration | Description |
|---|---|
| Product Description | Enter a user-friendly, meaningful name for the allergen that can be alphanumeric with a maximum of 30 characters. |
| Select the locale in the second field from a dropdown list of all configured locales. | |
| Image Icon | Select the appropriate image for the allergen from a drop-down list of all configured images. |
| Image URL | Add the URL that points to a stored image. |
The Image Icon is configured in the Image Maintenance. See the Create a new Allergen Image section above.
Select Save.
Configuring Allergens to a Hospitality Product
Configuring a hospitality product is covered in the How To Configure Hospitality Products guide. Products should be configured before the configuration of allergens.
To configure allergens to a hospitality product, follow the below steps:
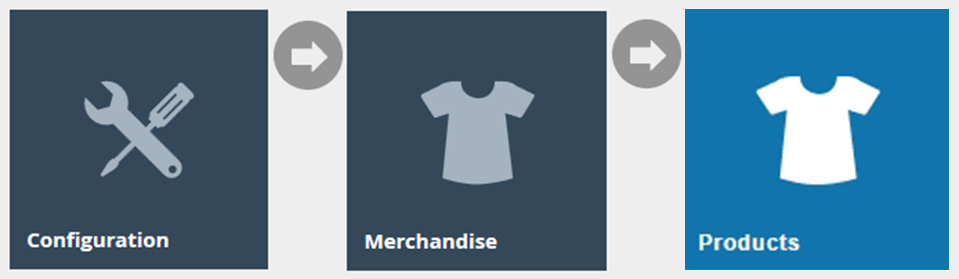
The Product Maintenance application can be accessed through:
Configuration > Merchandise > Products
Filter the Product type Hospitality Product and select the hospitality product which needs to be configured with allergens.
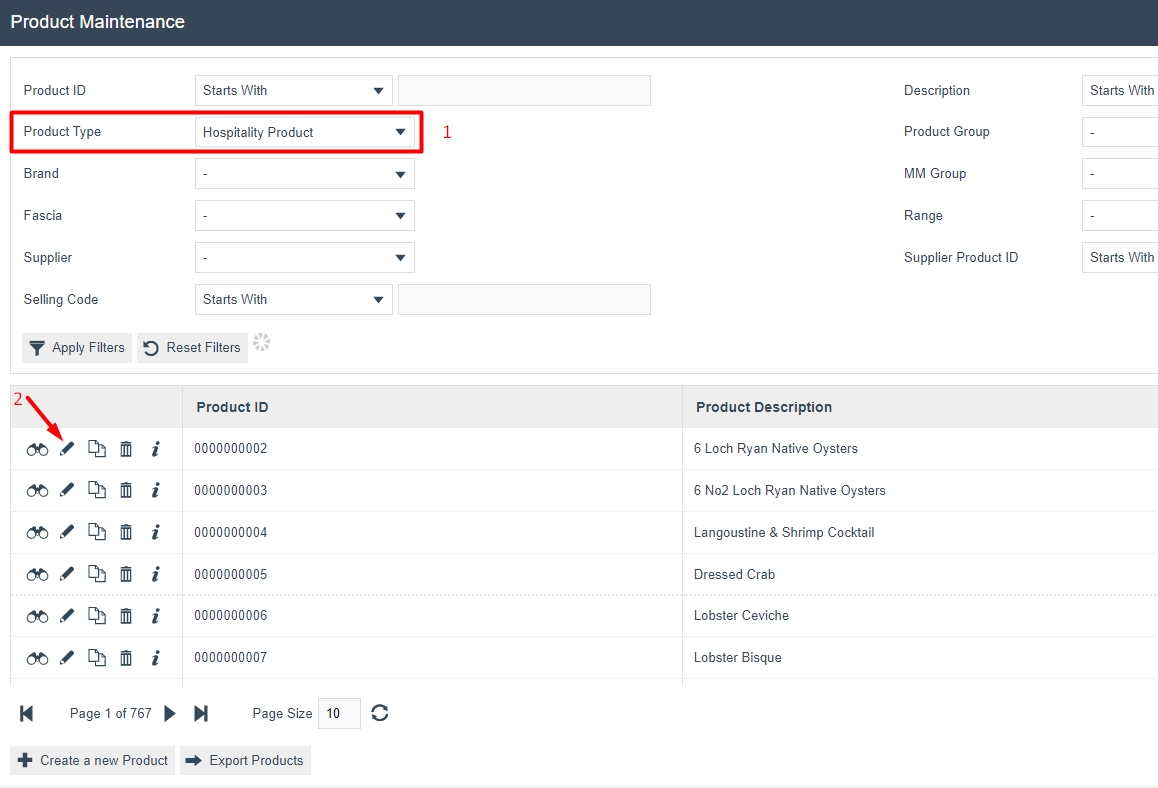
Navigate to the Hospitality Tab of this product to make the allergen configurations.
Product - Hospitality Tab
The Hospitality tab is used to add the configured allergens to this product.
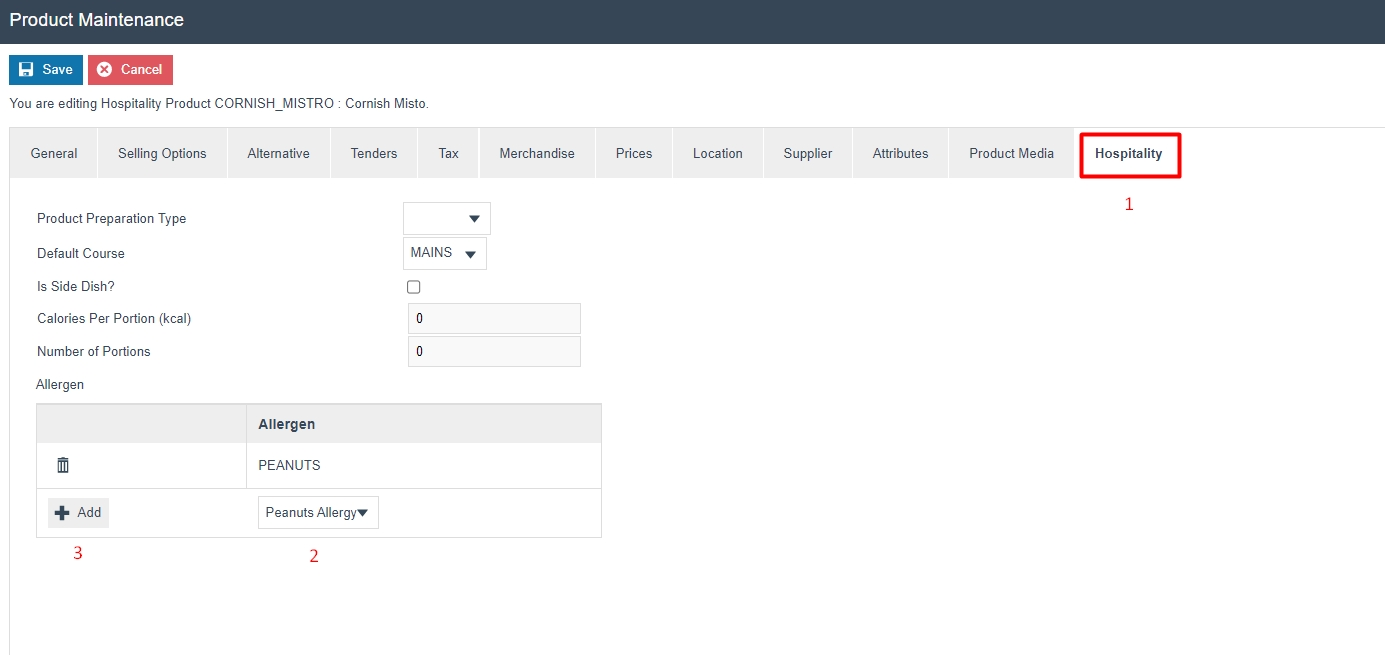
Set the appropriate value on the Hospitality tab as follows:
| Configuration | Description |
|---|---|
| Allergen | Select the appropriate allergen for the product from a drop-down list of all configured allergens. |
| Click on + Add after selection. |
Multiple allergens can be added here for a single product.
Select Save.
Broadcasting
To deliver the configuration changes to the POS, broadcast the following entities:
- Allergen
- Image
- Product
POS Functionality
The allergen functions can be run in the POS in different ways based on how allergens are to be used. This section covers how an allergen can be directly added to an order, how a product which contains allergens can be added to an order and how an allergen can be assigned to a specific diner in an order of the POS.
Adding Allergen to an order
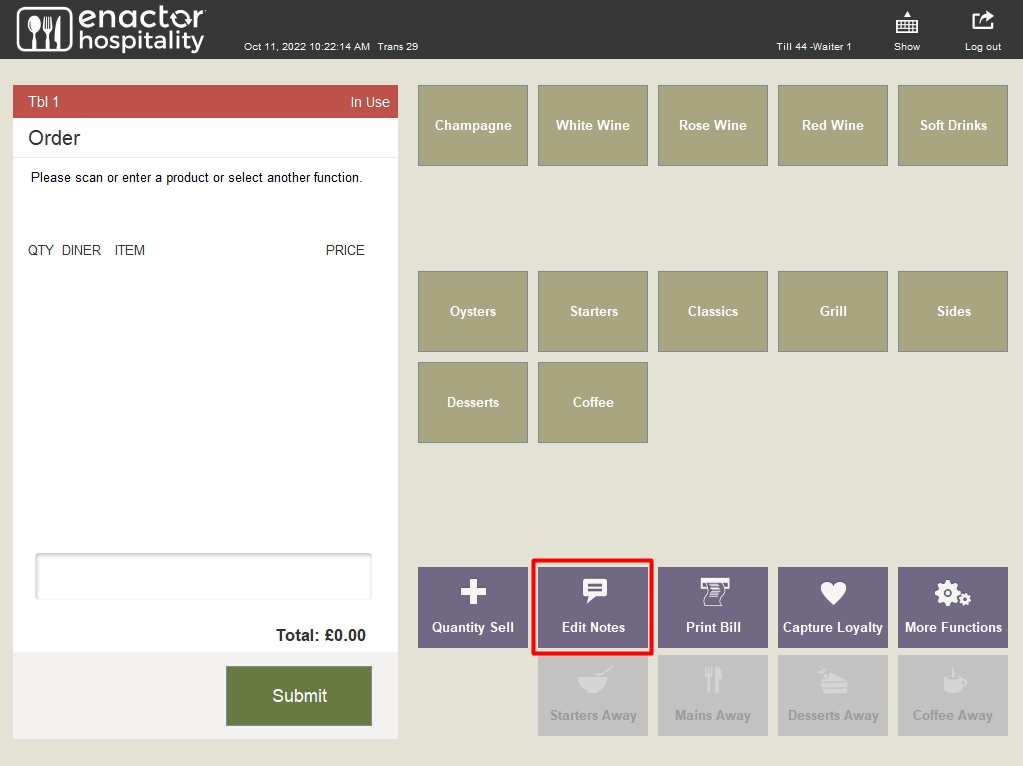
After selecting a table, the POS will prompt to select the number of diners on the table. Once the number of diners is entered, the table order screen will be displayed.
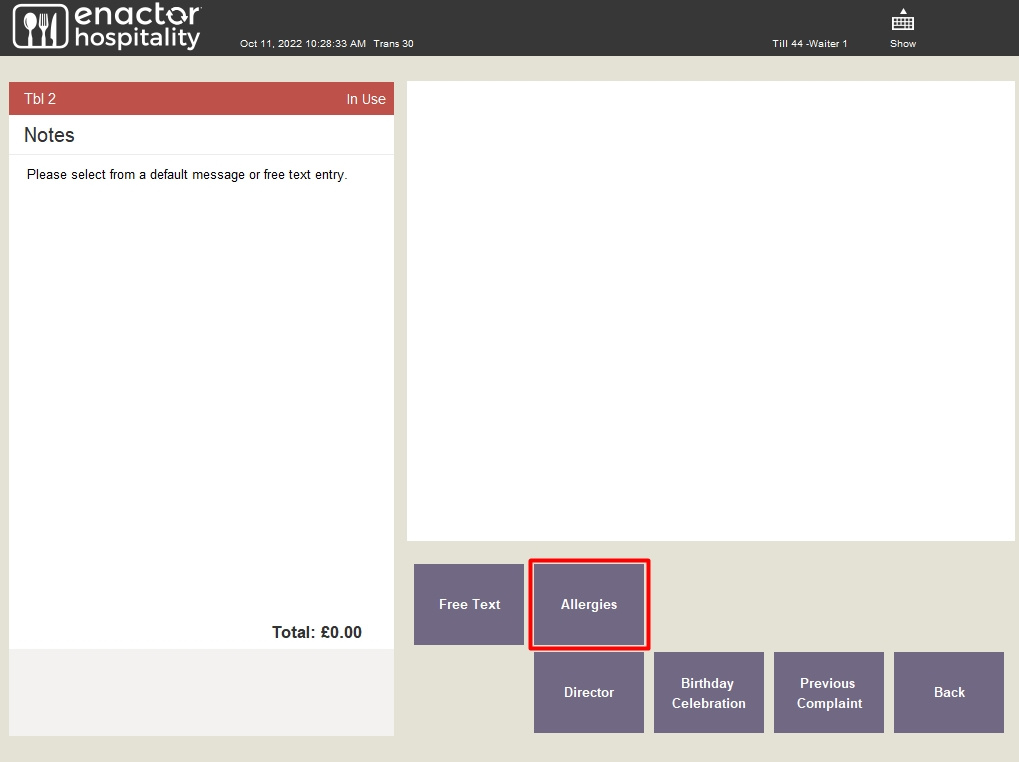
To add an allergen, select Edit Notes and then the Allergies function.
| Function | Outcome |
|---|---|
| Edit Notes | Shows all notes that can be added to the order. |
| Allergies | Shows all the configured allergies that can be added to the order. |
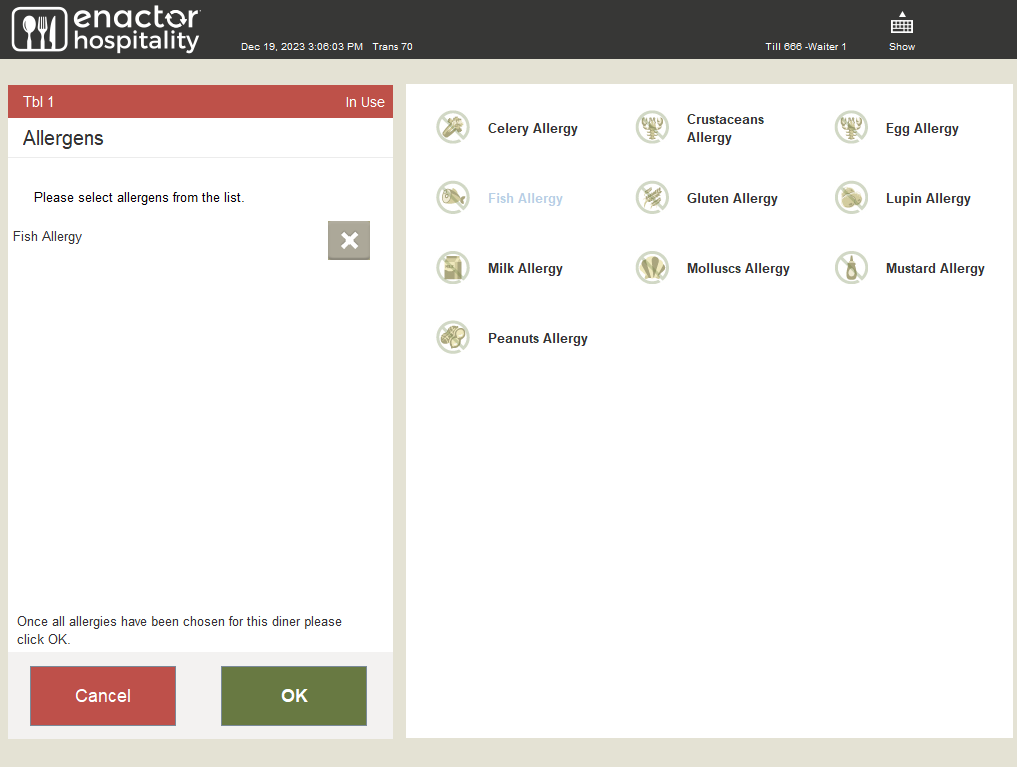
The operator can now add or remove allergens as required from this screen.
| Function | Outcome |
|---|---|
| Allergens | All configured allergens are displayed along with their images. |
| OK | Adds the selected allergens into the order. |
Adding a Product containing Allergens to an order
After selecting a table, the POS will prompt to select the number of diners on the table. Once the number of diners is entered, the table order screen will be displayed.
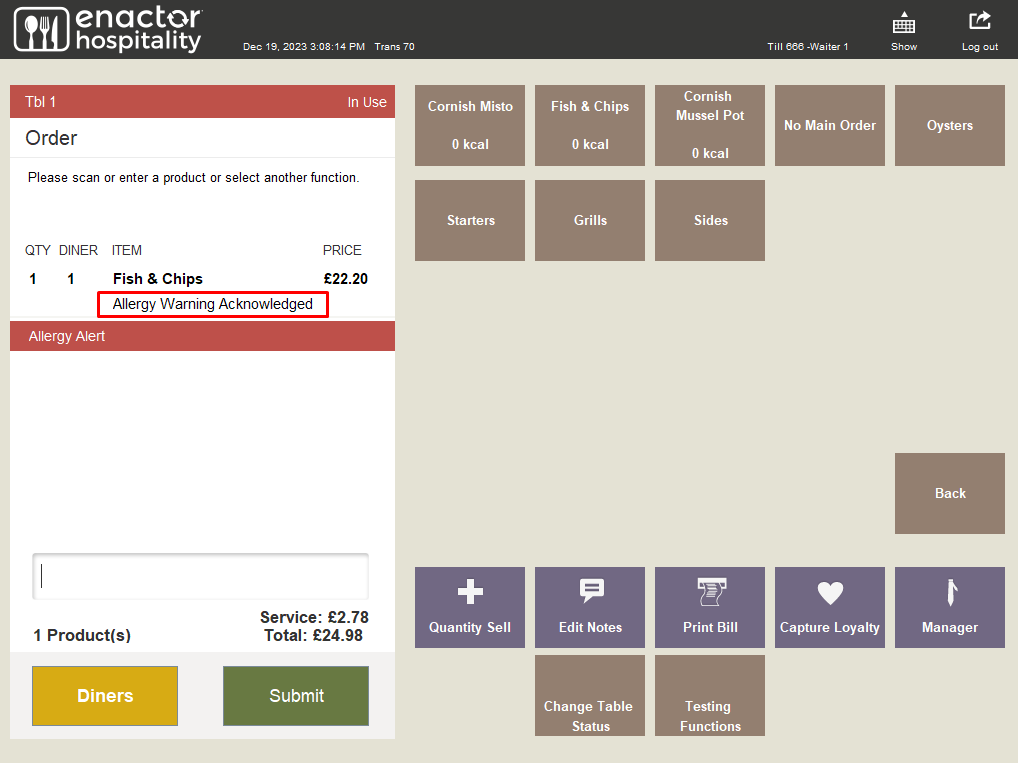
As an example, Fish Allergy is added to the order and the product Fish and Chips has been configured as a product with the aforementioned allergy.
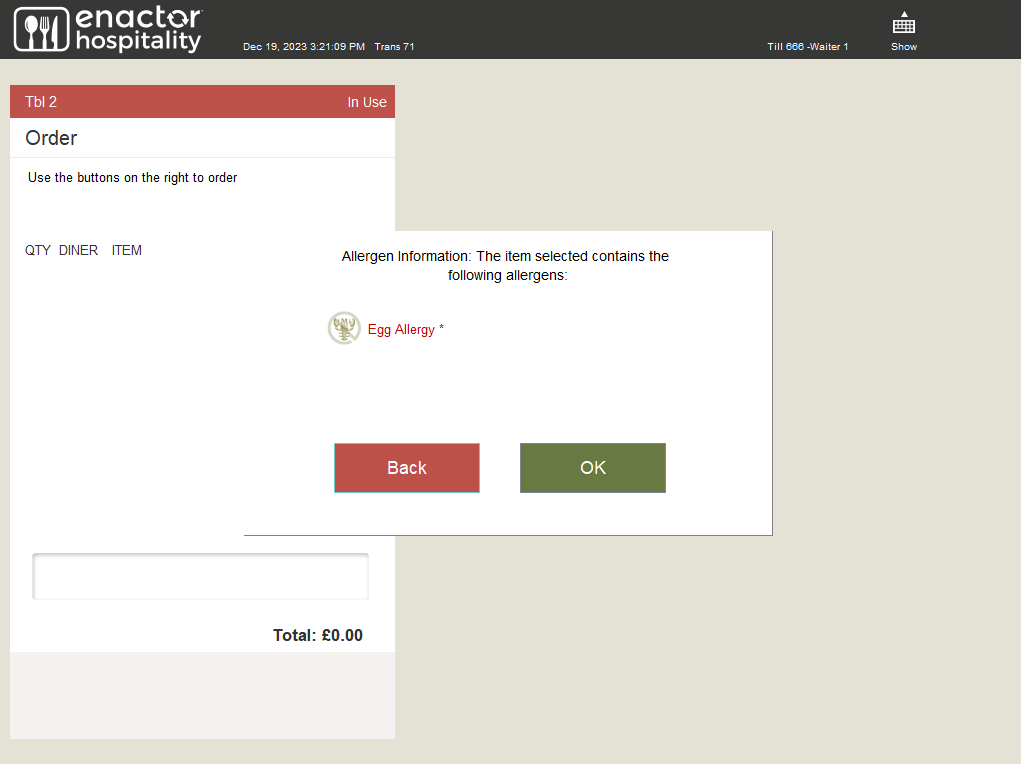
Since an allergy has now been added to this order, when a product is added with the specific allergy, the system will prompt a message for the user to acknowledge.

The basket will now display an allergy alert for each product as follows:
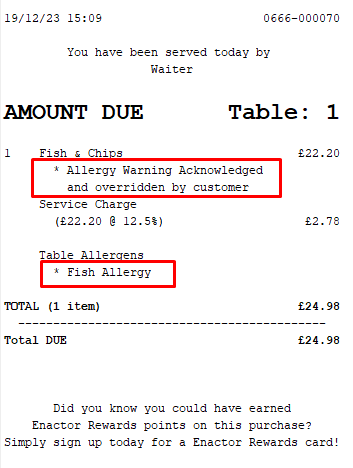
When the order is settled, the receipt will be printed with the allergy acknowledgement message and the details of the products added to the order:
Adding an Allergen to a specific diner
After selecting a table, the POS will prompt to select the number of diners on the table. Once the number of diners is entered, the table order screen will be displayed, and the user is given the option to select the diner.
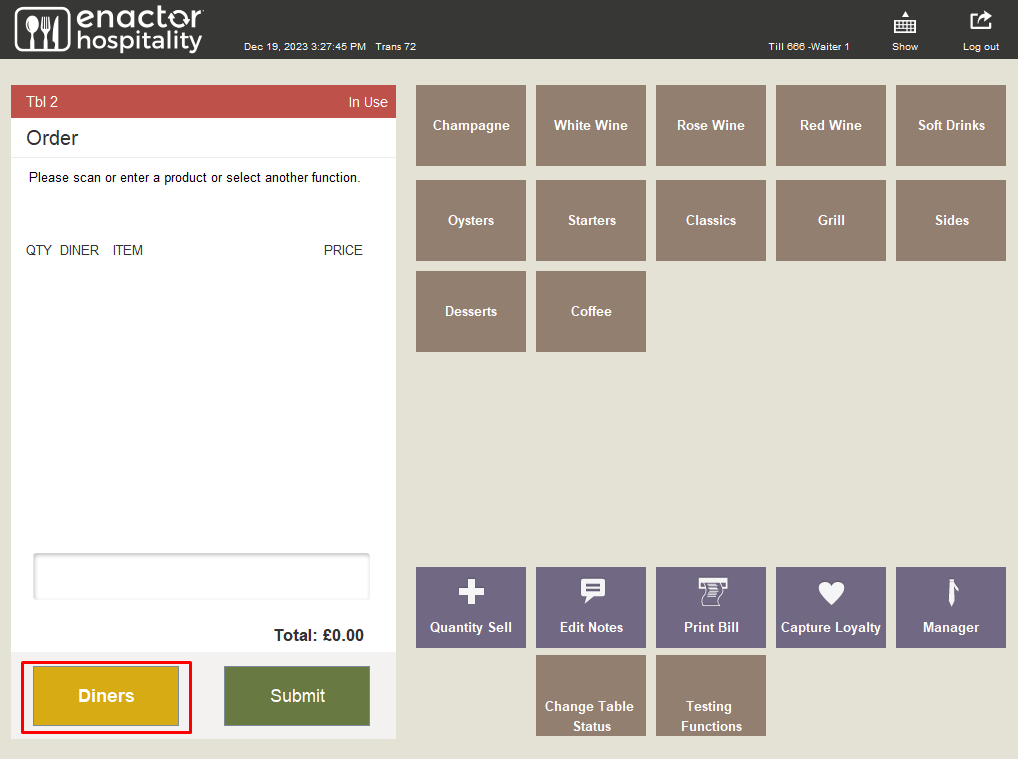
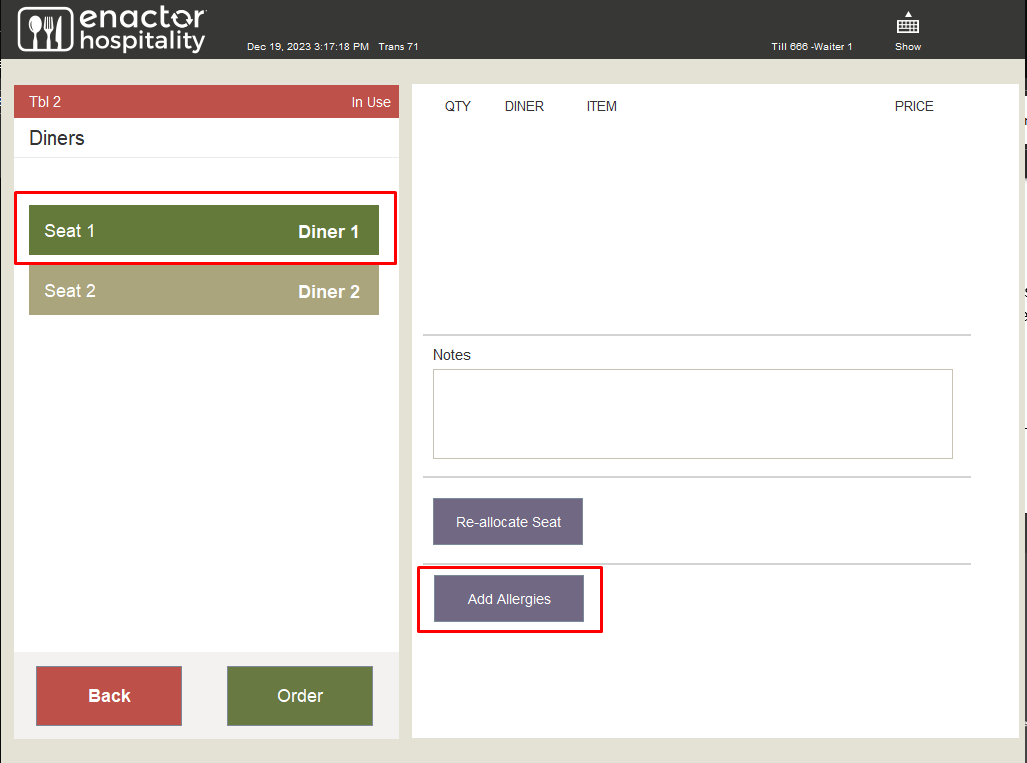
When the Diners option is selected, the user is given the option to select the allergens for the specific diner.
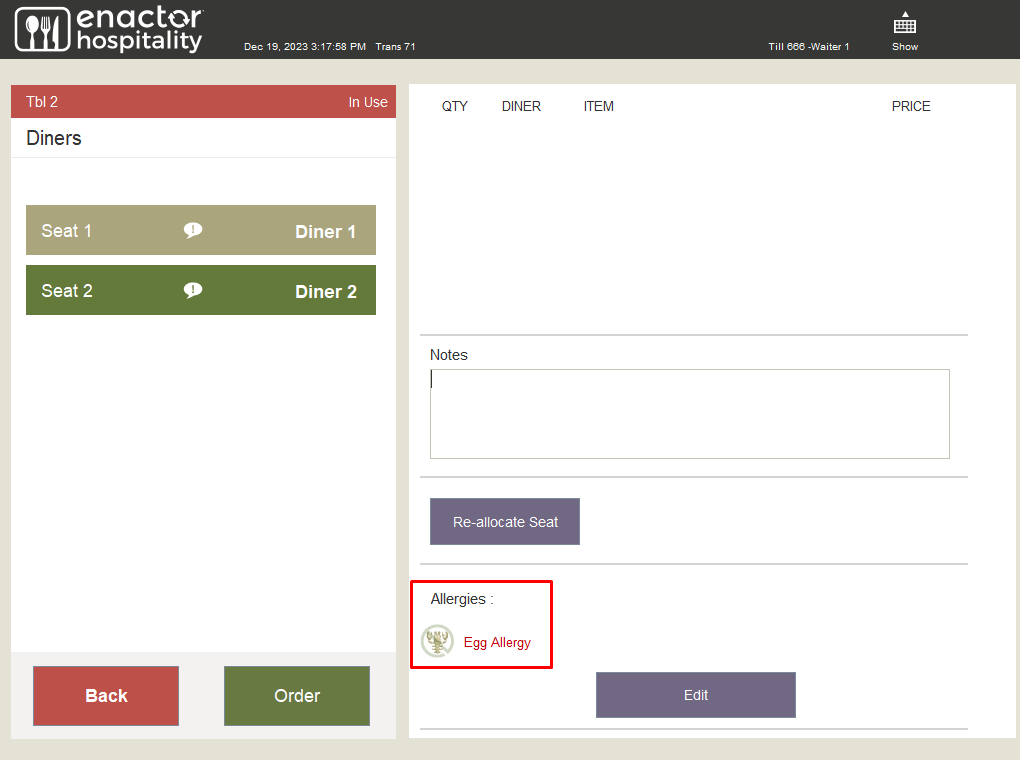
Upon adding allergies, they can be viewed on the screen as shown above with the option to edit if the user wishes.
When a product with the given allergy is added to the basket, the user is prompted with a warning to acknowledge.
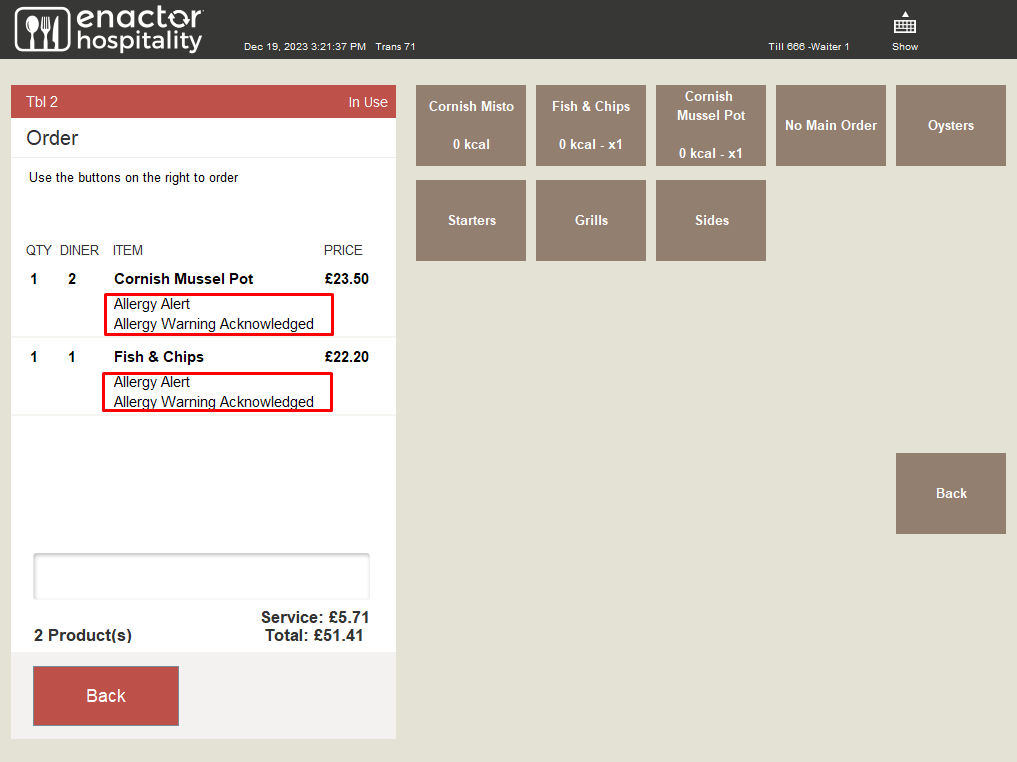
When the product is added to the basket, the allergen can be viewed as a warning acknowledgement.
When the order is settled, the receipt will be printed with the allergy acknowledgement message and the details of the products added to the order:
