How To Configure Email Receipts
Introduction
The purpose of this guide is to show how to configure the Enactor Estate Manager and POS to support Email Receipts. Enabling Email receipts allows the POS user to offer the customer the choice of receiving a printed receipt, an emailed receipt or both.
A connection to an SMTP server is required to send Email receipts. This may be a traditional on-premises Mail server such as MS Exchange, or a cloud mail service such as Gmail. This guide will use a connection to a Gmail service as an example.
Email receipts may also be configured with an HTML message body, allowing the retailer to use the email for marketing purposes.
Overview
The following steps are required to enable Email Receipts:
- Configure an Email Receipts user (to whom the sending email account will be linked).
- Configure the Estate Manager location with a connection to a SMTP (Mail sending) server or service.
- Check that the Outgoing Email Service is enabled on the Estate Manager.
- Configure a communication script for the Email message body.
- Enable Email Receipts for the POS Terminal.
- Broadcast settings to the POS and test.
Resources
Before starting, you should have the following resources in place:
- Enactor Estate Manager
- Enactor POS (configured within the UK Region, connected to the Estate Manager)
- Standard Configuration, including:
- Base Configuration
- UK Retail (The example here uses UK, but it could be other regional config packs)
- Retail Segment pack (The example here UK Fashion).
Prior Training / Experience
You should be familiar with the following:
- Estate Manager configuration
- Enactor configuration concepts, including Locations, POS Terminals etc.
- Data broadcasting
- Standard POS Sales processes
If necessary, please revise the appropriate how-to guides on these concepts before starting the Email Receipt configuration process.
Configuration Steps
Configuring email receipts allows the POS user to offer the customer the choice of receiving a printed receipt, an emailed receipt or both. The process involves configuring an Email Receipts user, establishing a location connection to a SMTP server or service, configuring communication scripts for the Email message body and enabling email receipts in different maintenance options in the Estate Manager.
User Configuration
An email Receipts user must first be created in the User Maintenance application. This will act as the user to whom the sending email account will be linked.
Navigate to User Maintenance using the Search or the path:
Main Menu > Configuration > HR > Users
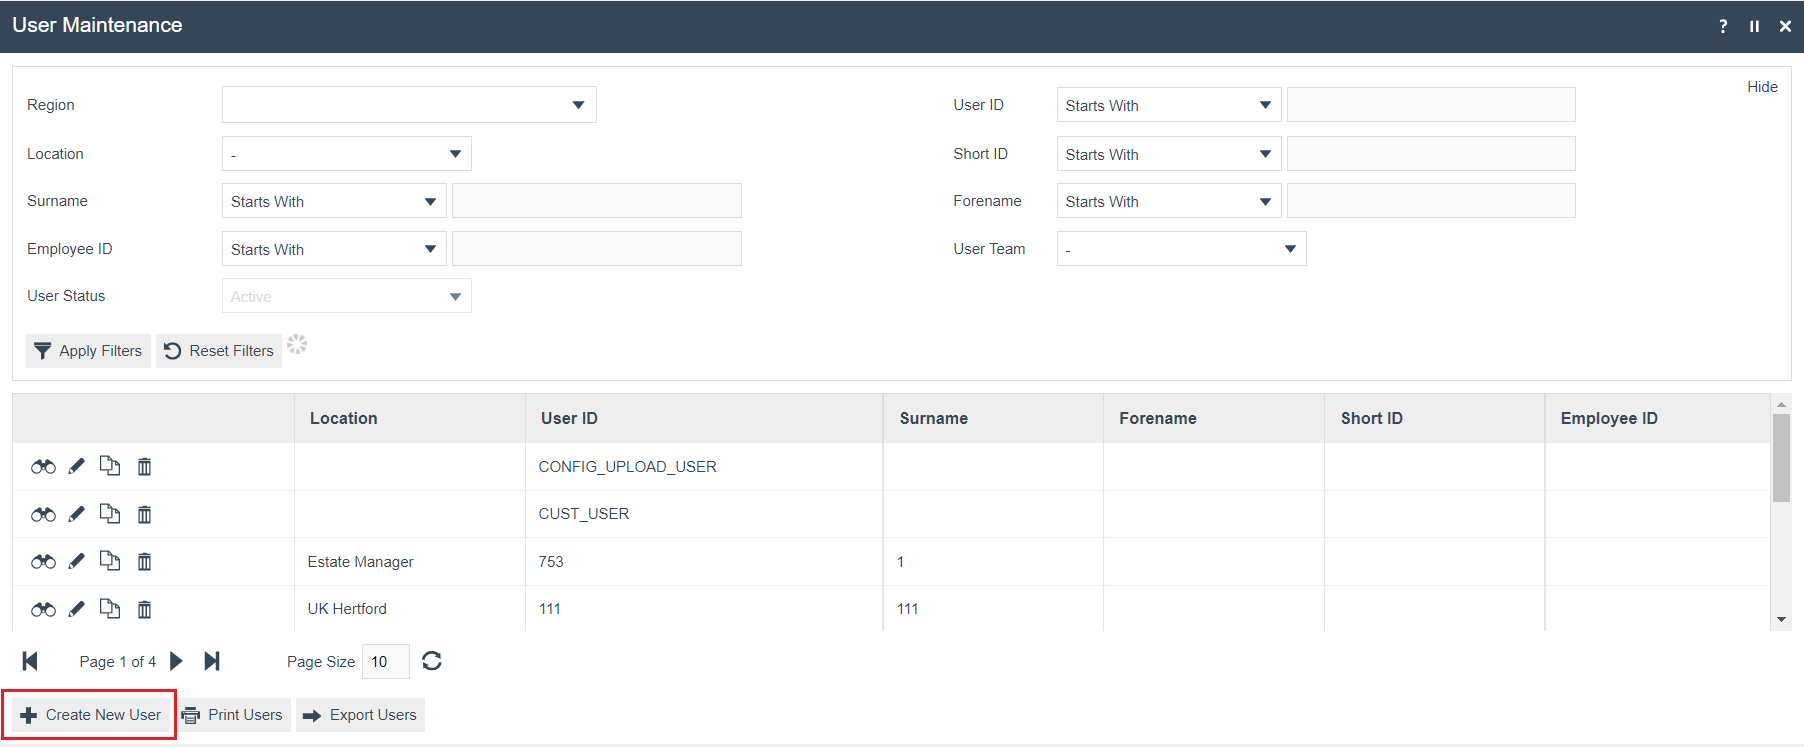
Edit the existing user with the ID of RECEIPTS or, if one does not exist, create a new user.
To create a new User, select Create a New User on the User Maintenance page.
Enter a unique User ID for the new User. The ID can be alphanumeric and contain a maximum of 20 characters.
No selection should be made for Template ID.
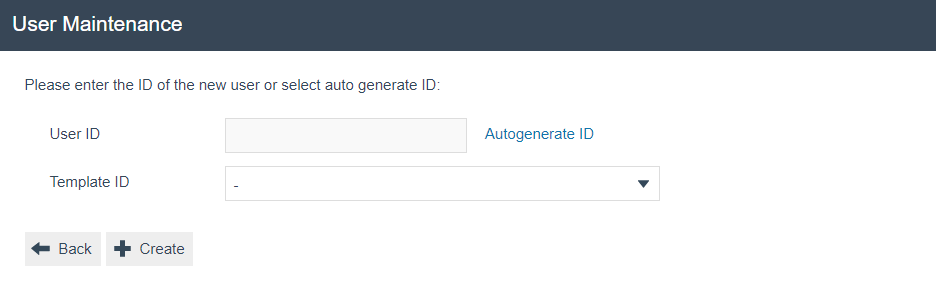
Select Create.
You will be presented with the following options to complete creating the new User:
User - General Tab
The General tab has all the basic information that captures the identity of the user.
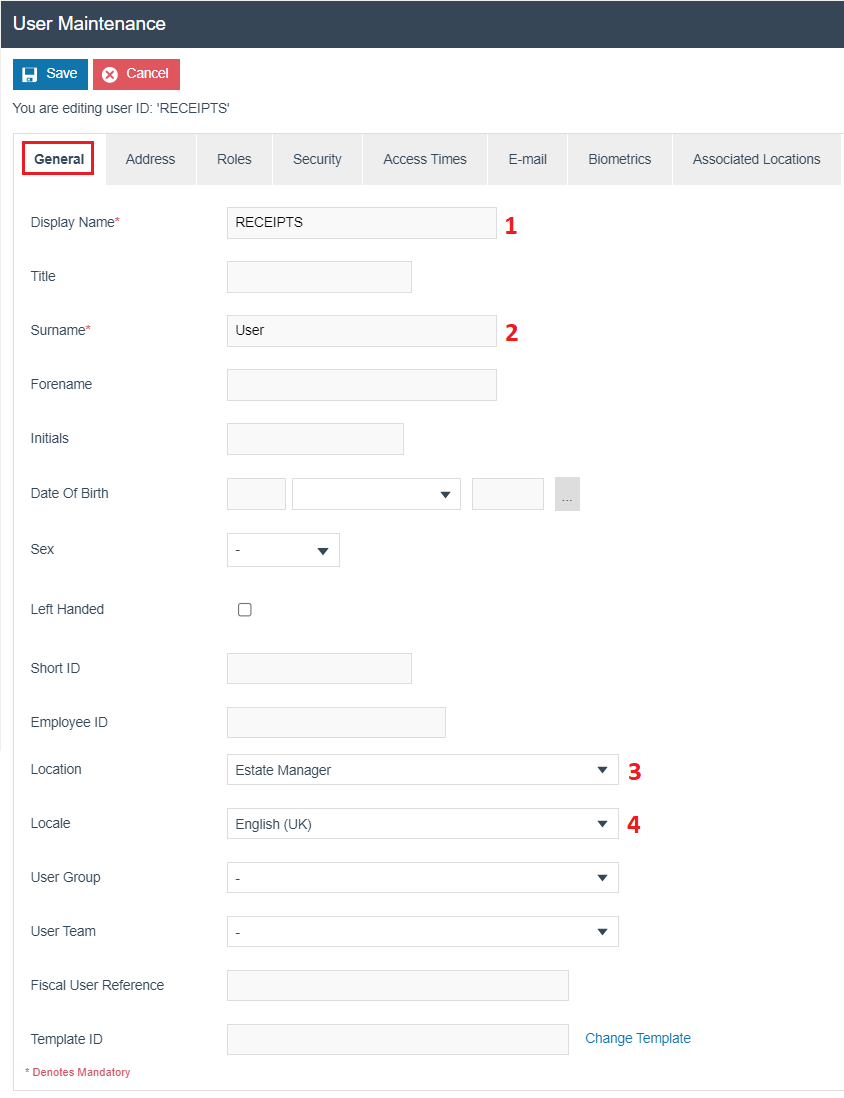
Set the appropriate values on the General tab as follows:
| Configuration | Description |
|---|---|
| Display Name | Enter RECEIPTS as the display name. The display name can be alphanumeric and contain a maximum of 30 characters. This will be displayed in screens when the Receipts User is Signed On. |
| Surname | Enter User as the surname. The surname can be alphanumeric and contain a maximum of 100 characters. |
| Location | Select the appropriate Location from the drop-down list of all configured Locations. Identifies the User's usual Sign on location. |
| Locale | Select the appropriate Locale from the drop-down list. This selection will affect locale-dependent operations such as language. |
User - E-mail Tab
The E-mail tab provides for capture of the information required to configure the integration.

Set the appropriate values on the E-mail tab as follows:
| Configuration | Description |
|---|---|
| Email Address | Enter the email address to be used for sending the email. |
| Email Account Name | Enter the Email Account Name. This may be the same as the email or may be the email address without the @domain element (it is used as a visible Account name). |
| Email Account Password | Select the Change Email Account Password and a pop-up screen will appear that will enable the user to enter the password for the email address. |
| Receiving Server Type | This indicates the Email Receipt user and does not require configuring. |
| Check Email on Login | Select checkbox if this User's email should be checked automatically when this User logs onto the system. |
| Check Email in the Background | Select checkbox if this User's email should be checked as a background task. |
| Account Status | Select the bin icon next to the field to ensure that the account status shows as Valid. |
Select Save to complete creating the Receipts User.
This completes the User Configuration.
Gmail Account Security - This section may be skipped if you are not using Gmail as the SMTP service.
With Gmail, the following notification will be received about allowing access to Less Secure Apps:
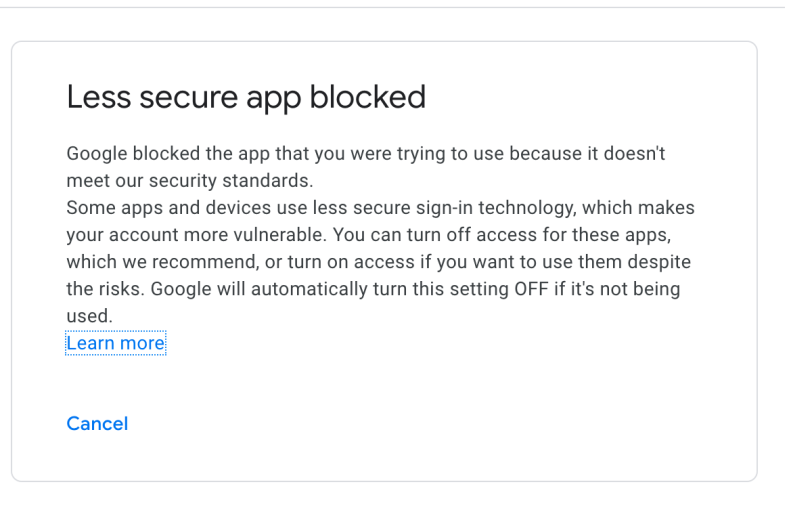
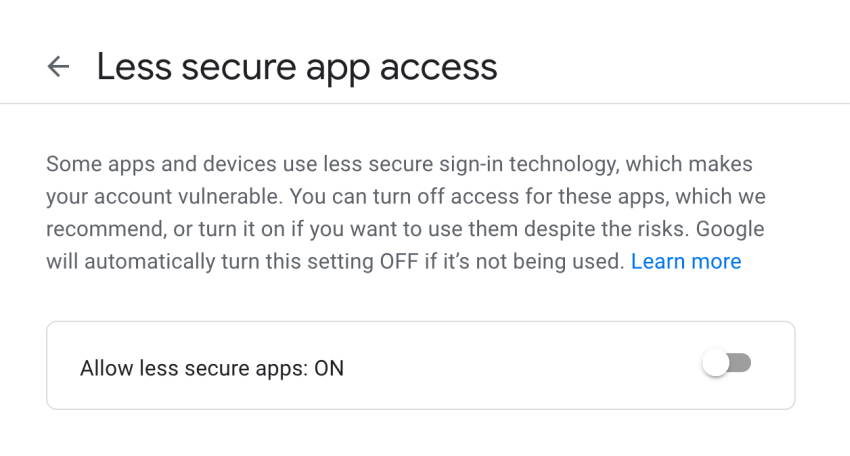
Without this setting, you will not be able to send emails via Gmail. To correct this, go to your Gmail account and enable Less Secure App access:
Once this is changed, go back to the user E-mail user record in Enactor. If Gmail has rejected the Enactor email login, the status will have changed to Invalid:

Reset the status to Valid by clicking on the bin icon. Enactor will try to log in to the Gmail account again.
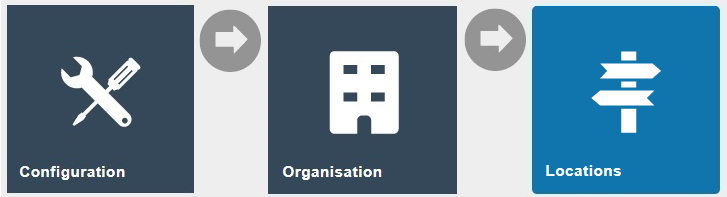
Location Configuration
Navigate to Location Maintenance using the Search or the path:
Main Menu > Configuration > Organisation > Locations
Search for the Location ID estatemanager in the select page.
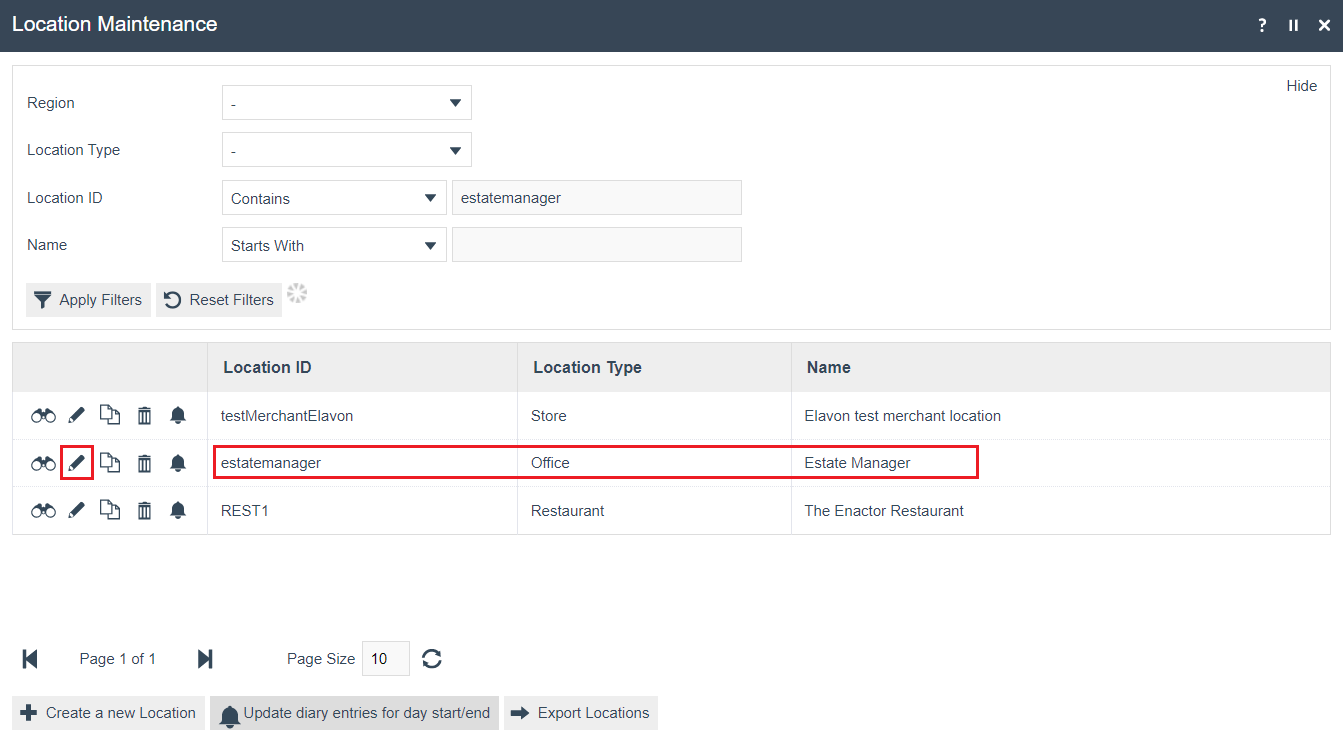
Select the Edit icon to edit the Estate Manager location.
Location Maintenance - E-mail Tab
The Email Tab captures information for the Location's Email Server.
The entries you use will depend on the settings of your outgoing mail server. The example below is applicable for Gmail:
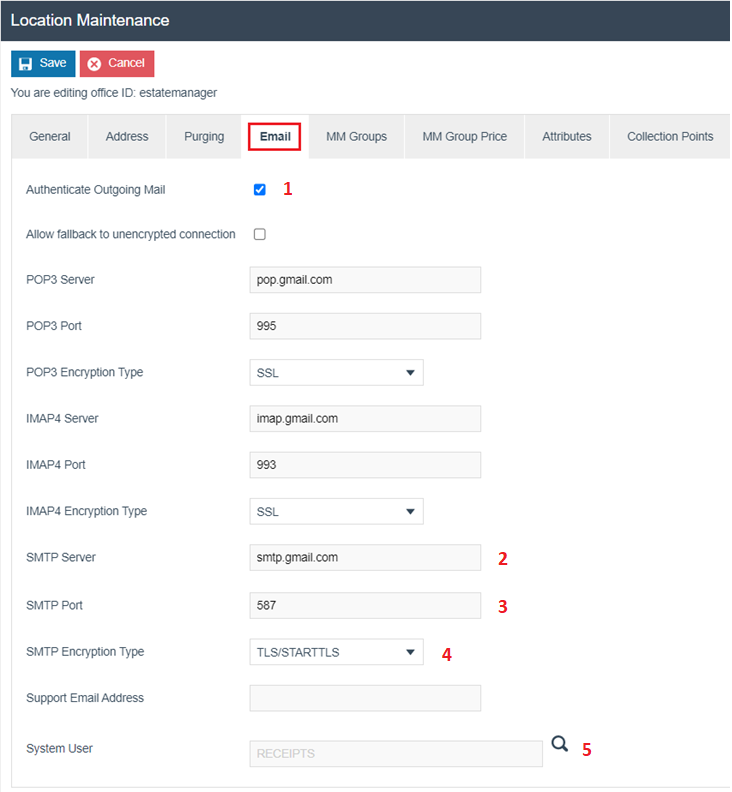
Set the appropriate values on the E-mail tab as follows:
| Configuration | Description |
|---|---|
| Authenticate Outgoing Mail | Select the checkbox to indicate that all outgoing mail will be authenticated. |
| SMTP Server | Set SMTP server to smtp.gmail.com. |
| SMTP Port | Set SMTP port as 587. |
| SMTP Encryption Type | Select TLS/STARTTLS from the drop-down list. |
| System User | Set the System user to the User created above (i.e., RECEIPTS). |
Select Save to proceed.
This completes the Location Configuration.
Service Definition Configuration
An Enactor Service called Email Sender needs to be running for the emails to be sent. The Email Sender Service configuration should be accessed at Service Definition Maintenance.
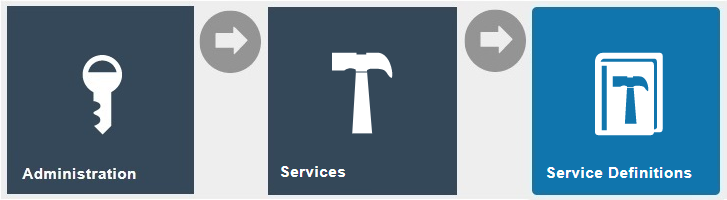
Navigate to Service Definition Maintenance using the Search or the path:
Main Menu > Administration > Services > Service Definitions
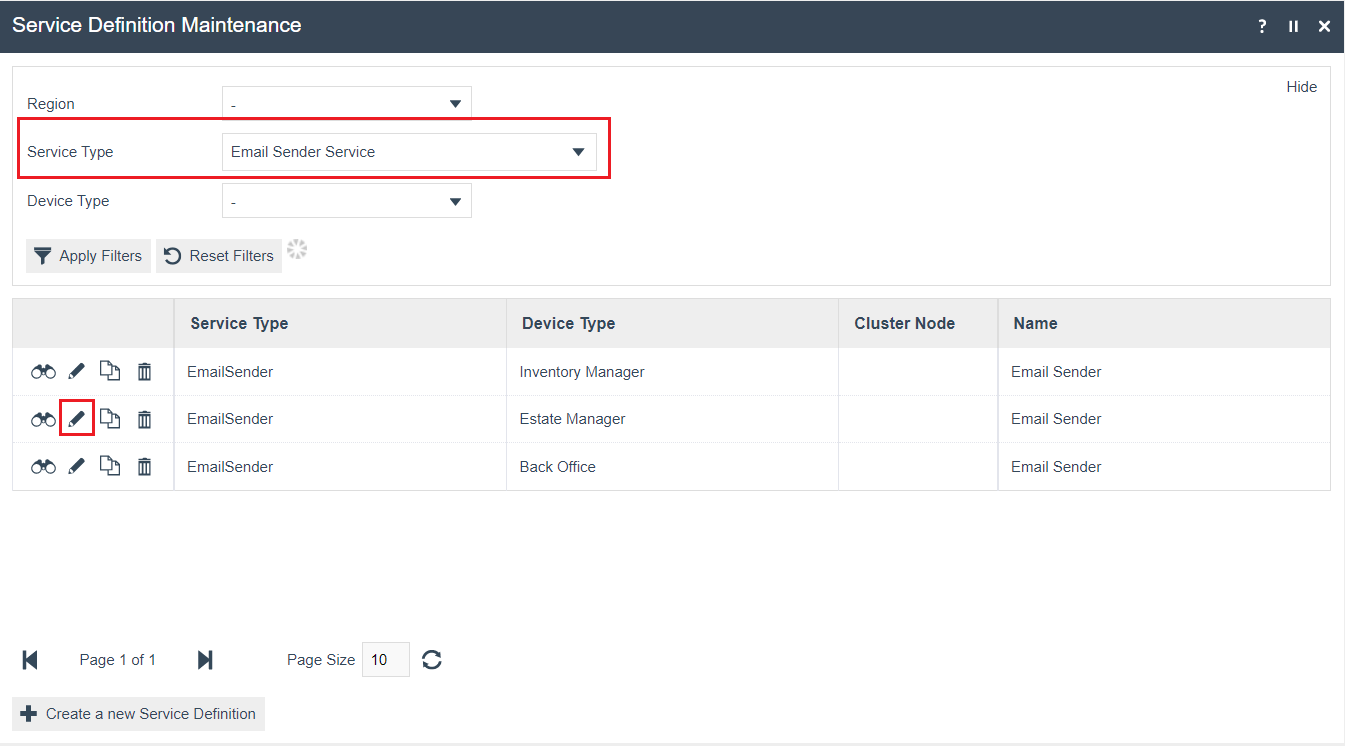
Select Email Sender Service option from the filter against Service Type.
Edit the Email Sender Service for the Estate Manager:
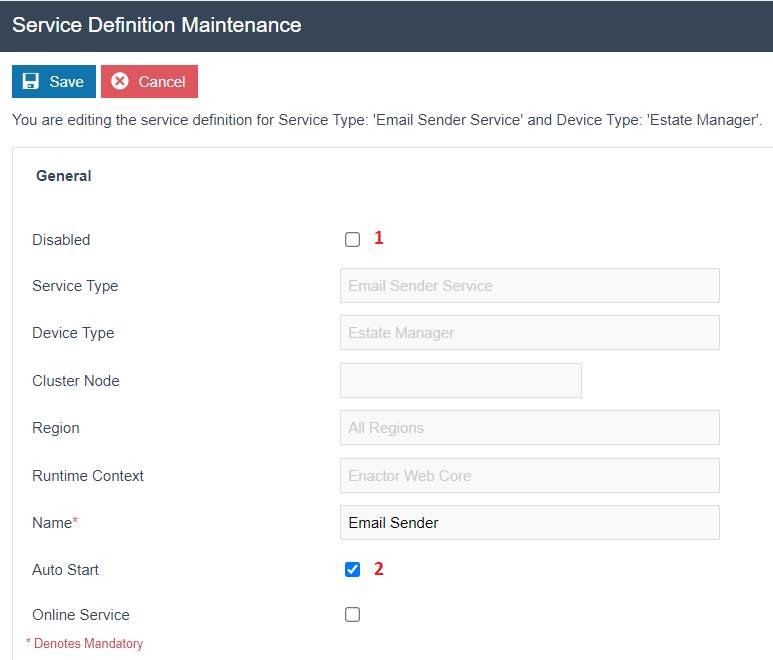
Make sure that the Disabled checkbox is empty, and the Auto Start checkbox is enabled.
Select Save to proceed.
This completes the Service Definition Configuration.
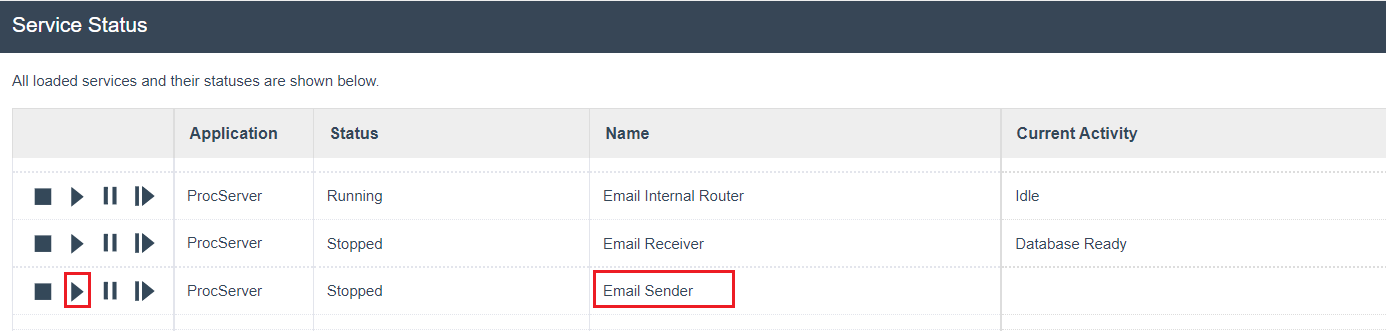
Service Status
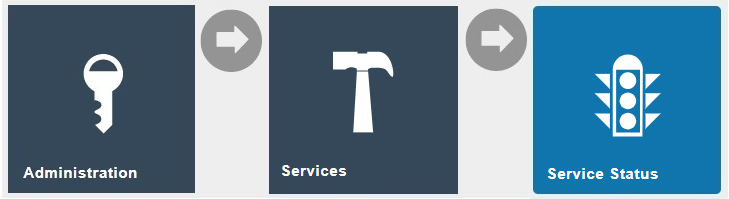
Navigate to Service Status using the Search or the path:
Main Menu > Administration > Services > Service Status
![]()
Check that the Email Sender service is running. If not, click the button to start it:
Communication Script Configuration
A communication script is used to set up the body of the email that will be sent to the customer (with the actual receipt as an attachment).
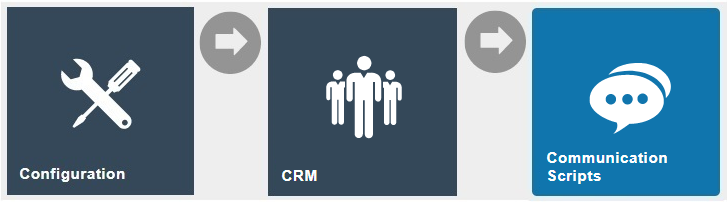
Navigate to Communication Script Maintenance using the Search or the path:
Main Menu > Configuration > CRM > Communication Scripts
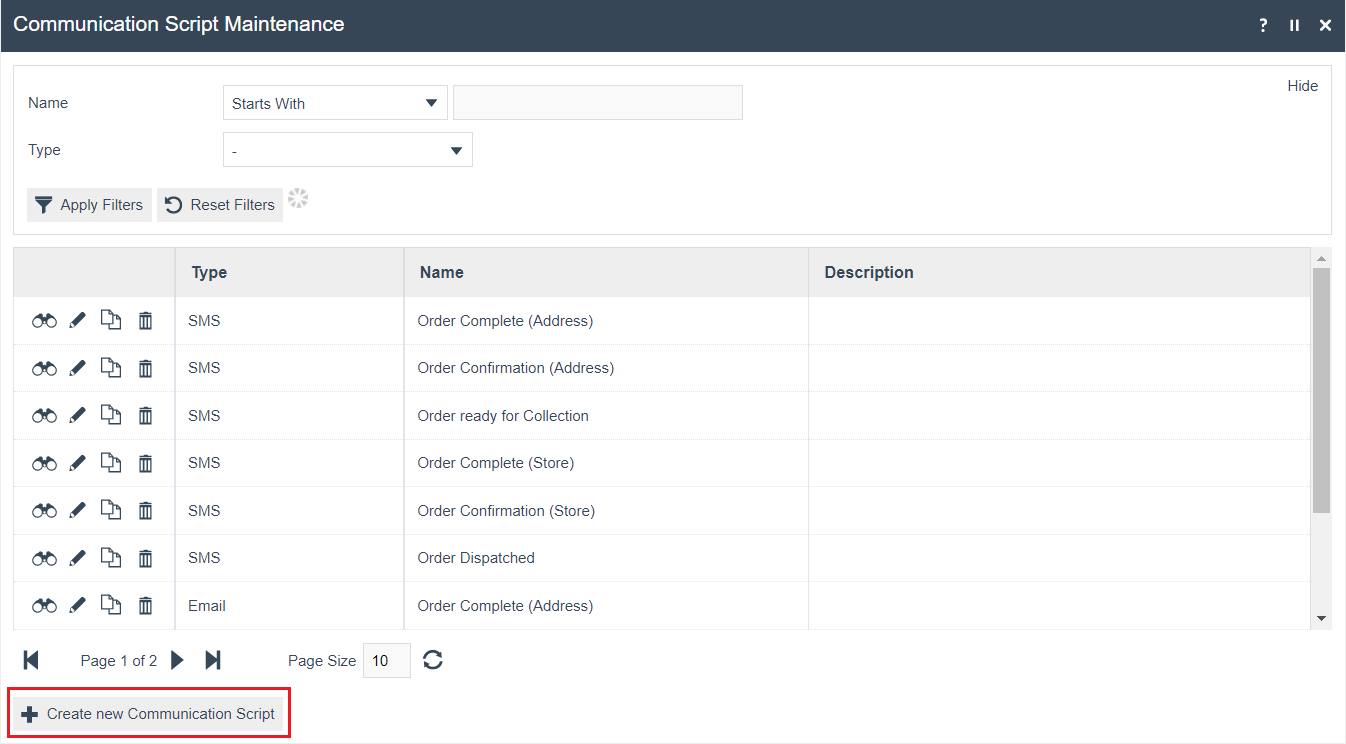
There should be an example Email Communication Script available. If not, create a new Email Communication Script.
To create a new Email Communication Script, select Create a New Communication Script on the Communication Script Maintenance page.
Select Email from the drop-down list.
Enter a unique identifier as the Script ID for the new Communication Script. The Script ID can be alphanumeric and contain a maximum of 20 characters.
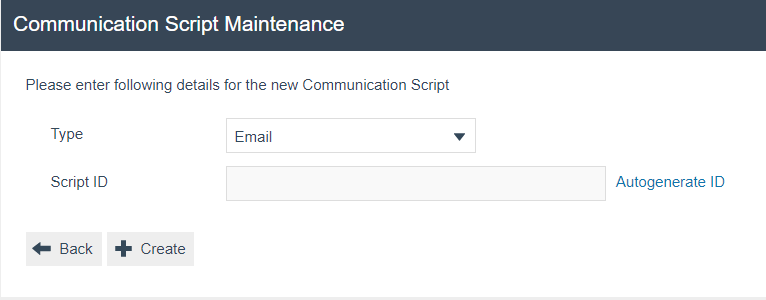
Select Create.
You will be presented with the following options to complete creating the new Email Communication Script:
Communication Script - General Tab
The General tab has all the basic information that captures the identity of the Communication Script.
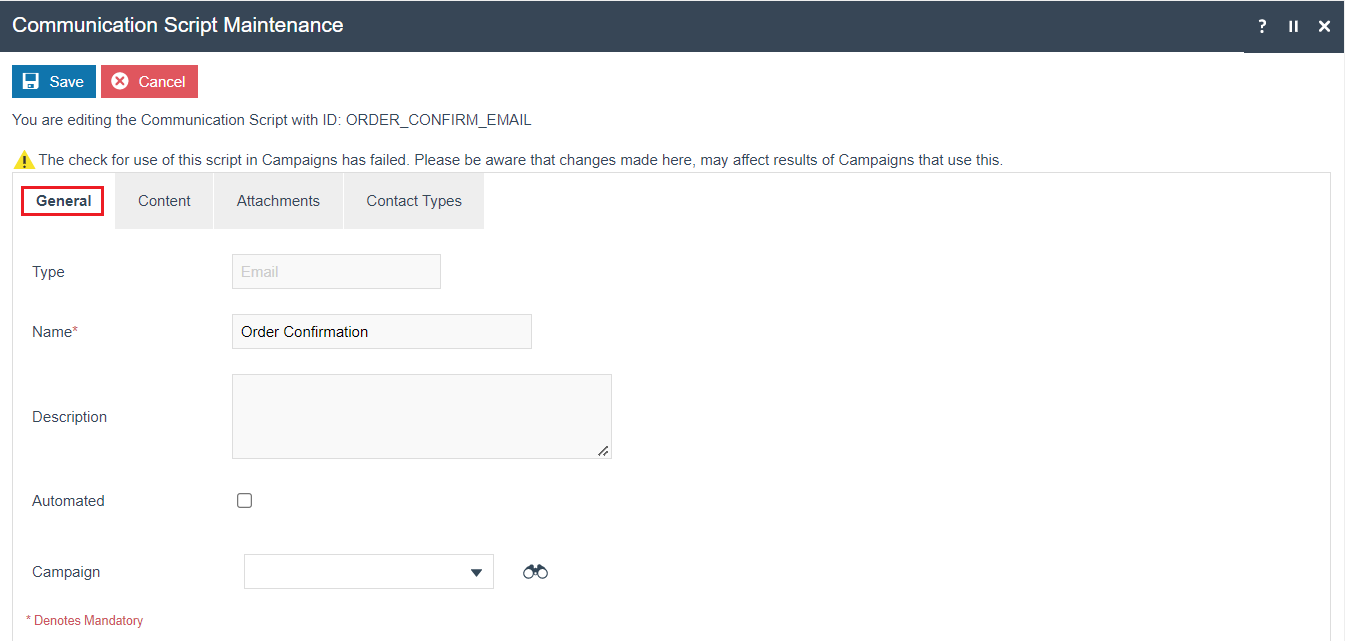
Set the appropriate values on the General tab as follows:
| Configuration | Description |
|---|---|
| Type | Will indicate the Communication Script type selected (i.e., Email). |
| Name | Enter a unique identifier for the Communication Script. This can be alphanumeric and contain a maximum of 50 characters. |
| Description | Enter a meaningful description for the Communication Script. This can be alphanumeric and contain a maximum of 255 characters. |
| Automated | Select the checkbox to set the Communication Script as automated. |
| Campaign | Select an appropriate campaign (if applicable) from the drop-down list of all Campaigns in the database. The view button enables the User to view further details of the selected Campaign. |
Communication Script - Content Tab
The Content Tab captures content details of the Communication Script. The fields displayed will depend on the type of Script selected.
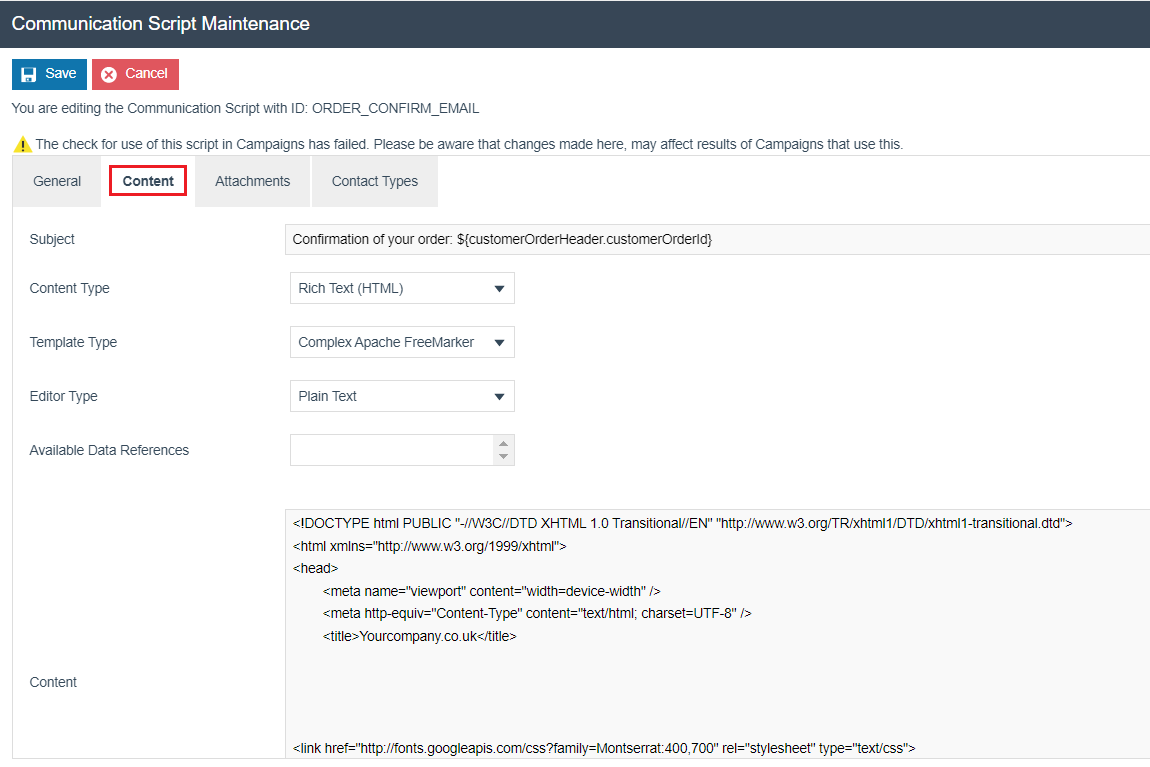
Enter the actual content in the Content field. For Plain Text emails, this will just be included as-is. For HTML emails, enter the HTML source in the Content field (with the Editor type set as plain text). This will normally be copied from an HTML editor (e.g., MS Word).
Communication Script - Attachment Tab
The Attachments Tab captures Attachments details of the Communication Script. The Attachments tab is applicable only for email communication Scripts. All attachments uploaded are listed with an individual File Name, Content ID, Content-Type and Content Length.
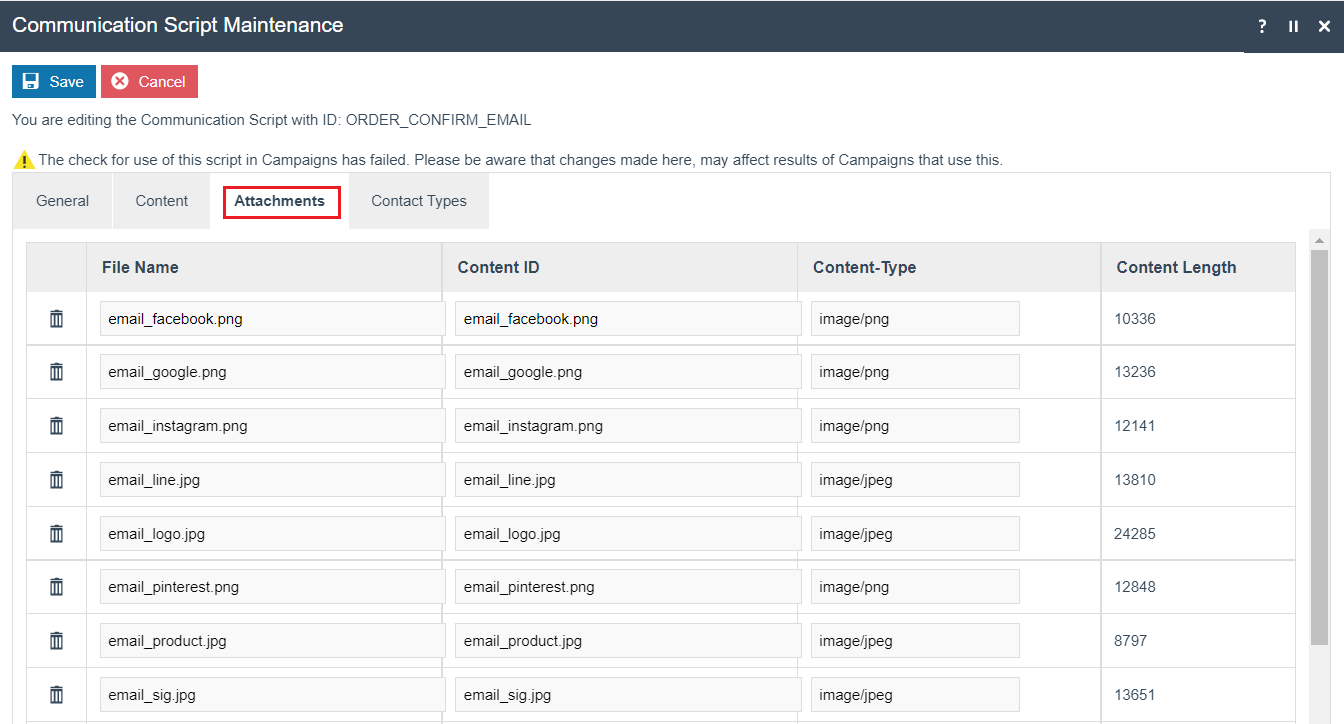
With HTML emails, embedded images and other attachments should be uploaded to the communication script using the Attachments tab.
Select Save.
This completes the Communication Script Configuration.
POS Terminal Configuration
The POS Terminal needs to be set so that the user is given the opportunity to offer Email receipts when completing a transaction. Navigate to the POS Terminal (or POS Terminal Template) Configuration for your test POS. For this example, we will be using a POS Terminal Template.
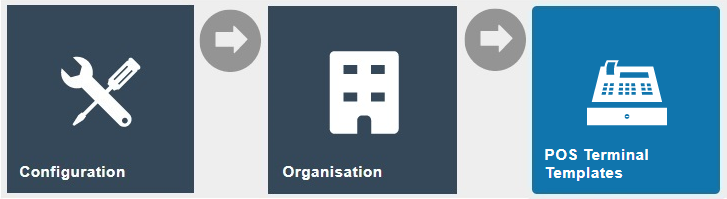
Navigate to POS Terminal Template Maintenance using the Search or the path:
Main Menu > Configuration > Organisation > POS Terminal Templates
Edit the standard retail POS Terminal Template.

POS Terminal Template - Printing Tab - Flags Sub-tab
All the properties captured in the Flags Sub-Tab are checkboxes, which if checked have generally self-evident implications although some are clarified in the table below.
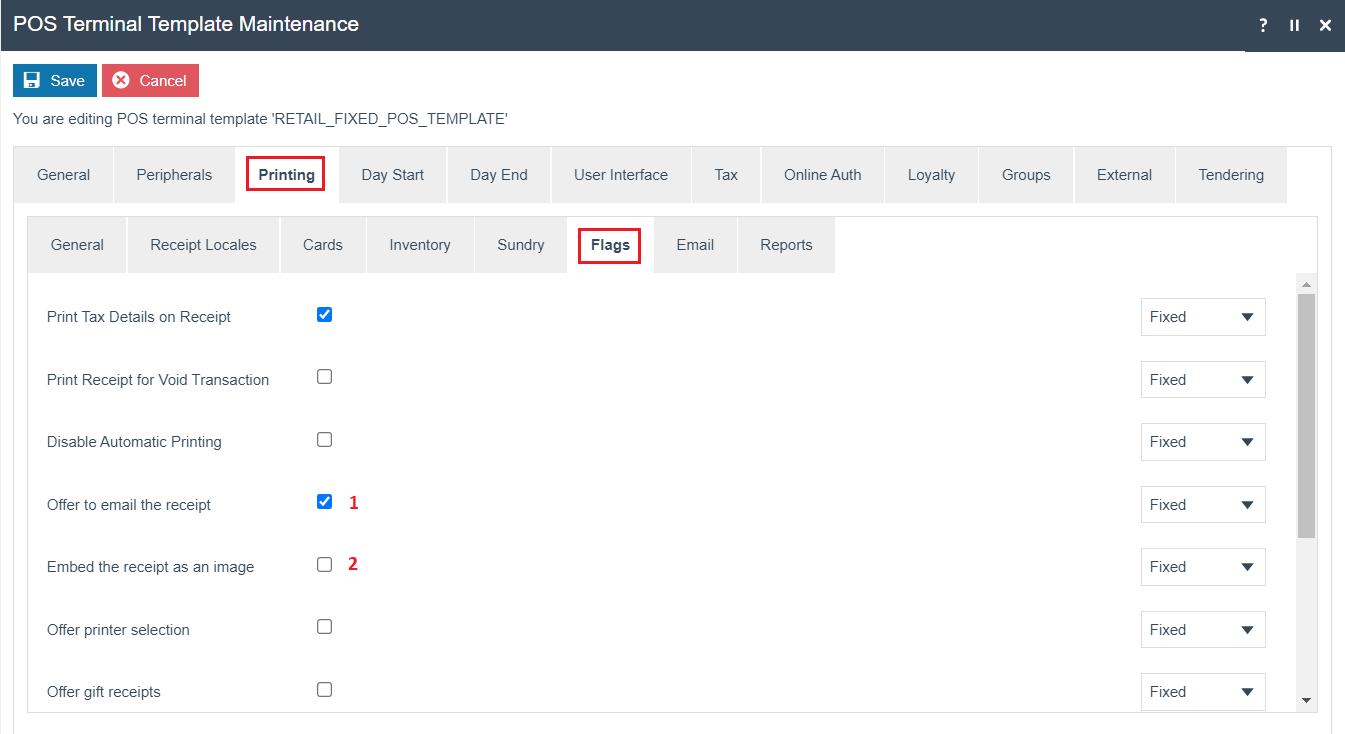
Select the Offer to email the receipt checkbox. By default, the receipt will be attached to the email as a PDF.
Select the Embed the receipt as an image checkbox if you wish to use an image attachment.
POS Terminal Template - Printing Tab - Email Sub-tab
All the Email related properties are captured in the Email Sub-Tab.
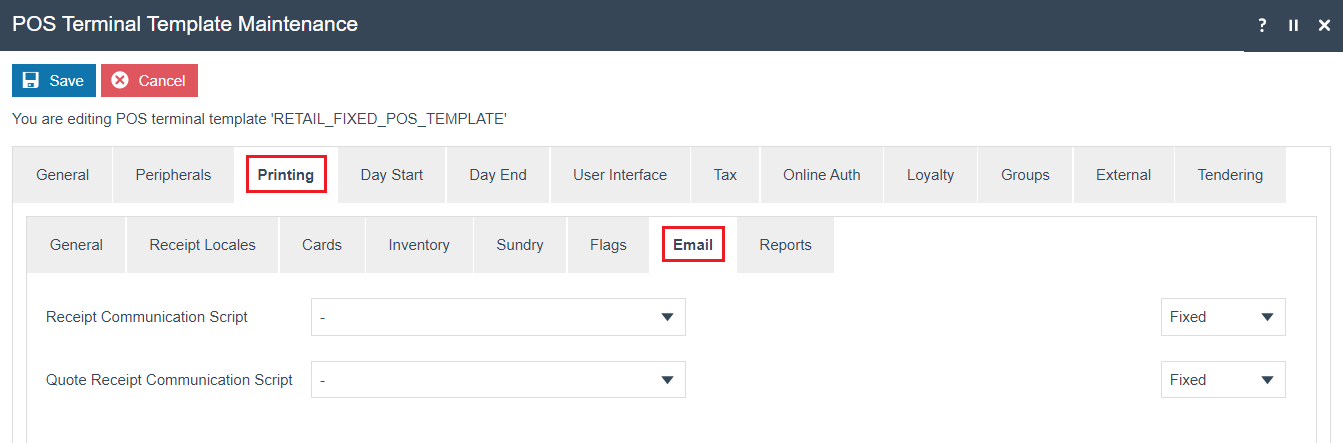
Select the configured communication script for Email Receipts from the drop-down list for Receipt Communication Script.
You do not need to set the Quote receipt setting unless you specifically use quotation functionality.
Save the POS Terminal/POS Terminal Template.
This completes the POS Terminal Configuration.
Broadcasting
To deliver the configuration changes to the POS, broadcast the following entities: Location, User, Communication Script, POS Terminal, POS Terminal Template, Location Email Configuration.
This completes the Broadcasting configuration.
POS Functionality
Complete a normal sale transaction. Following tendering, you should be prompted with an offer to email the receipt:
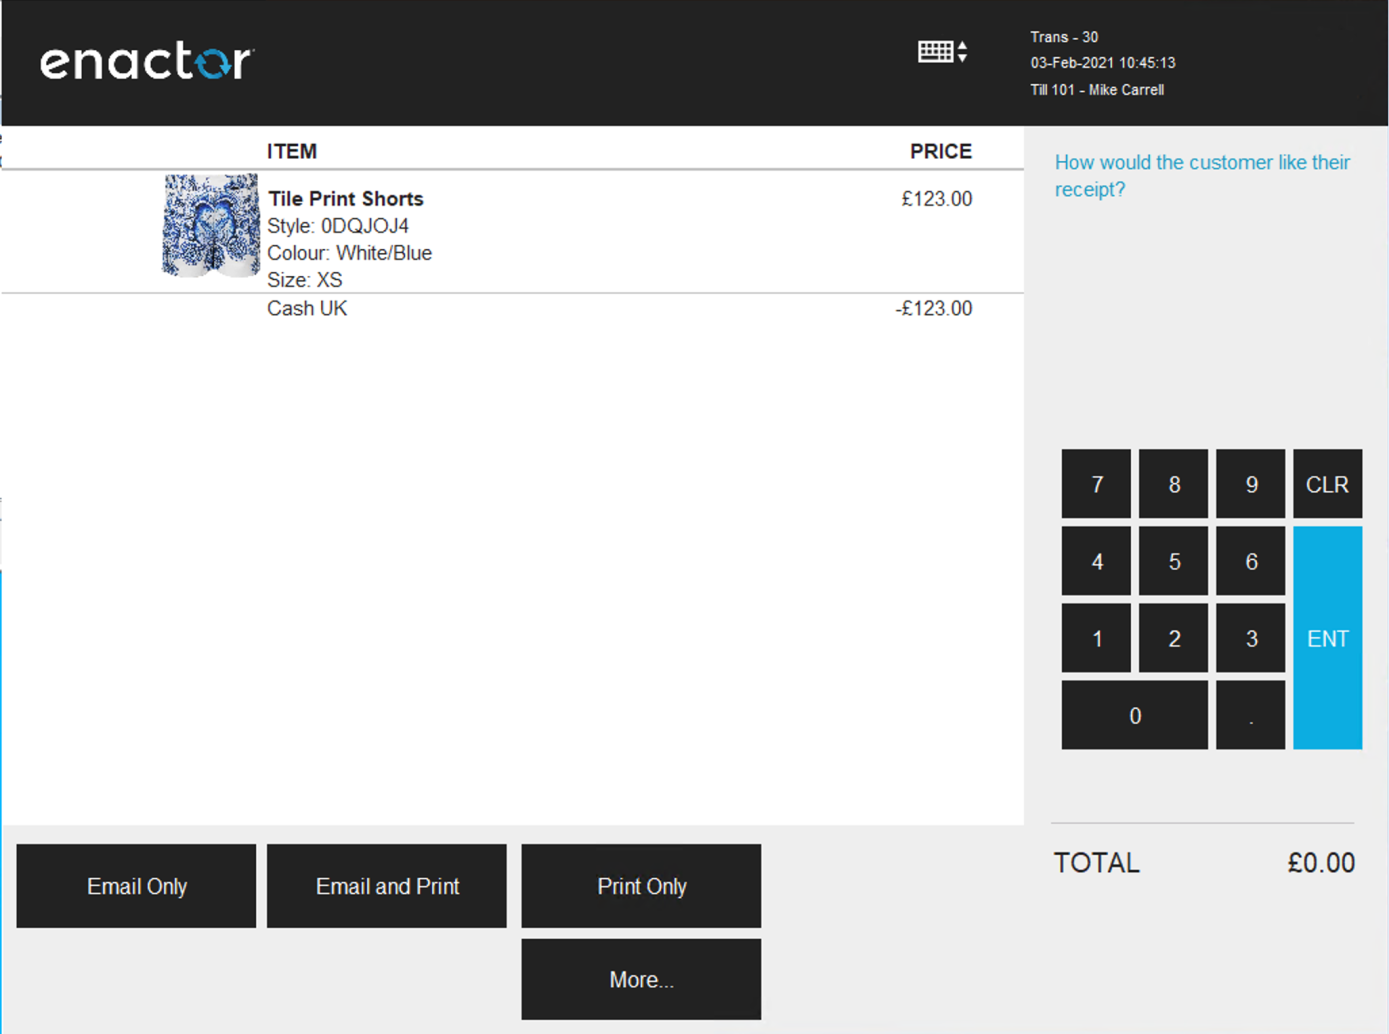
Select Email Only or Email and Print. You will then be prompted to enter the customer's email address. If the customer's email has already been identified (e.g., using Customer loyalty) then this will be pre-populated. If not, enter it manually:

The Marketing prompt may be used for GDPR compliance purposes.
When you have clicked OK, the email receipt service will be called. The Email should be received shortly afterwards:

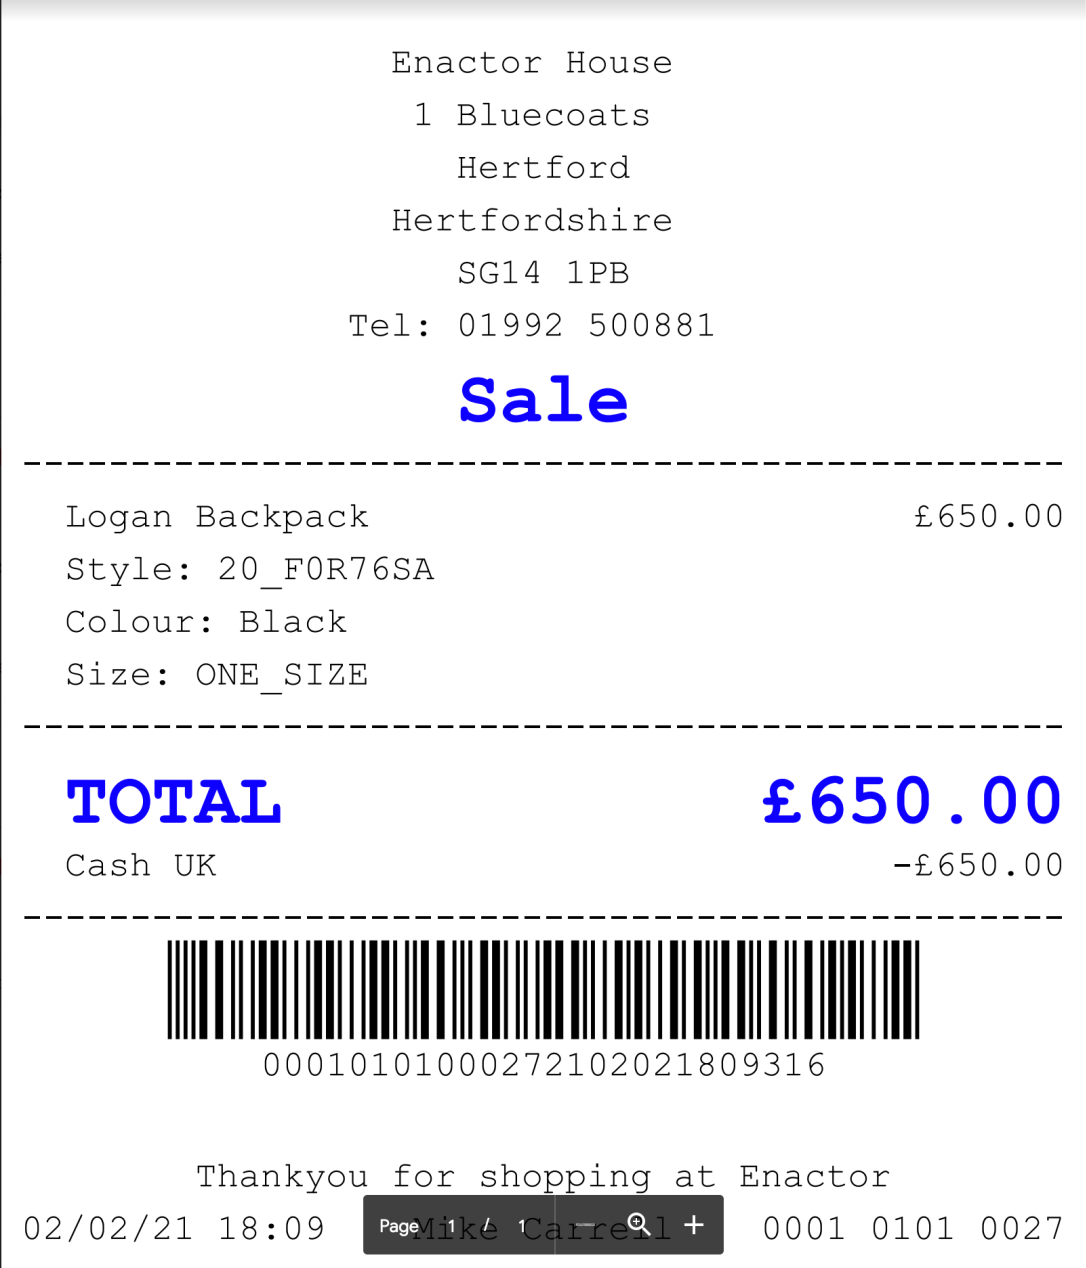
The Receipt is attached as a PDF by default: