How To Configure MBean Alerts
Introduction
This guide covers the JMX Bean Alert trigger added to the existing alert types (Application Process, Application, System Logs) in Enactor Estate Manager. The internal statistics of running services can be obtained through JMX Beans registered in the Application server domain. These JMX Beans can be monitored by configuring alerts using the JMX Beans alert type.
JMX Bean alerts extract a simple condition and evaluate it against a value acquired from JMX. Once the condition is evaluated, the JMX Bean alert triggers if the condition persists for a given time period. The JMX alert also supports alerting when the number of active threads in Tomcat reaches the limit for an extended period.
Similar to the existing alerts, JMX Bean alerts can be configured to send an email (or SMS, Application process, Business process notification) when the condition is met for a given number of times within a defined timeline (Threshold Time).
Overview
The following properties are required to configure MBean Alerts:
- Bean Name - the JMX object name of the bean to monitor
- EL Expression - a condition expression evaluated against bean attributes
Prerequisites
Resources
Before starting, you should have the following resources in place:
- Enactor Estate Manager
- Alert Configuration
- JConsole
- Standard Configuration, including:
- Test JMX Alert config
Prior Training/Experience
You should be familiar with the following:
- Estate Manager configuration
- Enactor configuration concepts, including Locations, Users, Logs
- Monitoring services through JConsole
Configuration Steps
JMX Alerts Prerequisites
MBean Alert inherits the properties of the existing alert trigger with additional fields for:
- Bean Name
- EL Expression
Once an MBean service alert trigger is set, the alert monitoring service searches for the bean name, checks whether the bean status matches the EL Expression, and triggers the alert if the condition is met.
The following initial alert configurations must be completed prior to configuring JMX Bean alerts.
1. Alert user is created and the sender's email address and password is specified
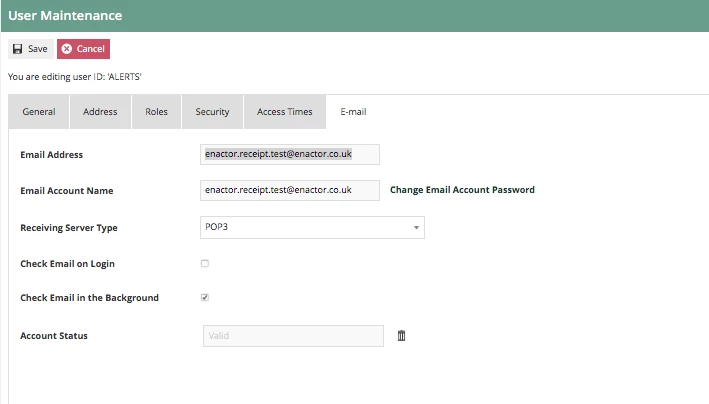
2. Location for email alerts is configured

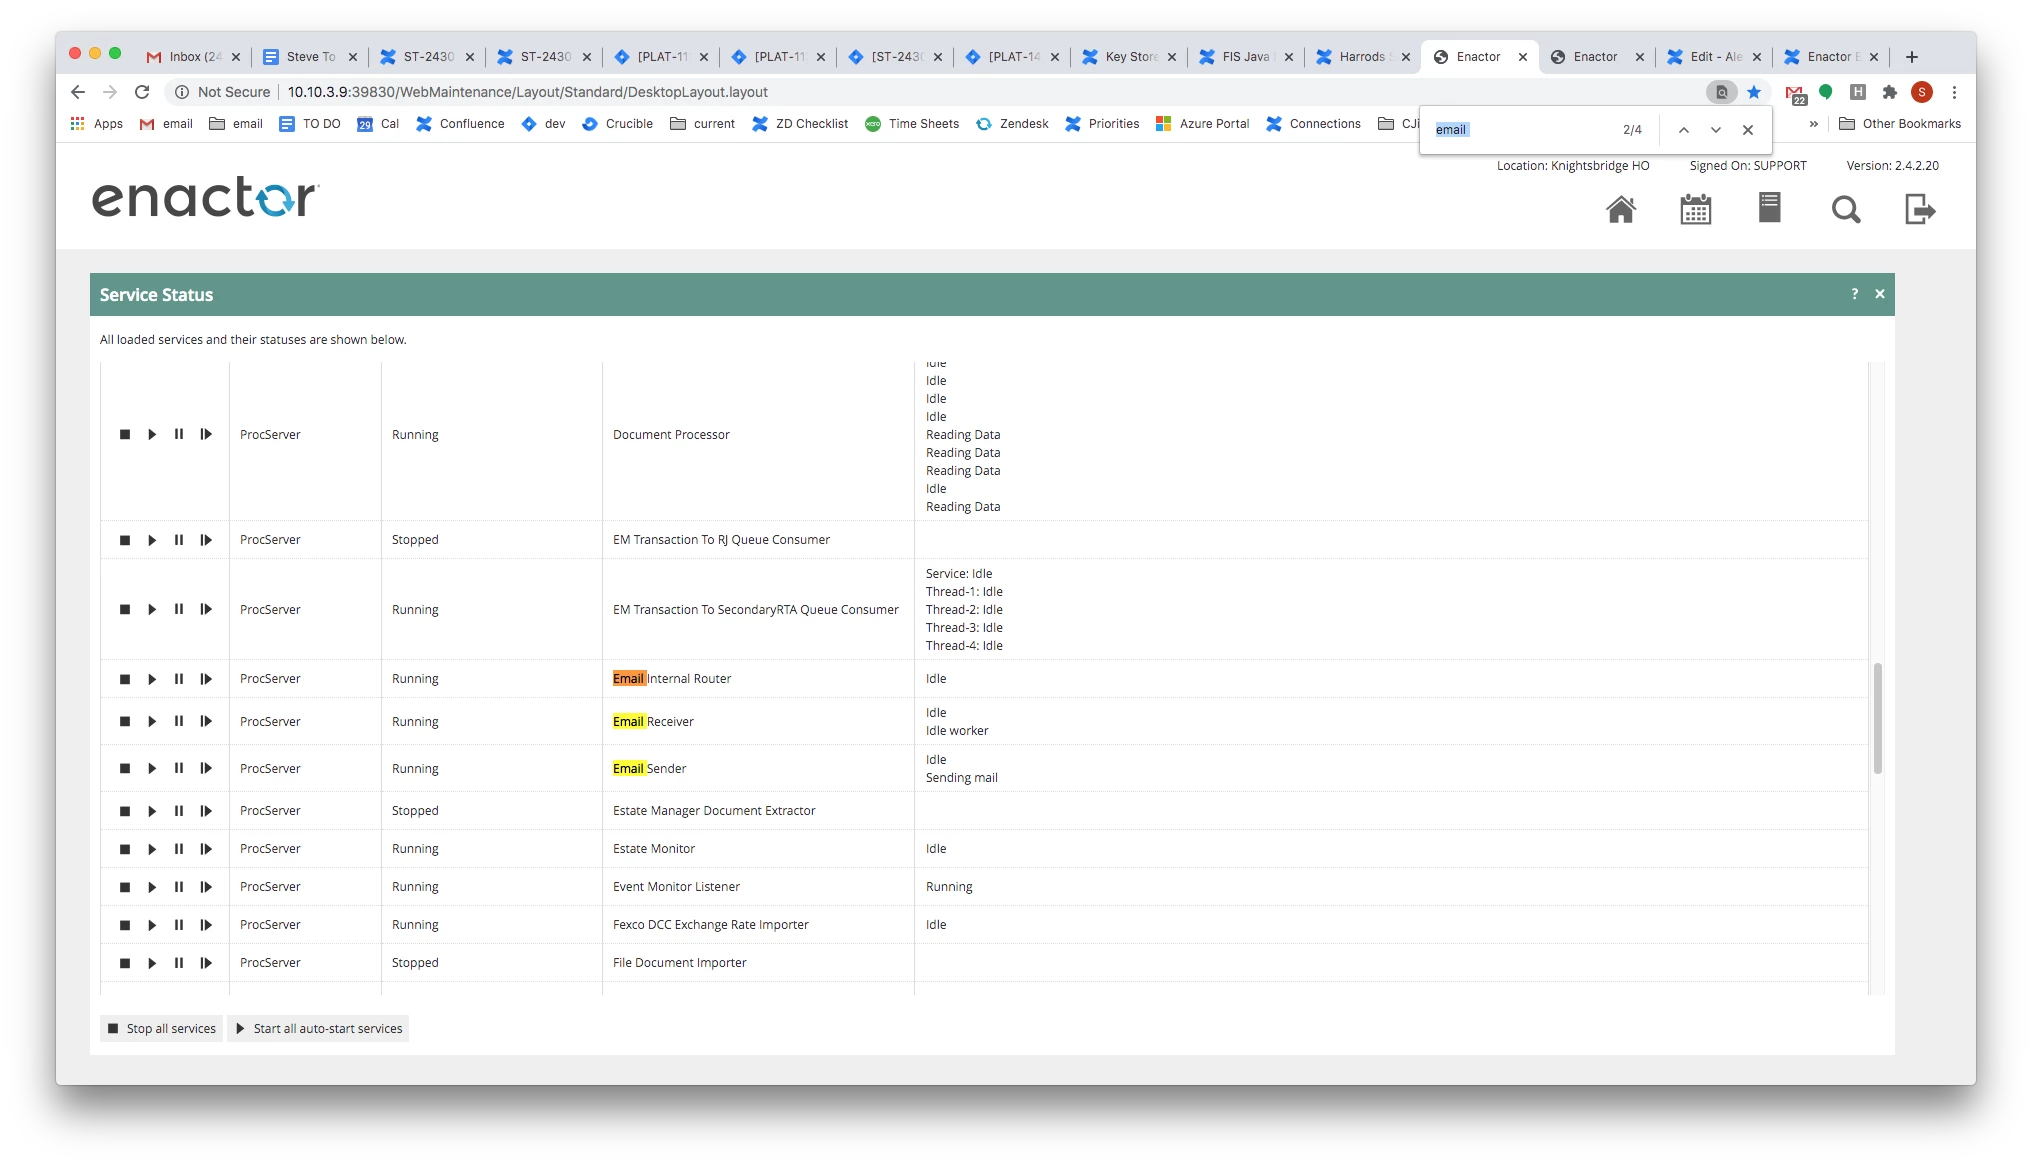
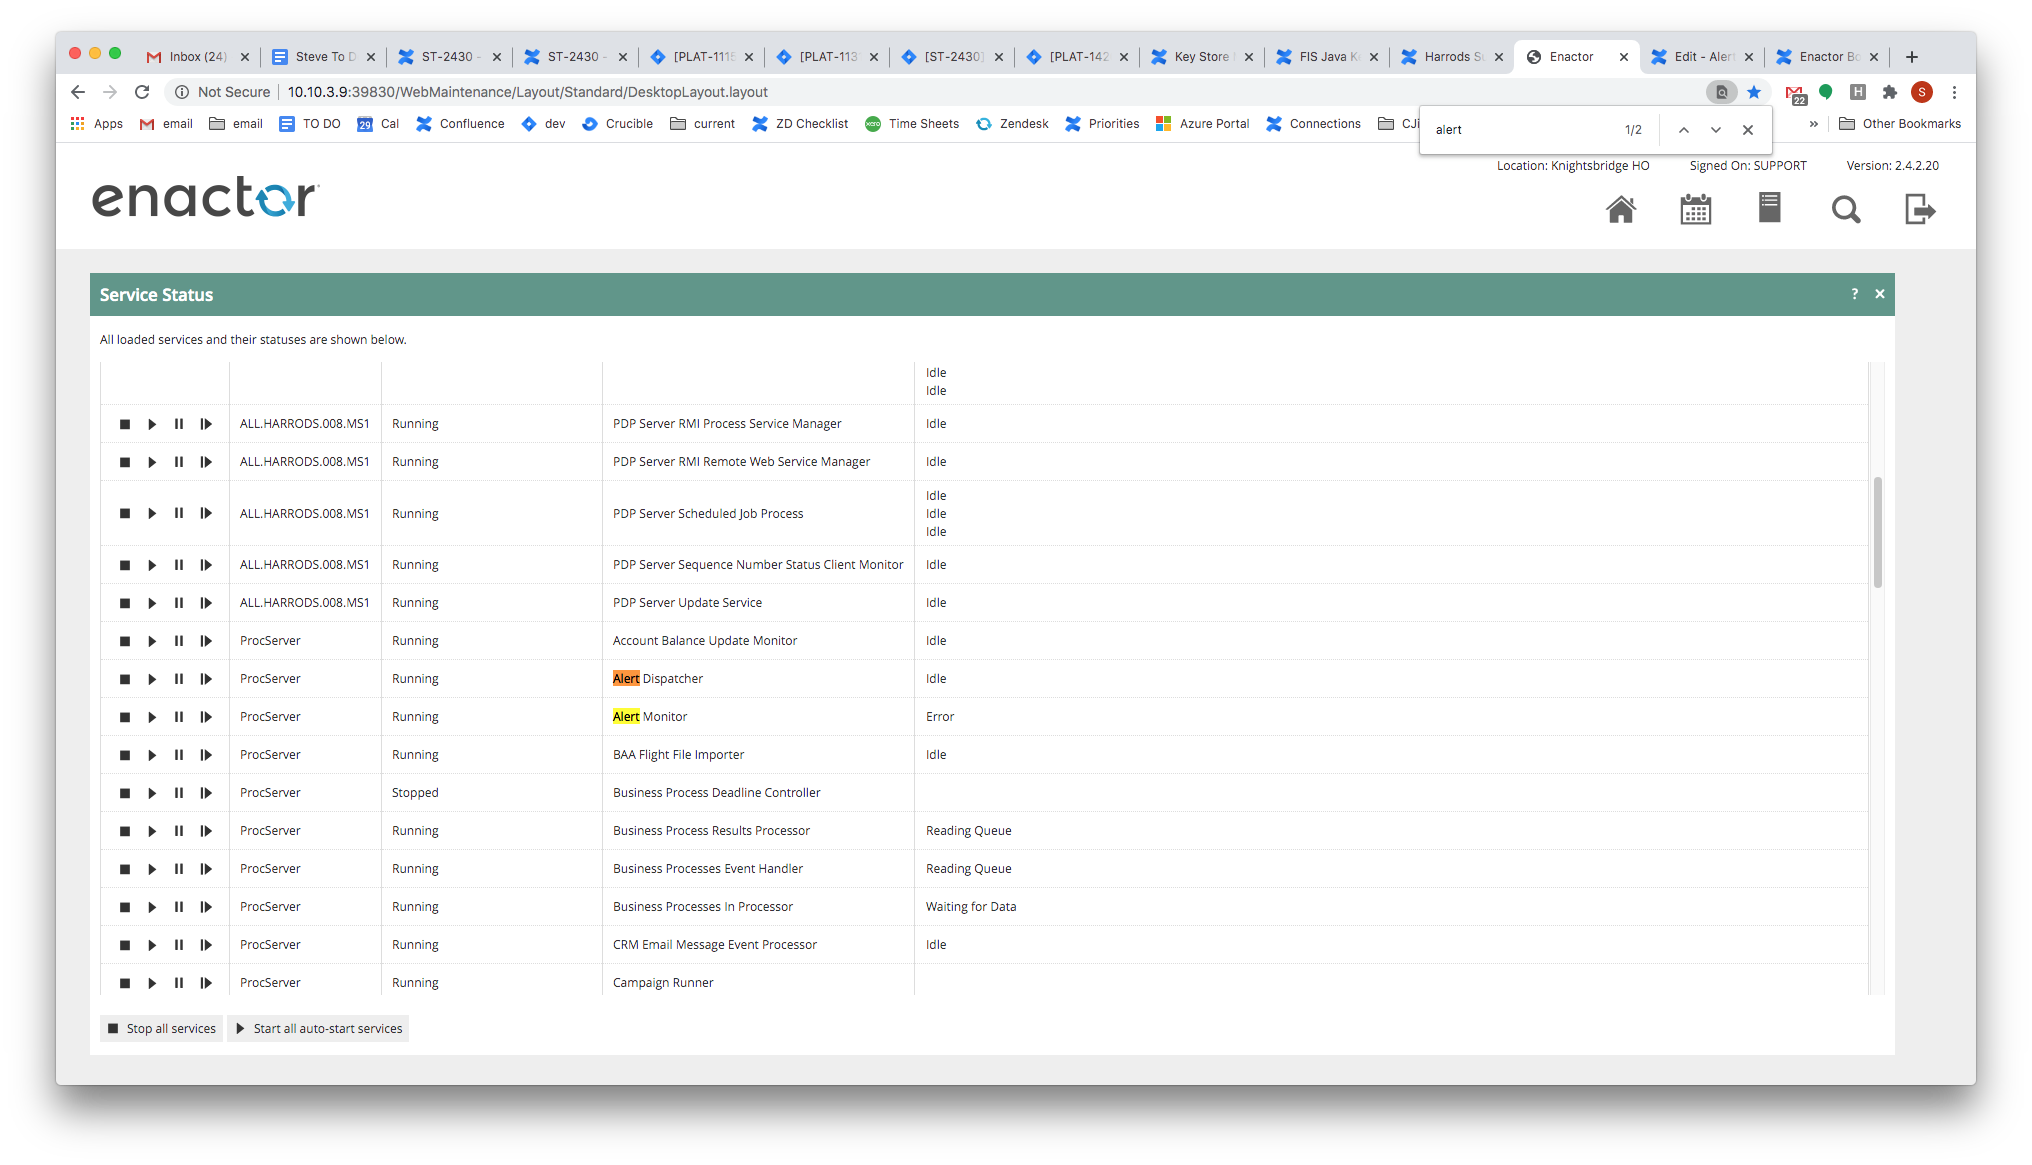
3. Alert and email services are up and running
Creating a New JMX Alert
After the initial alert configurations are complete:
-
Navigate to Alert Type Maintenance and select Create a new alert type.
-
Provide an alert type ID of your choice and select Create.

- Enter a description in the General tab and navigate to Triggers.
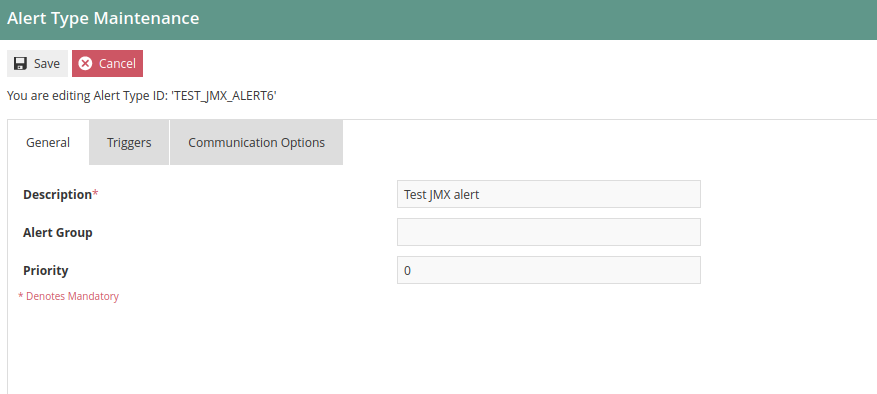
-
Select JMX Bean from the drop-down and add the alert type.
-
Once these steps are complete the JMX Bean Trigger is added as follows.
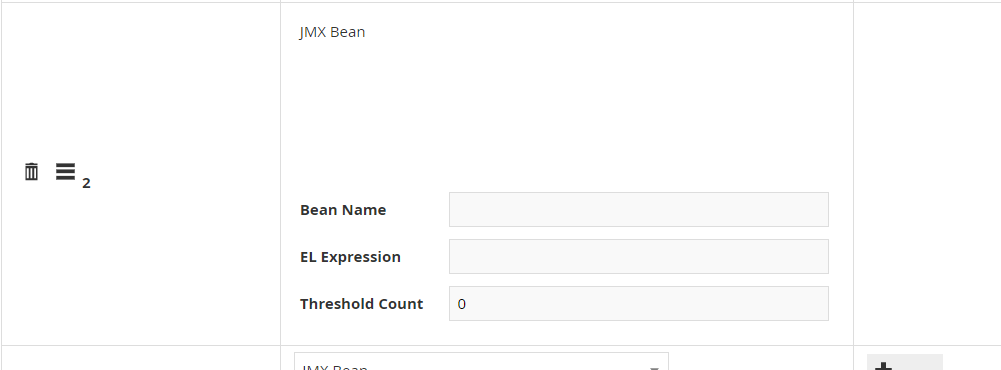
JMX Bean alerts trigger alerts against existing MBeans. The required bean's object name is provided along with an EL Expression as a condition that contains the bean's attributes.
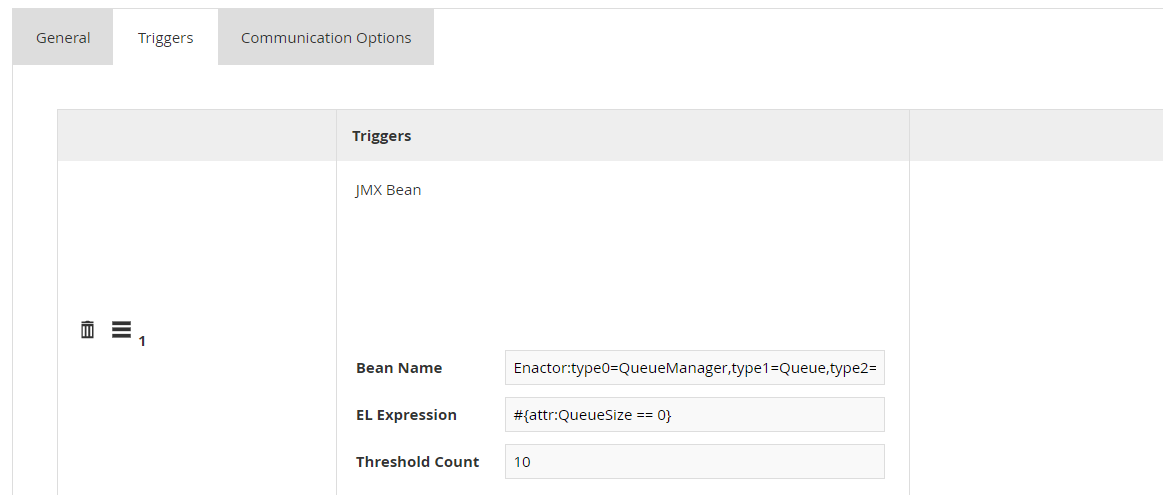
The following shows a JMX Bean alert with alert configurations provided:
Bean Name Setup
The Bean Name that should be provided is the object name of the respective Bean. A sample format of the Bean name is:
Enactor:type0=QueueManager,type1=Queue,type2=ReportDefinitions
The bean name can be found in JConsole under Object name. This name can be inserted as the Bean Name.
The following shows an example of the Object name of a selected Bean along with type information and description:

After inserting the bean name, the condition that needs to be met in order to trigger the JMX Alert should be specified in the EL Expression.
EL Expression Setup
The EL Expression contains the attribute of the specific Bean that requires monitoring. If the EL Expression matches the bean status for the given count of the threshold, the alert monitoring service triggers an alert.
The expression is written as a standard EL Expression. The following components must be present:
- Must always begin with
attr: - Must follow the format:
#{attr:<attribute> <operator> <value>}- Example:
#{attr:maxThreads > 100}
- Example:
- Can contain joint expressions for multiple attributes using
&&- Example:
#{attr:TotalCount > 100 && attr:TotalTime > 80}
- Example:
The attributes of a bean can be found in JConsole when a bean is selected. The attributes required for the expression can be obtained from there.
The following shows an example of an attribute of a specific Bean with descriptions as stated in JConsole:

After this step, a threshold count needs to be specified. Refer to the following documentation for more details about JConsole: https://docs.oracle.com/javase/8/docs/technotes/guides/management/jconsole.html
Threshold Count Setup
For the alert to trigger, the number of times the EL Expression matches must equal the Threshold Count value.
If a user requires an alert after the Bean Name and its EL Expression
condition is satisfied 10 times, the Threshold Count should be set
to 10.
The system checks the condition every 1 minute. Therefore, with a Threshold Count of 10, the alert triggers after approximately 10 minutes.
Sample Test Example
This section demonstrates a simple test to verify the functionality of JMX Bean alerts.
- Import the following configuration using File Import:
retail:alertType
<?xml version="1.0" encoding="UTF-8" standalone="yes"?>
<retail:alertType xmlns:core="http://www.enactor.com/core" xmlns:hta="http://docs.oasis-open.org/ns/bpel4people/ws-humantask/api/200803" xmlns:htd="http://docs.oasis-open.org/ns/bpel4people/ws-humantask/200803" xmlns:htt="http://docs.oasis-open.org/ns/bpel4people/ws-humantask/types/200803" xmlns:ns11="http://www.enactor.com/crm/customerLoyalty/service" xmlns:ns12="http://www.enactor.com/retail/restaurantTableStatus/service" xmlns:ns5="http://www.enactor.com/crm" xmlns:ns6="http://www.enactor.com/retail/storedRetailTransaction/service" xmlns:ns7="http://www.enactor.com/addressLookup/service" xmlns:ns8="http://www.enactor.com/retail/storedRestaurantSaleTransaction/service" xmlns:retail="http://www.enactor.com/retail" xmlns:sref="http://docs.oasis-open.org/wsbpel/2.0/serviceref" xmlns:tools="http://www.enactor.com/tools" xmlns:xsi="http://www.w3.org/2001/XMLSchema-instance">
    <retail:alertGroup></retail:alertGroup>
    <retail:alertTypeId>TEST_JMX_ALERT3</retail:alertTypeId>
    <retail:description>Test JMX alert3</retail:description>
    <retail:communicationOptions>
        <retail:emailAlertCommunicationOption>
            <retail:teamId></retail:teamId>
            <retail:userId></retail:userId>
            <retail:alertCommunicationOptionId>Send an E-mail</retail:alertCommunicationOptionId>
            <retail:deviceTypeId>ESTATE_MANAGER</retail:deviceTypeId>
            <retail:emailAddress>test@enactor.co.uk</retail:emailAddress>
            <retail:batchSize>10</retail:batchSize>
            <retail:emailSubject>sub: Test JMX Thread Monitoring Succeeded</retail:emailSubject>
            <retail:emailMessage>*Test 	3 JMX Thread Alert Succeeded*</retail:emailMessage>
            <retail:batchedEmailSubject></retail:batchedEmailSubject>
            <retail:batchedEmailMessage></retail:batchedEmailMessage>
        </retail:emailAlertCommunicationOption>
    </retail:communicationOptions>
    <retail:triggers>
        <retail:jmxBeanAlertTrigger>
            <retail:alertTriggerId>1</retail:alertTriggerId>
            <retail:runInterval>0</retail:runInterval>
            <retail:thresholdCount>10</retail:thresholdCount>
            <retail:thresholdTime>10</retail:thresholdTime>
            <retail:beanName>Enactor:type0=QueueManager,type1=Queue,type2=ReportDefinitions</retail:beanName>
            <retail:elExpression>#{attr:QueueSize == 0}</retail:elExpression>
        </retail:jmxBeanAlertTrigger>
    </retail:triggers>
    <retail:triggerCounter>1</retail:triggerCounter>
    <retail:lastUpdated>2020-12-03T20:41:50.030+05:30</retail:lastUpdated>
    <retail:priority>0</retail:priority>
</retail:alertType>
-
Go to Alert Types and edit the entry with ID
TEST_JMX_ALERT3. -
Go to the Communication Options tab and edit the entry.
-
Update the Email Address to the address you want the test email sent to.
-
Select Save.
-
Select Save again to save the alert type.
-
To reload this configuration, navigate to Service Status and select the Stop button followed by the Start button on both of the following services:

-
Go to Alert Maintenance. The alert will be created after approximately 10 minutes.
-
An email will be sent to the configured email address.