How To Configure Mobile Client Application on iOS
Introduction
Client Configuration Sets contain device-specific configuration data, such as identity information, that is required by some device types at install time. For most devices, such as Fixed POS, this data is installed to the device during the initial setup process.
However, some devices, such as Mobile POS, require a more convenient and reliable method. The preferred approach is for the device to connect to a web service and download its configuration directly from the central configuration repository at install time. By entering a Registration Serial Number obtained against a device, a Mobile POS is enabled to access the service, identify itself, and receive the device-specific configuration download stored in the Client Configuration Set.
The Client Configuration Set identifies a specific Operating System, Device Type, and an Option Set. Option Sets are configuration entities used to define extension properties of an entity.
The purpose of this guide is to demonstrate the steps required to configure a Mobile Client Application on iOS, from creating option sets through to first app startup.
Overview
This guide covers the configuration for the following:
- Attribute / Option Sets - Maintain the available settings used to configure the mobile POS devices.
- Client Configuration Sets - Set device-specific configurations including OS, device type, and property values.
- Devices - Map devices to the appropriate client configuration set and generate a registration serial number.
- Mobile POS App Functionality - Start the app on the mobile device and register using the serial number.
Prior Training / Experience
You should be familiar with the following:
- Estate Manager Configuration
- Data Broadcasting
Configuration Steps
Attribute / Option Set
Option Sets are used to create user-configurable data entry fields. The purpose and function of the option set is defined by the Option Set Type. Example Client Configuration sets for iOS devices are already provided. These can be maintained and added as required. The configured options provide the properties required for the mobile device (iOS) when installing a new device.
Navigate to the Product Attribute / Option Set Maintenance application:
Configuration > Merchandise > Attribute / Option Sets
The following example uses the IOS_POS_CONFIG_OPTIONS option set.
Select Edit on the IOS POS Config Options entry.
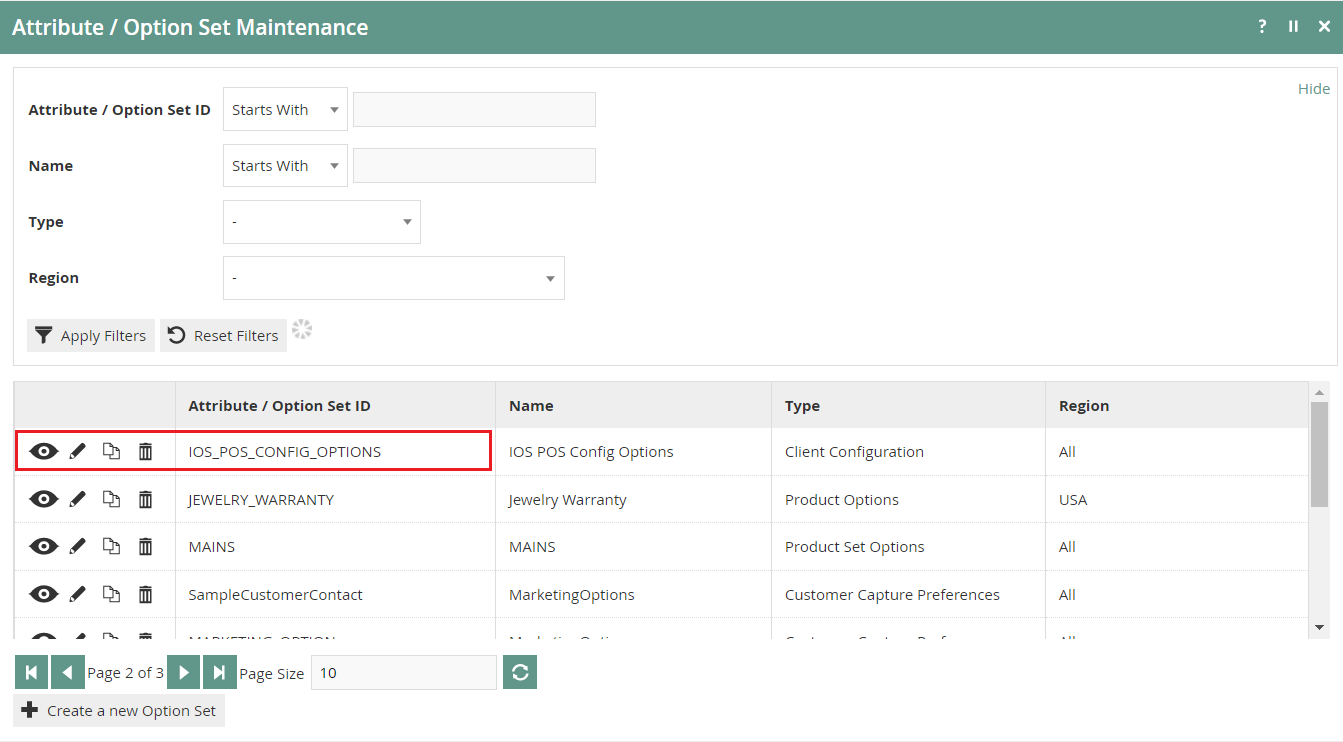
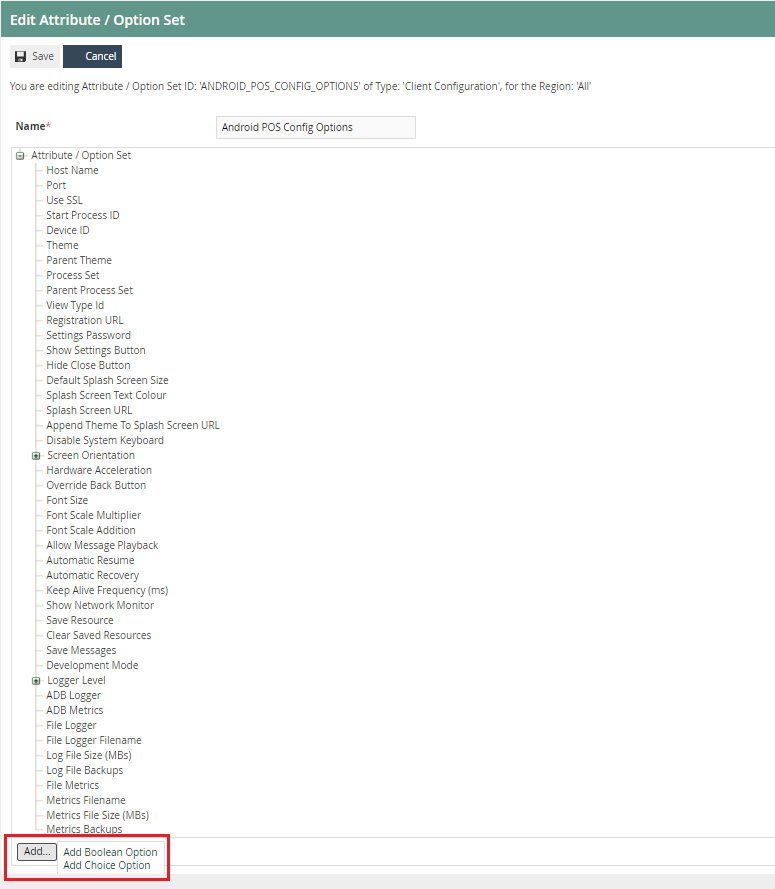
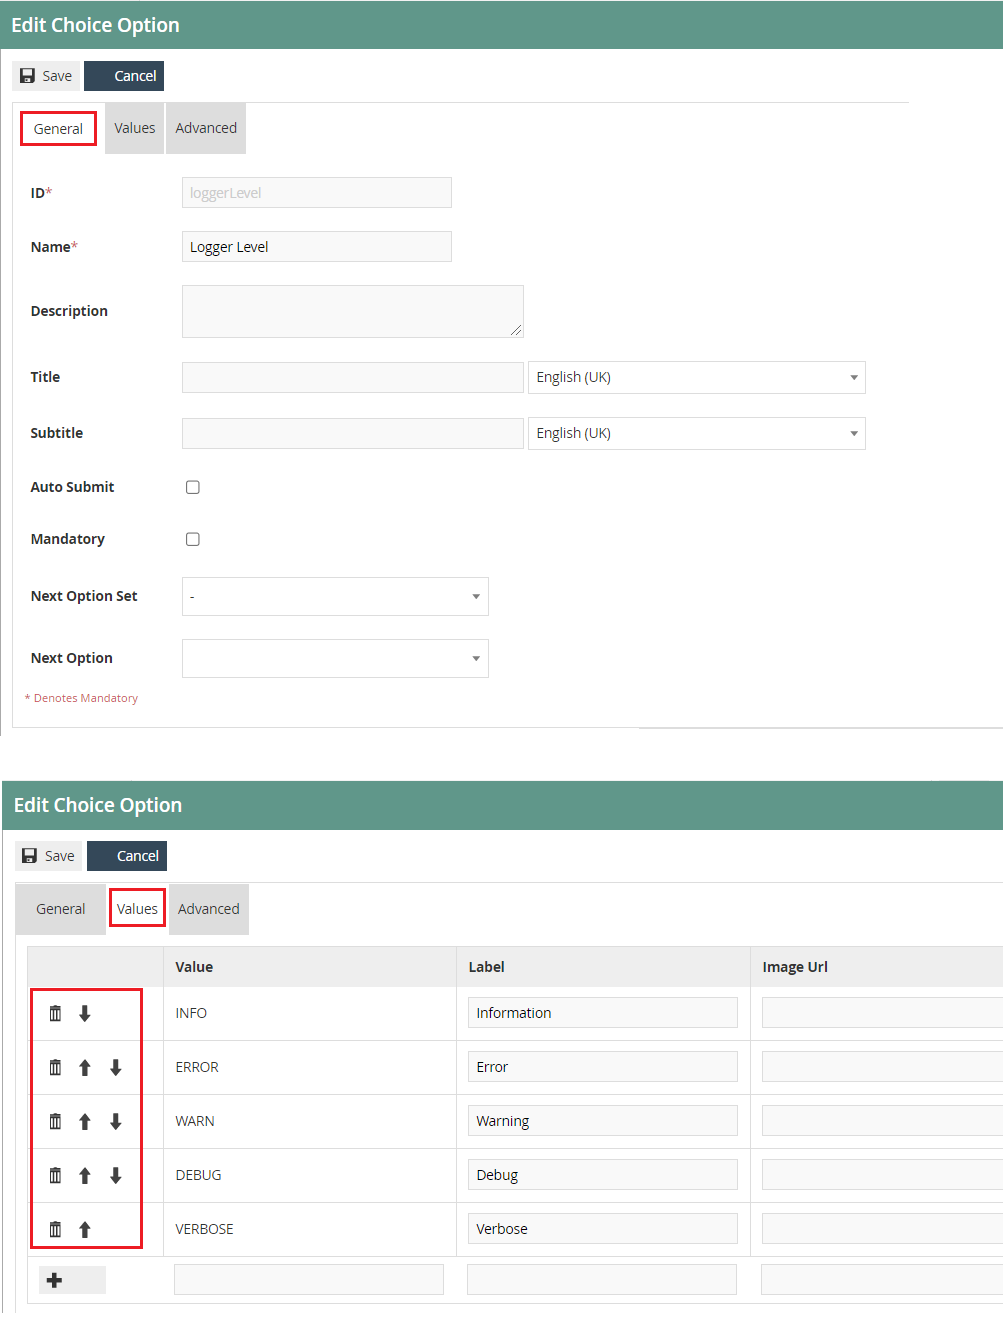
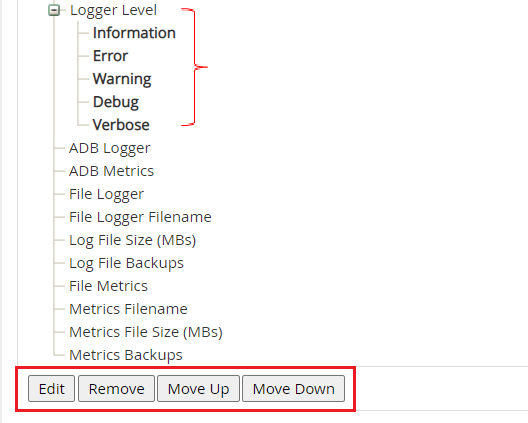
Data types can be added as Boolean checkboxes, String drop-down, text, or numeric fields.
Properties are added to the ordered list and are available for individual selection. Properties with associated value sets are shown with a +/- expand or collapse option to show or hide the values. While the Option Set is selected, further properties may be added. When individual properties are selected, options are available to Edit, Remove, or Change the position of the property in the list.
Client Configuration Set
The Client Configuration Set identifies a specific Operating System, Device Type, and an Option Set. Create a new client configuration using the Client Configuration Option Set created above.
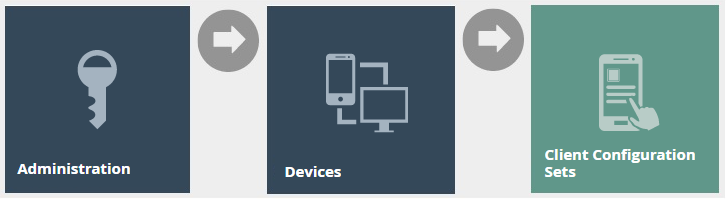
Navigate to the Client Configuration Set Maintenance application:
Administration > Devices > Client Configuration Sets
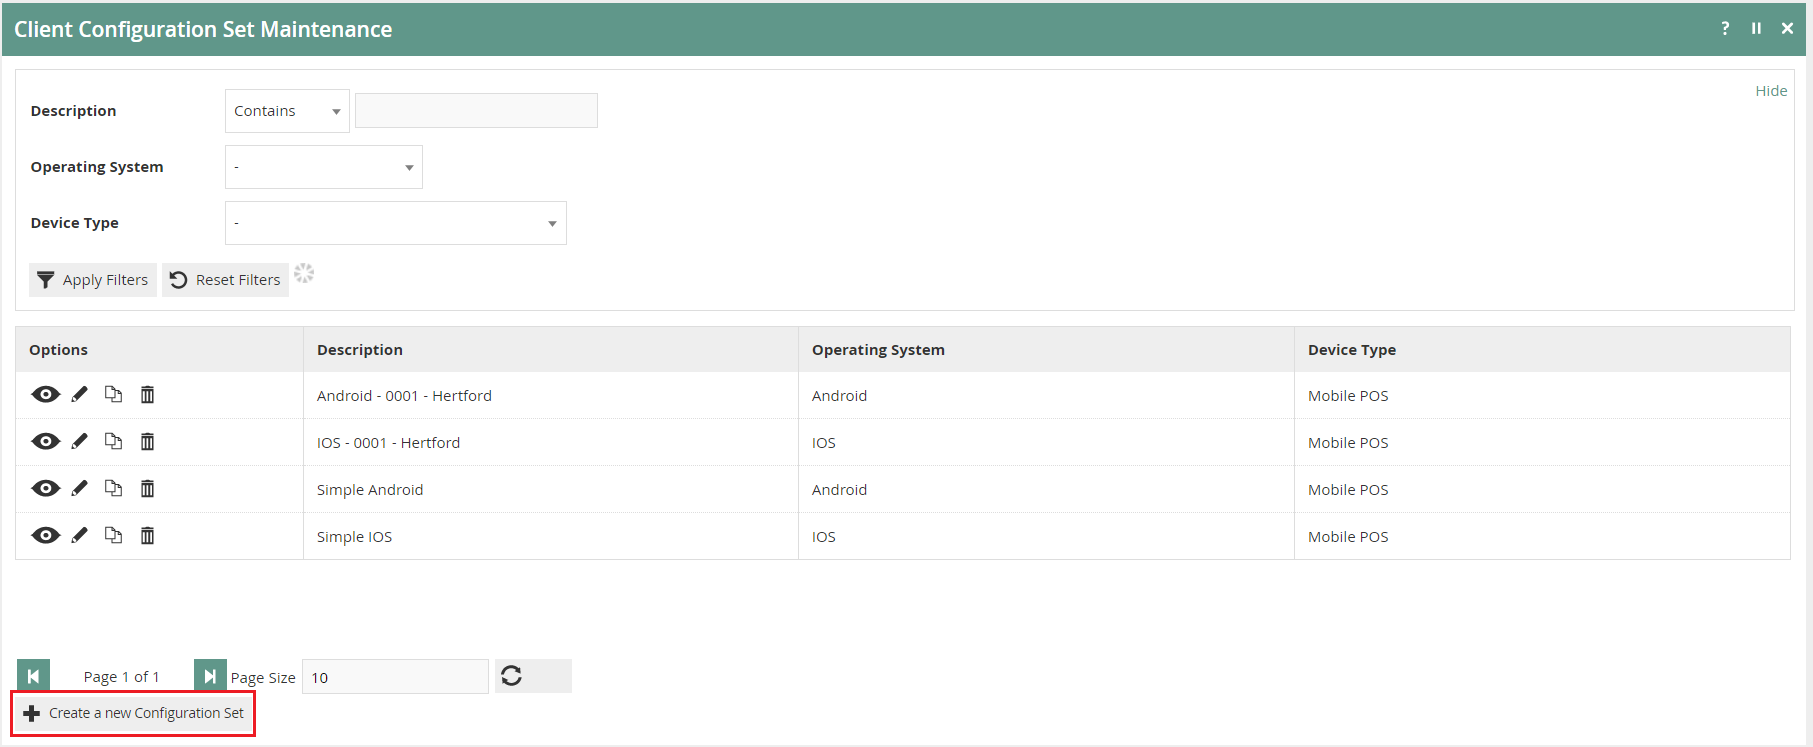
To create a new Client Configuration Set, select Create a new Configuration Set on the Client Configuration Set Maintenance page.
Client Configuration Set - General Tab
The General tab captures the basic identity information for the Client Configuration Set.

Set the appropriate values on the General tab as follows:
| Configuration | Description |
|---|---|
| Description | Enter a user-friendly identifier for the Client Configuration Set. Alphanumeric, maximum 40 characters. You may enter the store ID for easy identification. |
| Operating System | Select iOS from the dropdown list of configured operating systems. |
| Device Type | Select Mobile POS from the dropdown list of configured device types. |
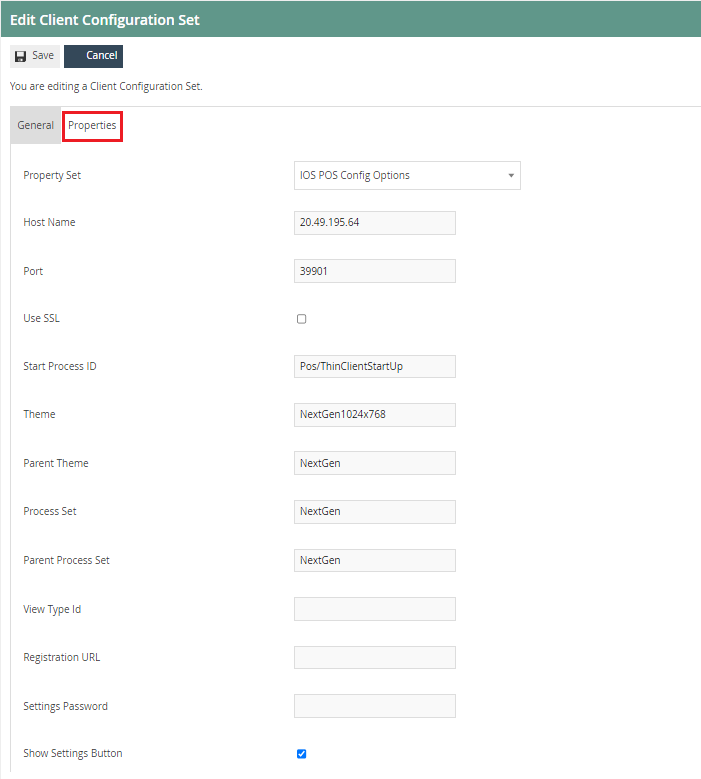
Client Configuration Set - Properties Tab
The Properties tab captures all properties of the Client Configuration Set as defined in the Property Set in Attribute / Option Set maintenance.
Set the appropriate values on the Properties tab as follows:
Common Settings
Properties listed under common settings are the mandatory properties that must be set by the user.
Server Connection Properties
| Entry | Example Value | Description |
|---|---|---|
| Property Set | IOS POS Config Options | Select the desired Property Set from the dropdown list of predefined Option Sets. |
| Host Name | 20.49.195.64 | Enter the hostname or IP address of the PDP server the client will connect to. |
| Port | 39901 | Enter the port of the PDP server the client will connect to. |
| Use SSL | Tick to indicate the device should use SSL when connecting. | |
| Start Process ID | Pos/ThinClientStartUp | Identifies the Application Process that will implement data exports using this export type. |
| Theme | NextGen1024x768 | Set the POS application view theme from the available options: Standard, Next Gen, or Gold. |
| Parent Theme | NextGen | Set the parent theme in line with the Theme, Process Set, and Parent Process Set. |
| Process Set | NextGen | Set the process set in line with the Theme, Parent Theme, and Parent Process Set. |
| Parent Process Set | NextGen | Set the parent process set in line with the Theme, Process Set, and Parent Theme. |
| View Type ID | HTMLPosPDP | This is applicable only for users of HTML (React) POS. |
User Interface Properties
| Entry | Description |
|---|---|
| Disable System Keyboard | Tick to disable the system keyboard. This is mostly applicable for HTML (React) POS users to avoid overlapping of physical and system keyboards. |
| Screen Orientation | Select the desired screen orientation from the dropdown list: Portrait, Landscape, Reverse Portrait, Reverse Landscape, Sensor Portrait, or Sensor Landscape. |
Additional Settings
Additional settings may be applied as required.
Registration Properties
| Entry | Description |
|---|---|
| Registration URL | Enter the registration URL the client will use to get configuration data. |
Security Properties
| Entry | Description |
|---|---|
| Settings Password | Set a password required to access the settings of the application. |
| Show Settings Button | Tick to make the Settings button visible in the reconnection dialog. |
| Hide Close Button | Tick to hide the Close button in the reconnection dialog. |
User Interface Properties
| Entry | Description |
|---|---|
| Default Splash Screen Size | Set a numeric value to define the default splash screen size. |
| Splash Screen Text Colour | Set a value to define the splash screen text colour. |
| Splash Screen URL | Enter a URL for a background image to appear on the splash screen. If entered, the splash screen background will display the image from the provided URL. |
| Append Theme To Splash Screen URL | Tick if the background image should be appended to the theme. |
| Hardware Acceleration | Tick to enhance hardware performance when using the app. |
| Override Back Button | Tick to enable back button override. |
| Font Size | Enter a numeric value to define the font size. |
| Font Scale Multiplier | Enter a numeric value to define the font scale multiplier. |
| Font Scale Addition | Enter a numeric value to define the font scale addition. |
| Allow Message Playback | Tick to enable message playback. |
Network Properties
| Entry | Description |
|---|---|
| Automatic Resume | Tick to enable automatic resume. |
| Automatic Recovery | Tick to enable automatic recovery. |
| Keep Alive Frequency (ms) | Enter a numeric value to define the number of milliseconds between keep-alive messages. If set to zero, keep-alive will be disabled. |
| Show Network Monitor | Tick to make the network monitor visible. |
Caching Properties
| Entry | Description |
|---|---|
| Save Resource | Tick to save resources in the Document directory. |
| Clear Saved Resources | Tick to delete saved resources in the Document directory every time the app restarts. |
Developer Options
| Entry | Description |
|---|---|
| Save Messages | Tick to save messages into local storage. |
| Development Mode | Tick to run the application in development mode. |
| Sound Enable | Tick to enable button click sounds. |
Select Save.
This completes the Client Configuration Set configuration.
Devices
Devices, each with a unique Device ID, are differentiated functionally by the software services offered based on Device Type, and individually by the specific instance (Device ID) executing on a given host name. Each device is defined in association with a Device Type and a specific Client Configuration Set.
Navigate to the Device Maintenance application:
Administration > Devices > Devices

Using the search filter options, select the Location and set Type to Mobile POS.
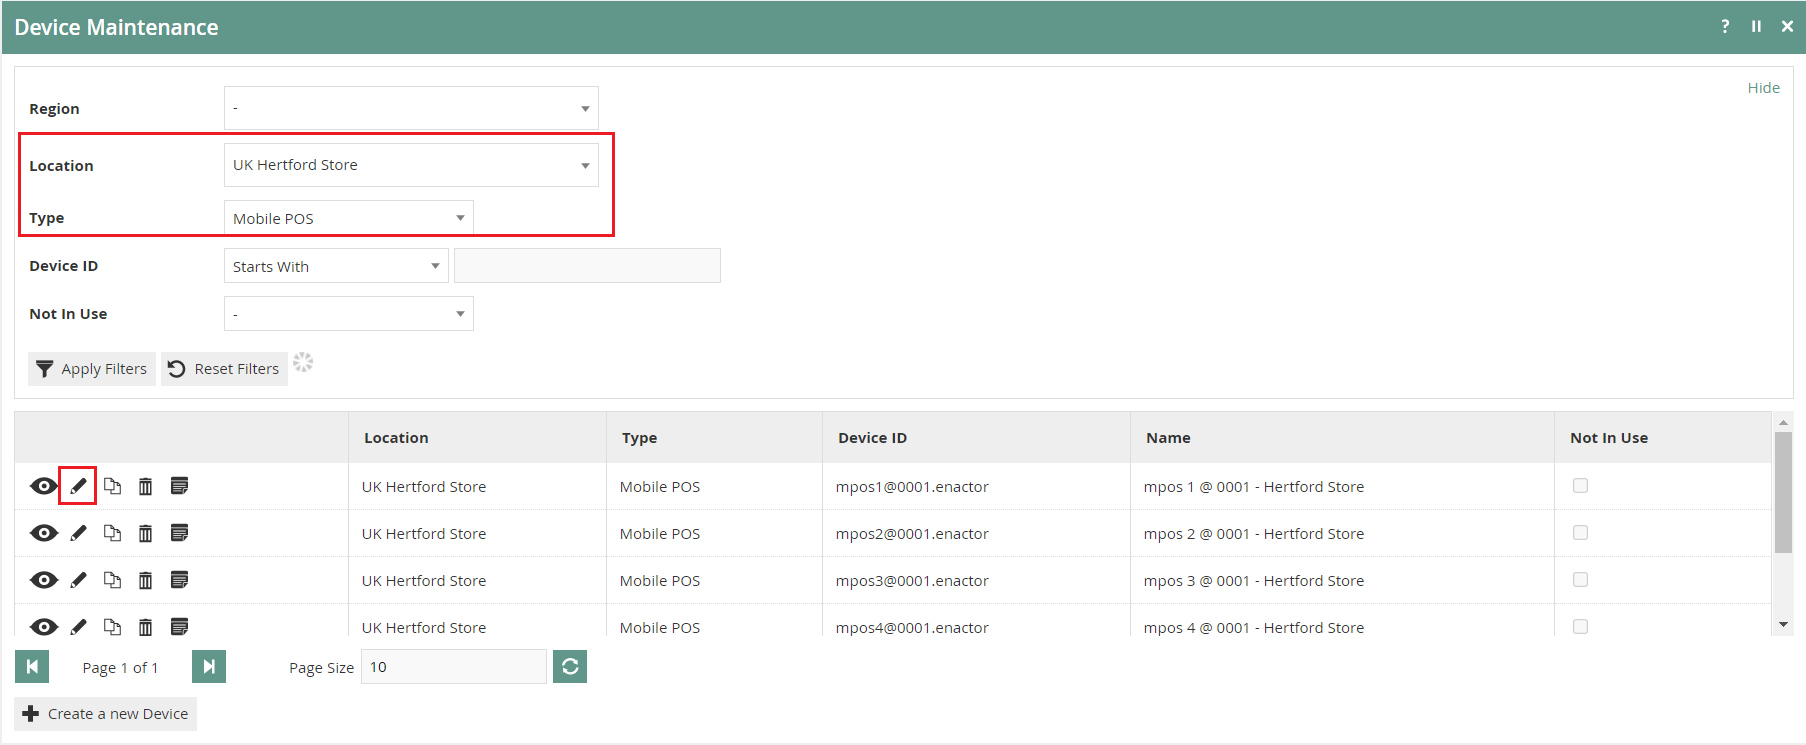
Select Edit on the Mobile POS device to which you need to add the registration.

Set the appropriate values on the Registration tab as follows:
| Entry | Example Value | Description |
|---|---|---|
| Configuration Set | IOS - 0001 - Hertford | Select the store configuration set from the dropdown list. This should match the location associated with the device. |
| Download Host Name | 20.49.195.54 | Enter the host address for the Retail EM services server. |
| Download Port | 39833 | Enter the download port for the Retail EM services server. |
| Registration Serial Number | Generate a registration serial number to configure the app on the mobile device. | |
| Expiry Date | Set an expiry date for the registration serial number. |
Select Save.
This completes the Device registration configuration.
Mobile POS App Functionality
On first-time startup, the mobile app will prompt you to select how you would like to configure the application.
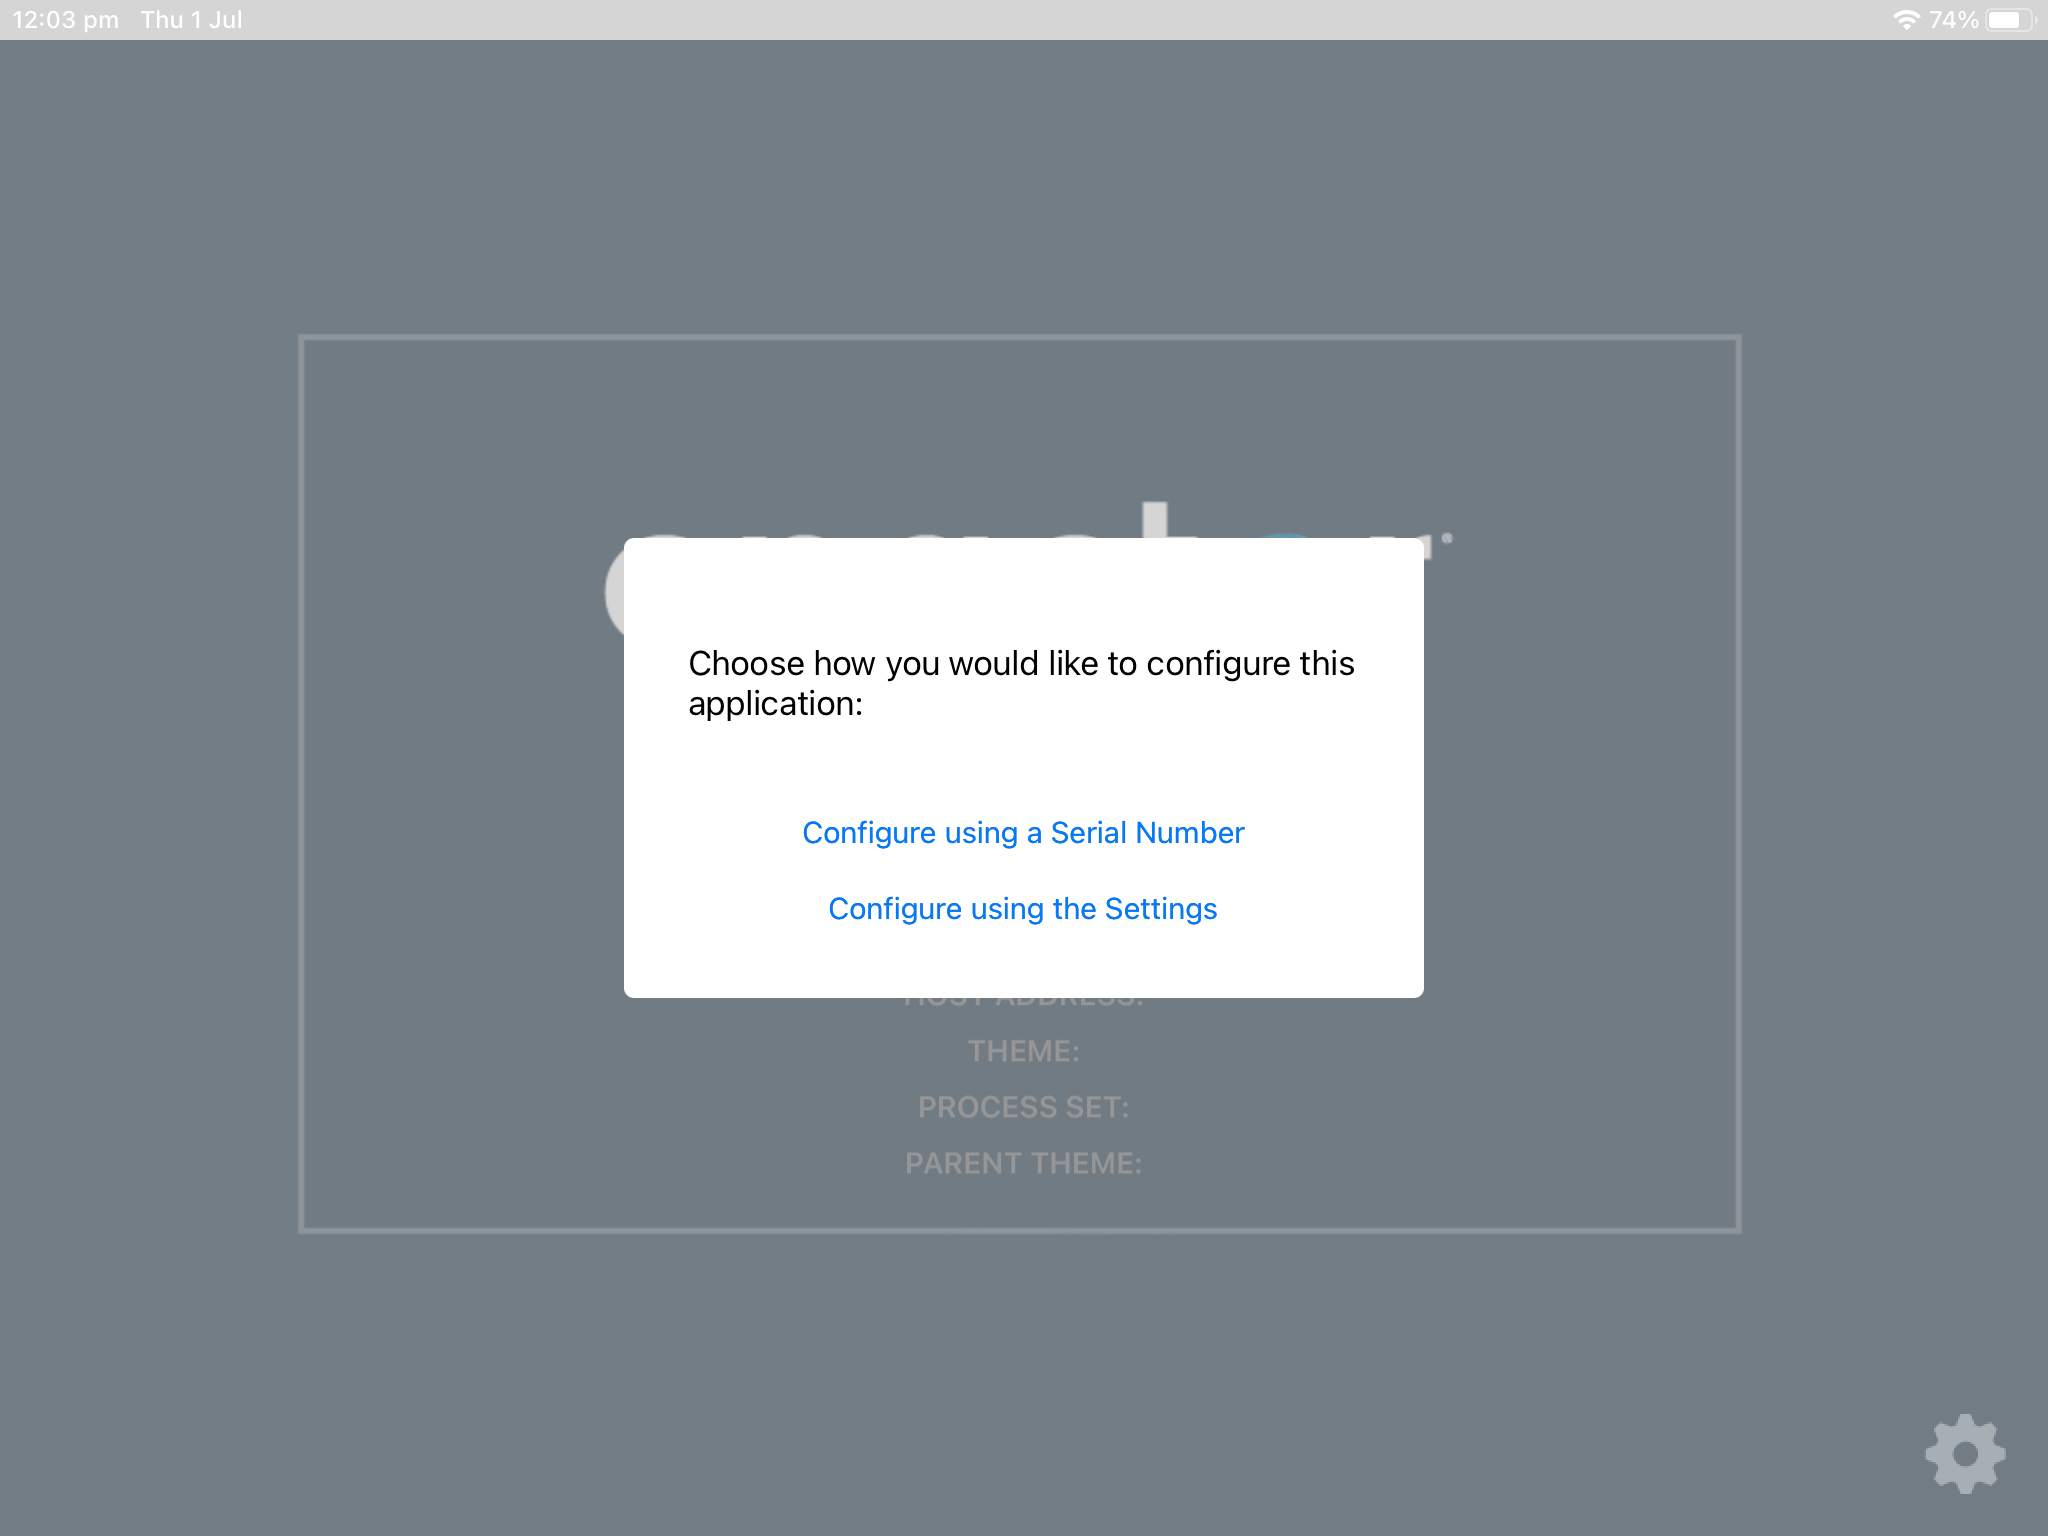
Select Configure using a Serial Number and enter the serial number generated in the Device Registration step.
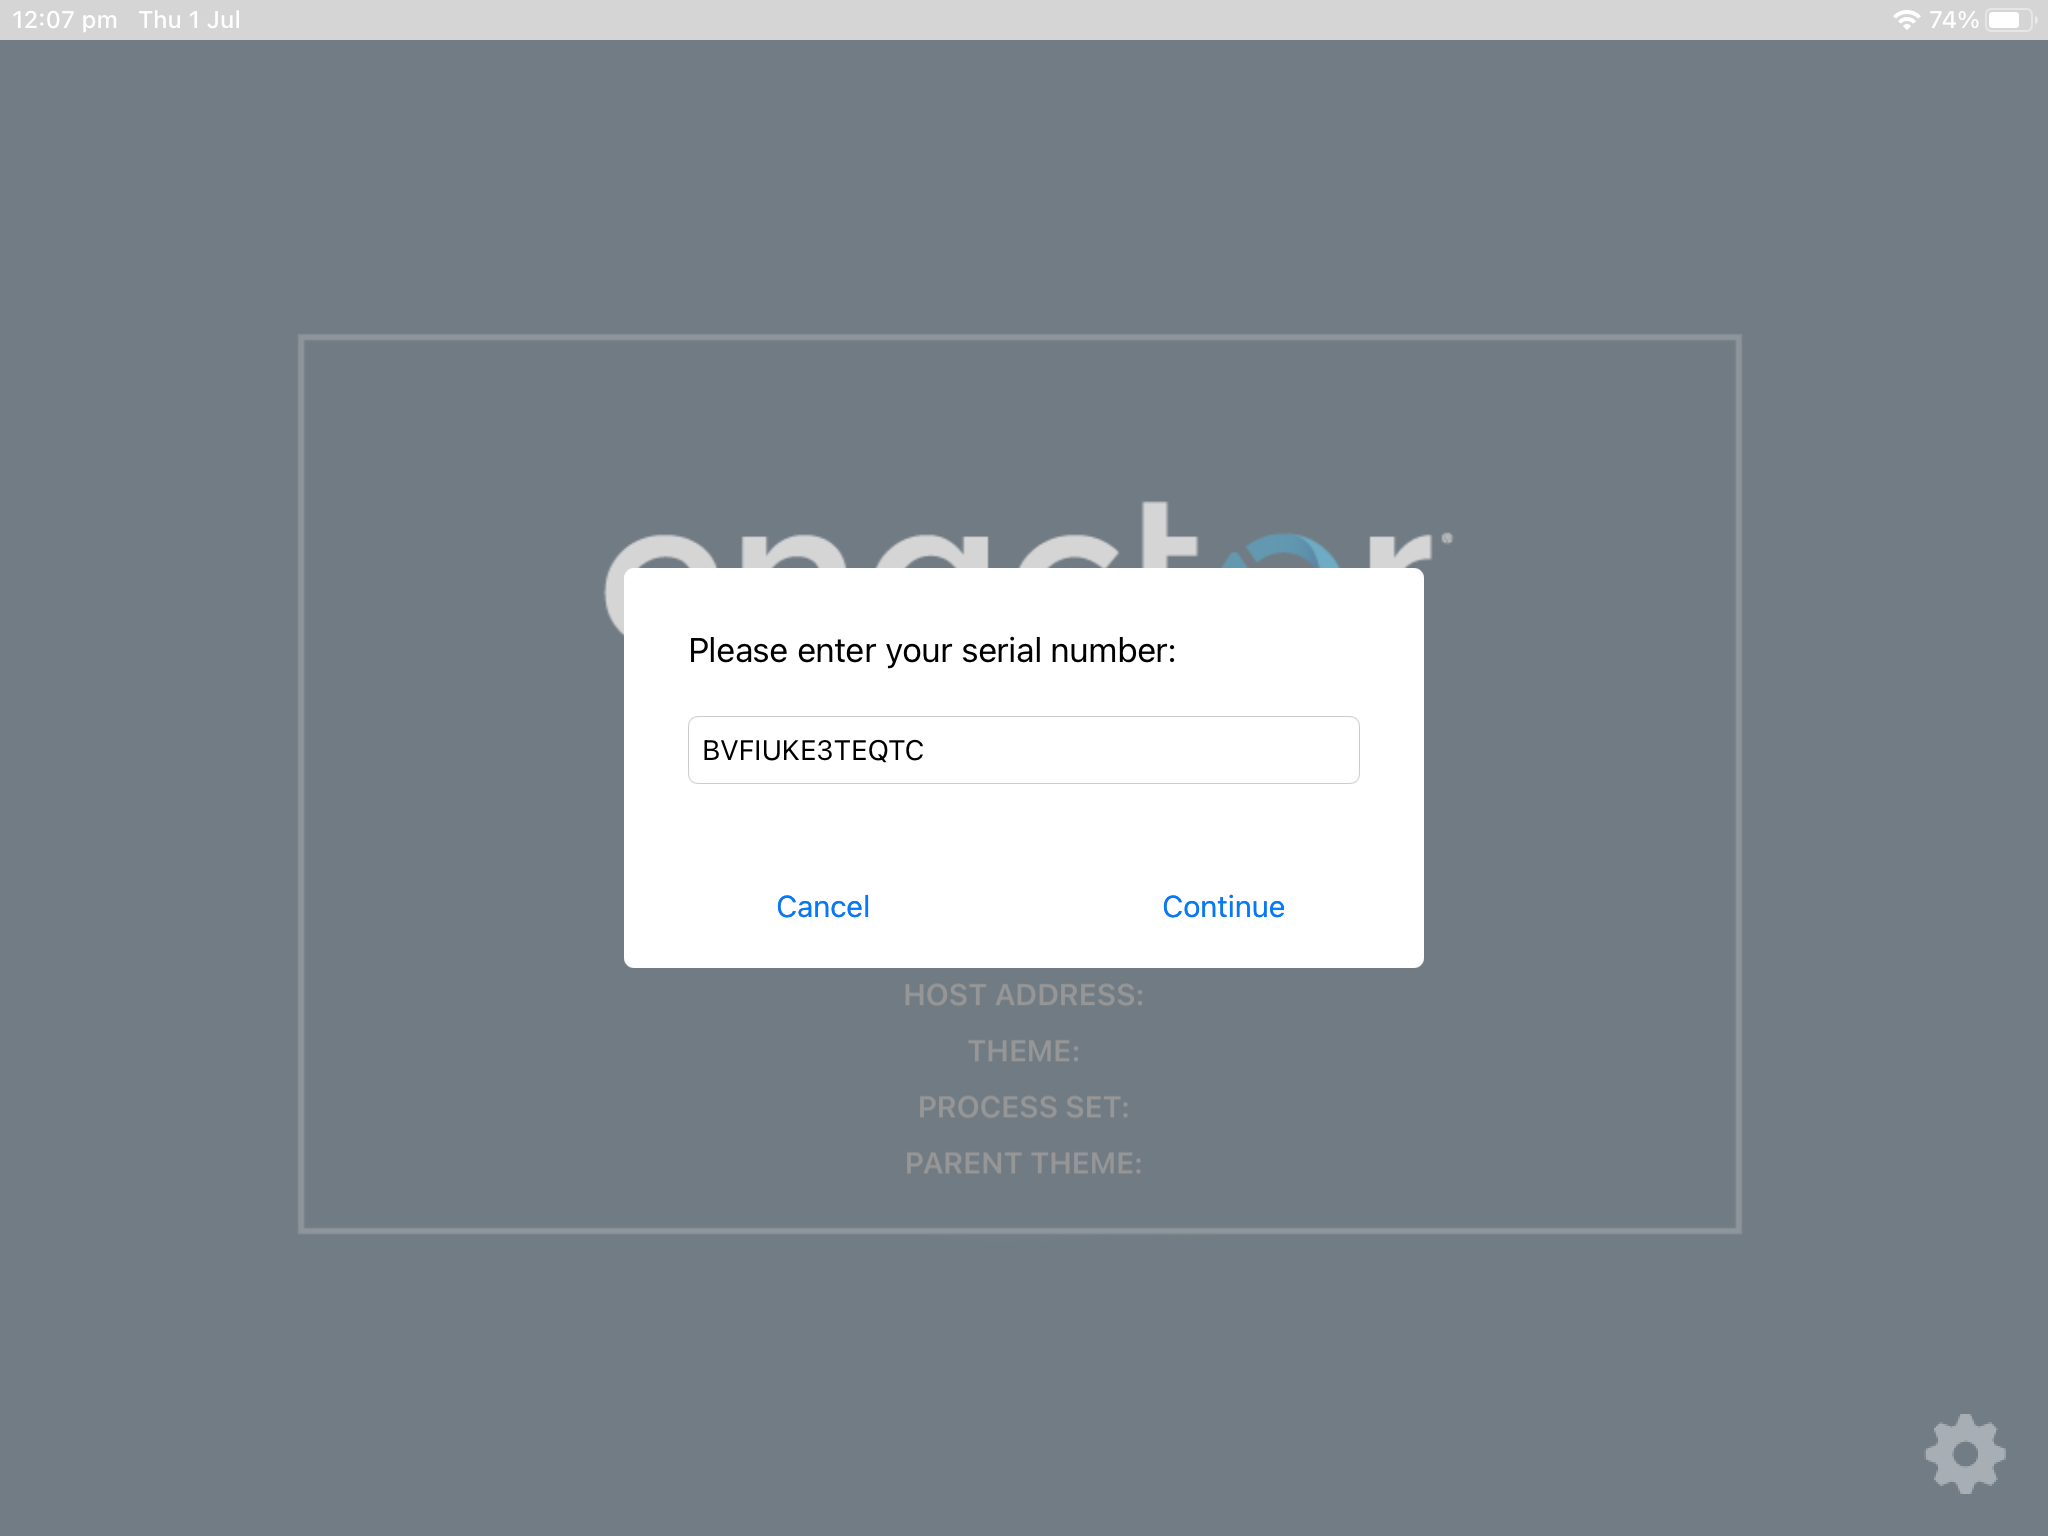
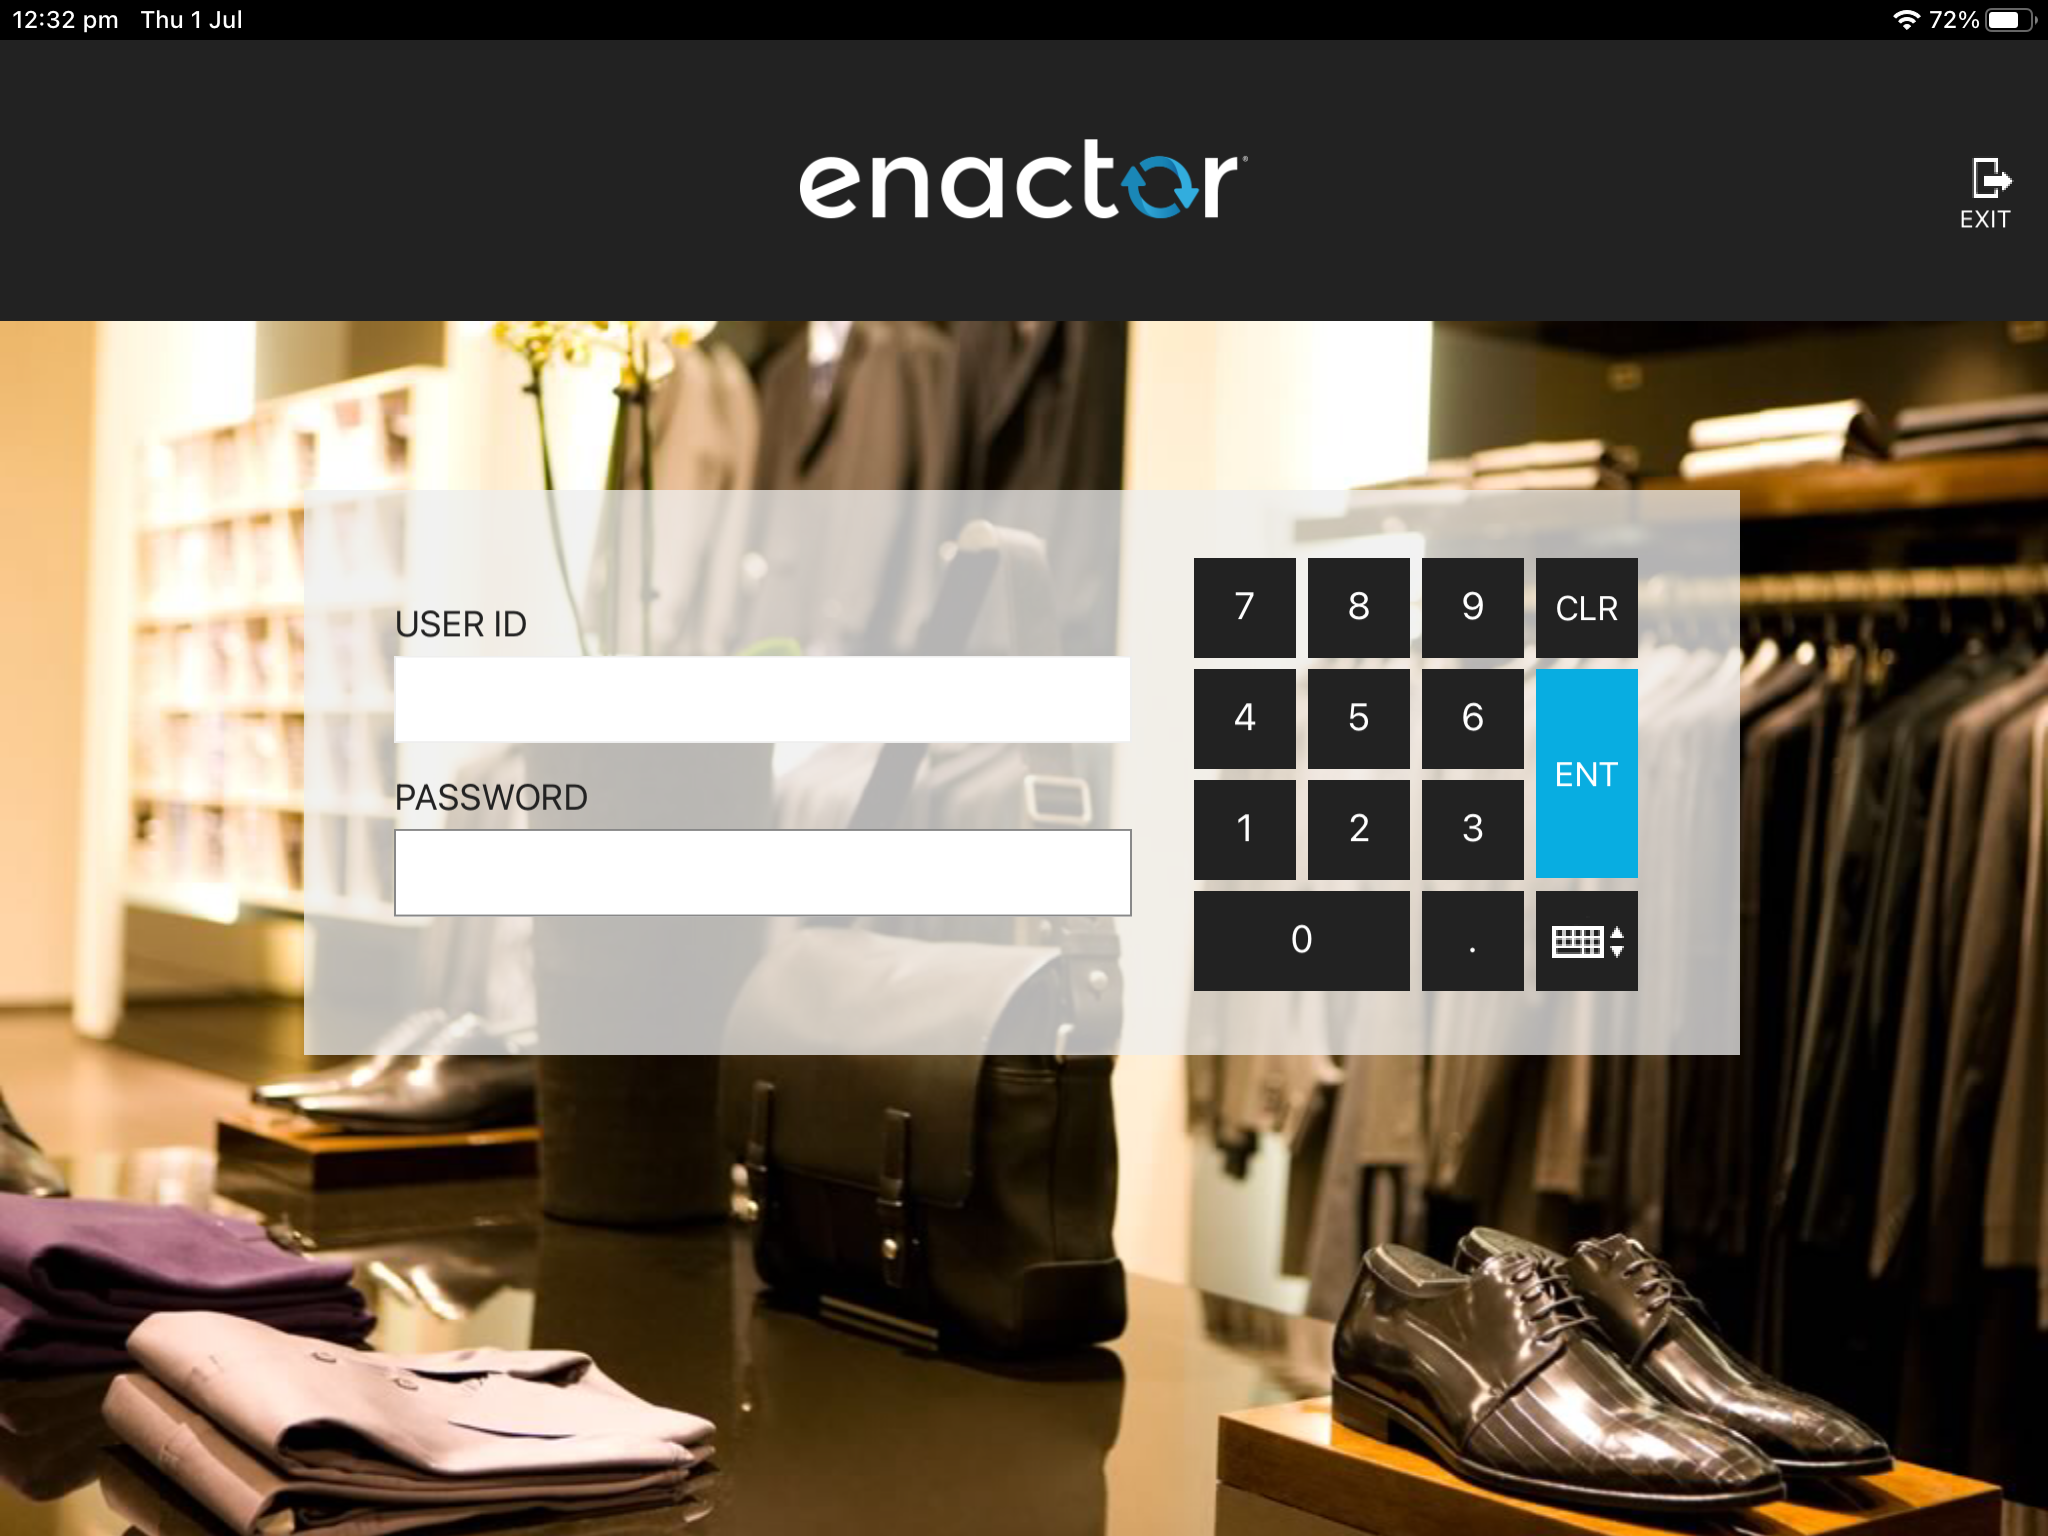
The device will now download the relevant configuration and the app will prompt for a logon.
Broadcasting
If Option Set updates have been made that alter the Client Configuration Sets, you must broadcast the following entities to deliver the configuration changes to the POS:
- Device
- Option Set
- Registration Serial Number