How To Configure Terminal Cashup and Closing Float
Introduction
This guide provides a full description of the Cash Management and Closing Float process in the Enactor Retail System from an operational perspective. It describes its purpose, its foundations, and the Cash Management Operations by which it is performed and recorded.
In the context of Cash Management, Cash is monetary value in potentially diverse physical forms, each separately identified as Tenders, stored in Repositories such as the Cash Drawer of a POS Terminal, a Safe, or a Cash Box maintained by a Cashier - individually tracked by Cash Management processing.
Cash Management maintains the orderly conduct of transfer of Cash through the business from the point of origin via Repositories to the point at which Banking is done, with accountability throughout. Cash storage Repositories are identified in the Cash Management process as Session Owners.
Retail Transactions involve the transfer of cash into or out of the business; these transfers are tracked by Enactor Retail as Expected Totals. All movement of Cash into, out of, and between Repositories not involving Retail Transactions is conducted using Cash Management Operations, each of which is recorded in a Cash Management Transaction.
Not all Cash Management Operations will be used by any given Retail Business. A selection is chosen to accommodate a Cash Management Policy suited to how the business is conducted.
The purpose of this guide is to demonstrate the steps to configure the POS to support Terminal Cash Up and Closing Float. This guide will focus on the POS configuration delivered from the Estate Manager.
Overview
The following steps are required to enable Terminal Cash Up and Closing Float:
- Location - Setting the cash management methods and safes
- Cash Management Session Owners - Creating the terminal sessions
- Menu - Adding the Cash Up and Closing Float function
- Roles - Ensuring POS users have appropriate privileges
- Tenders - Enabling tenders for Terminal Cash Up and Closing Float
- Reasons - Optional granular reason configuration
- Currency - Configuring denominations
- Broadcasting - Delivering configuration to the POS
Configuration Steps
Location
Location determines a variety of aspects of software function. It is applied by POS Software to select other configuration such as Currency, Pricing, Tax, Menus, Language, and cash management functionality.
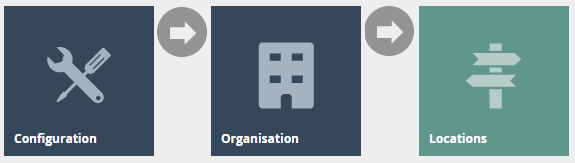
Navigate to Location configuration using the Search or the path:
Main Menu > Configuration > Organisation > Locations
Each store location where you will be configuring terminal cash management should be set as follows. This would normally be done using a Location Template linked to the store location.
The key tab in the Location configuration is Cash Management.
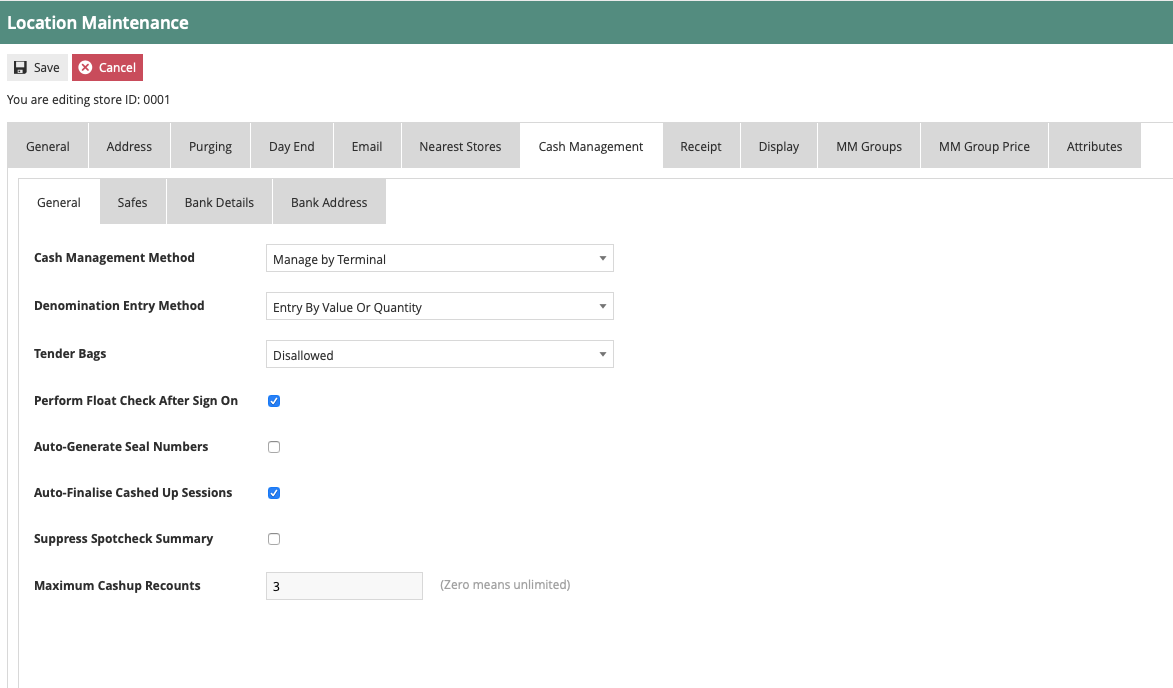
The Cash Management tab controls how your store handles cash sessions. Set Cash Management Method to Terminal for a one-till-one-session setup. Tick Perform Float Check After Sign On to prompt cashiers to confirm a float at the start of each shift.
Set the appropriate values on the Cash Management tab as follows:
| Configuration | Description |
|---|---|
| Cash Management Method | Drop-down to select the cash management method: Terminal - One-to-one relation between the terminal and the cash session (method described in this guide) Pay Point - Allows multiple terminals (e.g. tablets) to record sales against a single shared cash session User - The user's sales are recorded against their own user cash session |
| Denomination Entry Method | Drop-down to configure the entry method for the count: Entry by value or quantity - Operator can enter by quantity or value Entry by value - Value entry only Entry by quantity - Quantity entry only (requires denominations to be configured) |
| Perform Float Check After Sign On | If set, when a float has not been recorded in the new cash session, the operator will be prompted to add a float at sign on. The prompt continues until the float is completed. |
| Auto Finalise Cashed Up Sessions | If set, the session will be auto-finalised after cash up is completed, with or without discrepancies. |
| Maximum Cash Up Recounts | Sets the maximum number of recounts before forcing the operator to accept the cashed-up count. |
Cash Management > Safe Tab
If you wish for the Terminal Cash Up and Closing Float function to move counted totals from the terminal cash session to the safe session, a configured safe is required against the store location.
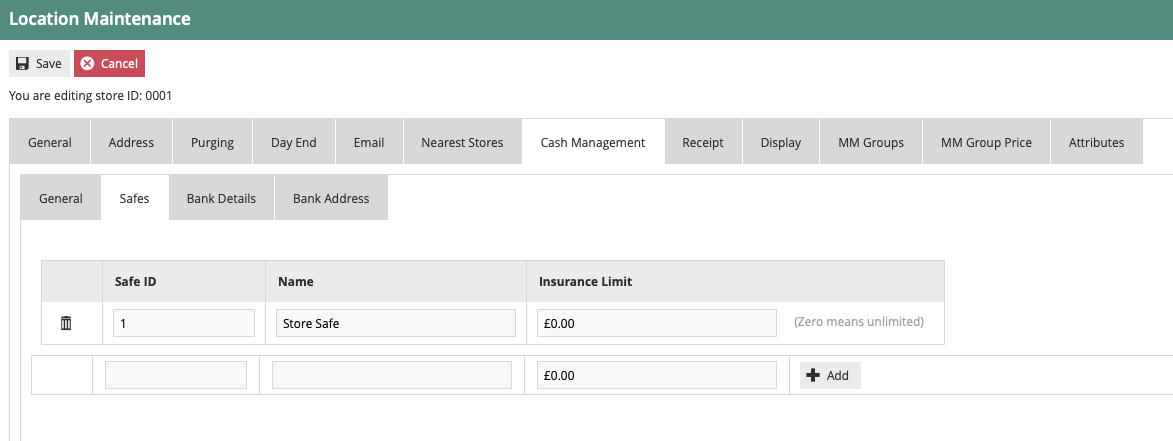
The Safe tab defines the store safe that cash is moved into when a terminal is cashed up. Enter a Safe ID and Name to configure the safe against this location.
| Entry | Example Value | Description |
|---|---|---|
| Safe ID | 1 | Unique ID recorded in transactions and displayed in the UI safe screens |
| Name | Store Safe | Safe name |
This completes the Location configuration.
Cash Management Session Owner
Session Owners are the fundamental elements of the Cash Management model. They are named Cash Repositories, which may be Safes, Cash Drawers, POS Terminals, or the person of responsibility for a User SignOn Account.
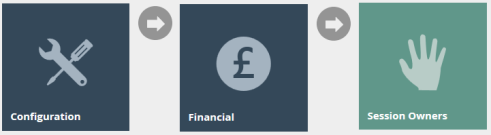
Navigate to Session Owner configuration using the Search or the path:
Main Menu > Configuration > Cash Management > Session Owners
The POS session configuration should be created automatically if the device has been directly configured on the Estate Manager. If the device was imported into the Enactor solution, you may need to create the terminal Session Owner configuration manually.
Select "Create New Session Owner" and configure as follows:
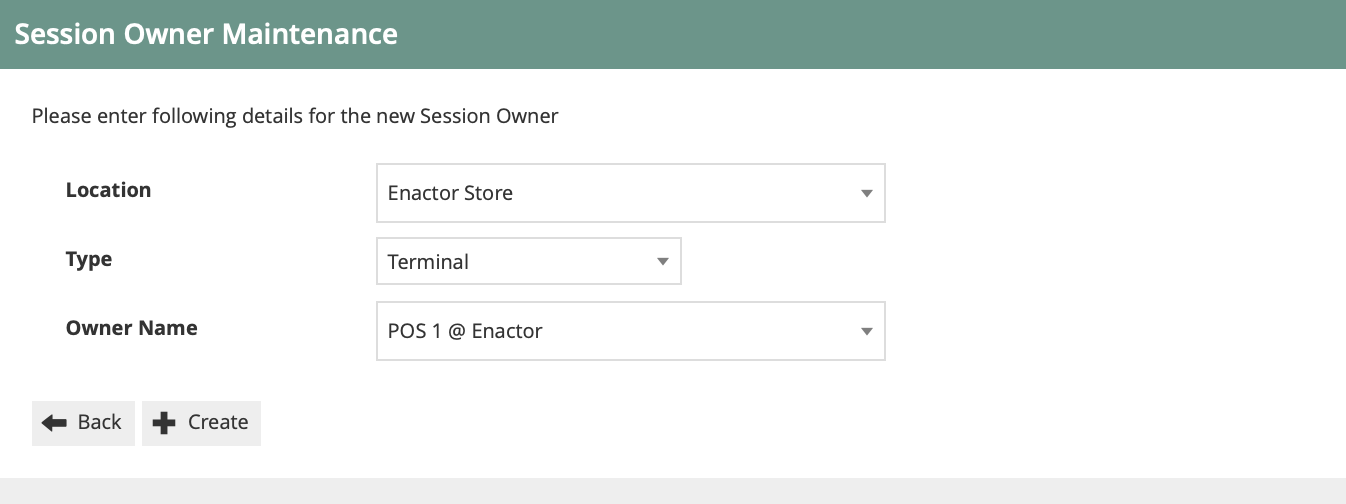
When creating a new Session Owner, select Terminal as the Type, then pick the POS terminal from the Owner Name dropdown. Click Create to save - one session owner is needed per till.
| Entry | Example Value | Description |
|---|---|---|
| Location | Enactor Store | Location the terminal is linked to |
| Type | Terminal | Session Owner type |
| Owner Name | POS 1 @ Enactor | If 'Terminal' is selected, provides a list of POS devices to link the terminal session to |
This completes the Cash Management Session Owner configuration.
Menu
Menus are constructed from a set of basic tasks selected from a Menu Set, specific to an Application, associated with a Menu Group and Role for access, and identified by a Menu ID.
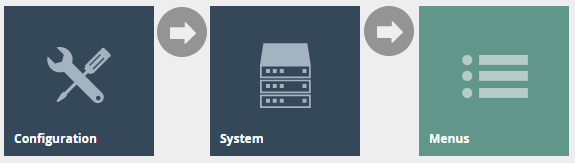
Navigate to Menu configuration using the Search or the path:
Main Menu > Configuration > System > Menus
Finding the Terminal Cash Management Menu
Filter the menu list with the following values:
| Filter | Description |
|---|---|
| Menu Set | Set to POS |
| Role | Whichever role your POS menus are assigned to (example: POS Cash Management) |
| Menu Group | Whichever Menu Group is configured for your POS Terminals (example: United Kingdom) |
| Locale | Appropriate locale for your region (example: English (UK)) |
| Menu ID | Set to TERMINAL_CASH_MANAGEMENT |
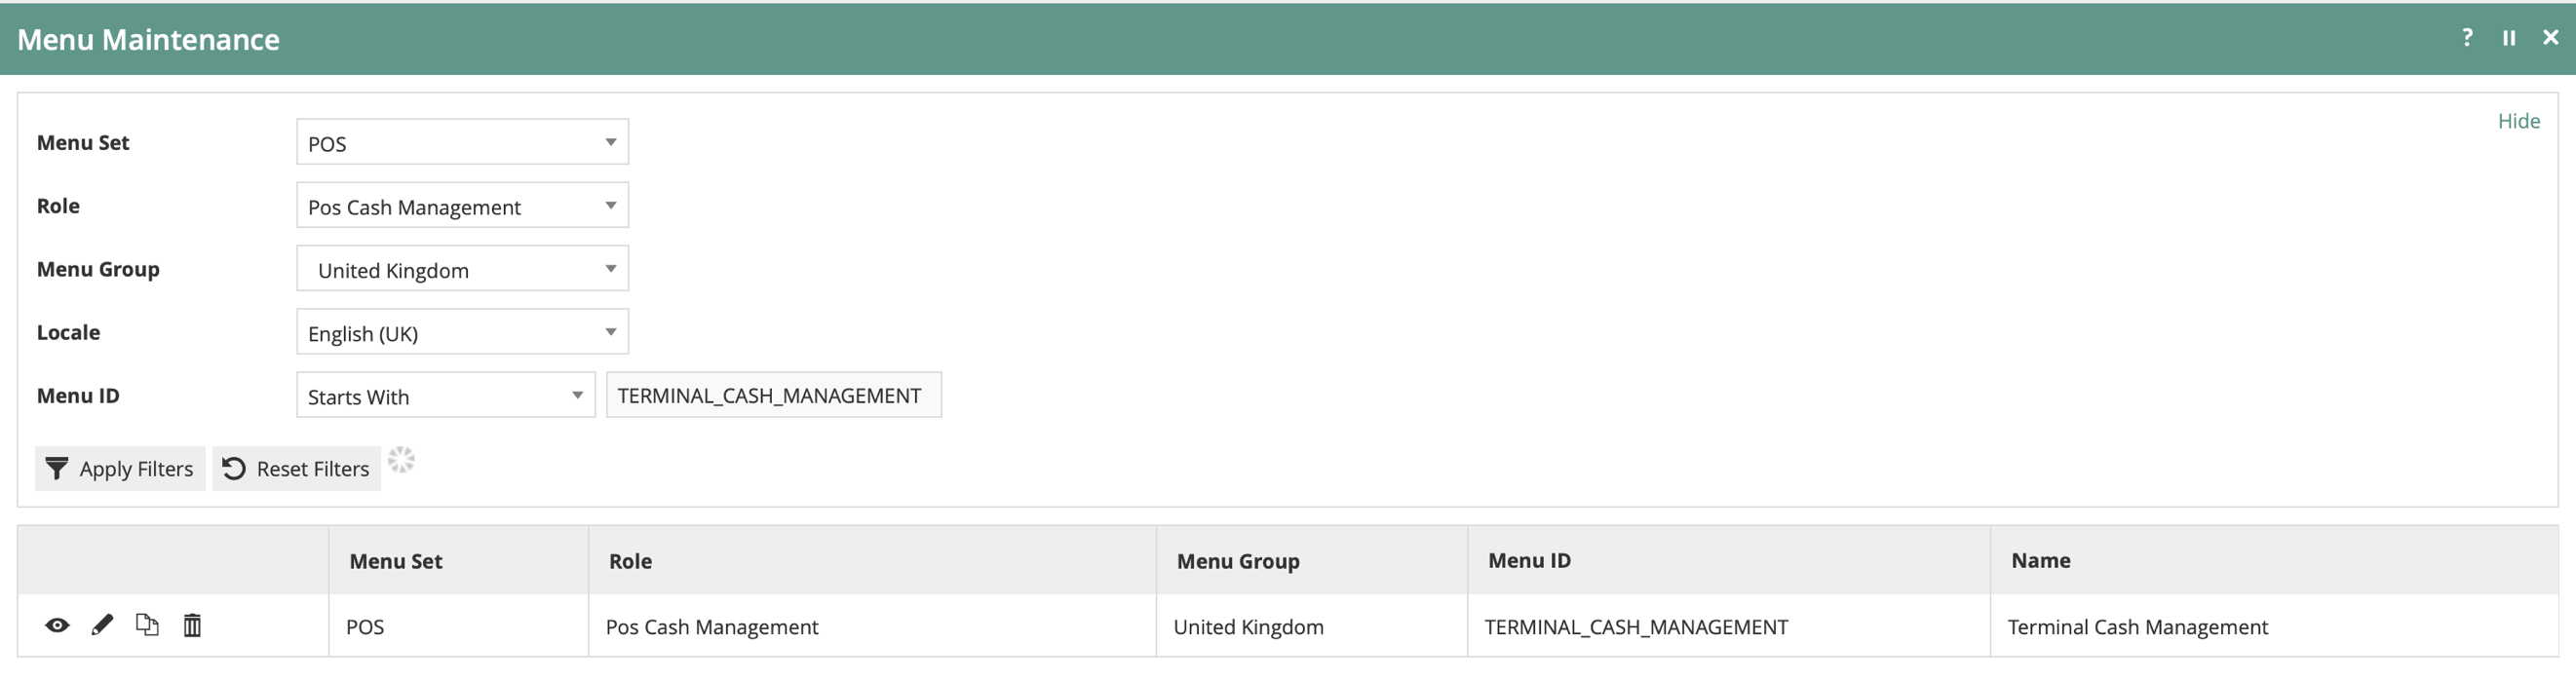
Use the filter to locate the TERMINAL_CASH_MANAGEMENT menu for your role and menu group. Click the edit (pencil) icon to open and configure it.
Edit the Terminal Cash Management menu. If one does not exist for your Role/Menu Group, copy one from another Role/Menu Group.
There is availability for 8 button items on the menu. The last button item should be configured as a Back button to exit the menu.
If the Terminal Cash Up and Closing Float function does not exist in the menu, add it by selecting Add > Add a new button.
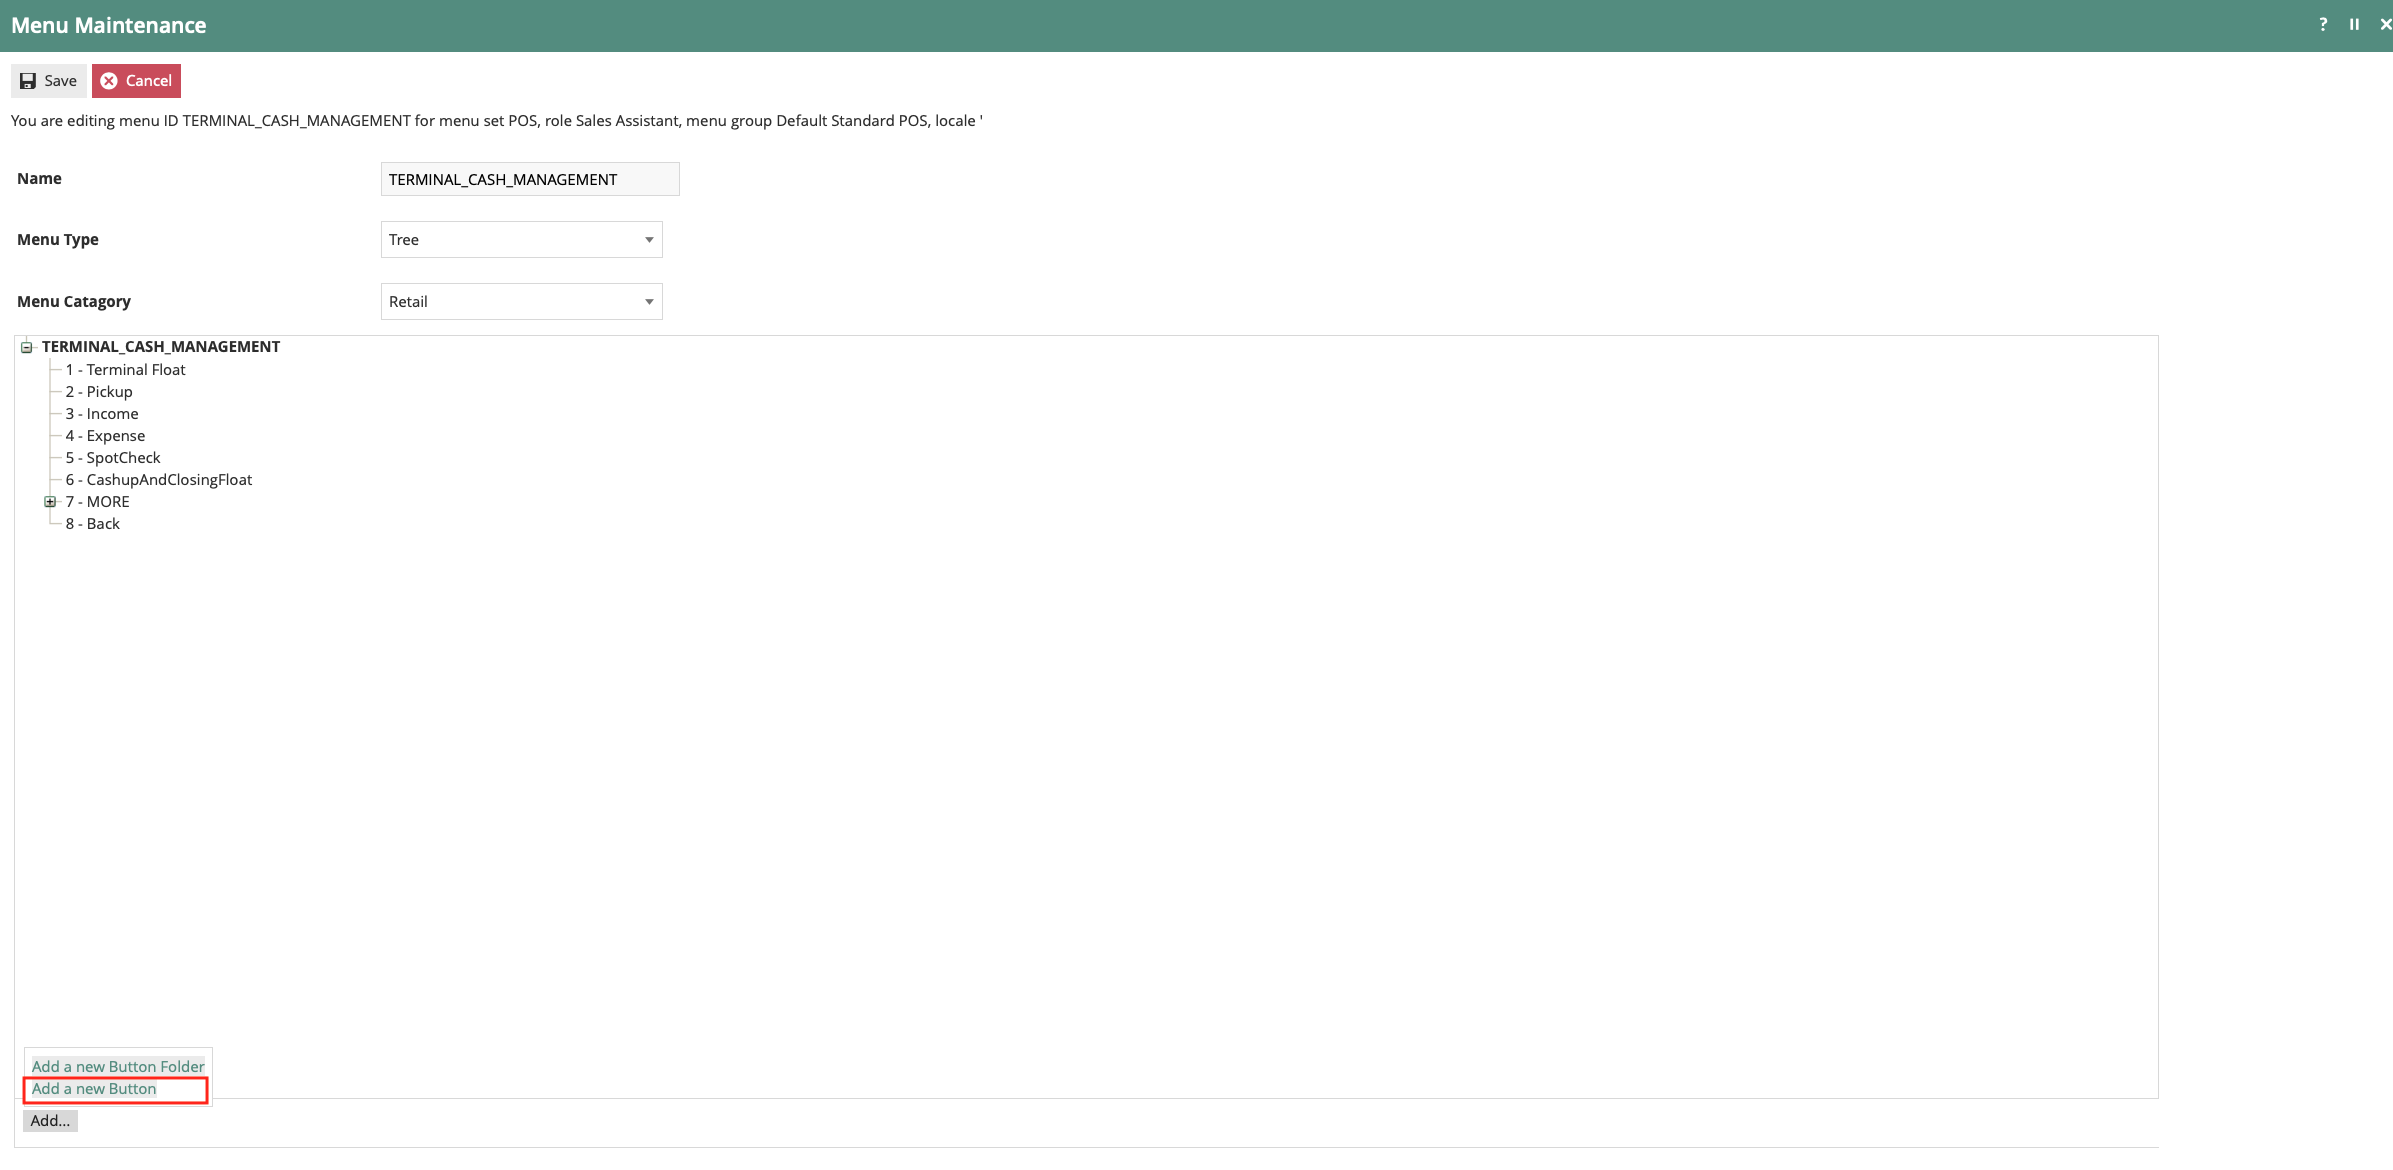
If the Cash Up and Closing Float button is missing from the menu tree, click Add > Add a new Button to add it.
Terminal Cash Up & Closing Float Button
Set the values on the General tab as follows:
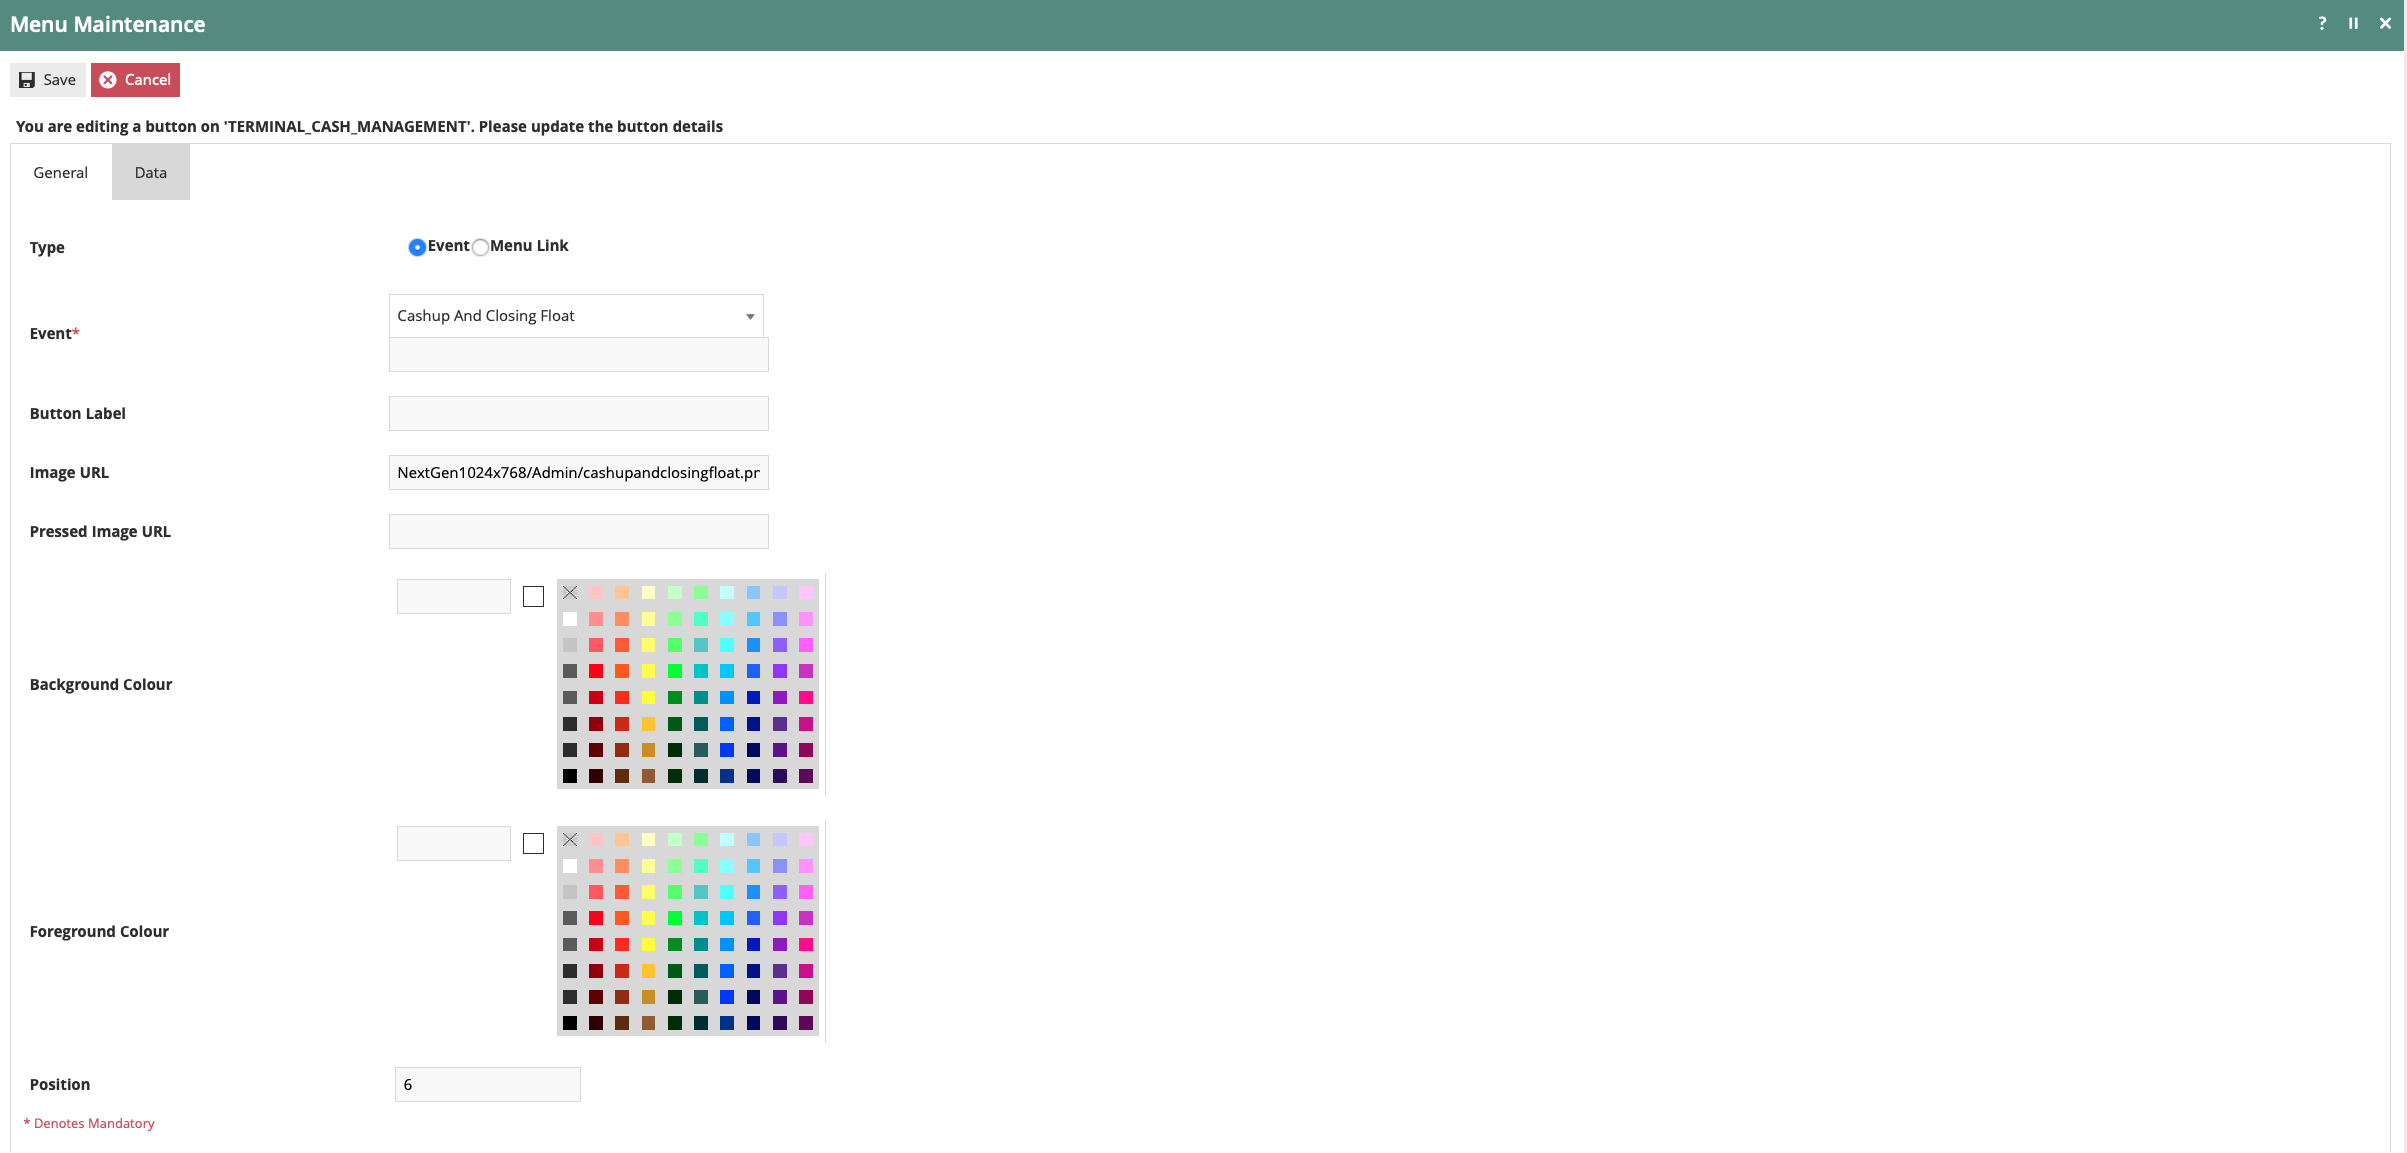
Select Cash up and Closing Float from the Event dropdown - some fields will pre-populate on selection. Set an Image URL if you want an icon, otherwise configure a Button Label. Set the Position to control where the button appears on the menu.
| Configuration | Description |
|---|---|
| Event | Select Cash up and Closing Float from the dropdown (some fields will pre-populate on selection) |
| Button Label | Configure a label if you do not have an Image URL configured |
| Image URL | NextGen1024x768/Admin/cashupandclosingfloat.png |
| Position | Where you want the function to appear on the menu |
The Terminal Cash Management menu can be linked to the SALE or ADMIN menu by adding the event Terminal Cash Management to those menus.
This completes the Menu configuration.
Roles
User Roles specify required permissions by applying a discovery process to the Package resources of the Enactor Retail Software. Each Package represents a cluster of related Software Functions defined in terms of the Processes it includes and the Functions available within each.
Navigate to Roles configuration using the Search or the path:
Main Menu > Configuration > Security > Roles

Select the appropriate role to edit (example: POS_CASH_MAN), then select the Enactor POS package and configure the following privileges:
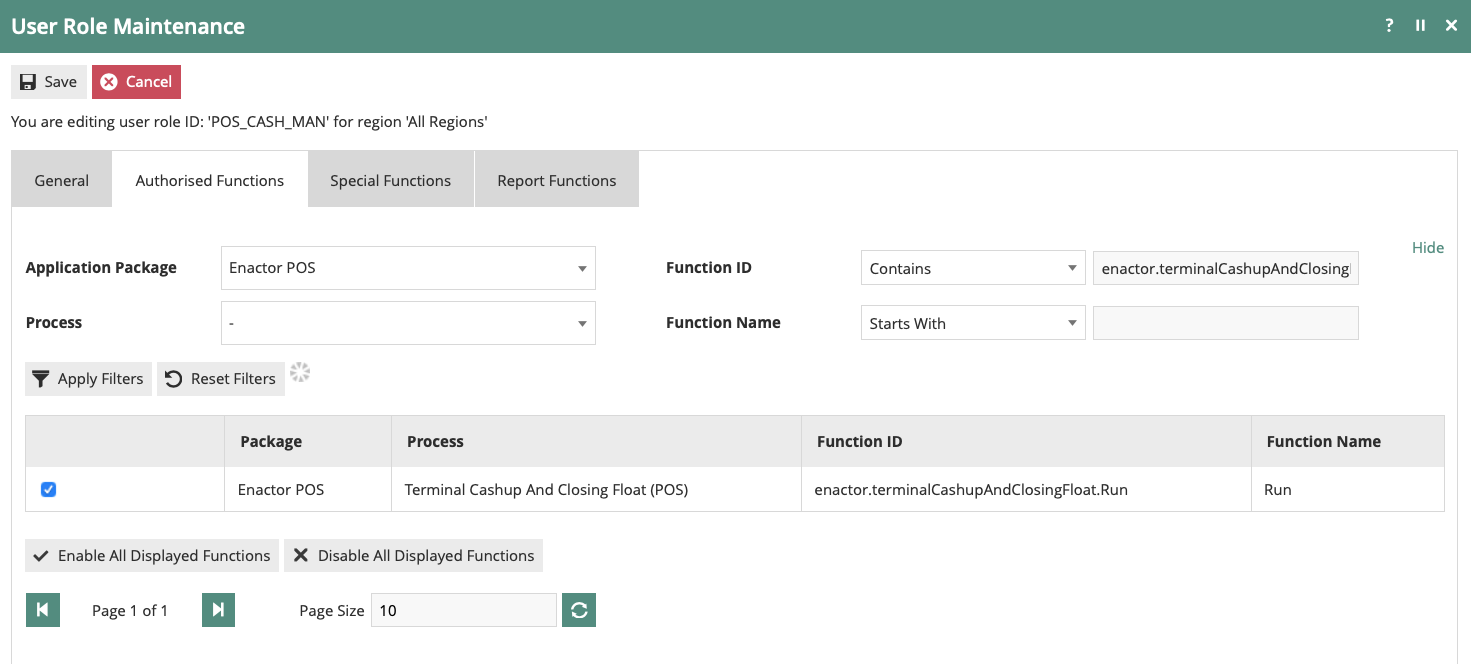
On the Authorised Functions tab, filter by the Enactor POS package and search for each required function. Tick the checkbox to grant that privilege to this role.
| Package | Function ID | Description |
|---|---|---|
| Enactor POS | enactor.admin.Run | Required only if you link the Terminal Cash Management menu to the Admin menu |
| Enactor POS | enactor.admin.terminalCashManagement.Run | Required only if you link the Terminal Cash Management function to the Admin menu |
| Enactor POS | enactor.terminalCashupAndClosingFloat.Run | Allows the operator to run the Terminal Cash Up and Closing Float function |
| Enactor POS | enactor.terminalClosingFloat.Run | Allows the operator to run the Terminal Closing Float function |
| Enactor POS | enactor.cashManagement.CreateTerminalSession | Creates the terminal cash session if none exists - useful for new stores on first day of trading |
Roles and the privileges they contain are assigned to users to control the level of access they have to the applications.
This completes the Roles configuration.
Tender
Tenders configuration provides the means to enable and control the conduct of payment options. Tender options are offered in a Menu and are associated with a specific type of tendering Process.
Navigate to Tender configuration using the Search or the path:
Main Menu > Configuration > Financial > Tenders

Edit the tenders that should be included in the Terminal Cash Up and Closing Float process (example: CASH_UK tender).
Set the values on the Cash Management tab as follows:

For a standard cash tender, tick Float Tender, Cash up Tender, and Enter by Denomination as a minimum. Leave Auto Picked Up unticked for tenders that require a manual count. Set a Terminal Discrepancy Threshold to trigger a recount when the count is too far off.
| Configuration | Description |
|---|---|
| Float Tender | Select this option to include the tender in the float count |
| Cash up Tender | Select this option to include the tender in the cash up count |
| Auto Picked Up | Select this option to have the tender included in the cash up and automatically counted (e.g. gift cards, payment cards) |
| Enter by Denomination | Select this option to enable counting by denomination (requires currency denominations to be configured) |
| Allow Negative Cash Up Value | Only required for electronic payments (e.g. cards, gift cards) |
| Terminal Discrepancy Threshold | Prompts the operator to recount if this threshold is breached during the cash up |
This completes the Tender configuration.
Reasons
Reason configuration provides the means to capture and record Reasons for accessing specific functions. Reasons are pre-defined based on a Reason Type and may include specific authorisation requirements and configuration options.
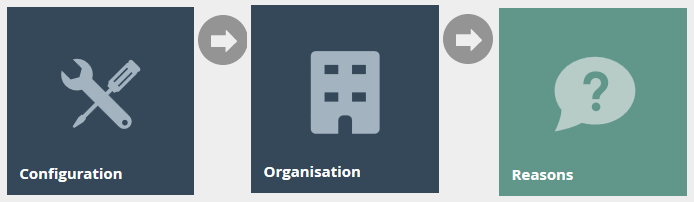
Navigate to Reasons configuration using the Search or the path:
Main Menu > Configuration > System > Reasons
Reasons are not mandatory for Terminal Cash Up or Terminal Float, but can be created to add more granular behaviour to the functions.
Edit an existing reason or create a new one using Reason Type Terminal Cash Up and/or Terminal Float. The example below shows an existing reason configured against the United Kingdom region.

Filter by Reason Type: Terminal Cashup to find existing reasons for your region. Click the edit icon to configure the reason's applicable tenders - or use Create New Reason if none exist yet.
- Add the description on the General tab.
- Select the Applicable Tenders tab and choose the applicable tender(s) to control which tenders are selectable, overriding the configuration on the Tender.
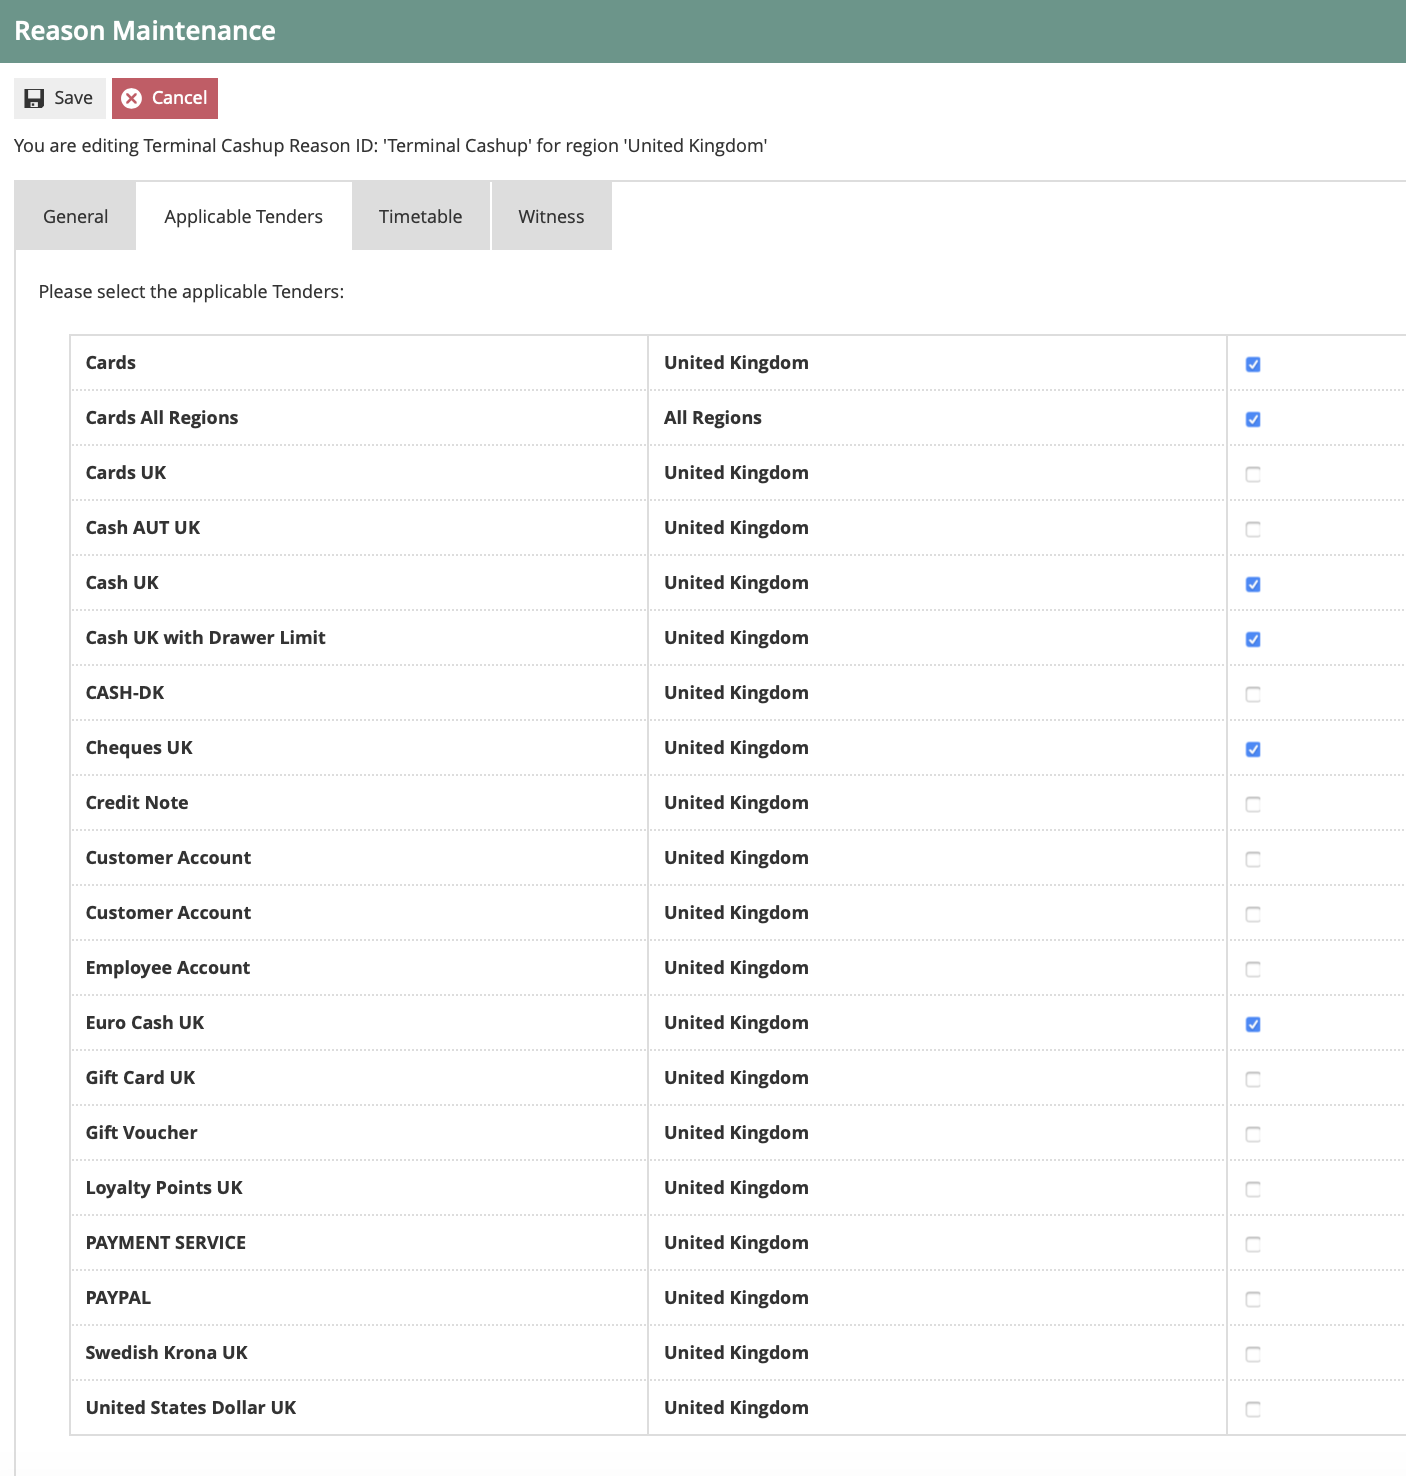
Tick the tenders that should be offered to the operator when this reason is selected at the POS. Only ticked tenders will appear during the cash up - unticked ones are suppressed regardless of their tender-level configuration.
If a Reason is configured, it will be included in the Cash Management Transaction record.
This completes the Reasons configuration.
Currency
Currencies, Currency Codes, Countries, and Country Codes are defined as ISO Standards and are built into Java as part of the Java install.
Navigate to Currency configuration using the Search or the path:
Main Menu > Configuration > Financial > Currencies

If the specified Tender's Cash Management option Enter by Denomination is configured, the currency linked to that Tender will require denominations to be configured.
Select the country's currency that requires denominations (example: GBP).
General Tab
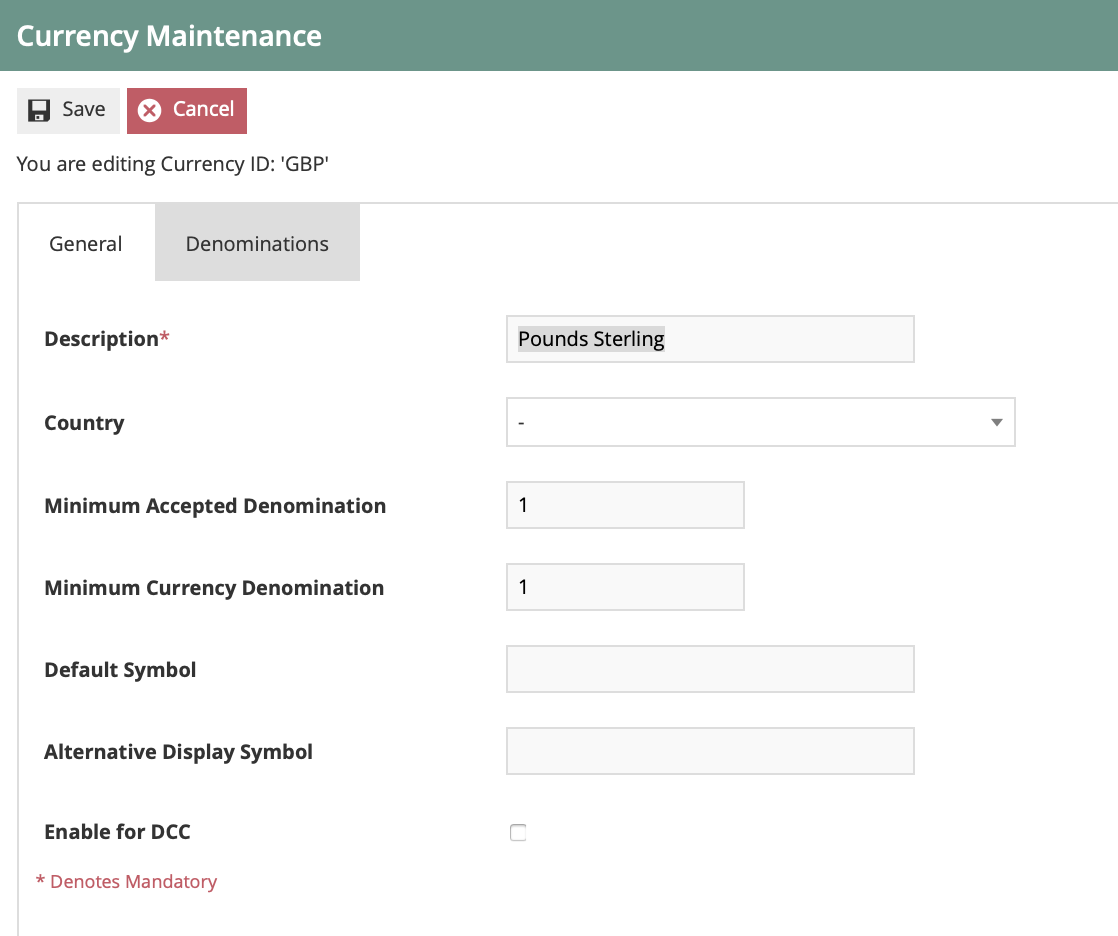
Set both minimum denomination fields to 1 for GBP - this ensures the system can handle individual pence when operators count cash by denomination. In other currencies the minimum may be a higher value.
| Configuration | Description |
|---|---|
| Minimum Accepted Denomination | Set to 1 for GBP (in other countries this may be a higher unit value) |
| Minimum Currency Denomination | Set to 1 for GBP (in other countries this may be a higher unit value) |
Denomination Tab
Add one entry per coin and note denomination:
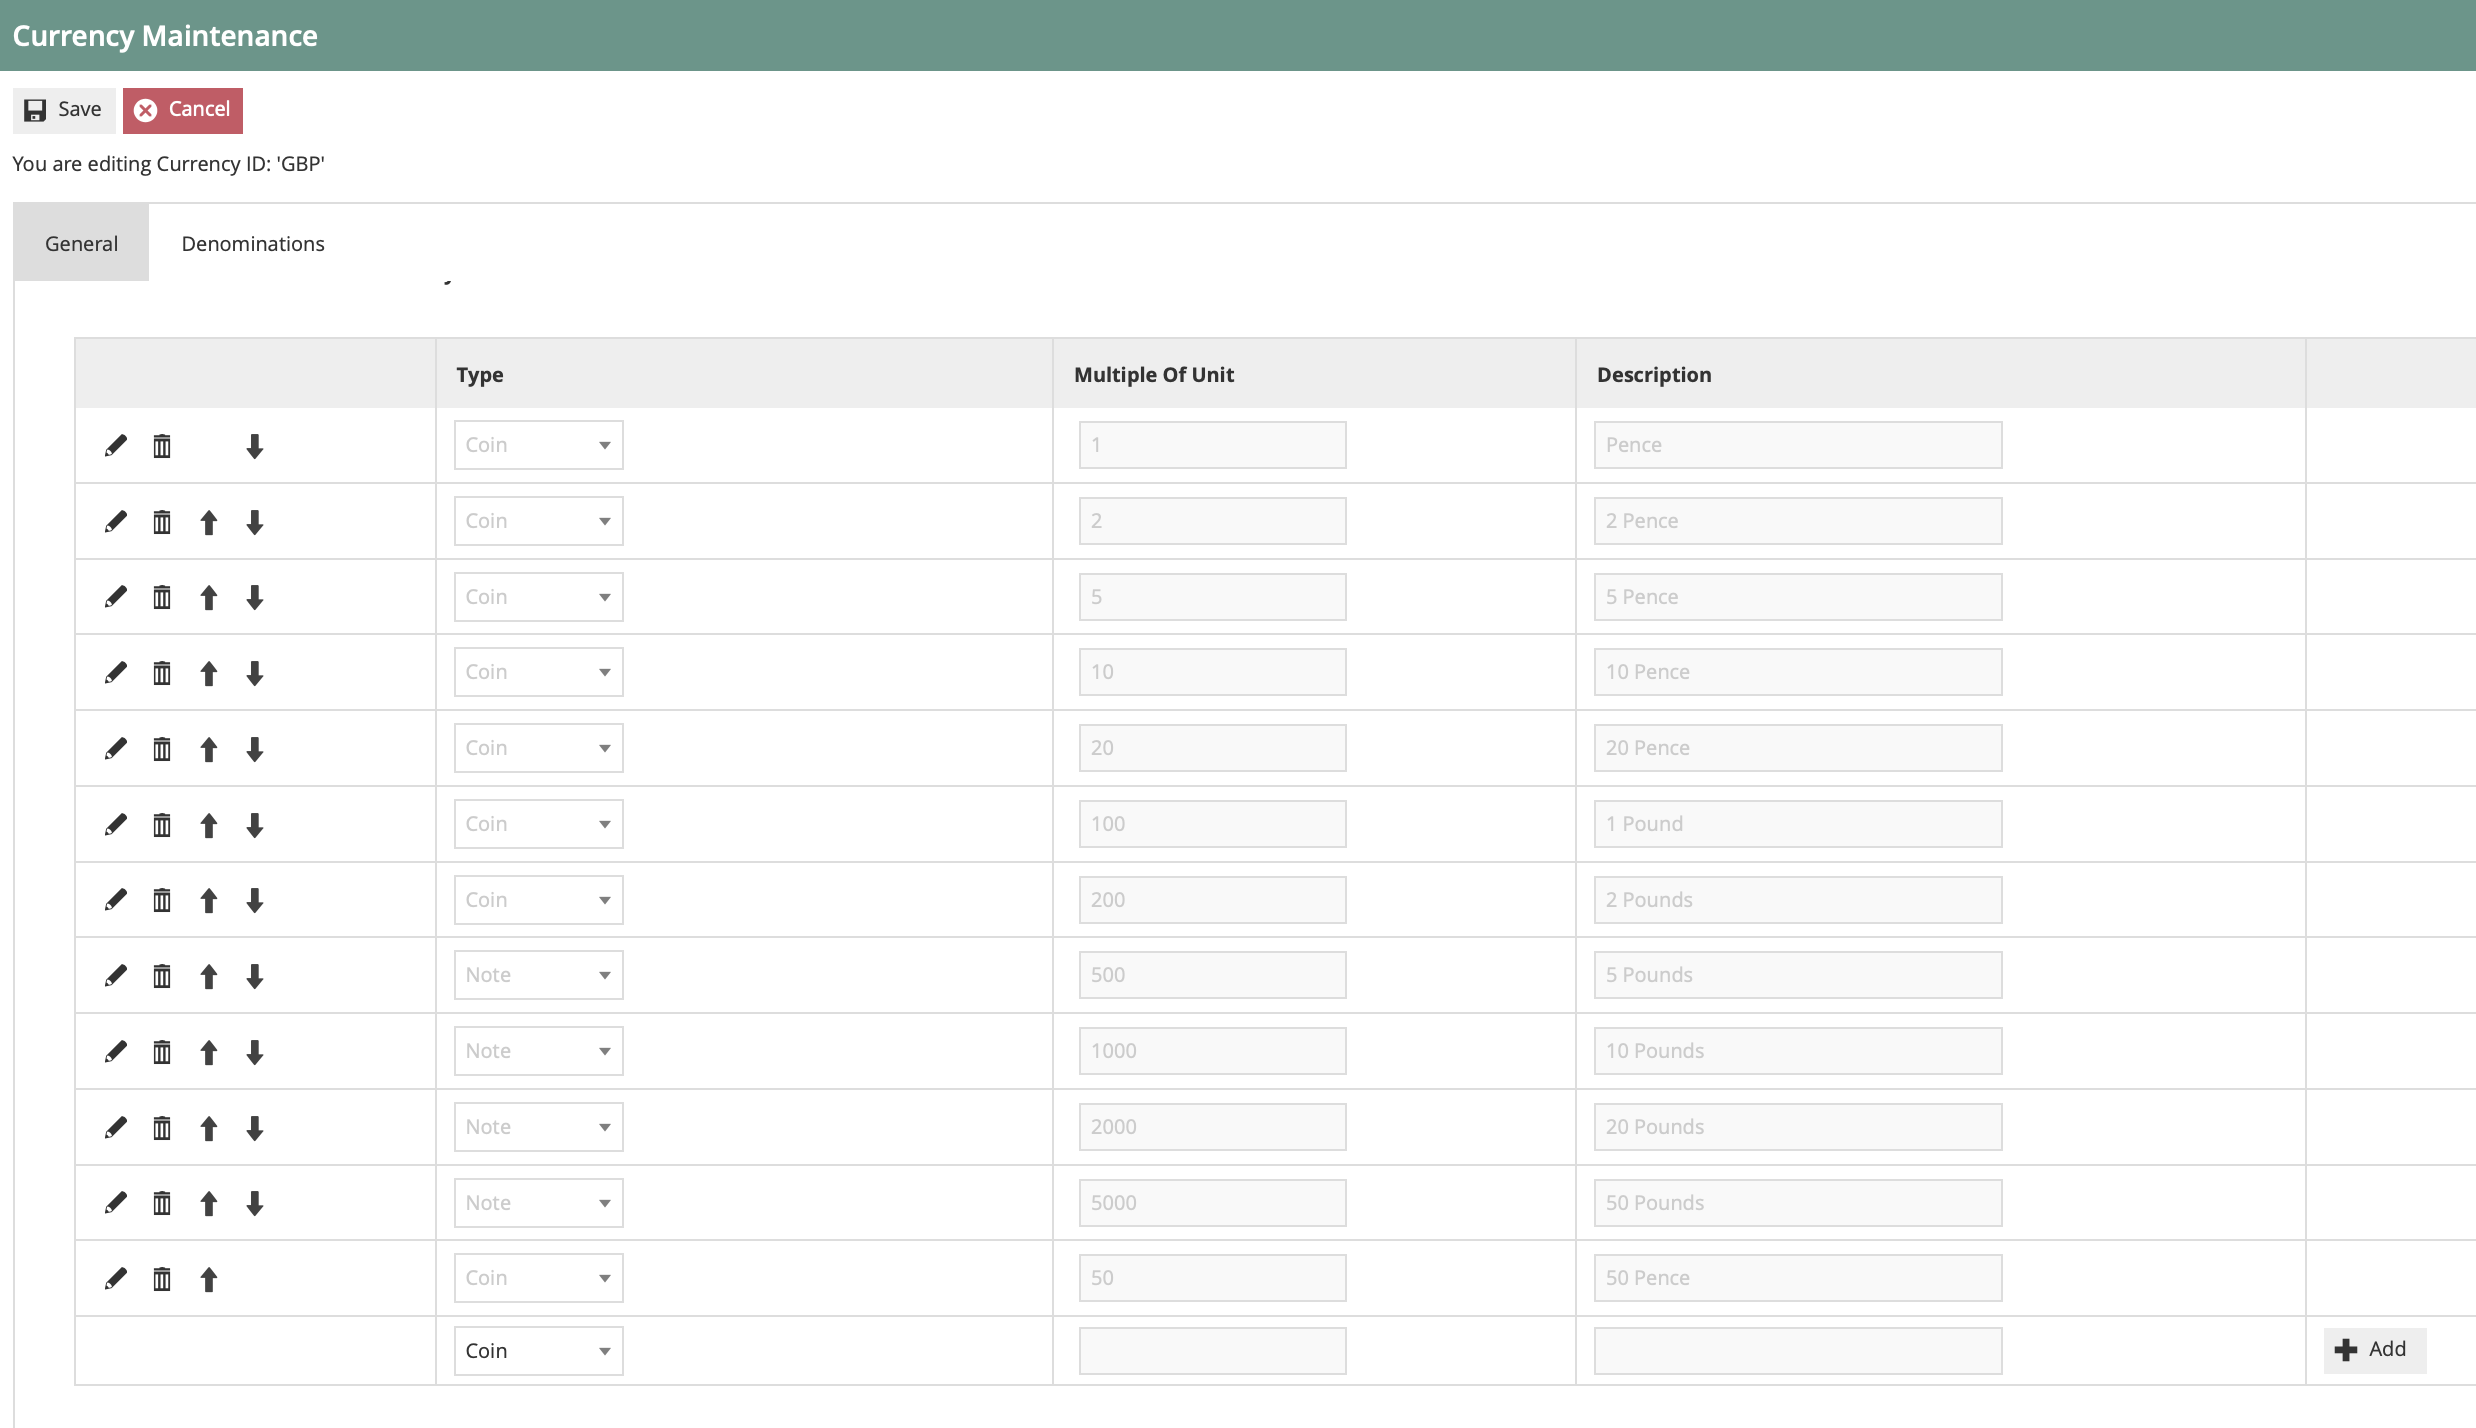
Add a Coin row for each coin denomination and a Note row for each note denomination. The Multiple Of Unit value is the denomination in the currency's minor units - for example, 50p = 50, £1 = 100, £5 = 500, £50 = 5000.
| Type | Multiple Of Unit | Description | Comment |
|---|---|---|---|
| Coin | Denomination to unit value (e.g. 50 pence = 50) | Denomination description | Add a coin row for each coin denomination |
| Note | Denomination to unit value (e.g. £50 = 5000) | Denomination description | Add a note row for each note denomination |
This completes the Currency configuration.
Broadcasting
To deliver configuration changes to the POS, broadcast the following entities from the Estate Manager.
- Location
- Location Templates
- Cash Management Session Owners
- Menu
- Roles
- Tender
- Reasons
- Currencies
This completes the Broadcasting configuration.
POS Functionality
This section demonstrates the Terminal Cash Up and Closing Float process at the POS.
Closing Float Entry
After selecting the Cash Up and Closing Float function, the operator will be prompted to enter the closing float. If prompted, select the float reason and press OK to continue. The operator may press Void to exit and cancel the process.
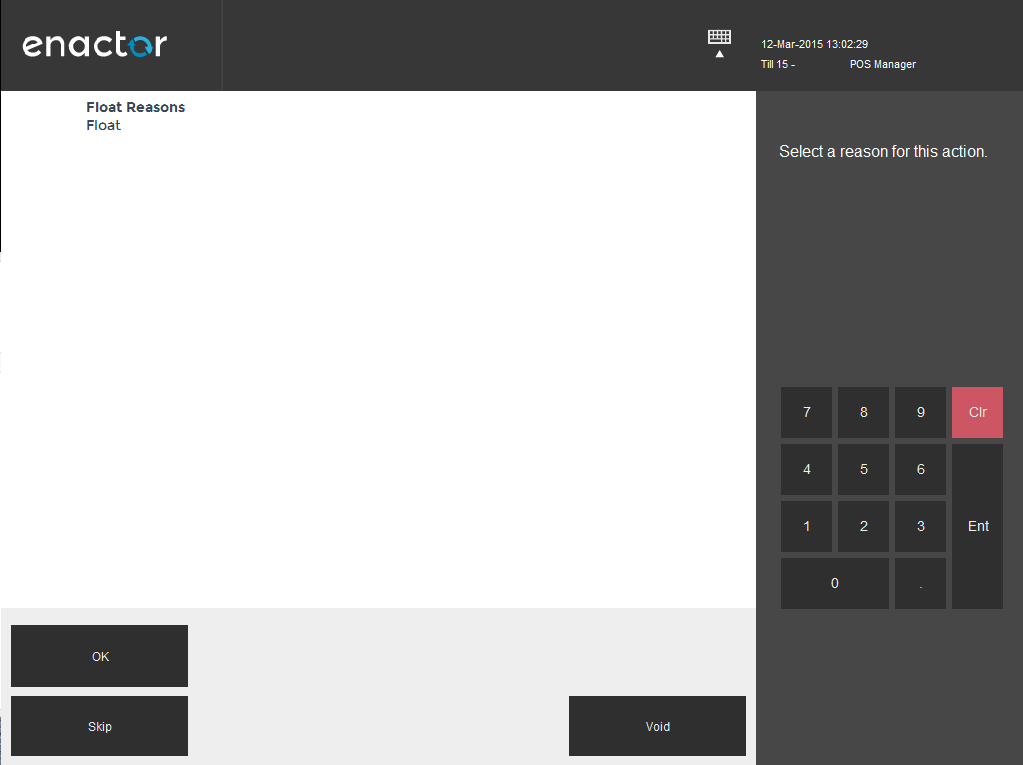
If float reasons are configured, the operator is presented with this selection screen before entering the closing float. Select a reason and press OK, or press Skip to proceed without a reason.
| Function | Outcome |
|---|---|
| OK | Select and confirm the highlighted reason |
| Voids | Void the event |
| Skip | Skip reason selection |
The operator enters the cash float, then presses Complete to finalise and proceed to the terminal cash up.
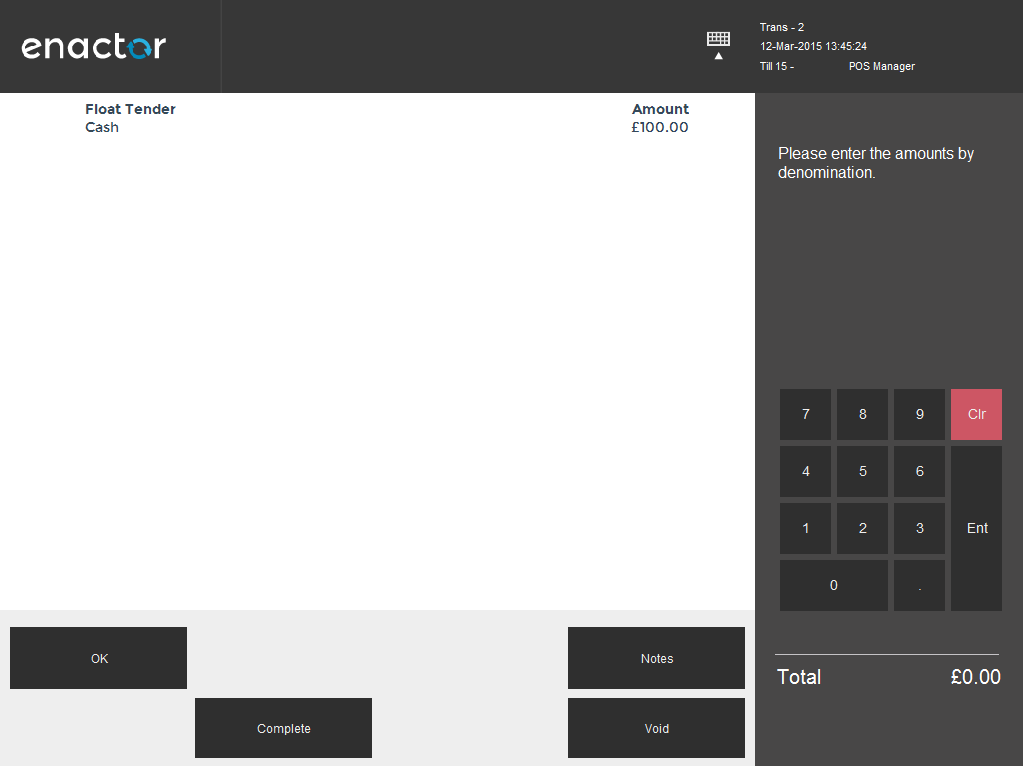
The operator enters the closing float by selecting each tender and entering its amount. Press Complete when all float amounts have been entered to proceed to the cash up.
| Function | Outcome |
|---|---|
| OK | Select the highlighted tender |
| Notes | Free text notes field |
| Void | Void the event |
| Complete | Complete the event |
Cashup Entry
If prompted, select the terminal cash up reason and press OK to continue.
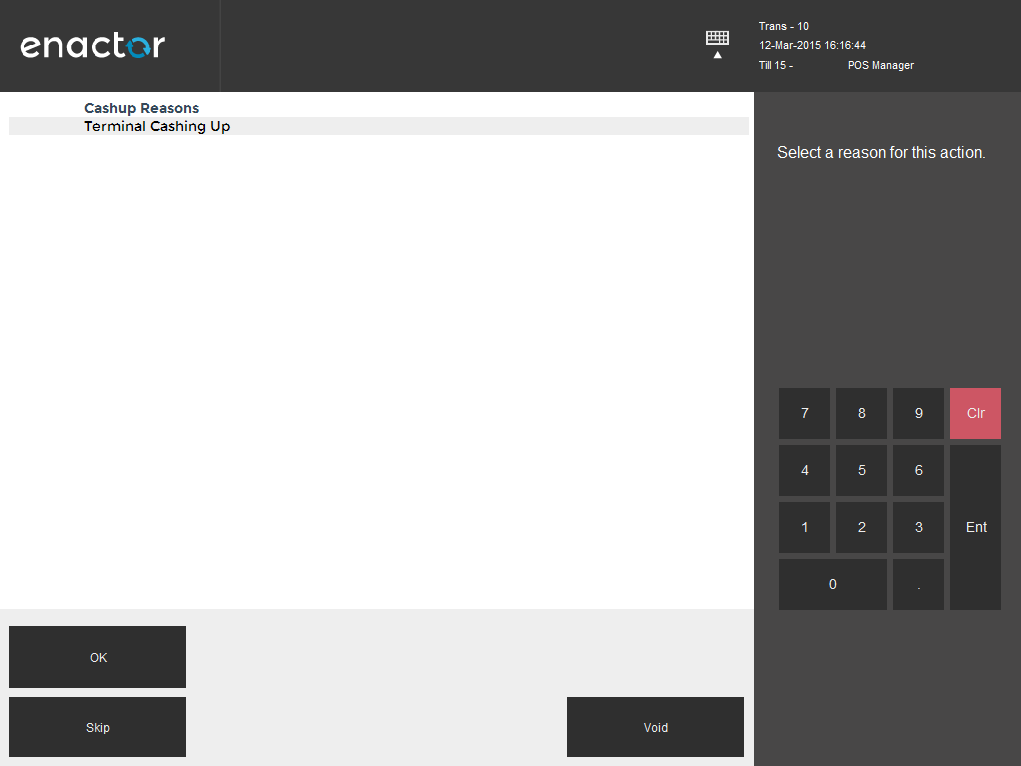
If cashup reasons are configured, the operator selects the applicable reason before proceeding to the count entry screen. Press Skip to proceed without selecting a reason.
| Function | Outcome |
|---|---|
| OK | Select and confirm the highlighted reason |
| Void | Void the event |
| Skip | Skip reason selection |
The operator enters the terminal cash up counted tenders and presses Complete to finalise. Press OK to confirm the finalisation.
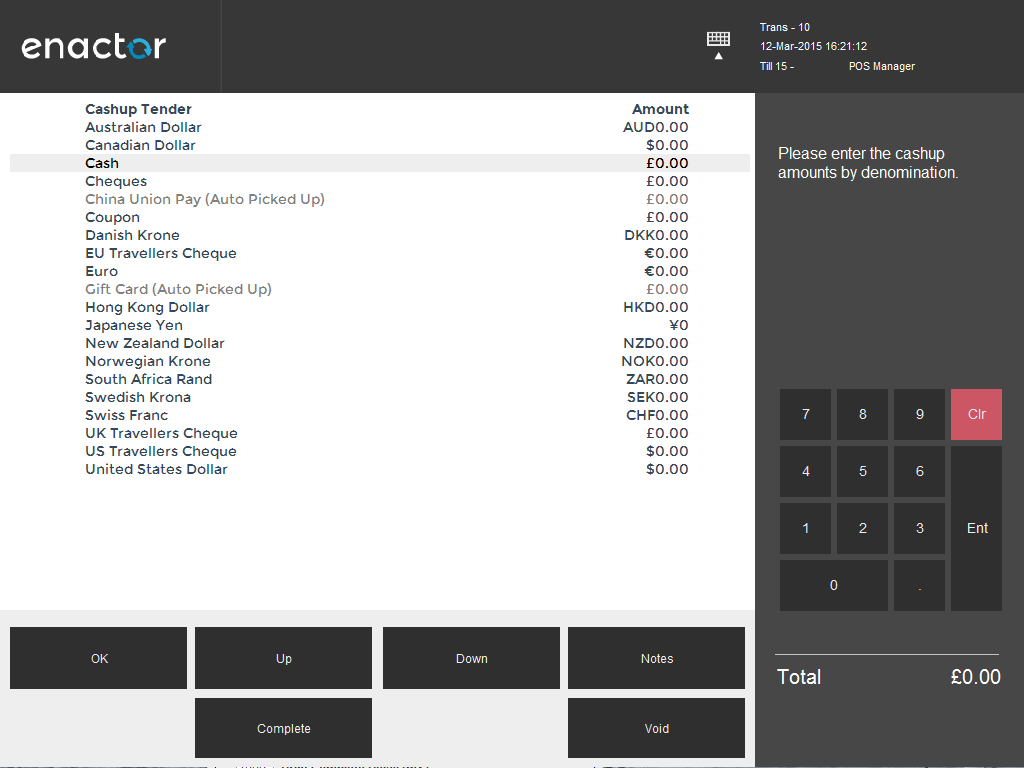
The operator enters the counted amount for each tender. Use Up and Down to navigate between tender lines. Press Complete when all counts have been entered to finalise the cash up.
| Function | Description |
|---|---|
| OK | Select the highlighted tender and enter the value |
| Up | Move to the next line up |
| Down | Move to the next line down |
| Notes | Free text notes field |
| Void | Void the event |
| Complete | Complete the event |