How To Configure Supplementary Transaction Reference Entity
Introduction
The Supplementary Transaction Reference feature allows attaching reference codes (e.g., gift receipt references) to transactions for easy scanning, storage, and retrieval through the Enactor POS. This guide explains how to configure and use this feature.
Overview
This guide will cover the configuration for the following:
- Allows reference codes to be associated with transactions.
Prior Training / Experience
You should be familiar with the following:
- Estate Manager Configuration.
- Data Broadcasting.
Prerequisites
The RestServiceConnection Process Connection Type must be present on the Estate Manager.
If you do not have this process connection, please contact your Customer Success Manager.
Broadcasting
To deliver the process connection changes to the POS, broadcast the following entities.
- Process Connections Def
- Process Connections Type
POS Functionality
Gift Receipt Reference Functionality
Start the POS and Log in.
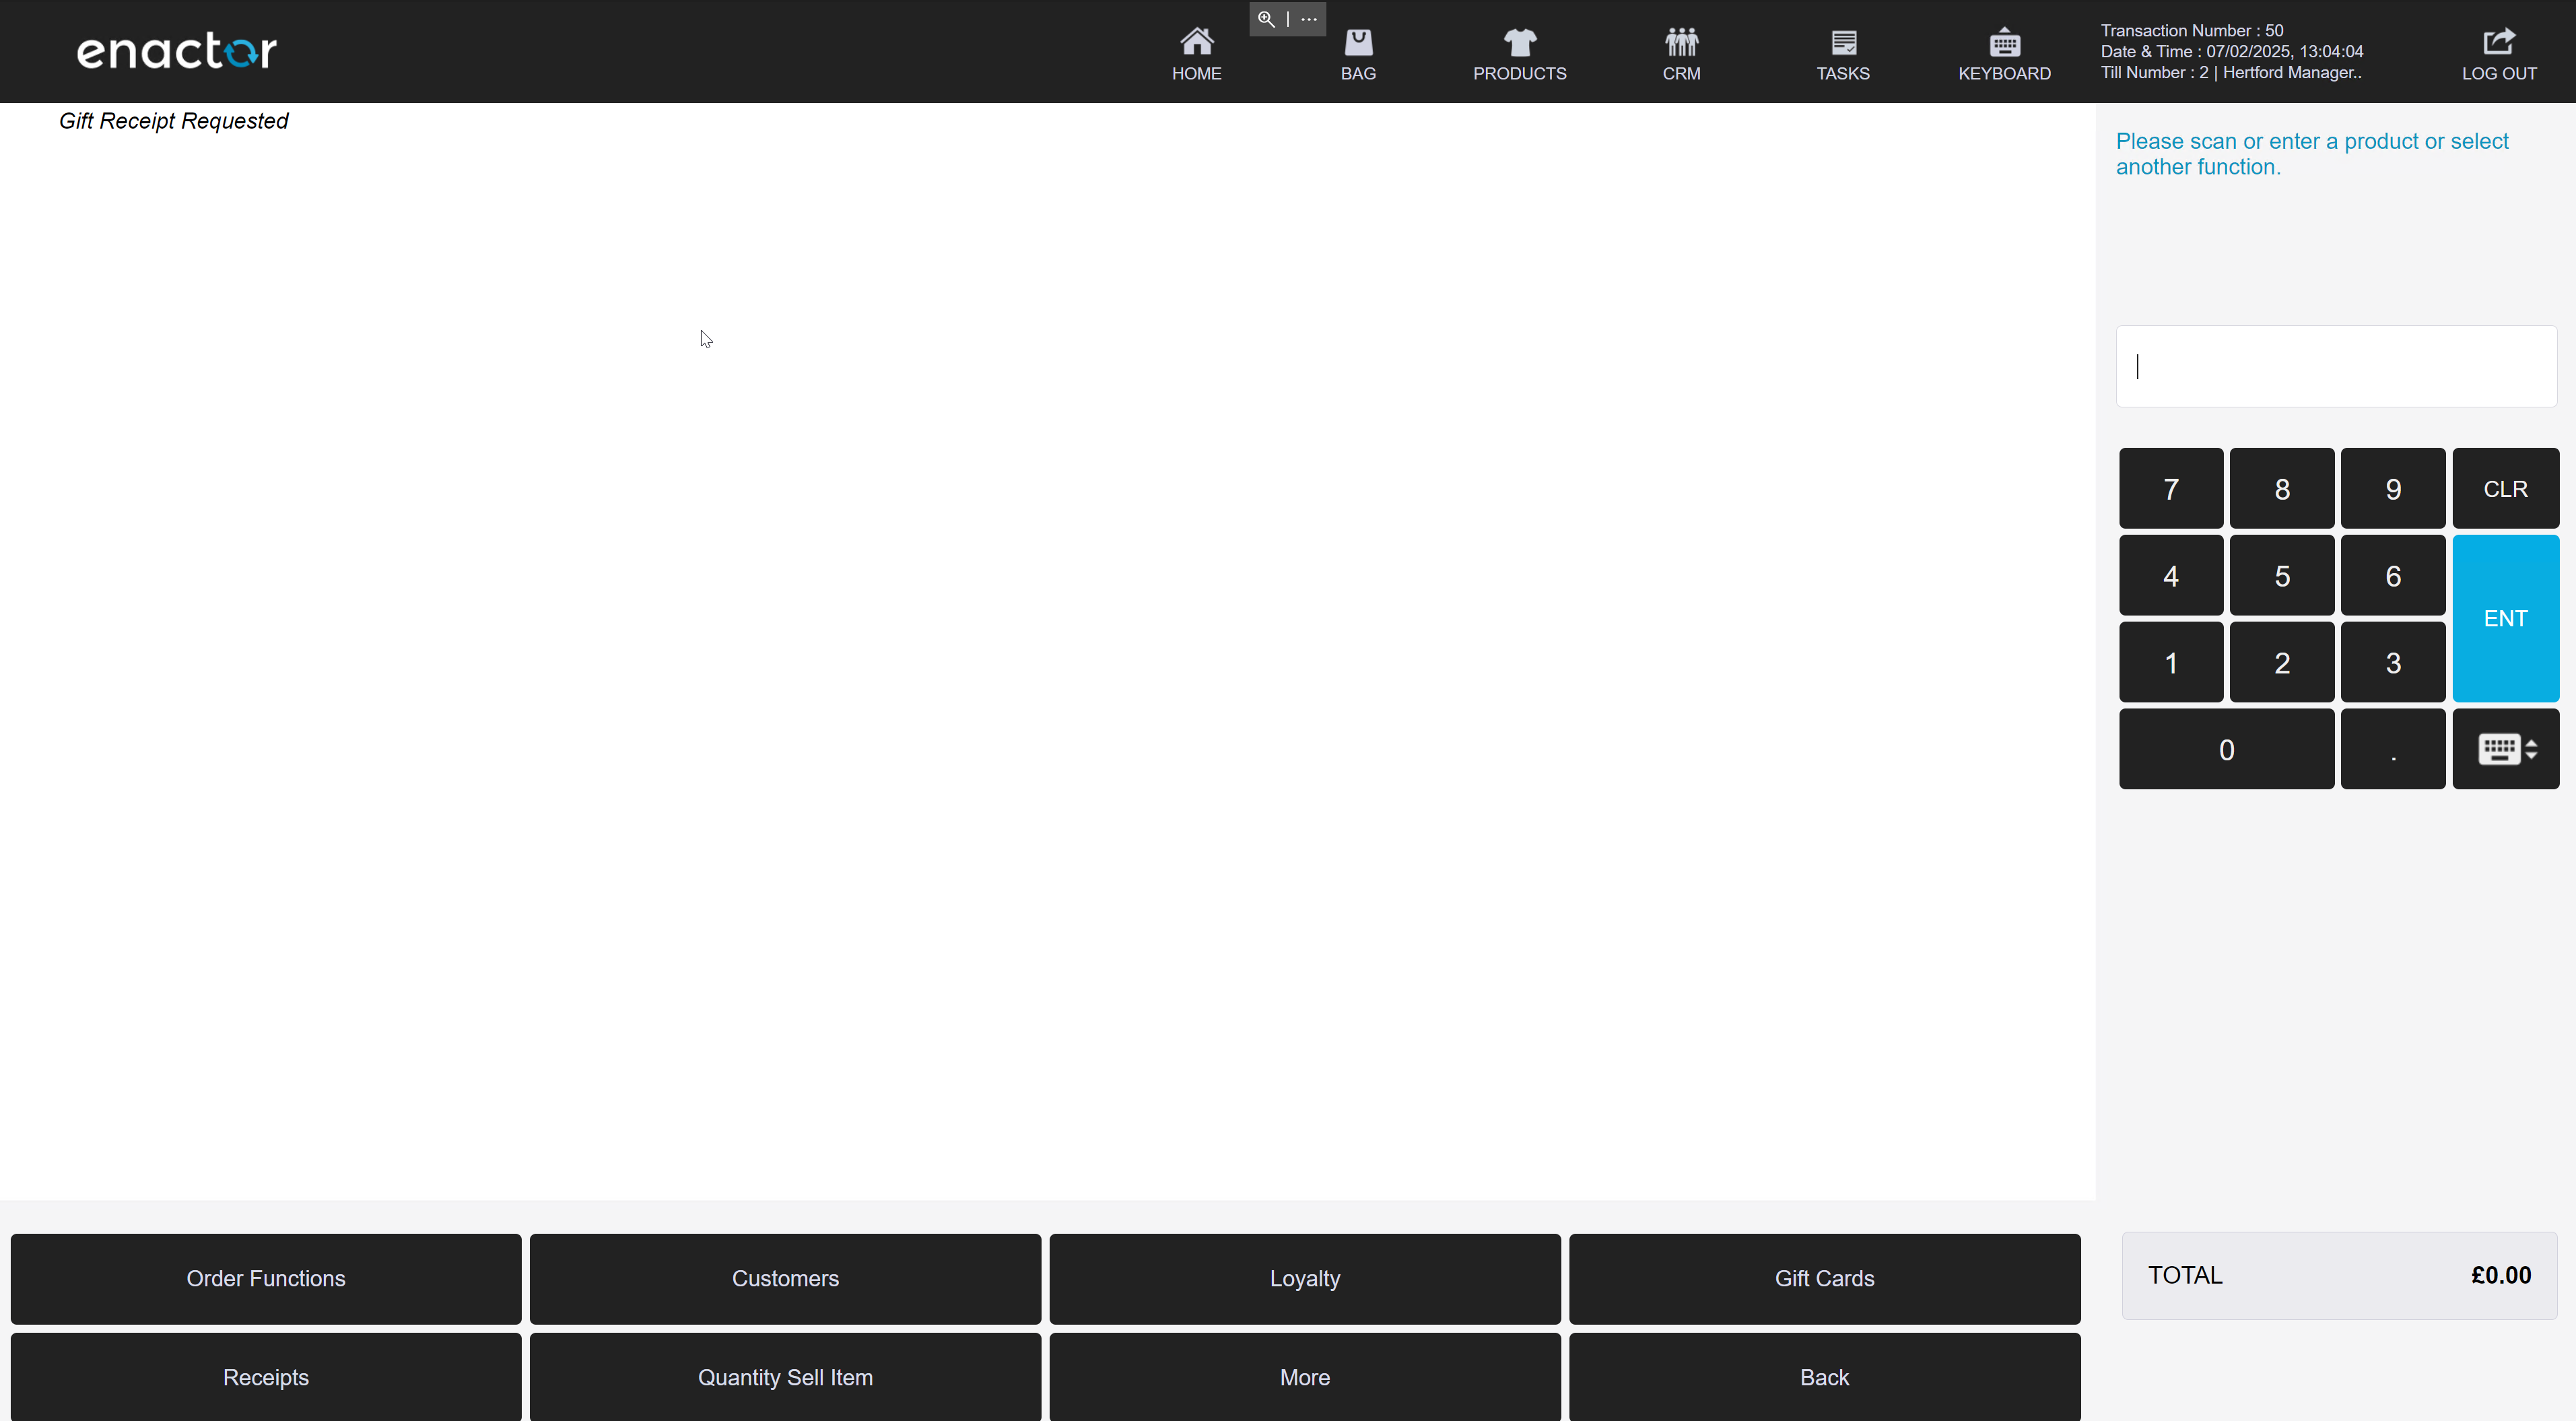
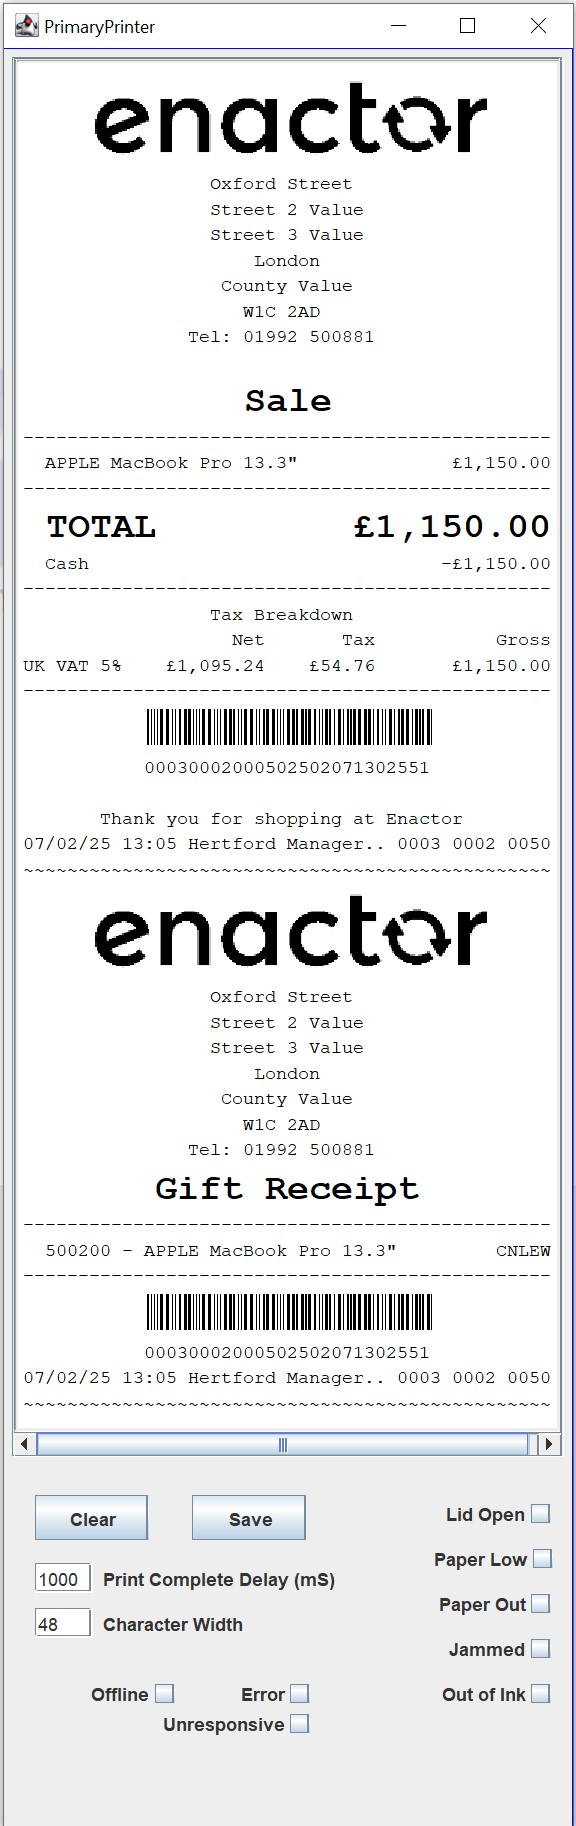
Select Sales - Receipts - Request Gift Receipt.
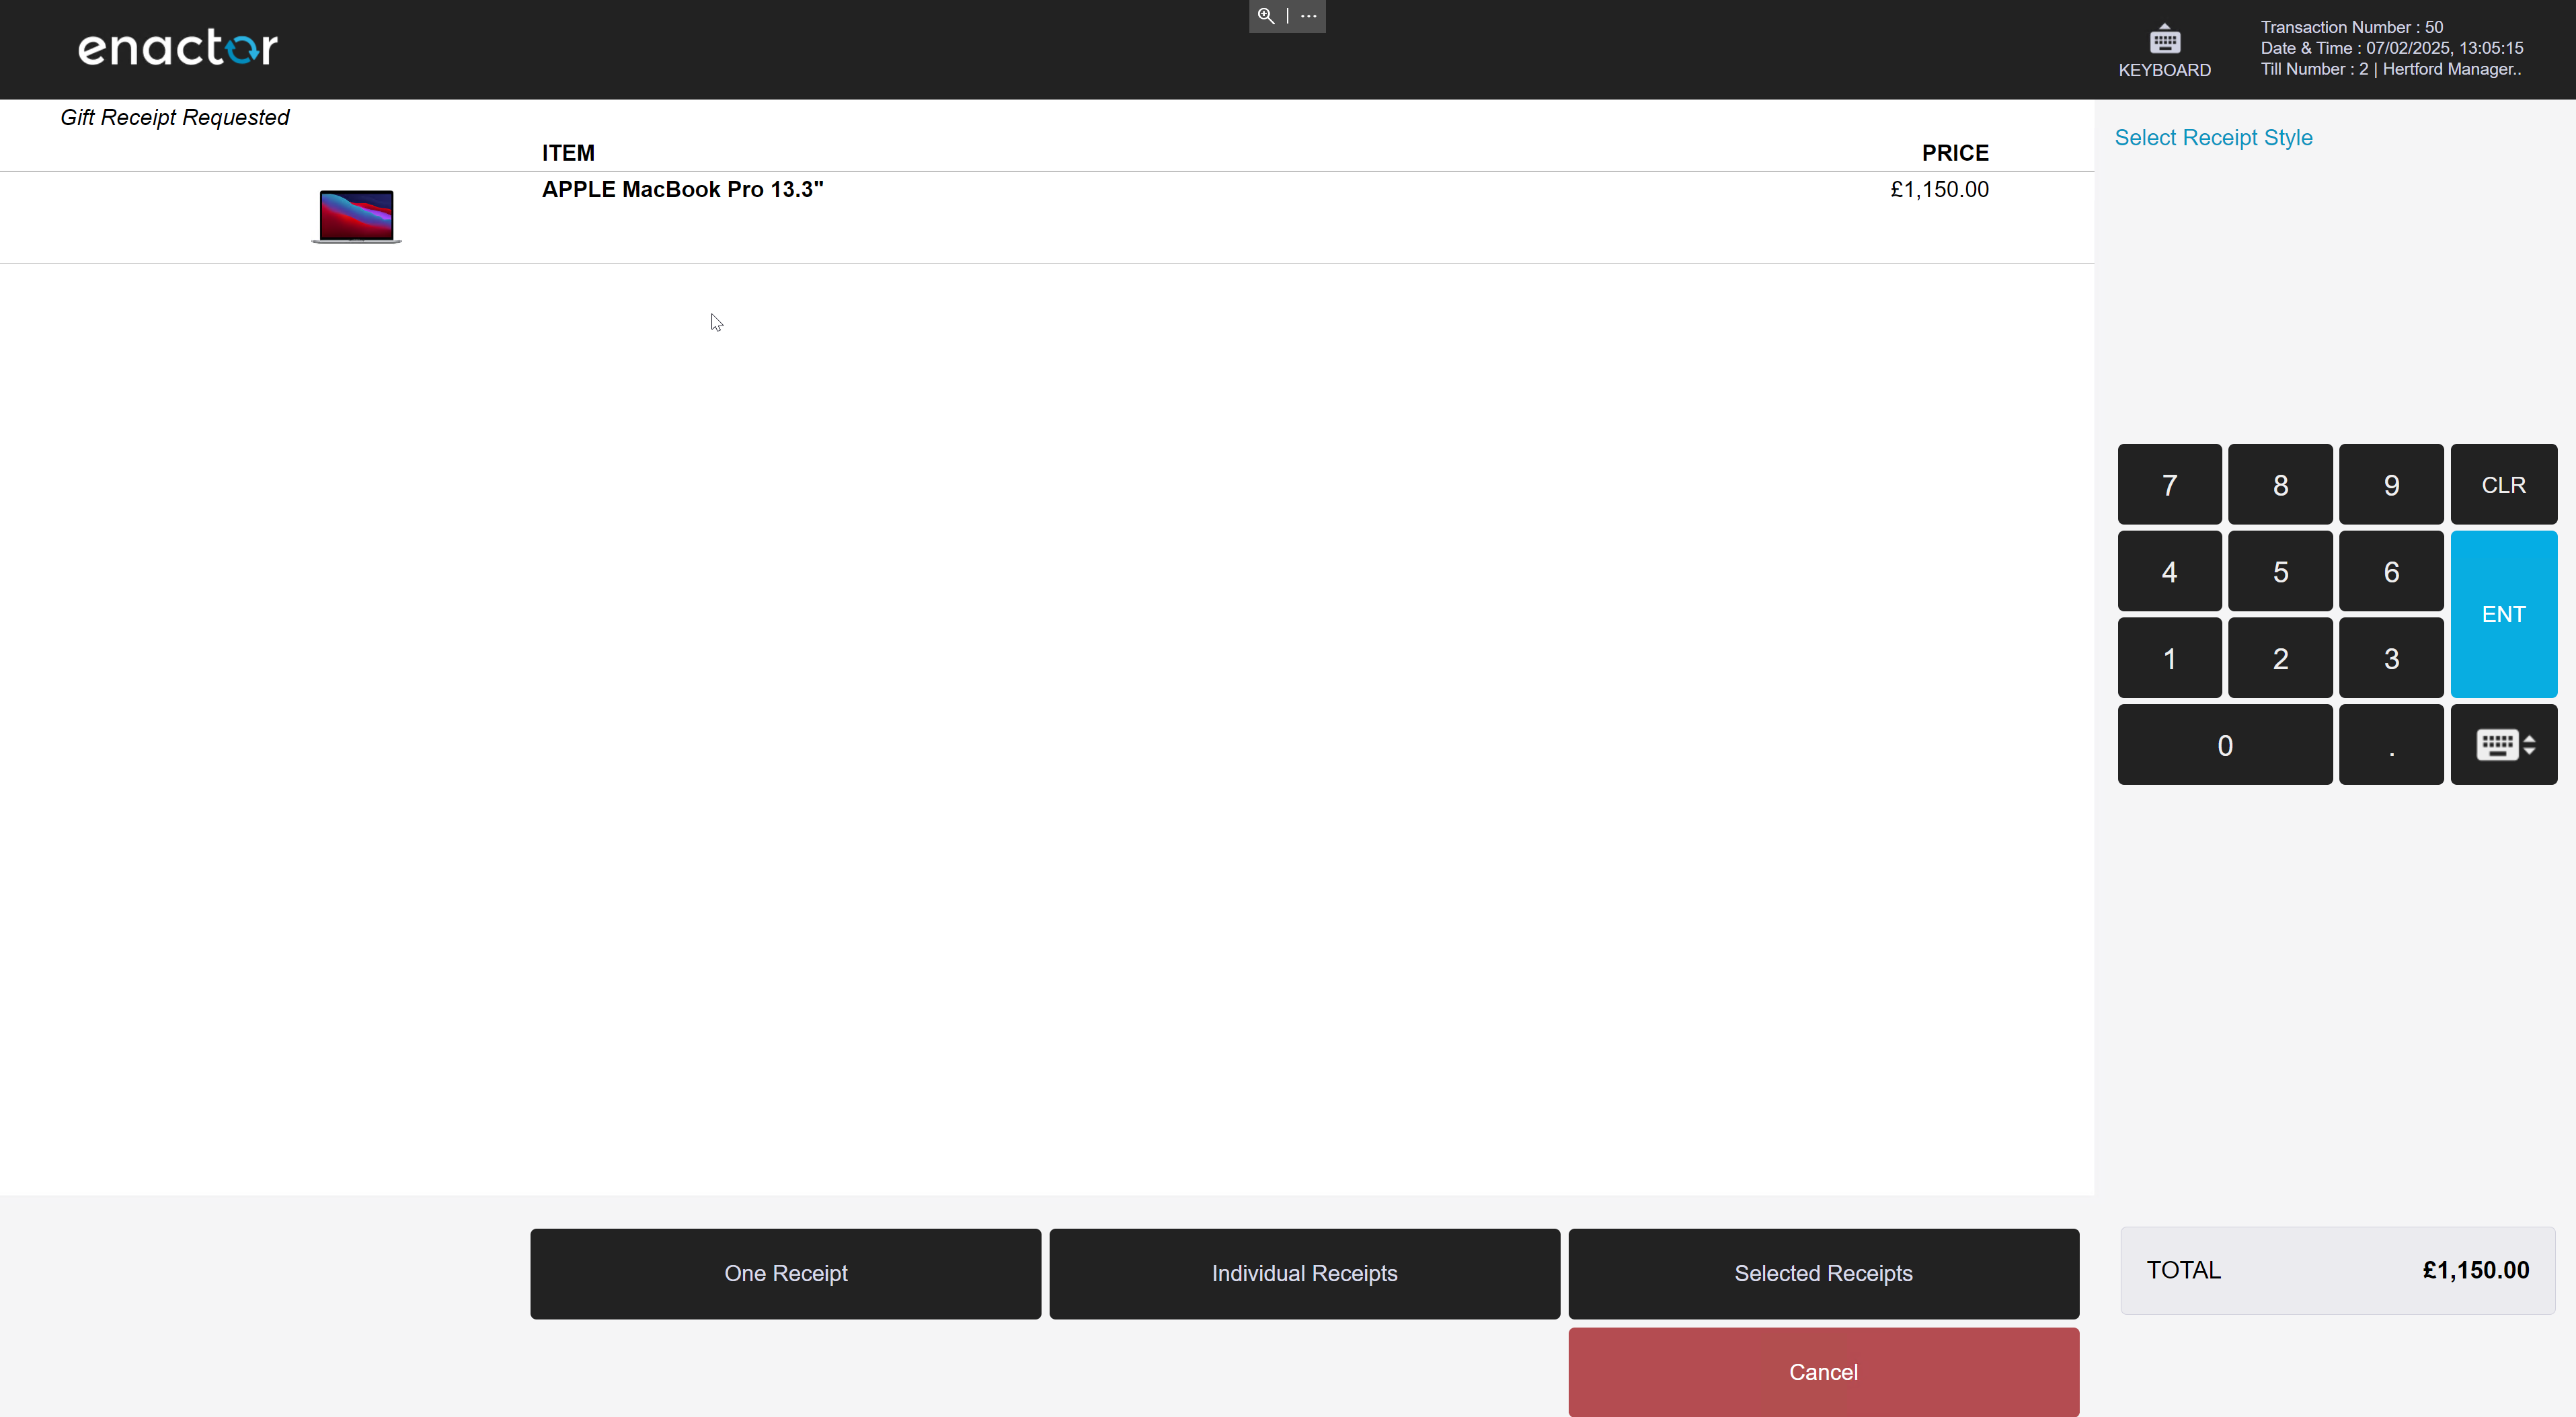
Add an item to the basket and select total, then select a receipt style and complete the transaction.
Transaction XML without supplementary reference
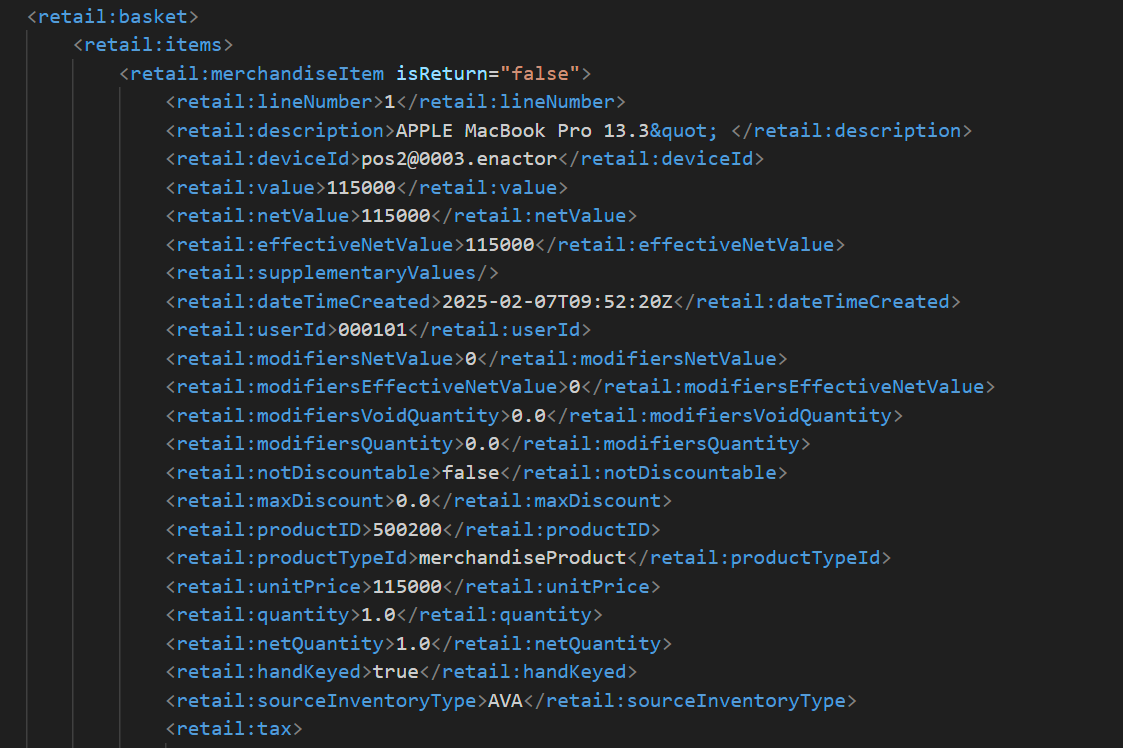
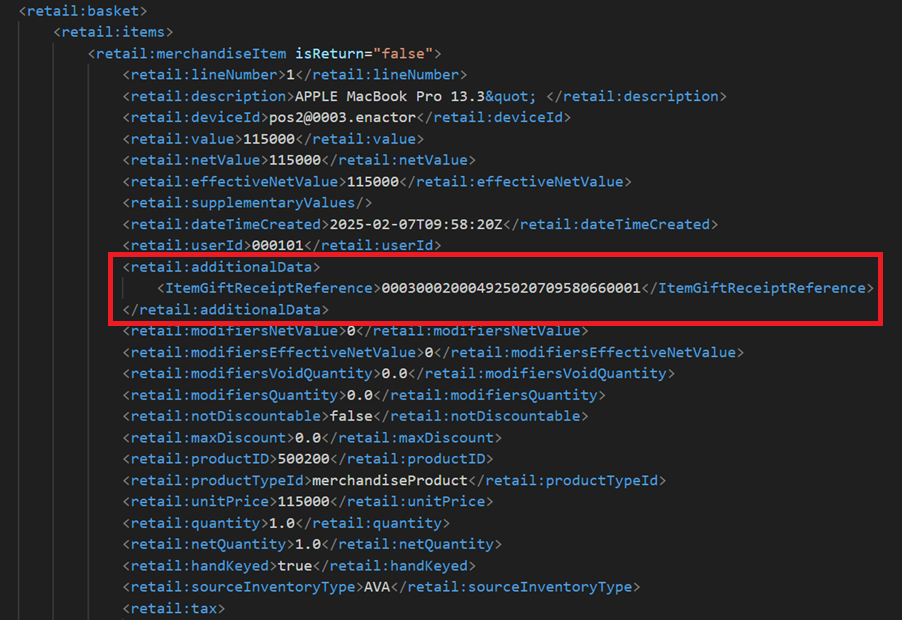
Transaction XML with supplementary reference
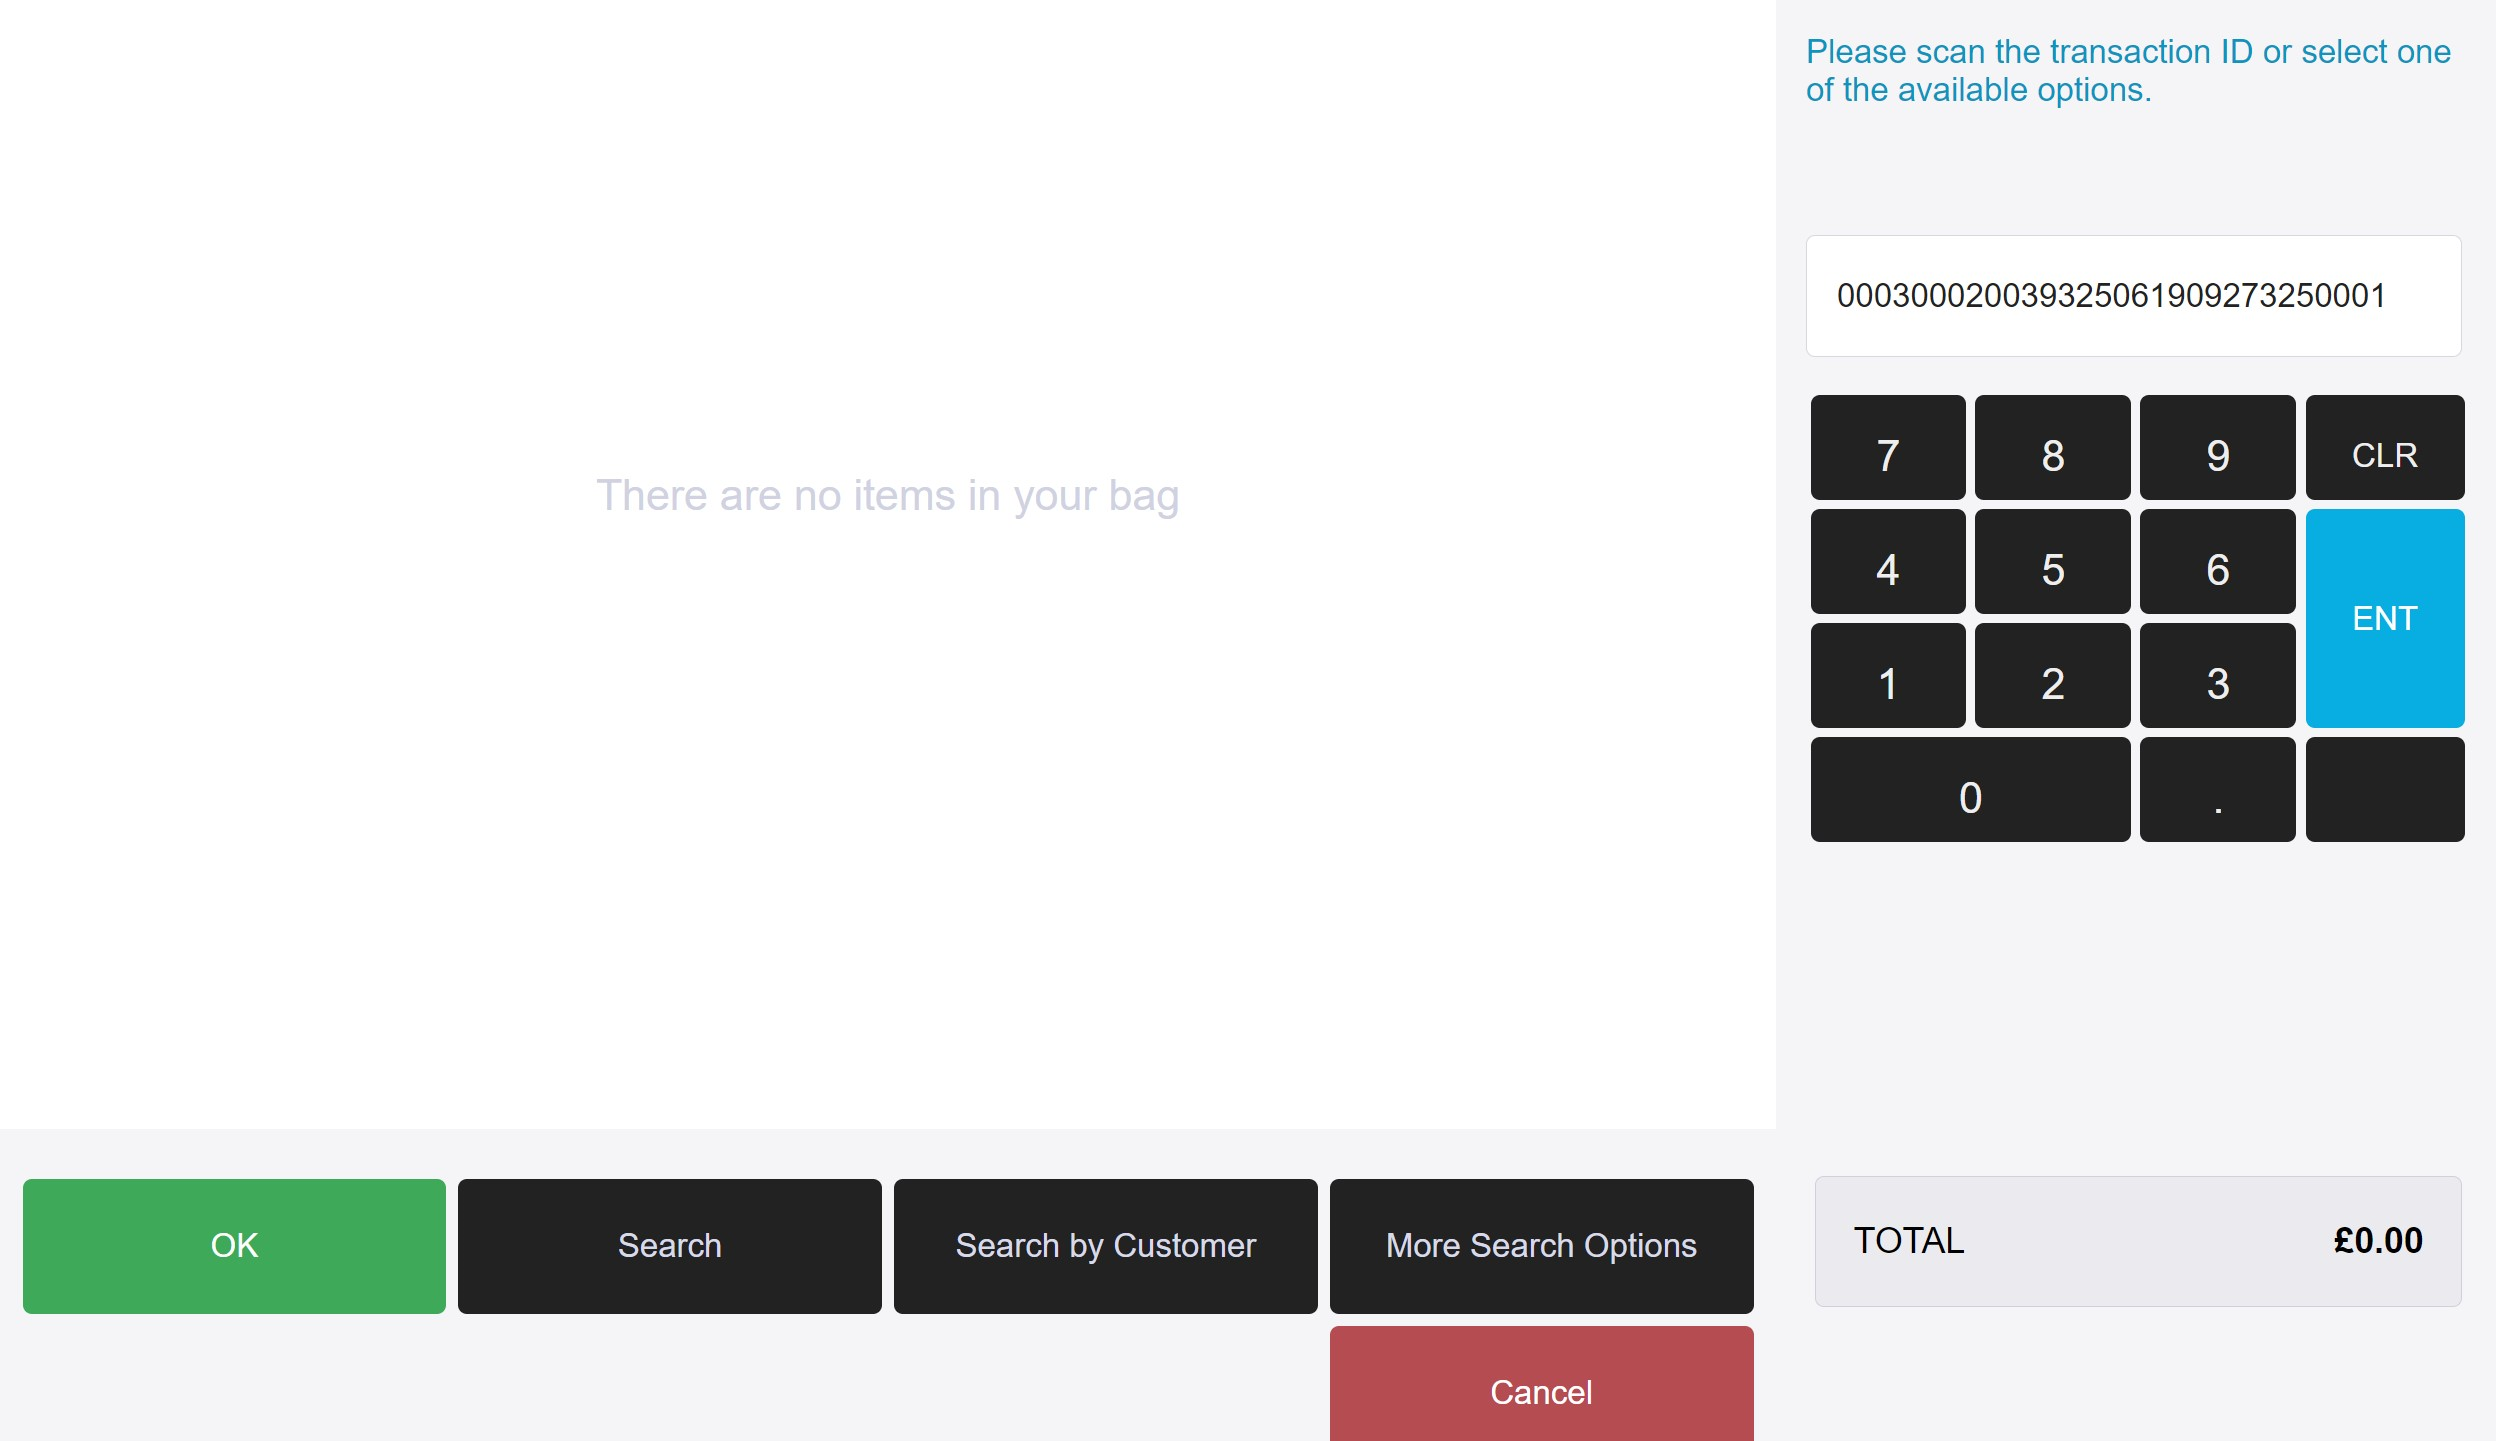
Returning a transaction via supplementary reference number

Select Returns - Return from Receipt - Enter the supplementary reference number.

Best Practices
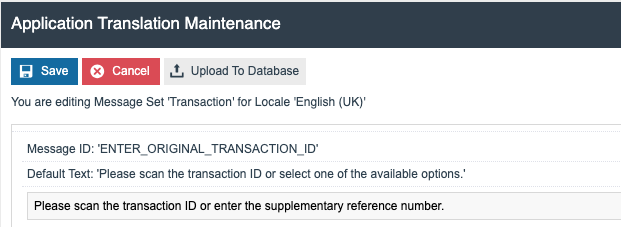
If you are enabling the Supplementary Reference Number feature, ensure you update any on-screen prompts or messages that reference the original transaction identifier.
These messages can be amended in Application Translations Maintenance app on the Estate Manager, which can be accessed at the following path:
Configuration > Organisation > Application Translations

For example, on the receipt return screen, the message "Please scan the transaction ID or select one of the available options." should be updated to reflect the accepted input types, such as: "Please scan the transaction ID or enter the supplementary reference number."
This ensures clarity for users and reduces confusion at the point of use.
The table below shows where the return message ID is stored.
| Application Package | Enactor POS |
|---|---|
| Message Set | Transaction |
| Message File | Pos/Transaction/TransactionMessages |
Select Enactor POS from the Application Package drop-down and wait for the list of Message Sets to load.
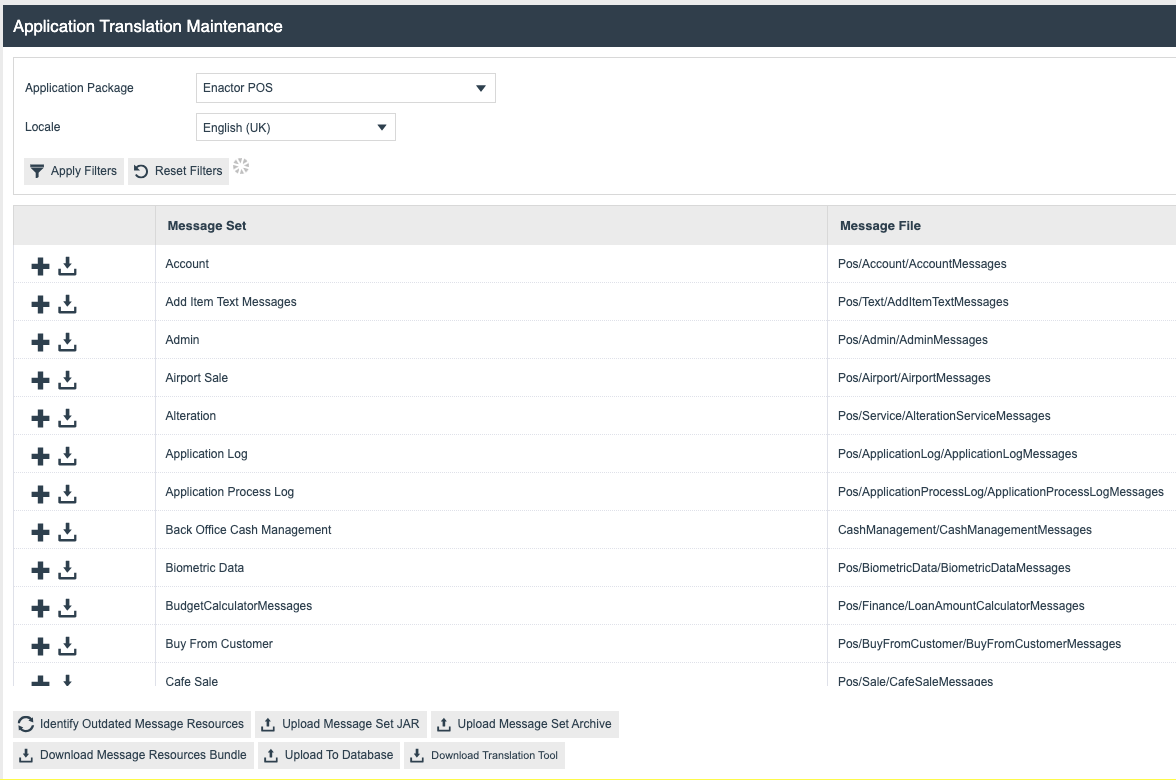
Once loaded, scroll down to the Transaction Message Set and select the + Symbol next to it (or the Edit symbol if amendments have already been made to this Message Set).
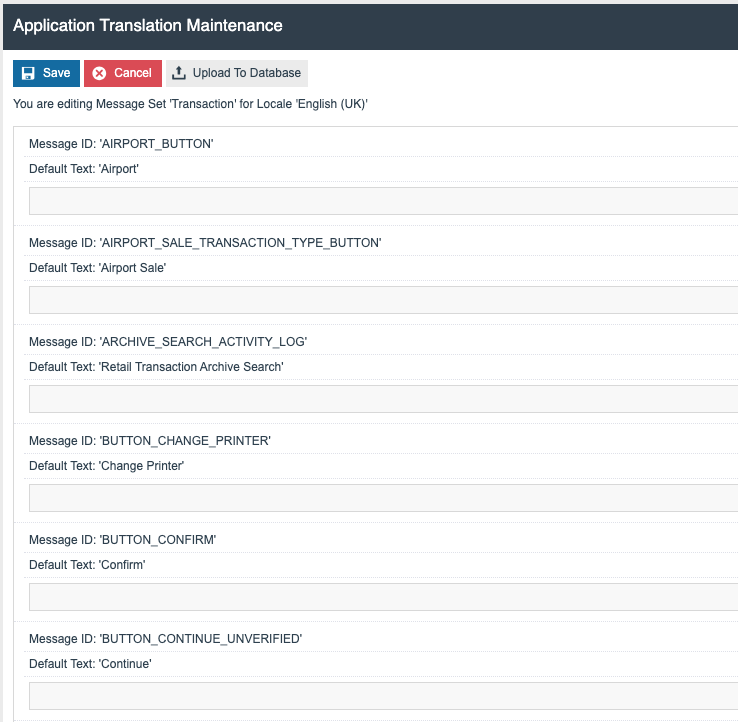
Scroll down to the Message with an ID of ENTER_ORIGINAL_TRANSACTION_ID and enter the amended message.
Select the Save option to save the message set.
Broadcasts
Broadcast the following entity to the POS:
- Message Resources