How To Use the Long Press Menu on the Login Screen
This guide explains how to access and use the Long Press Menu options available on the POS login screen.
This functionality is available only in Reduced Android and iOS POS. It is not available in Reduced Swing POS.
Accessing the Long Press Menu
-
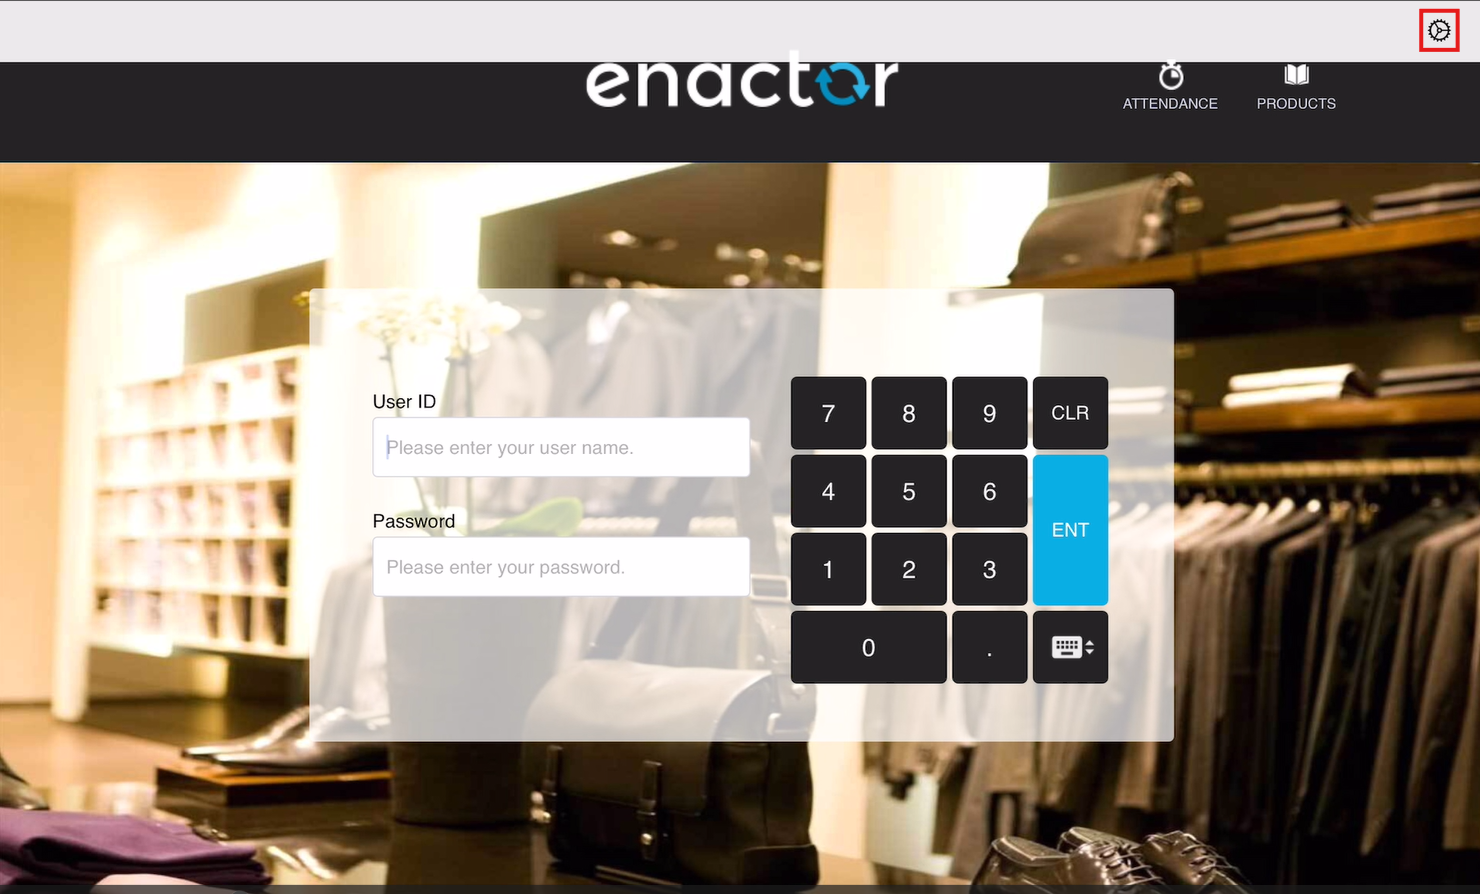
On the Login Screen, long-press anywhere on the screen.
-
Tap the Settings icon located at the top-right corner.
-
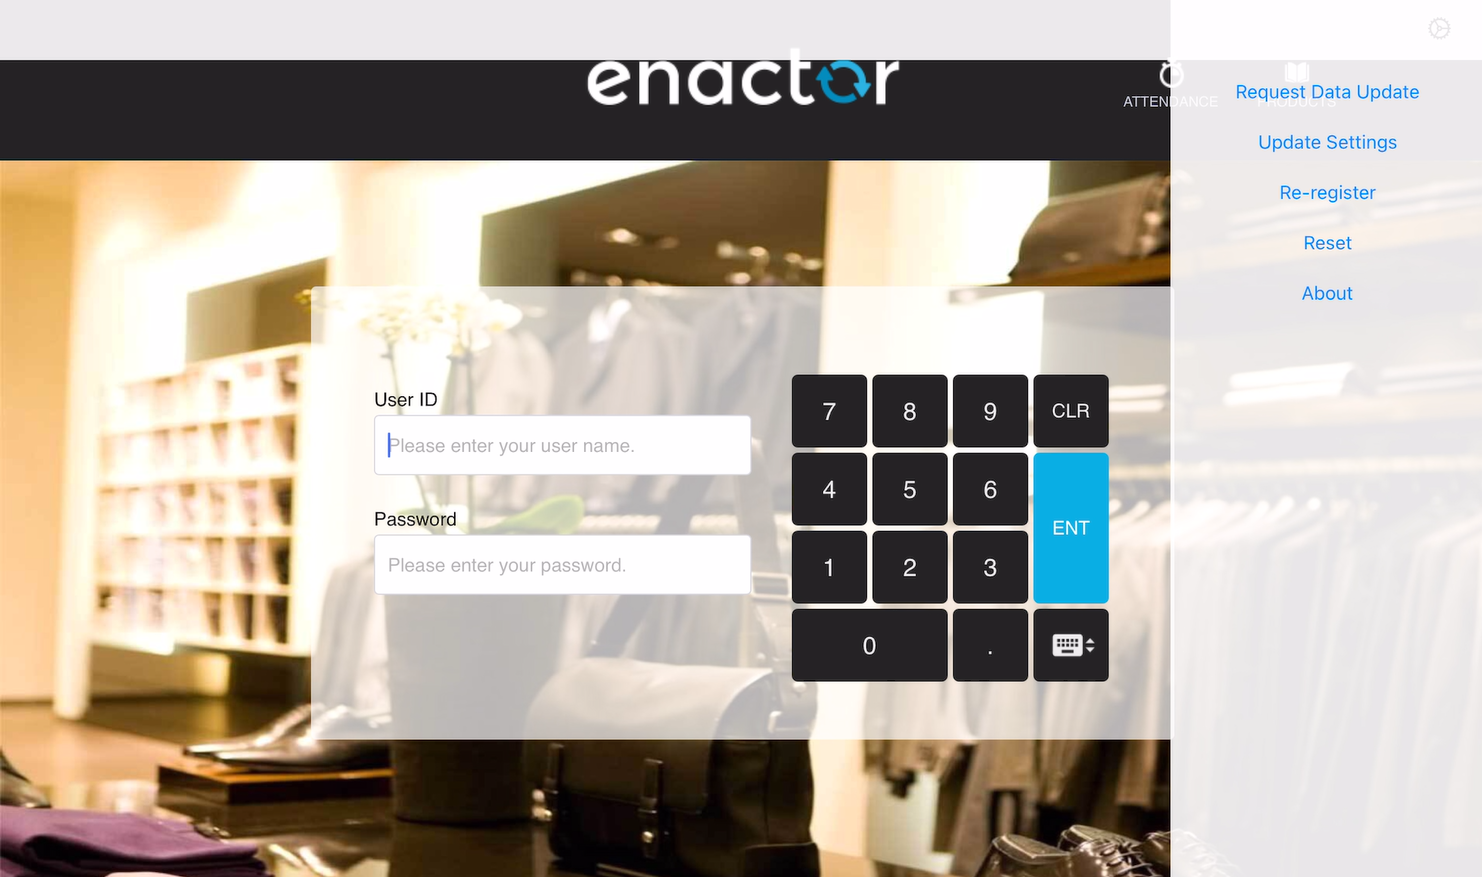
The Long Press Menu appears with the following options:
-
Request Data Update
-
Update Settings
-
Re-register
-
Reset
-
About
-
1. Request Data Update
This option triggers an automatic broadcast to update the POS with the latest data and will re-trigger the same broadcast repeatedly for the defined time period.
How It Works
-
Select Request Data Update from the menu.
-
An automatic broadcast is triggered from the EM.
-
The user receives a full broadcast, based on the broadcast change period and Automatic BC configured in the client configuration set.
-
A new record is added to the Broadcast History in EM.
-
All related broadcast notification messages are visible in the POS application.
-
When Automatic BC and Limited BC and/or Multiple BC options are configured in the client configuration, pressing Request Data Update triggers all configured BCs simultaneously.
2. Update Settings
Use this option when changes are made to the POS terminal or Client Configuration Set. Changes made in the EM for these two entities will be reflected on the POS without performing a data broadcast.
How It Works
-
Select Update Settings from the menu.
-
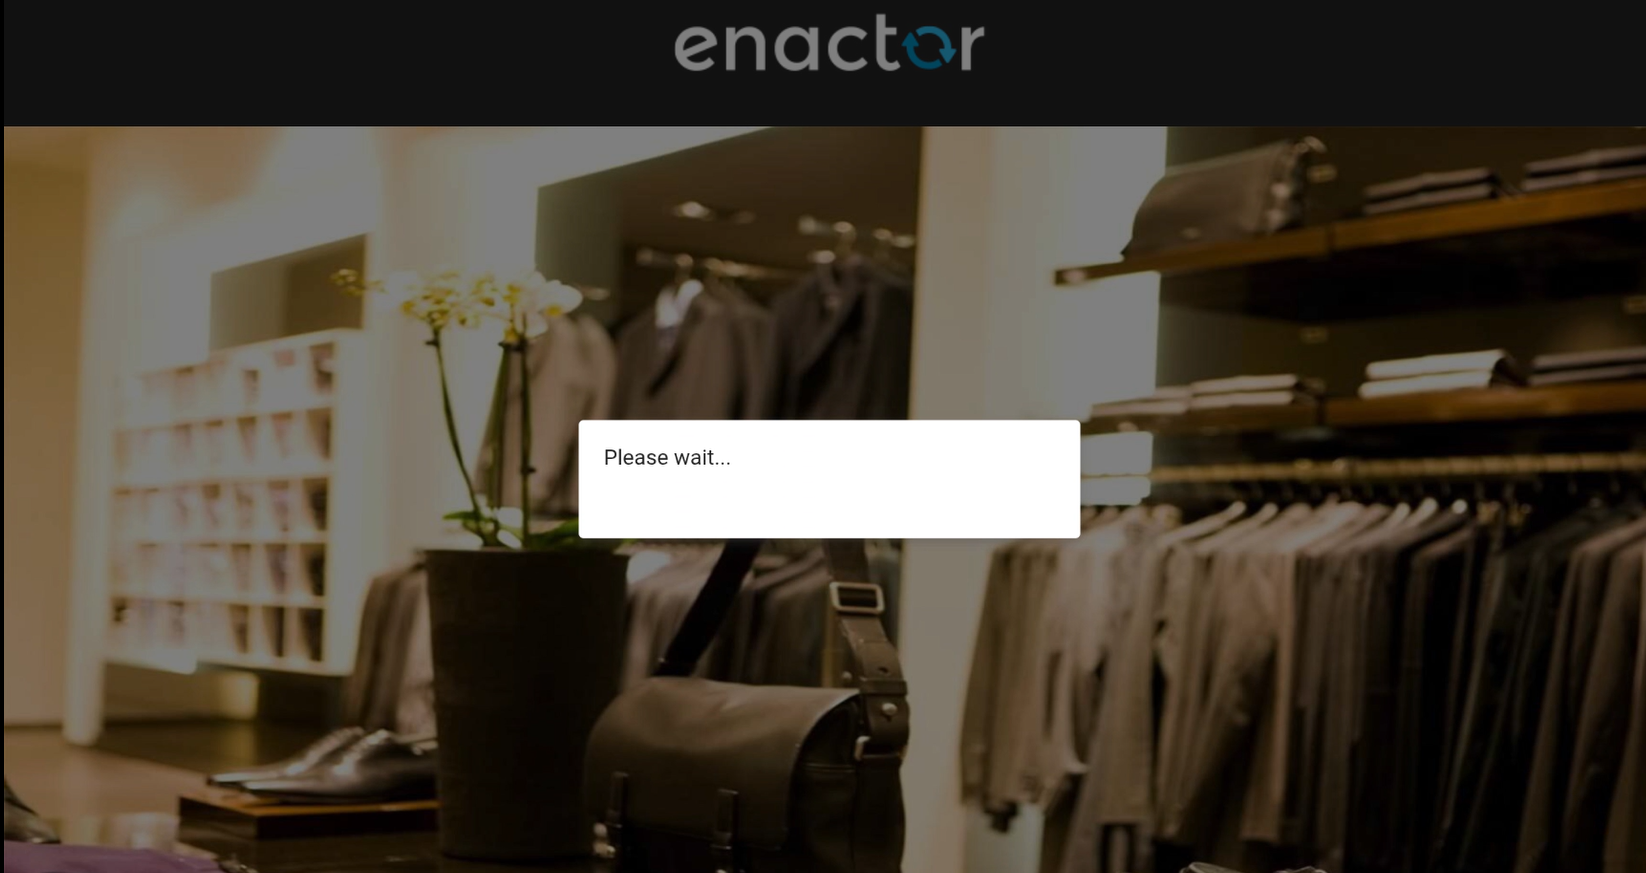
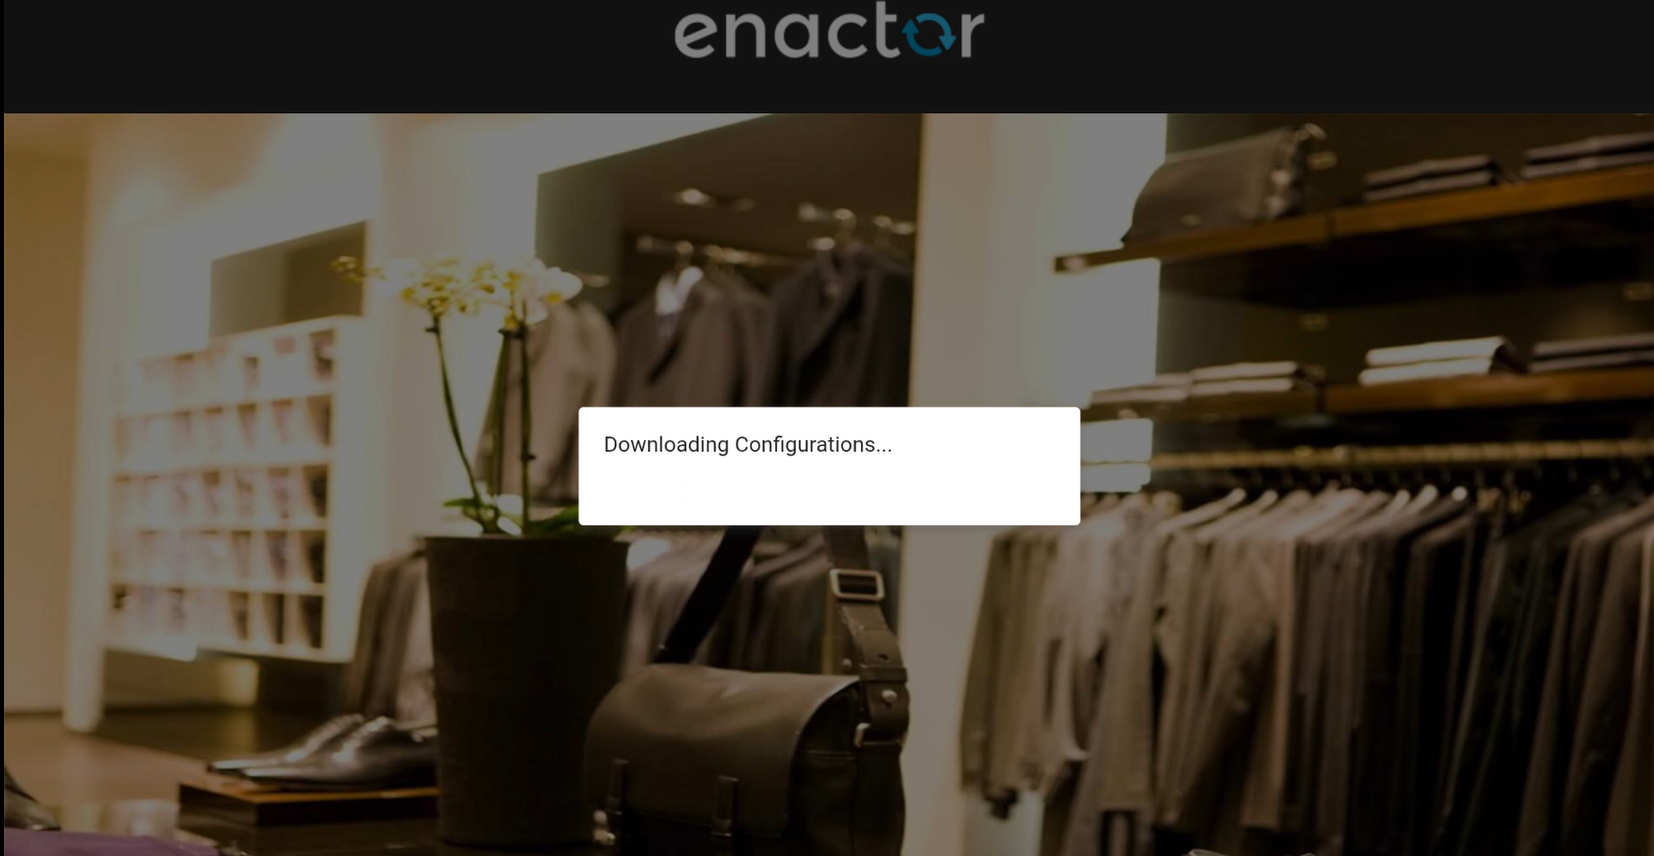
The POS displays a "Please Wait..." prompt message and then Downloading Configurations....
-
A prompt appears: "Application settings successfully updated. Would you like to restart the application?"
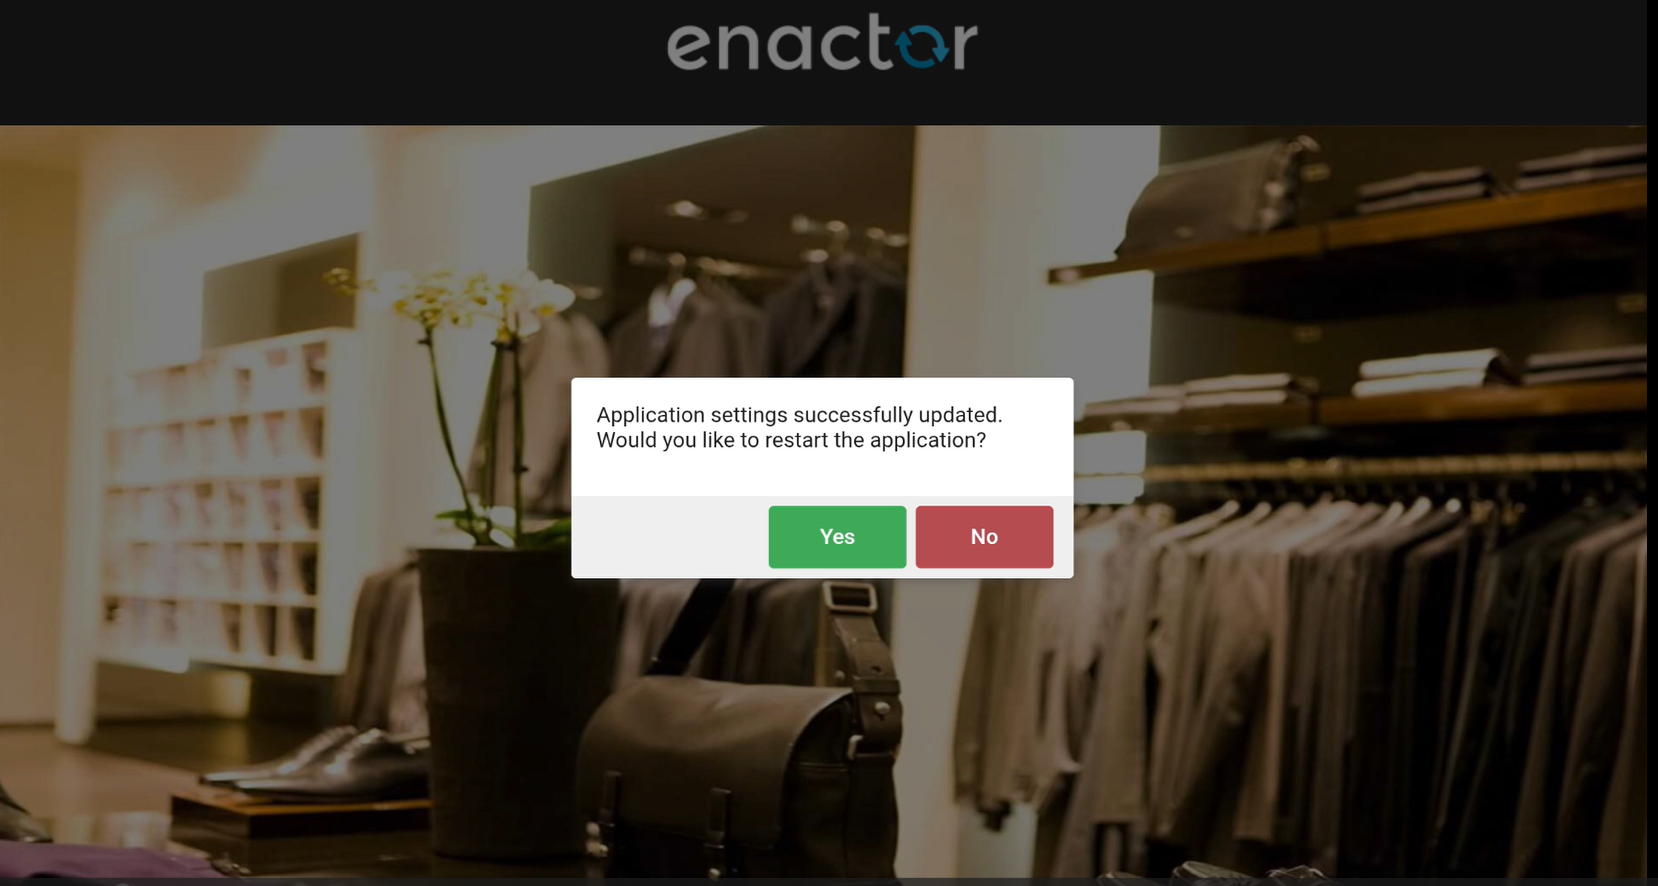
User Options
-
Yes - The application restarts immediately, and the Login screen is shown.
-
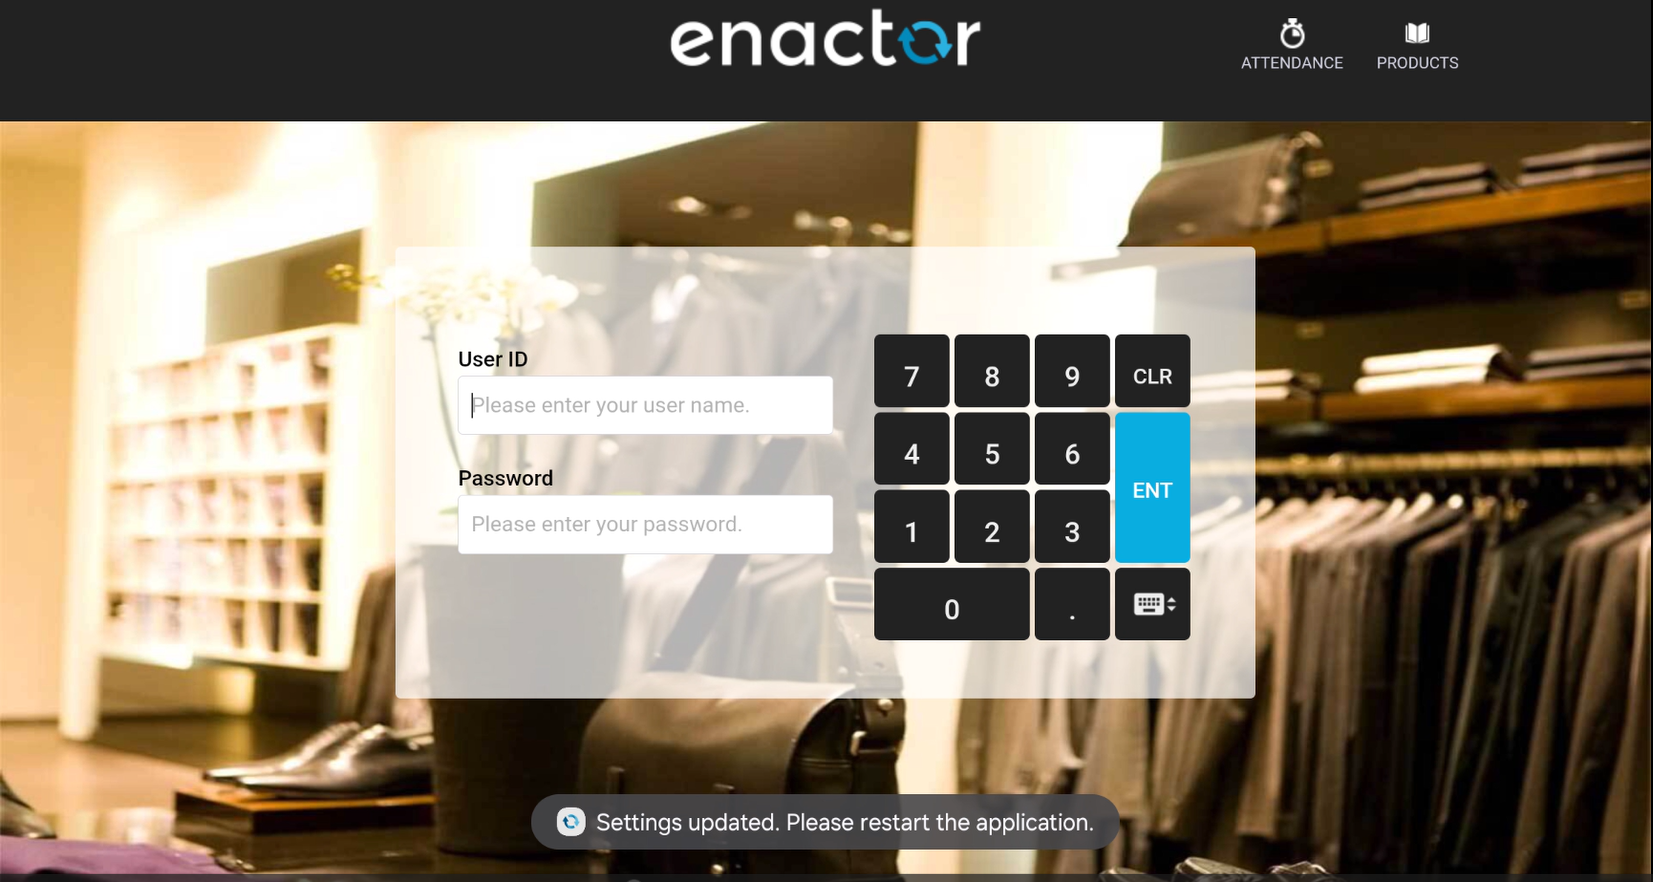
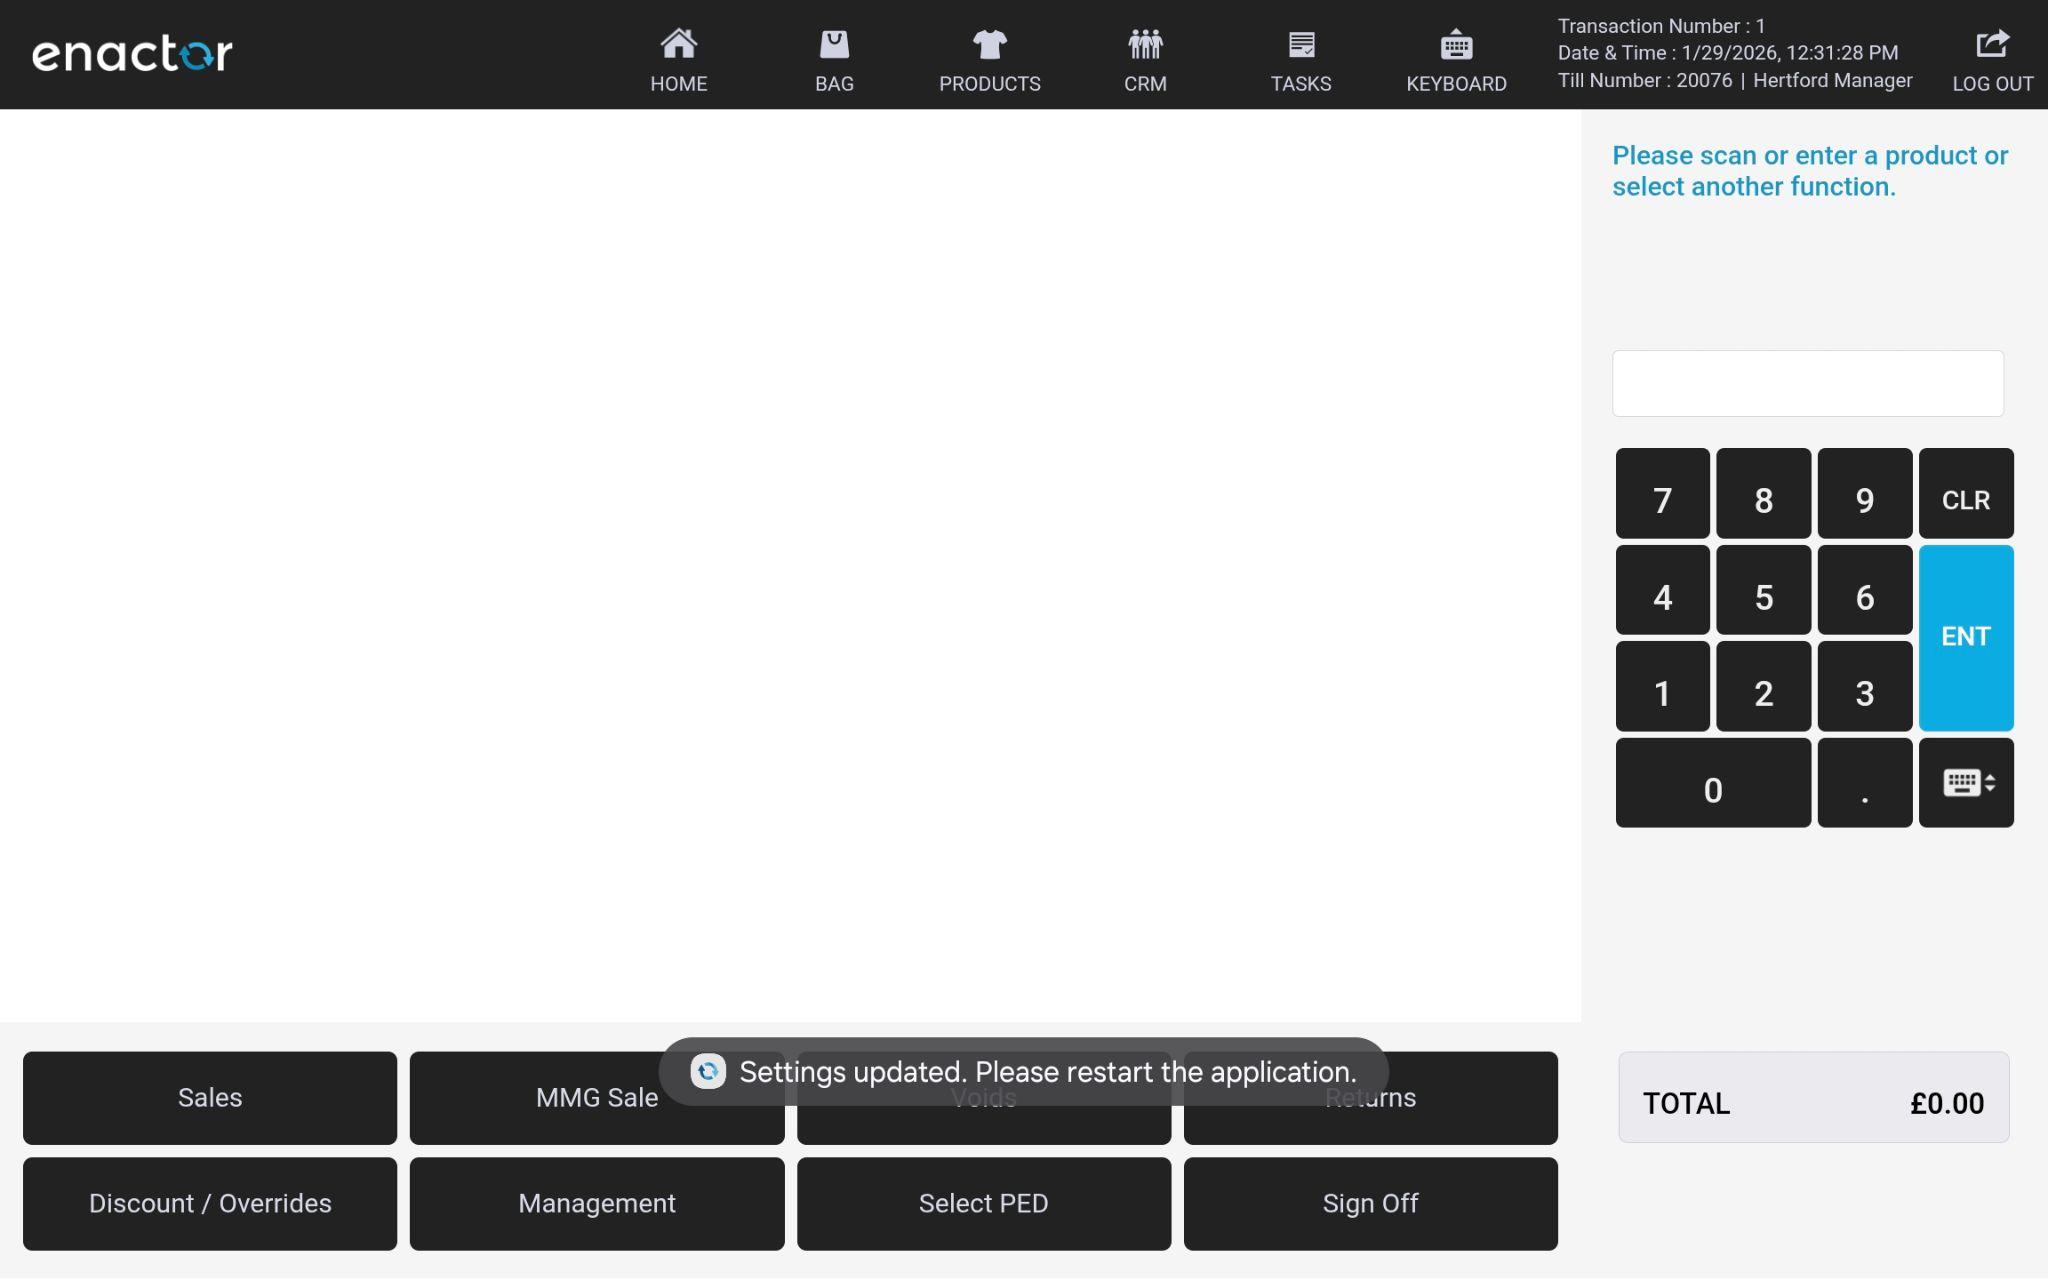
No - A toast message appears: "Settings updated. Please restart the application." This message will remain intermittently, visible for approximately 10 seconds each time, and will continue to appear until the application is restarted.
3. Re-register
This option allows the POS to be registered on a new device without clearing existing data.
Steps
-
Select Re-register from the menu.
-
The application navigates to Choose how to configure the application.
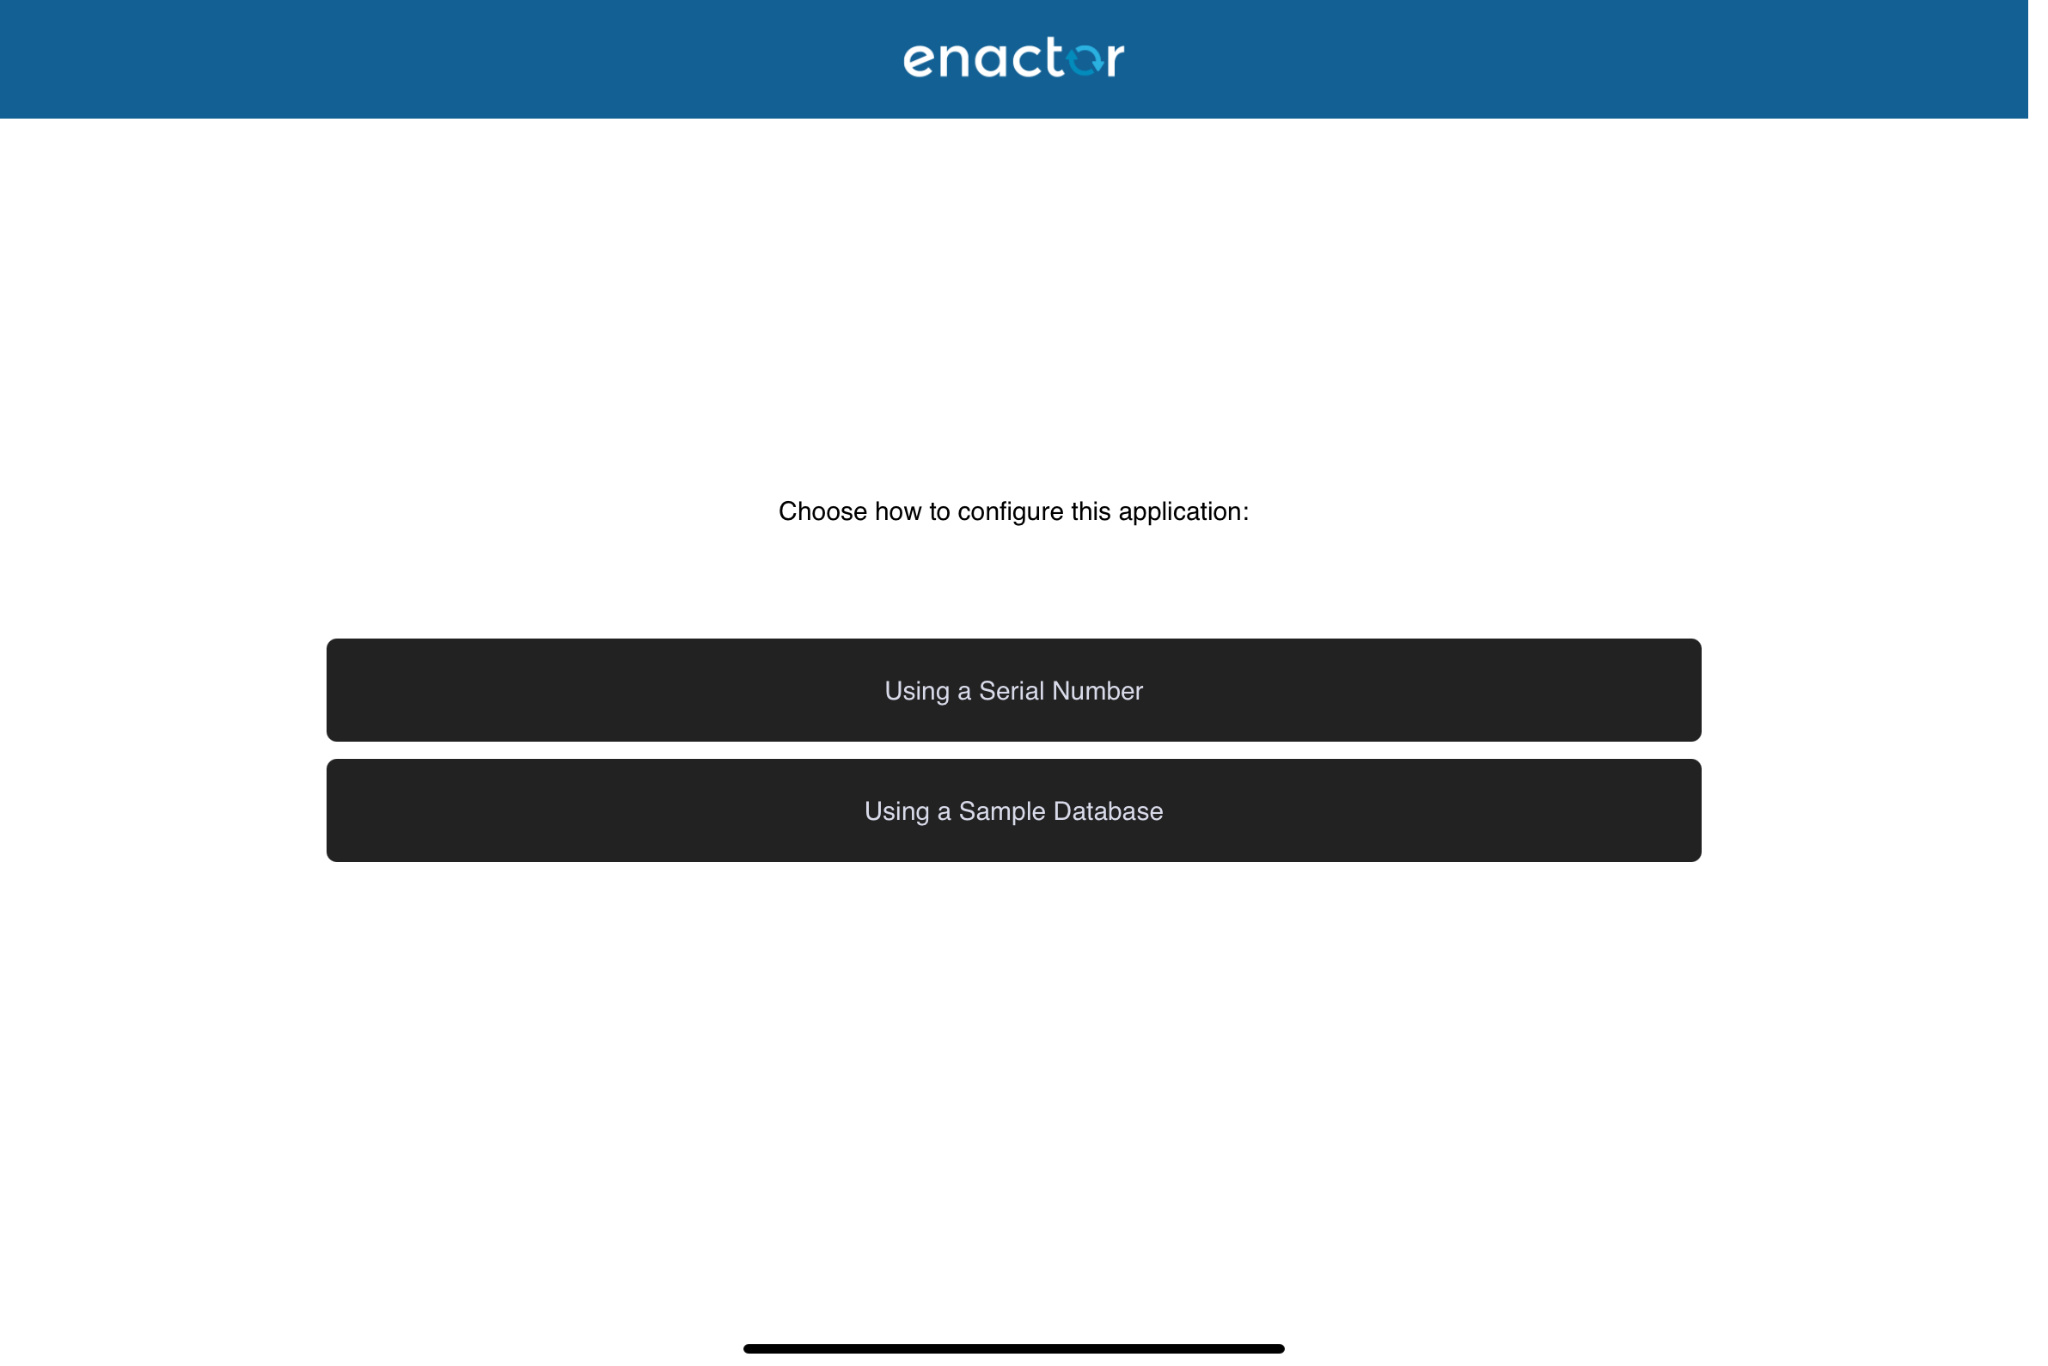
-
Select Using a Serial Number.
-
Scan the serial number to complete the registration.
How It Works
-
The database is not cleared.
-
The existing database remains as it is.
-
Users can continue working with previously available data.
4. Reset
This option fully resets the POS application and completely clears the database.
Steps
-
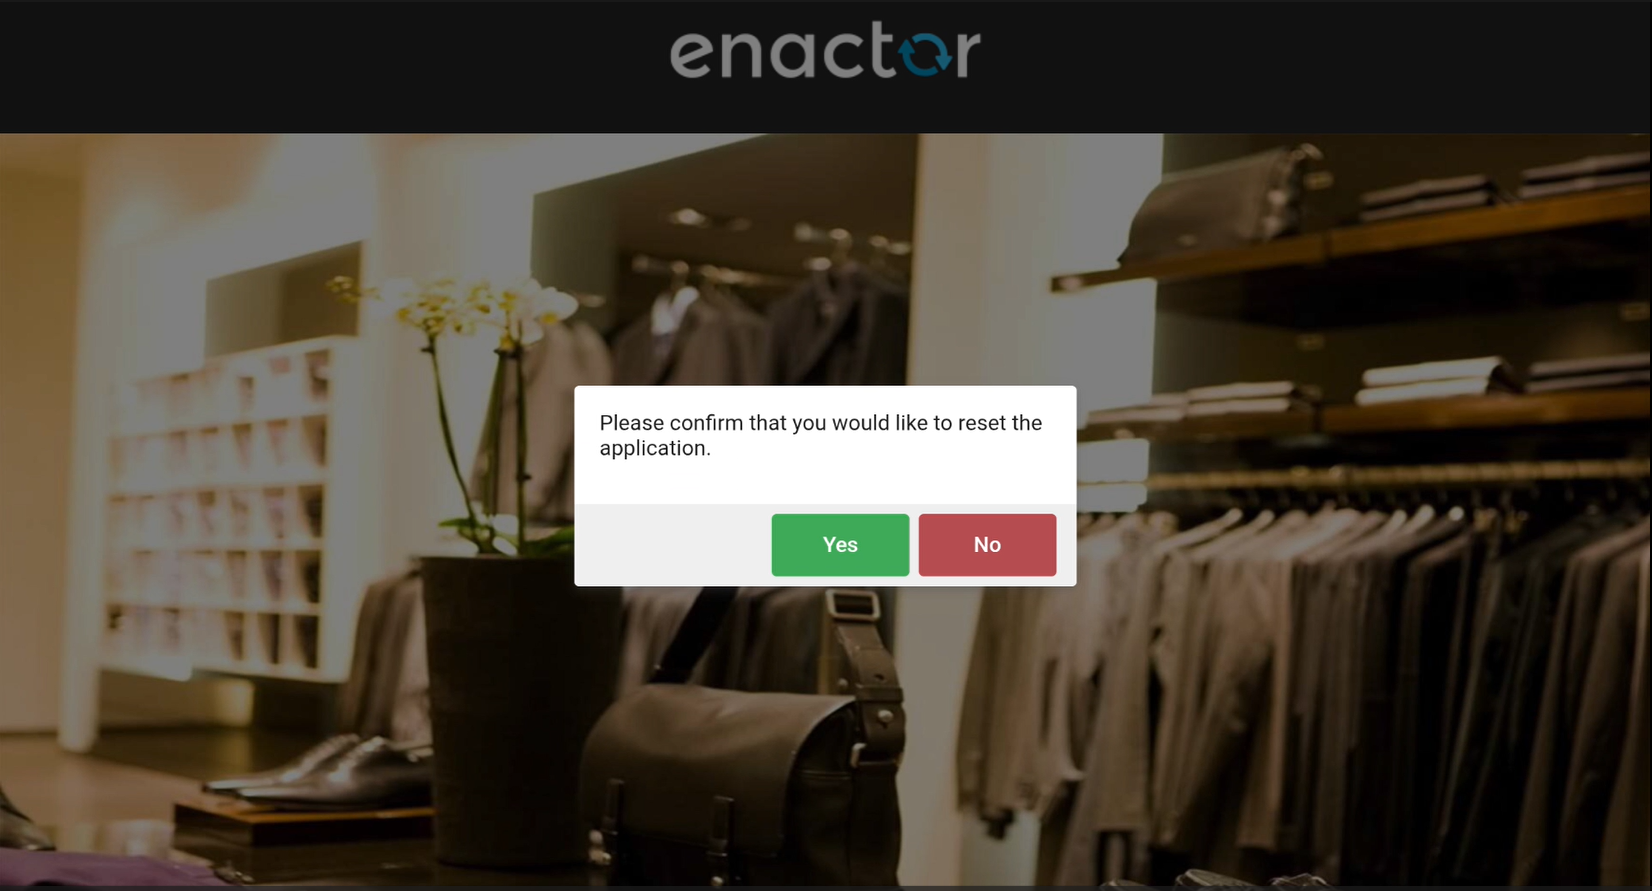
Select Reset from the menu.
-
A confirmation prompt is displayed.
User Options
-
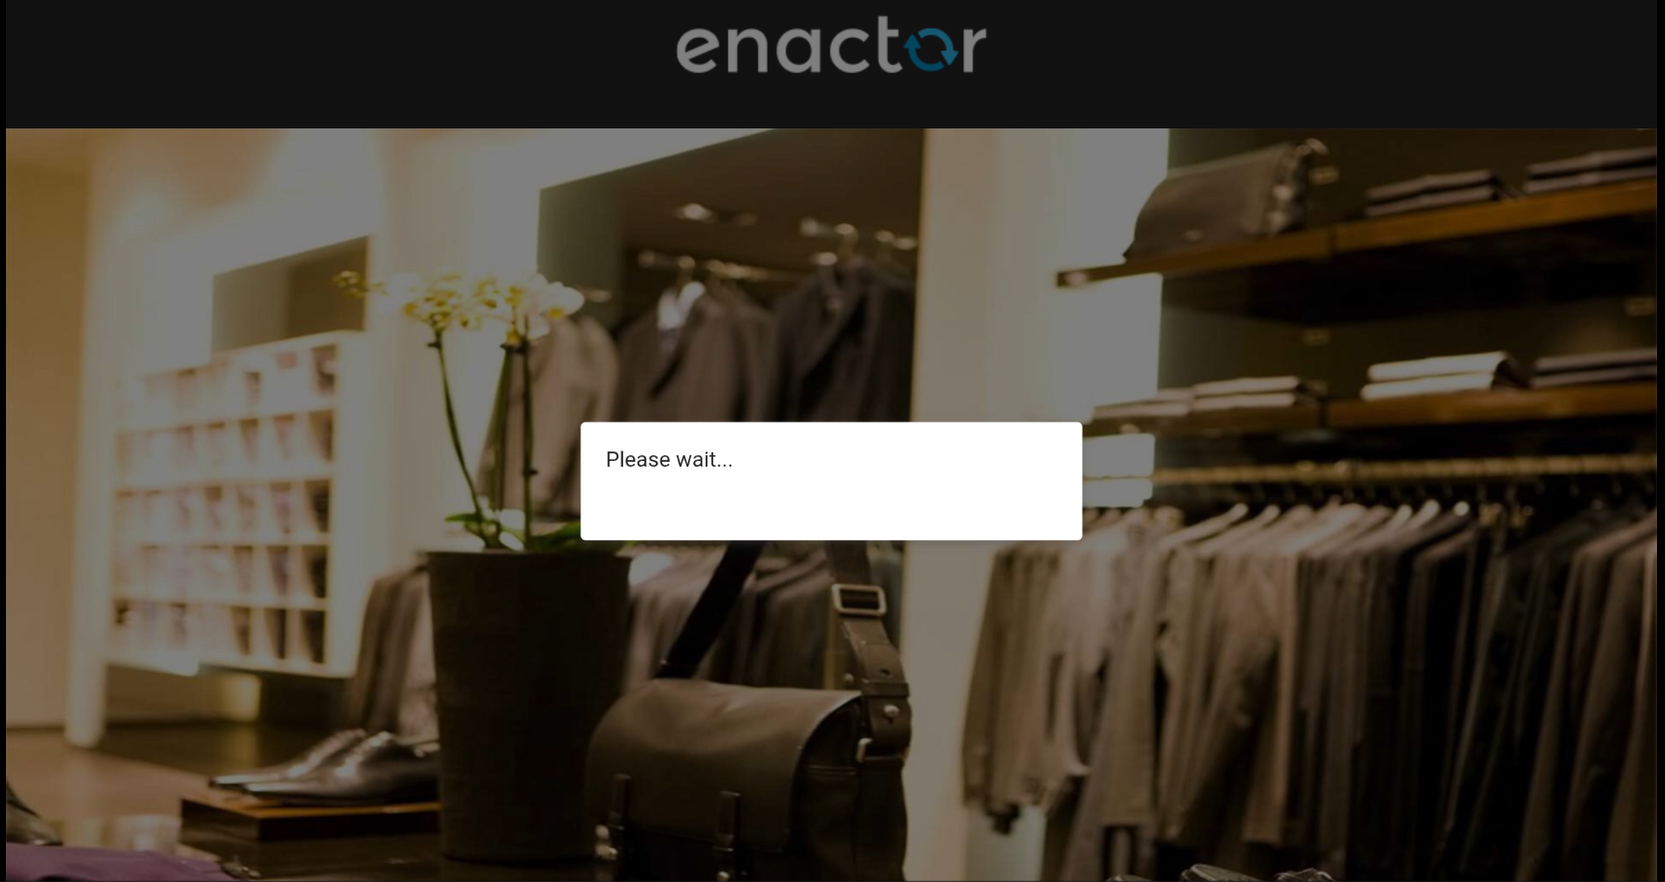
Yes
-
The POS displays a "Please Wait..." prompt message.
-
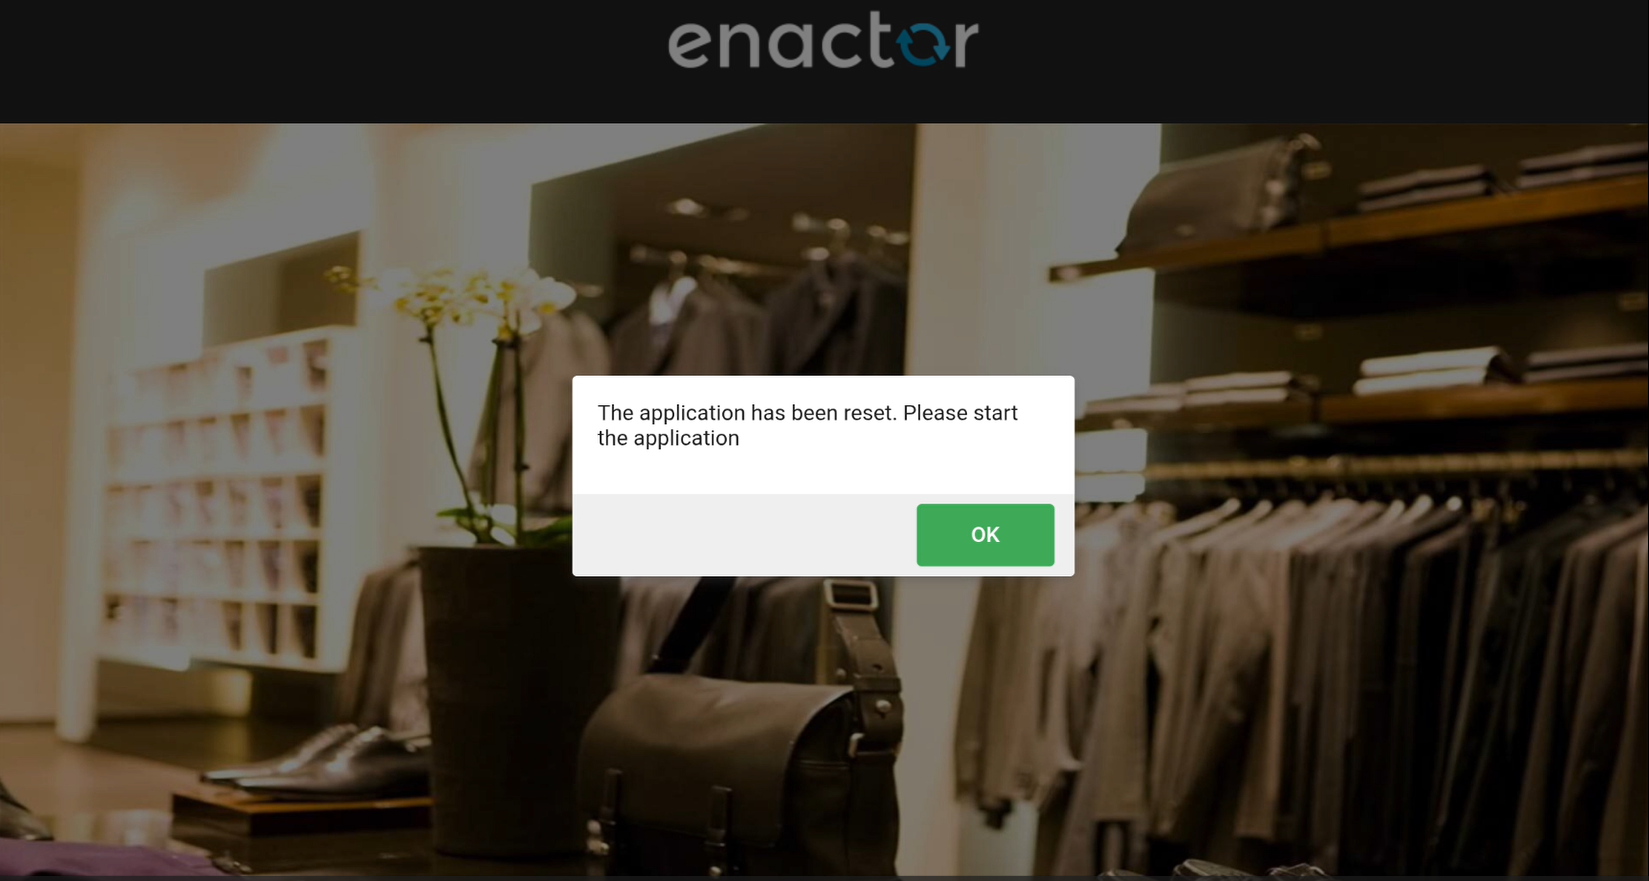
A prompt appears: "The application has been reset. Please start the application."
-
Press OK. The application will restart immediately.
-
-
No - The application is not reset and returns to the Login Screen.
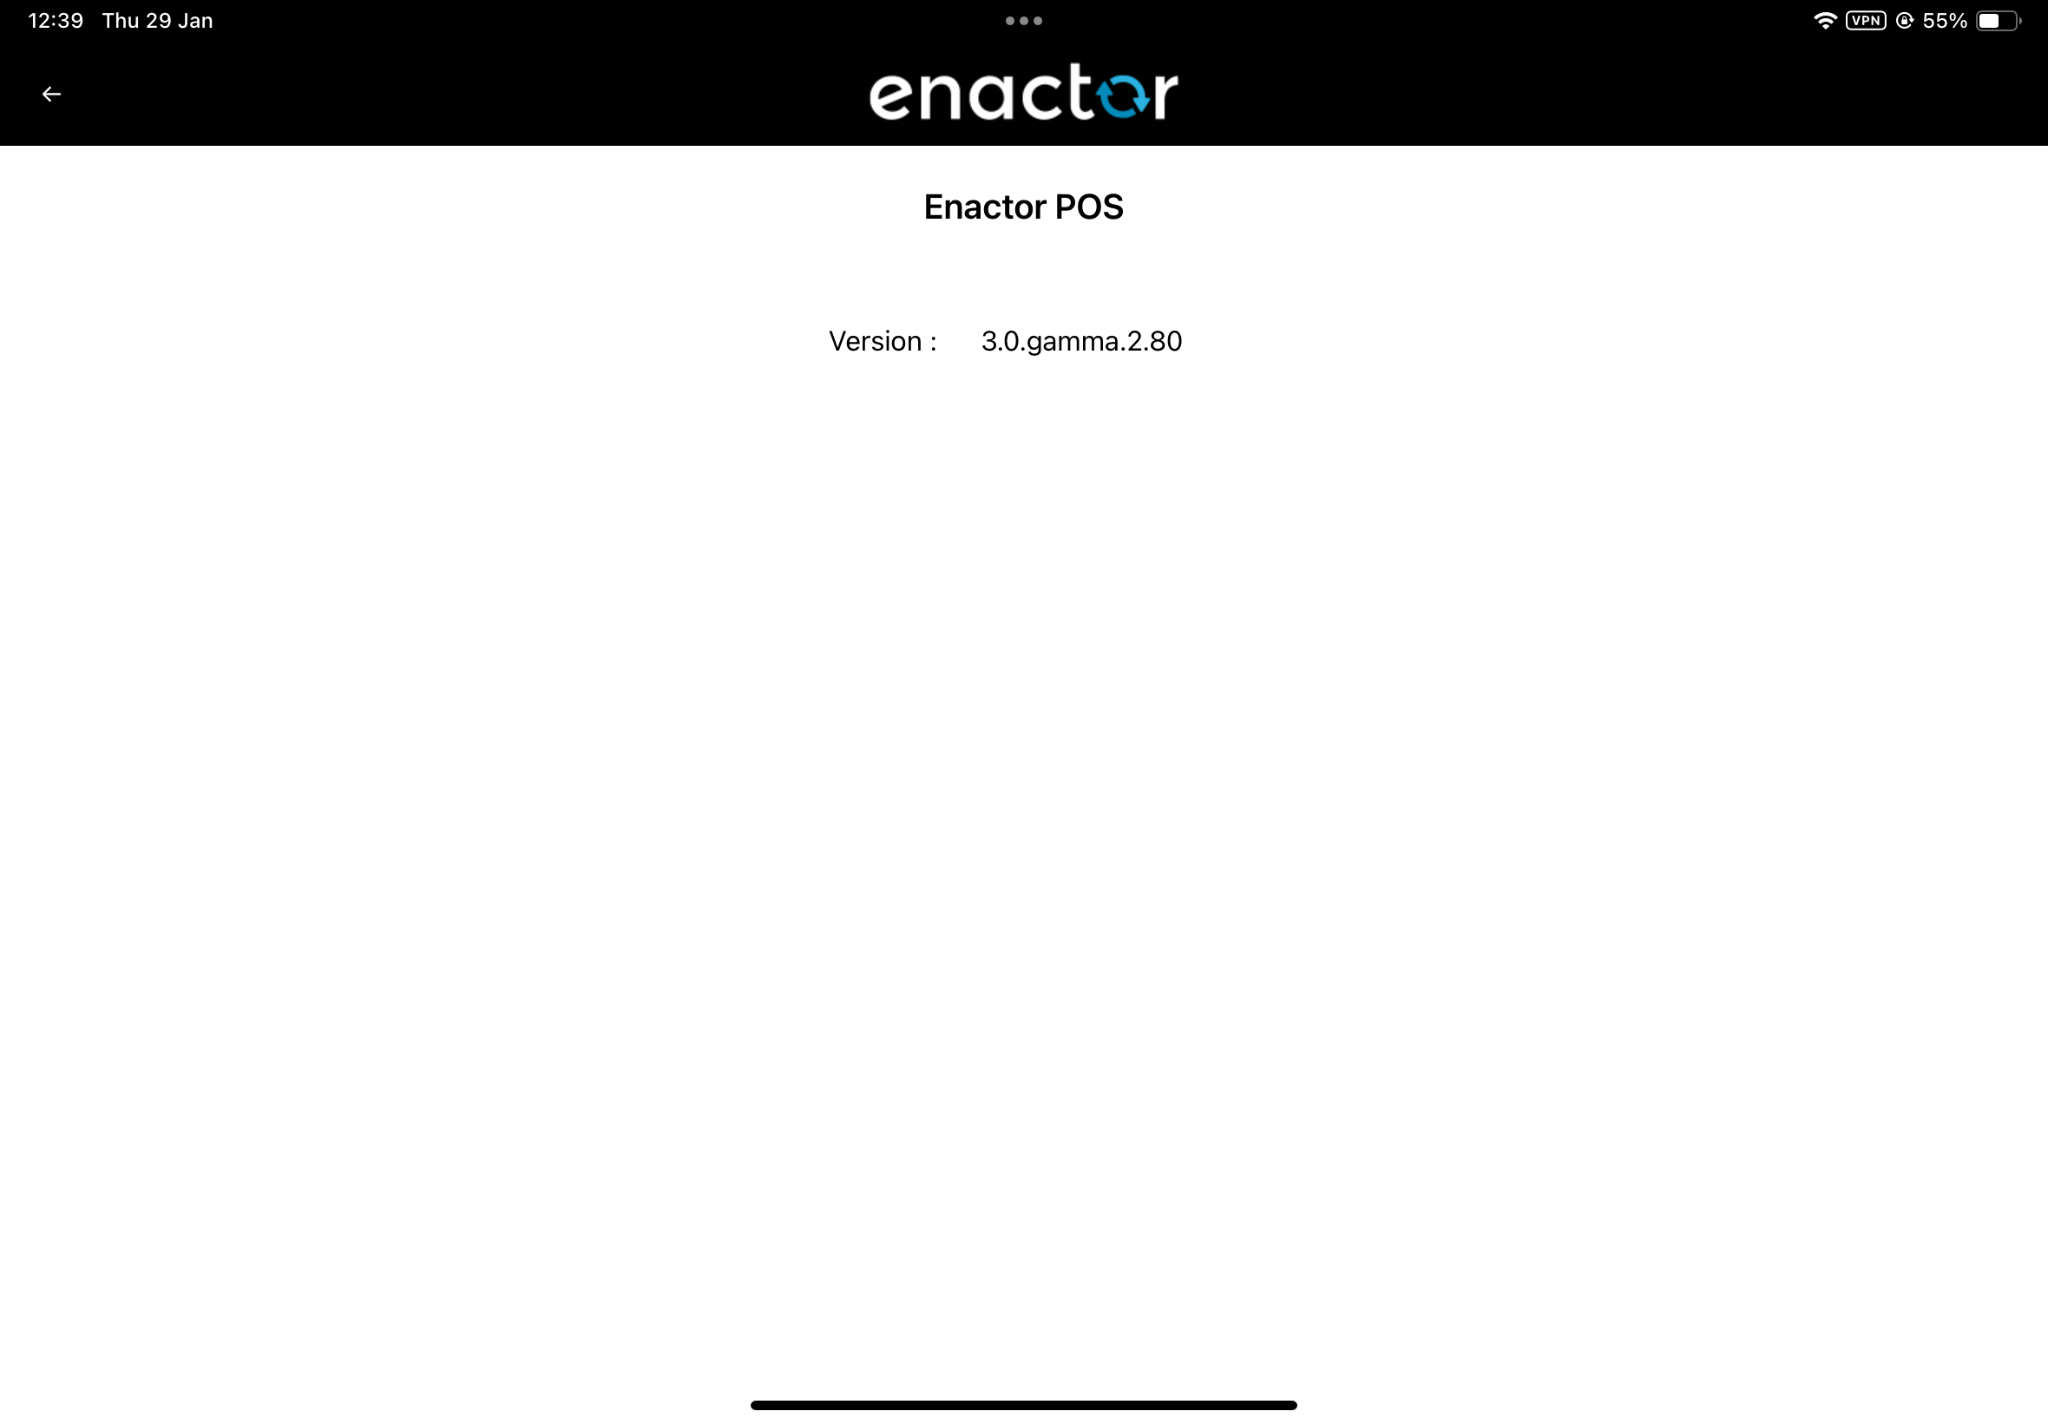
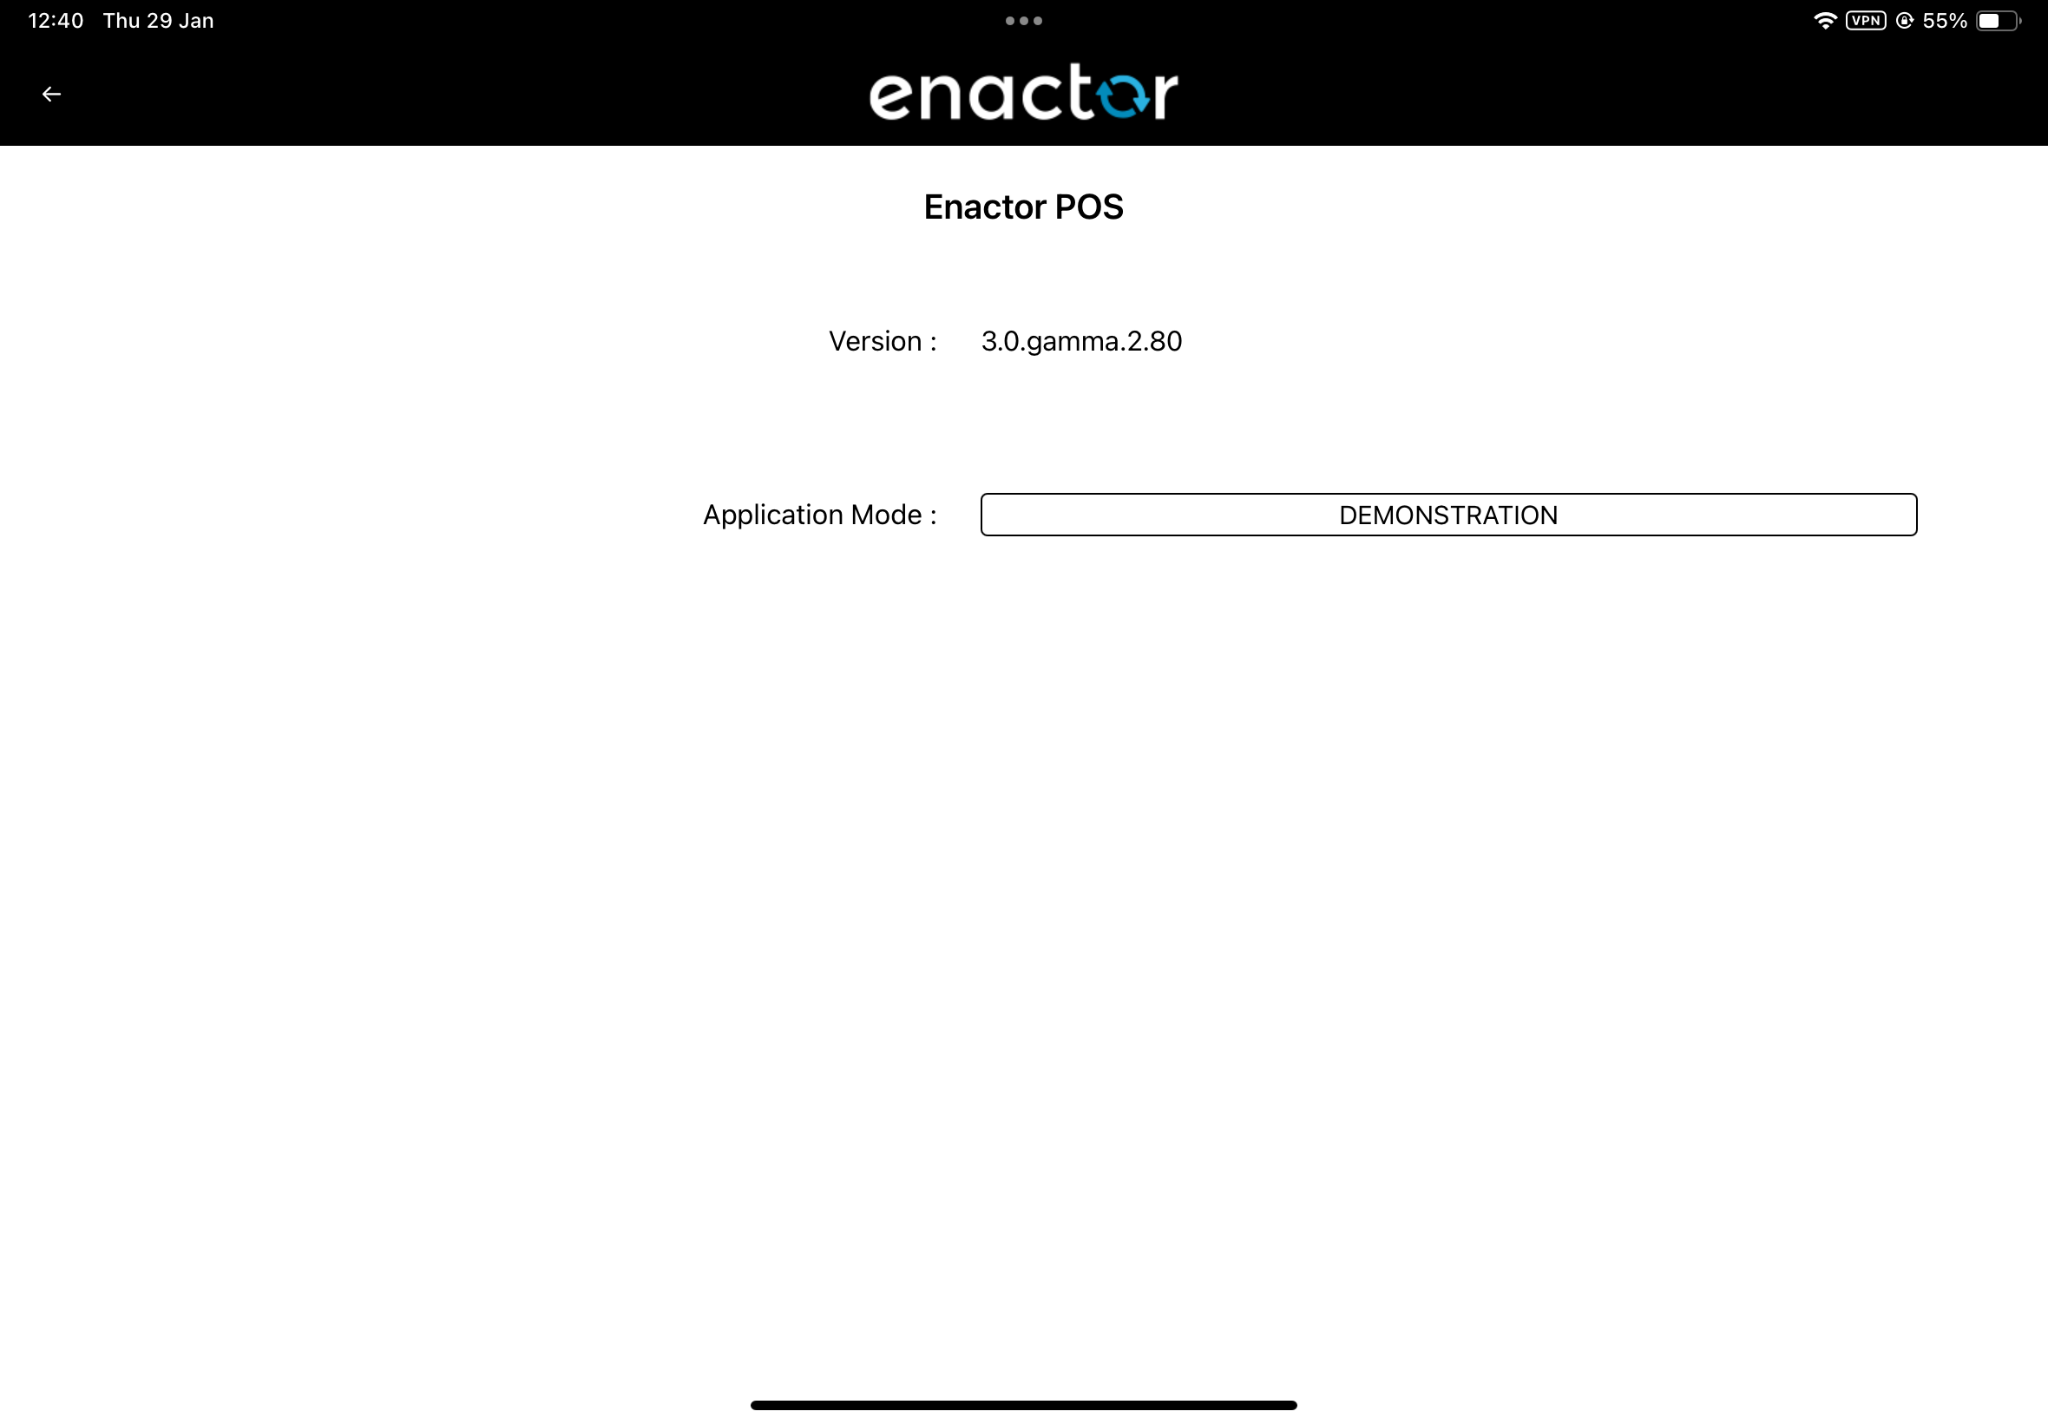
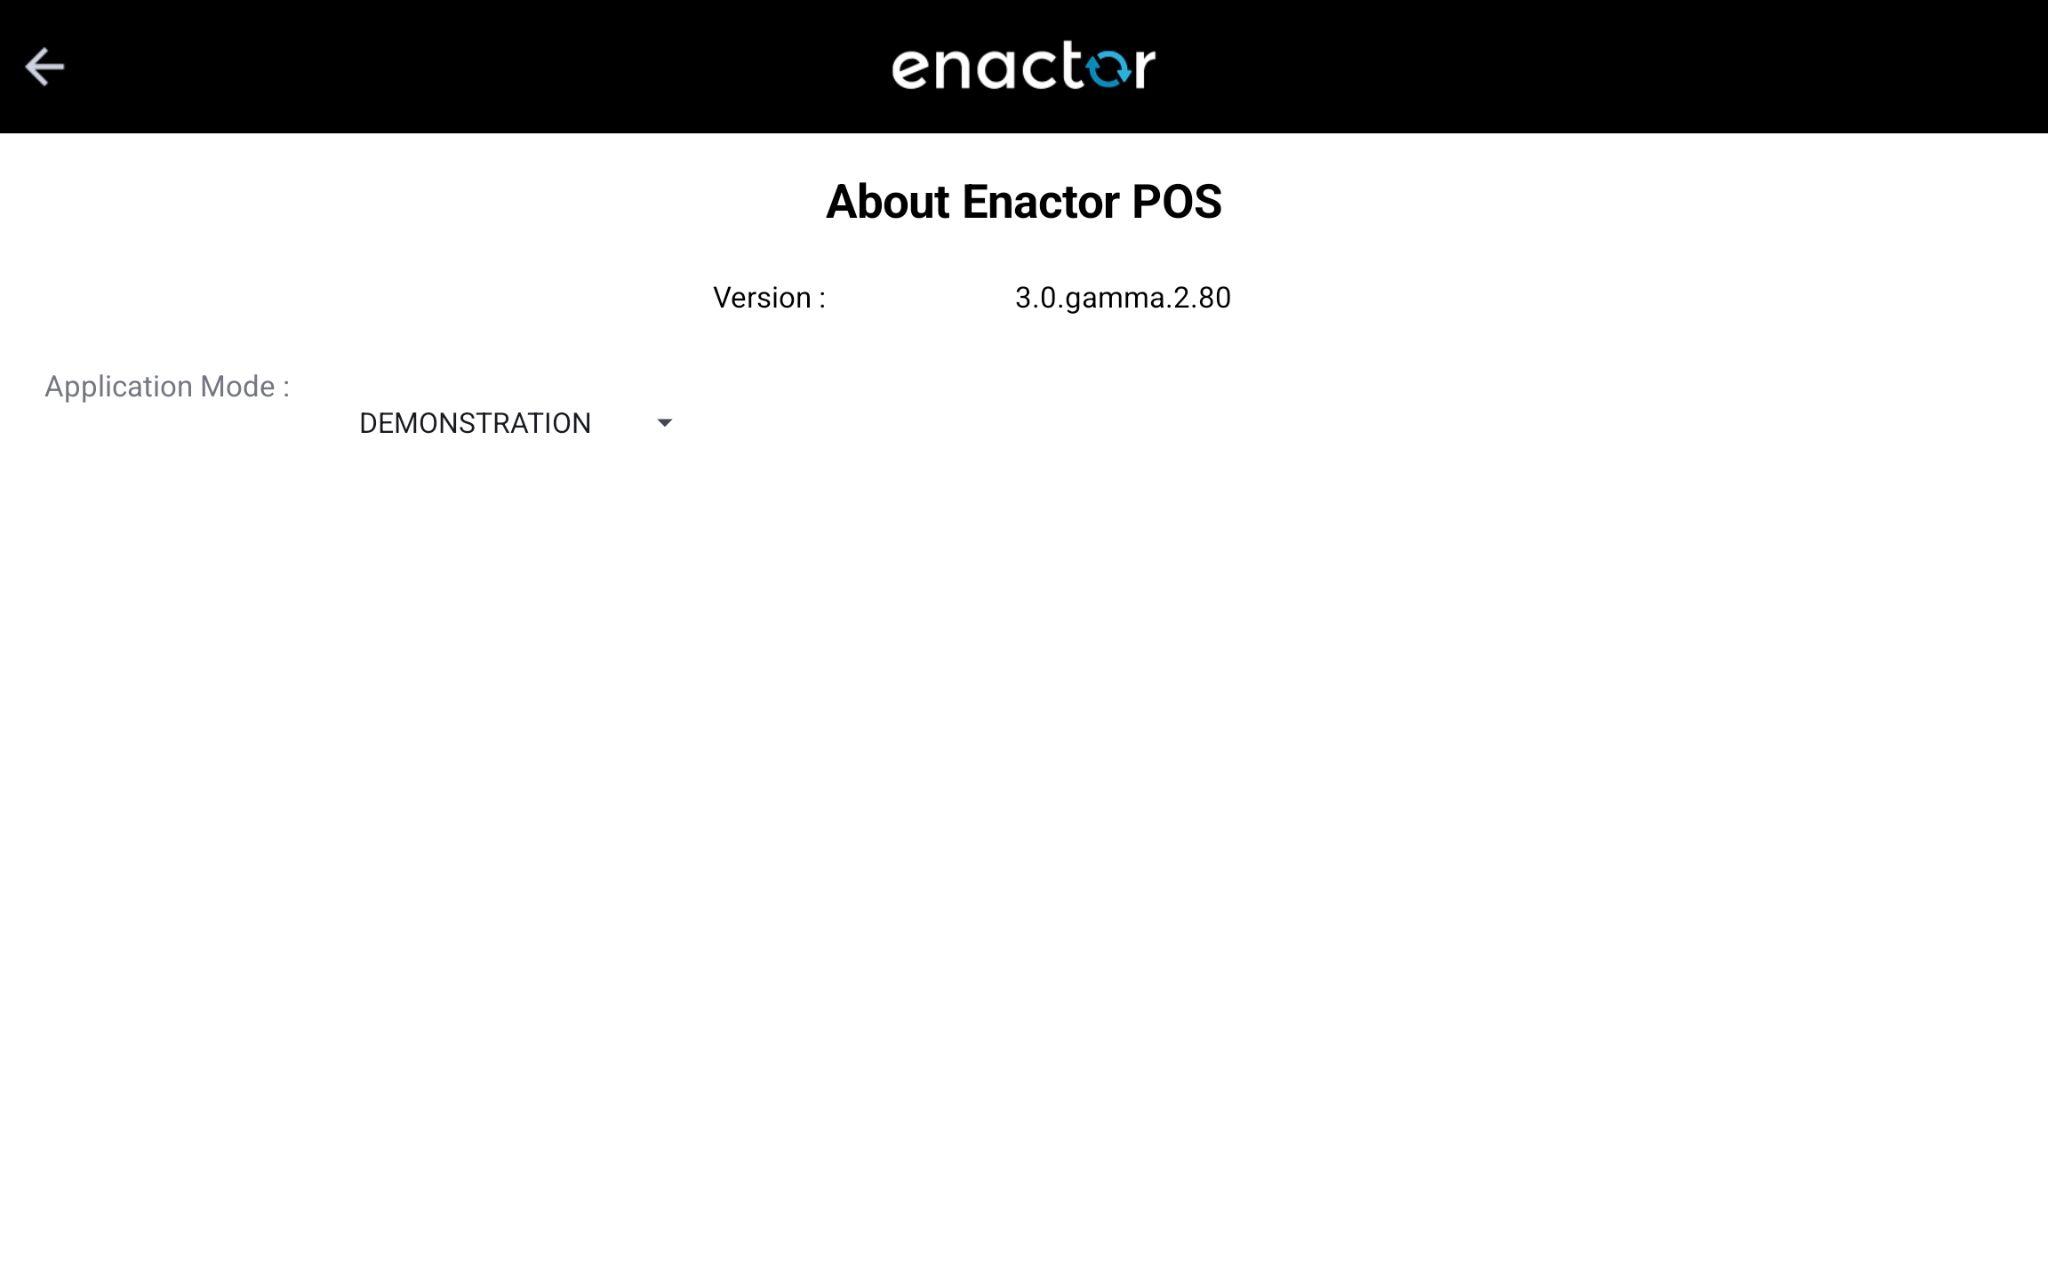
5. About
The About option displays POS version information.
Steps
- Select About from the menu.
How It Works
-
Tapping the About screen 7 times displays the Application Mode.
-
The Application Mode can be configured through the Client Configuration Set.
Android iOS 
Long Press Menu on Screens Other Than Login
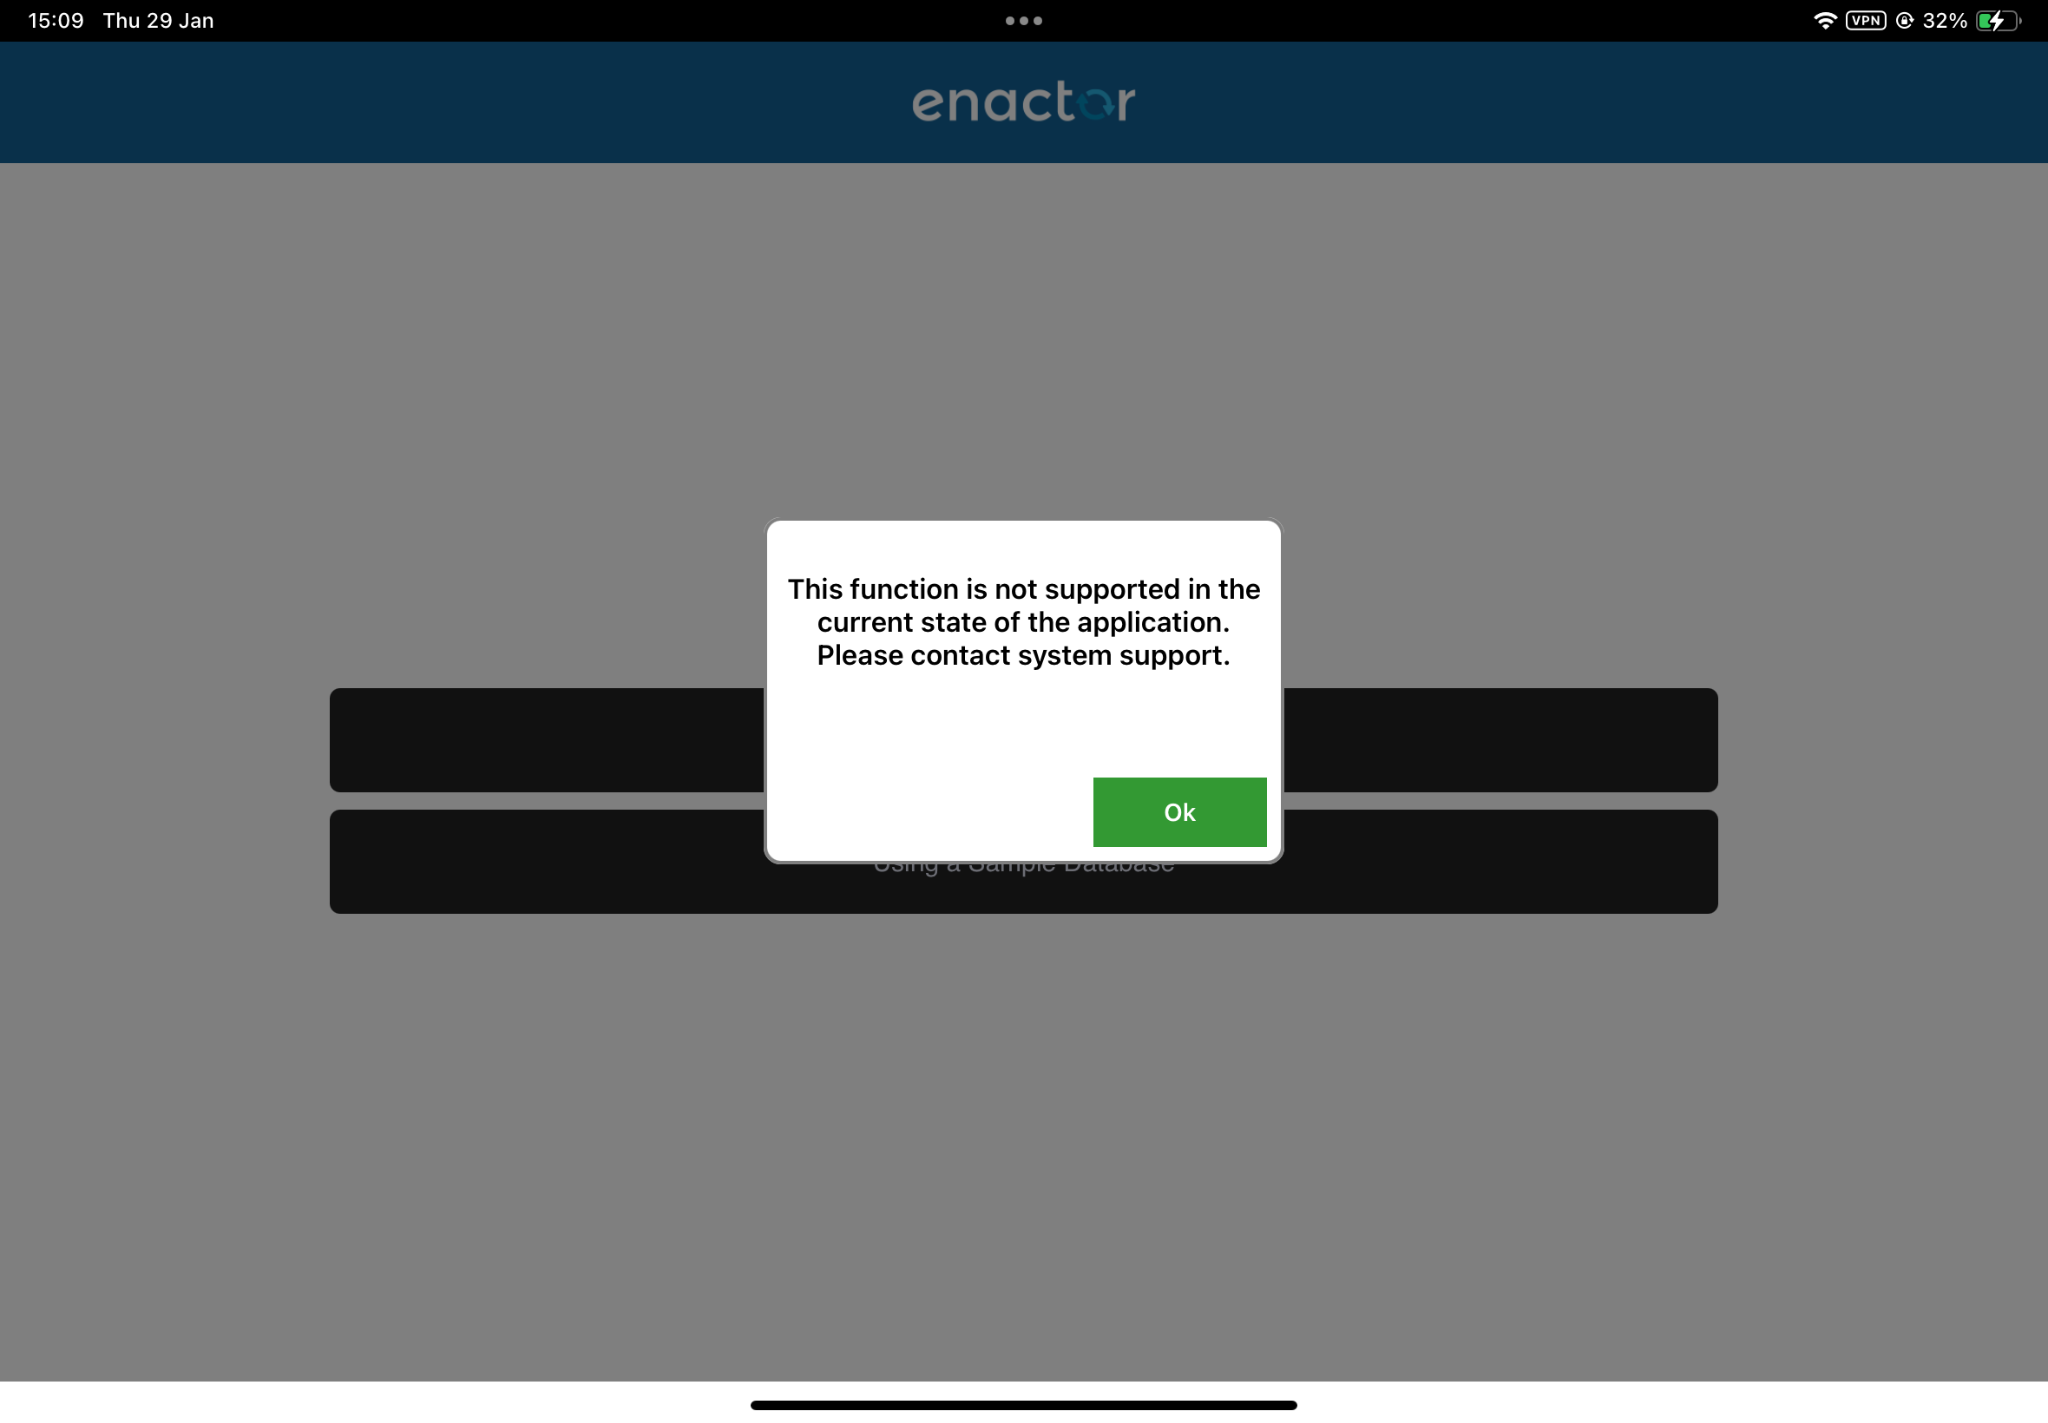
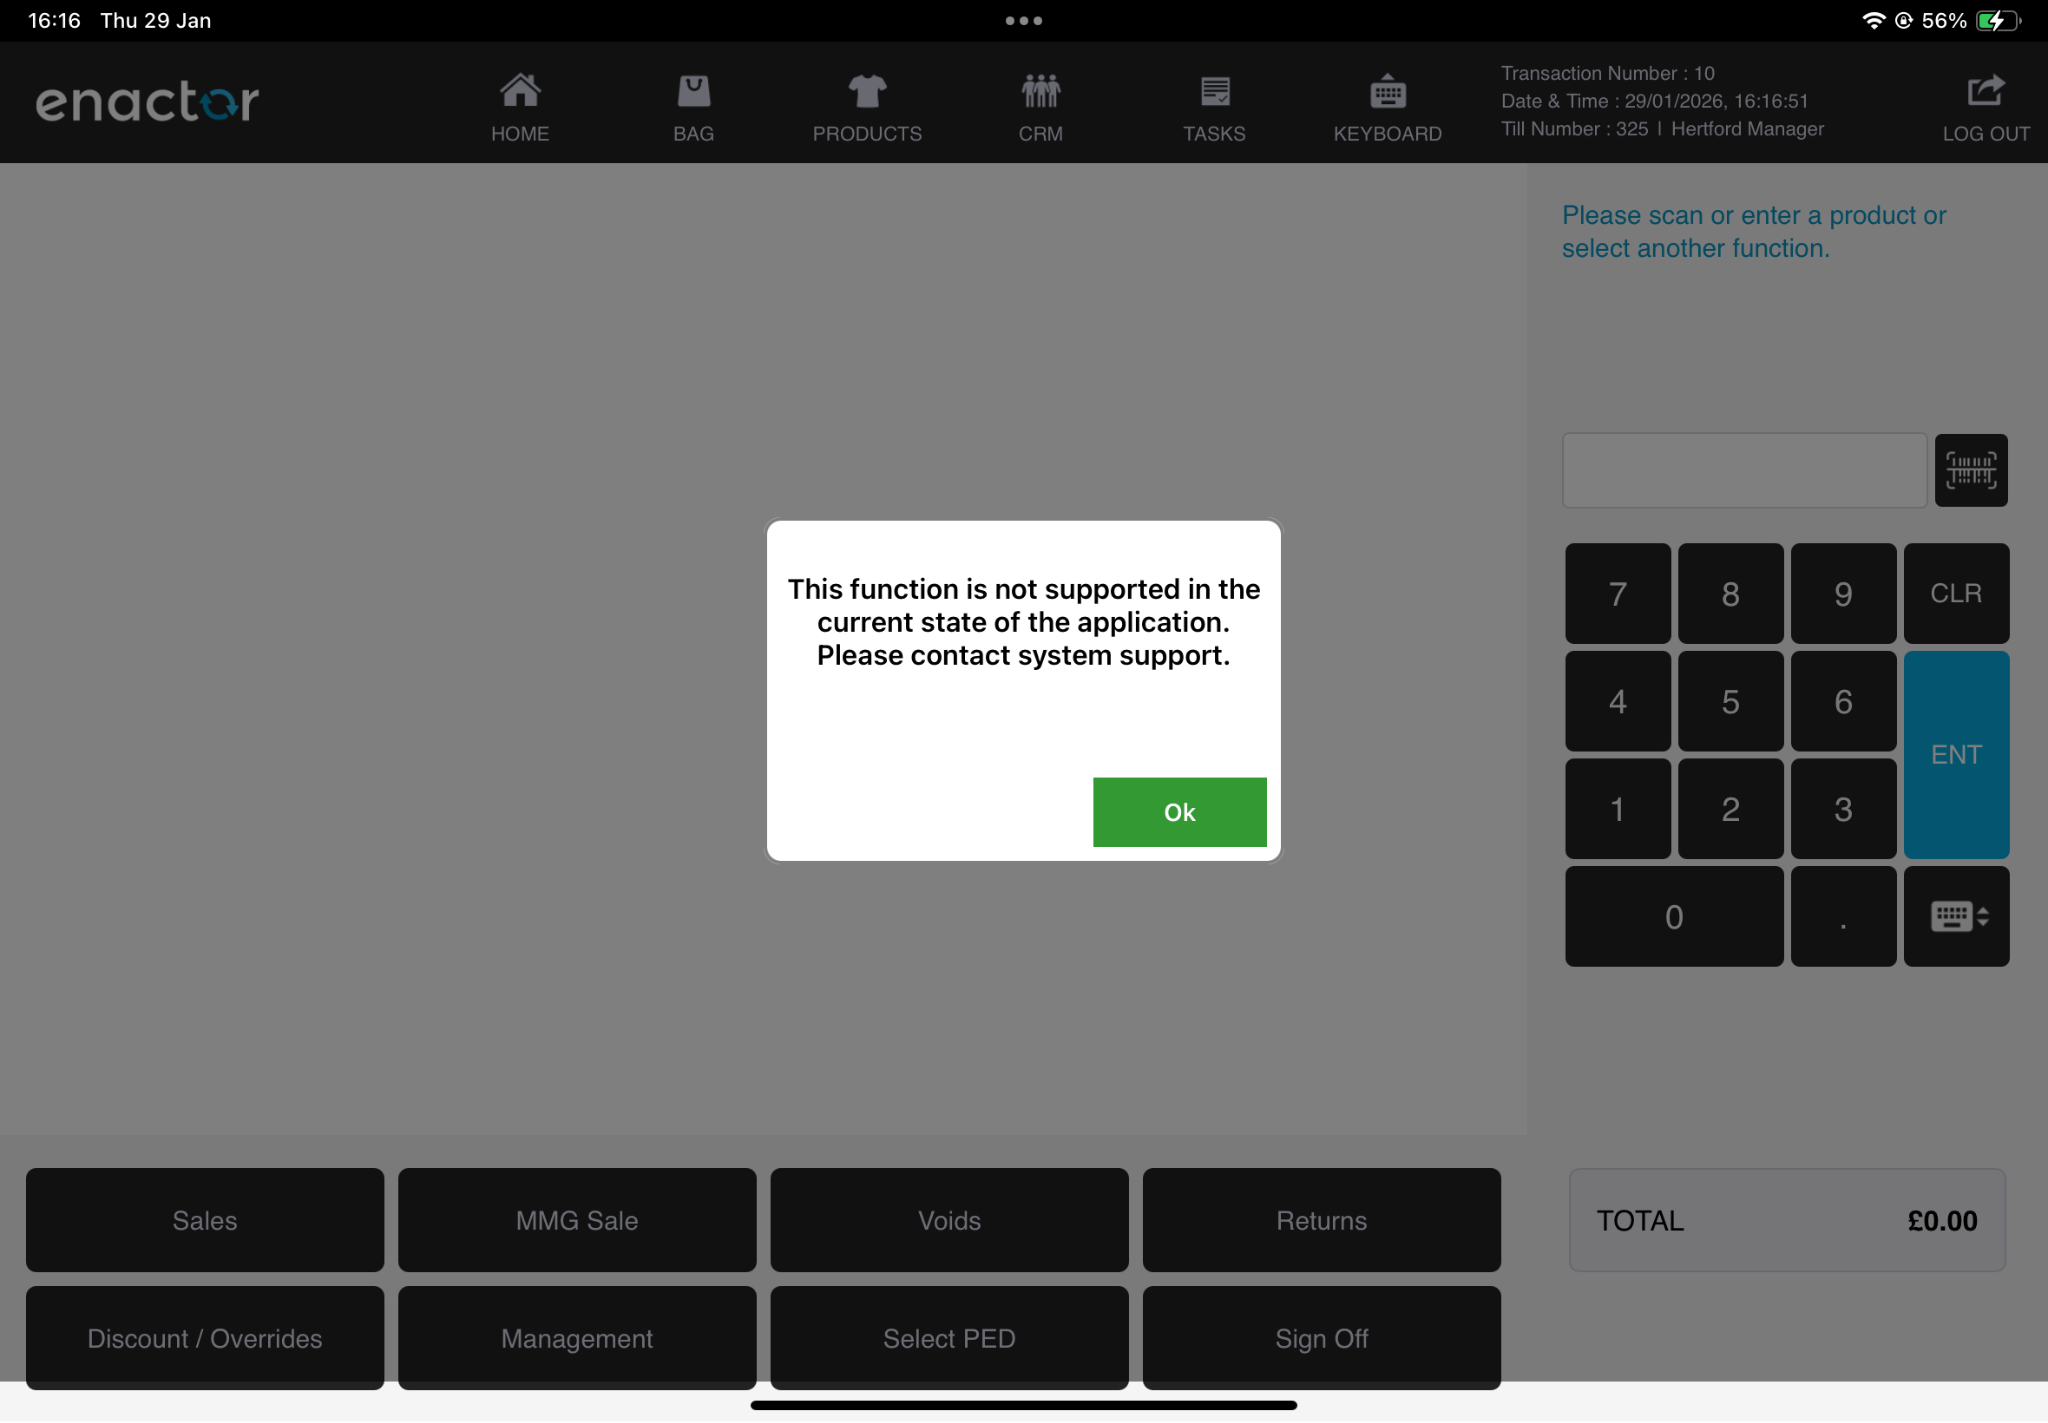
If the user long-presses on any screen other than the Login screen:
-
The Settings icon and Long Press Menu will still be visible.
-
If the user selects any of the following options:
-
Request Data Update
-
Update Settings
-
Re-register
-
Reset
-
-
A prompt will appear stating that the selected function is not supported.
-
If the user selects About:
-
The About functionality works as expected.
-
The POS Version and Application Mode are displayed (same as mentioned above in section 5).
-