How To Configure the Zebra TC27 Scanner
Introduction
The purpose of this document is to describe how to configure the built-in scanner on a Zebra TC27 device, using Zebra's DataWedge app and the POS Terminal configuration in the Estate Manager, so that scanned input is passed to Enactor.
The Enactor Mobile POS application must be installed on the device before the scanner can be configured. APK installation is included here as a prerequisite step.
Overview
This guide covers the following:
- Configuring the Scanner with DataWedge - Importing the Enactor profile and associating it with the Enactor POS application
- Configuring the POS Terminal - Setting the scanner type and connection on the POS Terminal in the Estate Manager
- Broadcasting - Delivering the POS Terminal configuration to the device
Installing the Enactor APK is covered first, as a prerequisite.
The Zebra MC40 is another Zebra device that uses the same scanner type and configuration as the TC27, so this guide also applies to the MC40.
Prerequisites
Resources required:
- A Zebra TC27 (or MC40) device
- The Enactor Mobile POS APK
- The Enactor DataWedge profile file (
dwprofile_EnactorV2.db)
You should be familiar with the following:
- Estate Manager Configuration
- Provisioning Mobile POS devices (Client Configuration Sets, Option Sets, and device registration)
The Mobile POS device must already be provisioned in the Estate Manager before it can connect. See Configuring the Mobile Client Application on Android for Client Configuration Set, Option Set, and device registration.
Installing the Enactor APK
Installing the Enactor Mobile POS application is a prerequisite for scanner configuration. If the app is already installed on the device, continue to the scanner configuration below.
The Enactor APK can be installed via a Mobile Device Management (MDM) solution, or manually copied to the device.
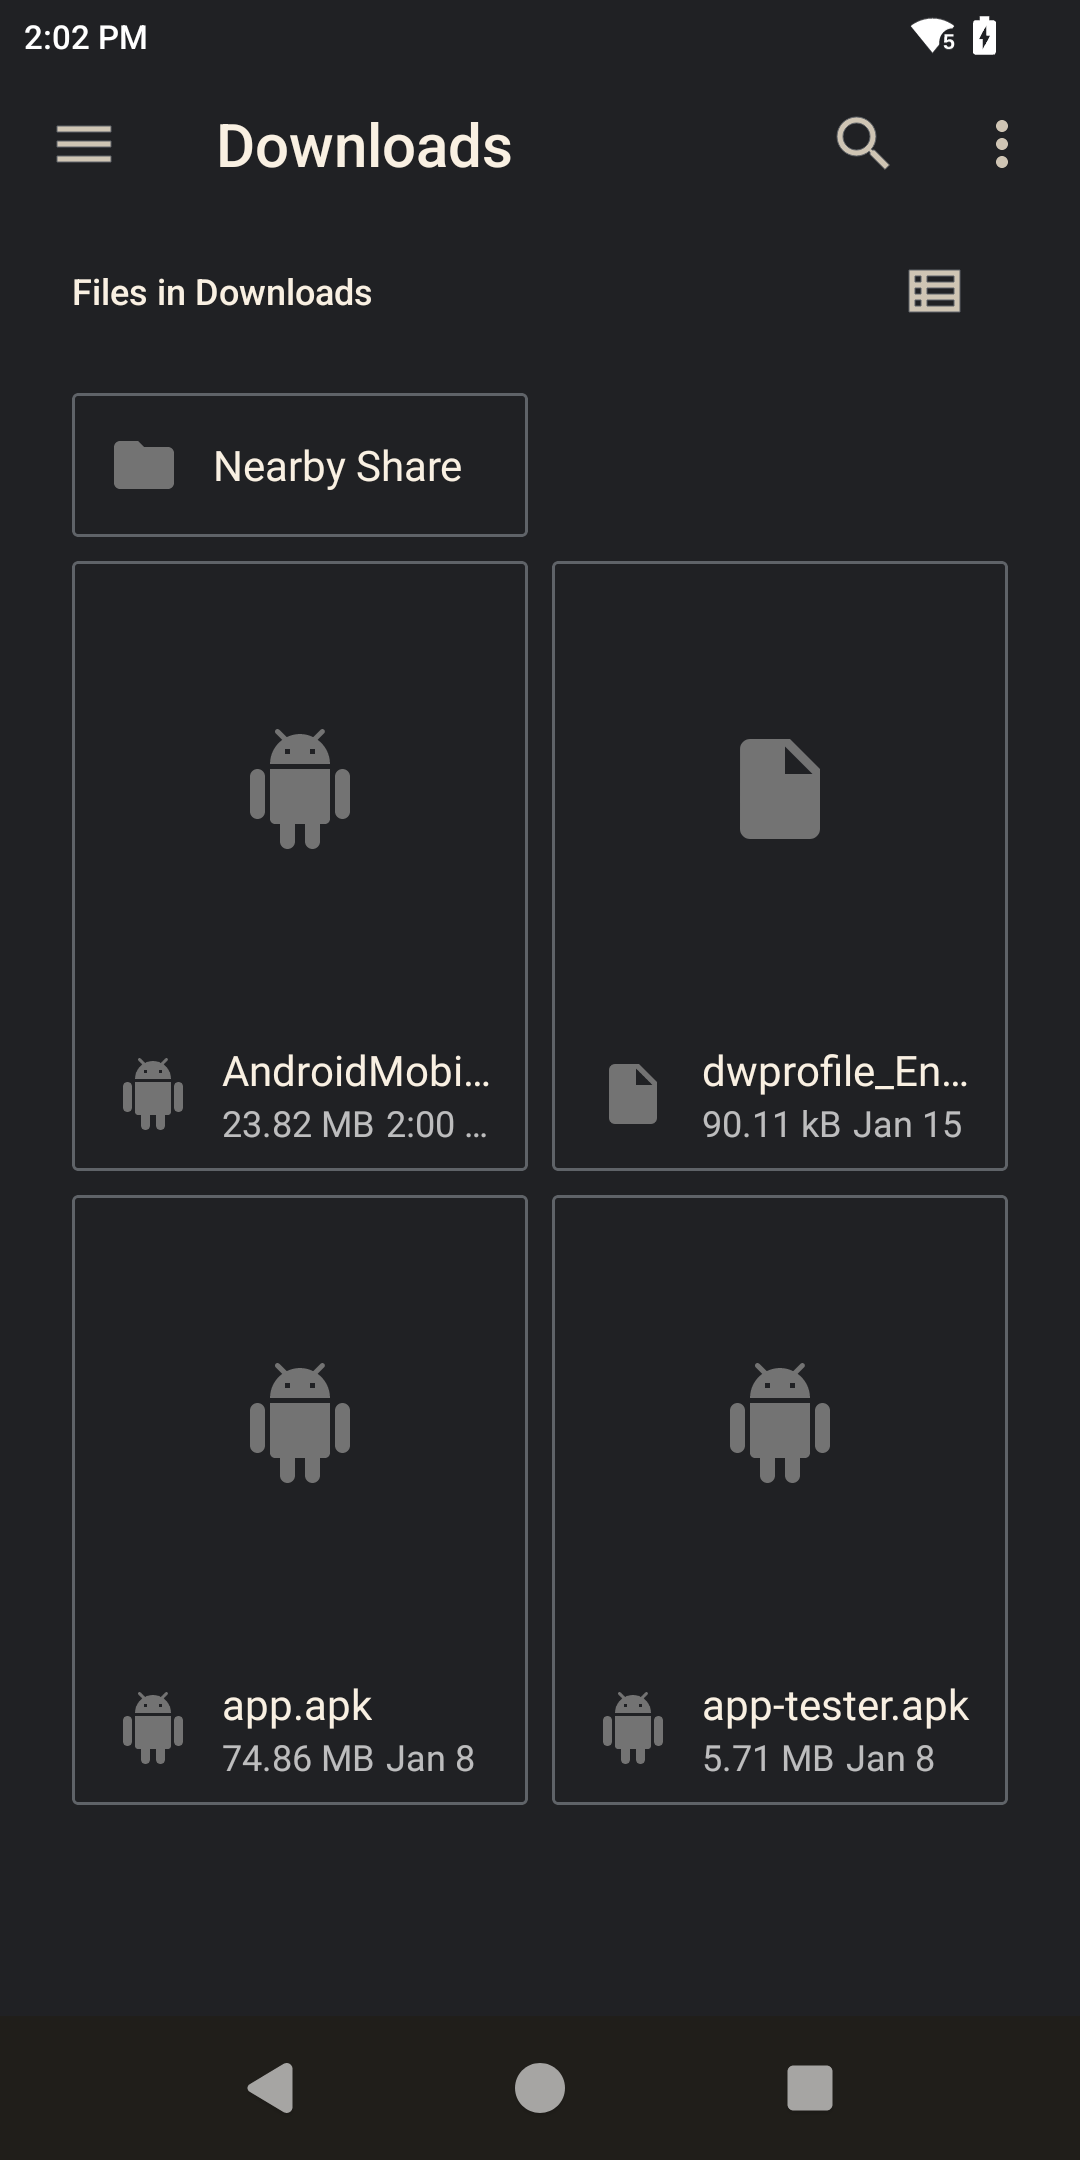
To install manually, copy the APK to the device and open it from the file browser (for example, the Downloads folder), then select the Enactor Android app.
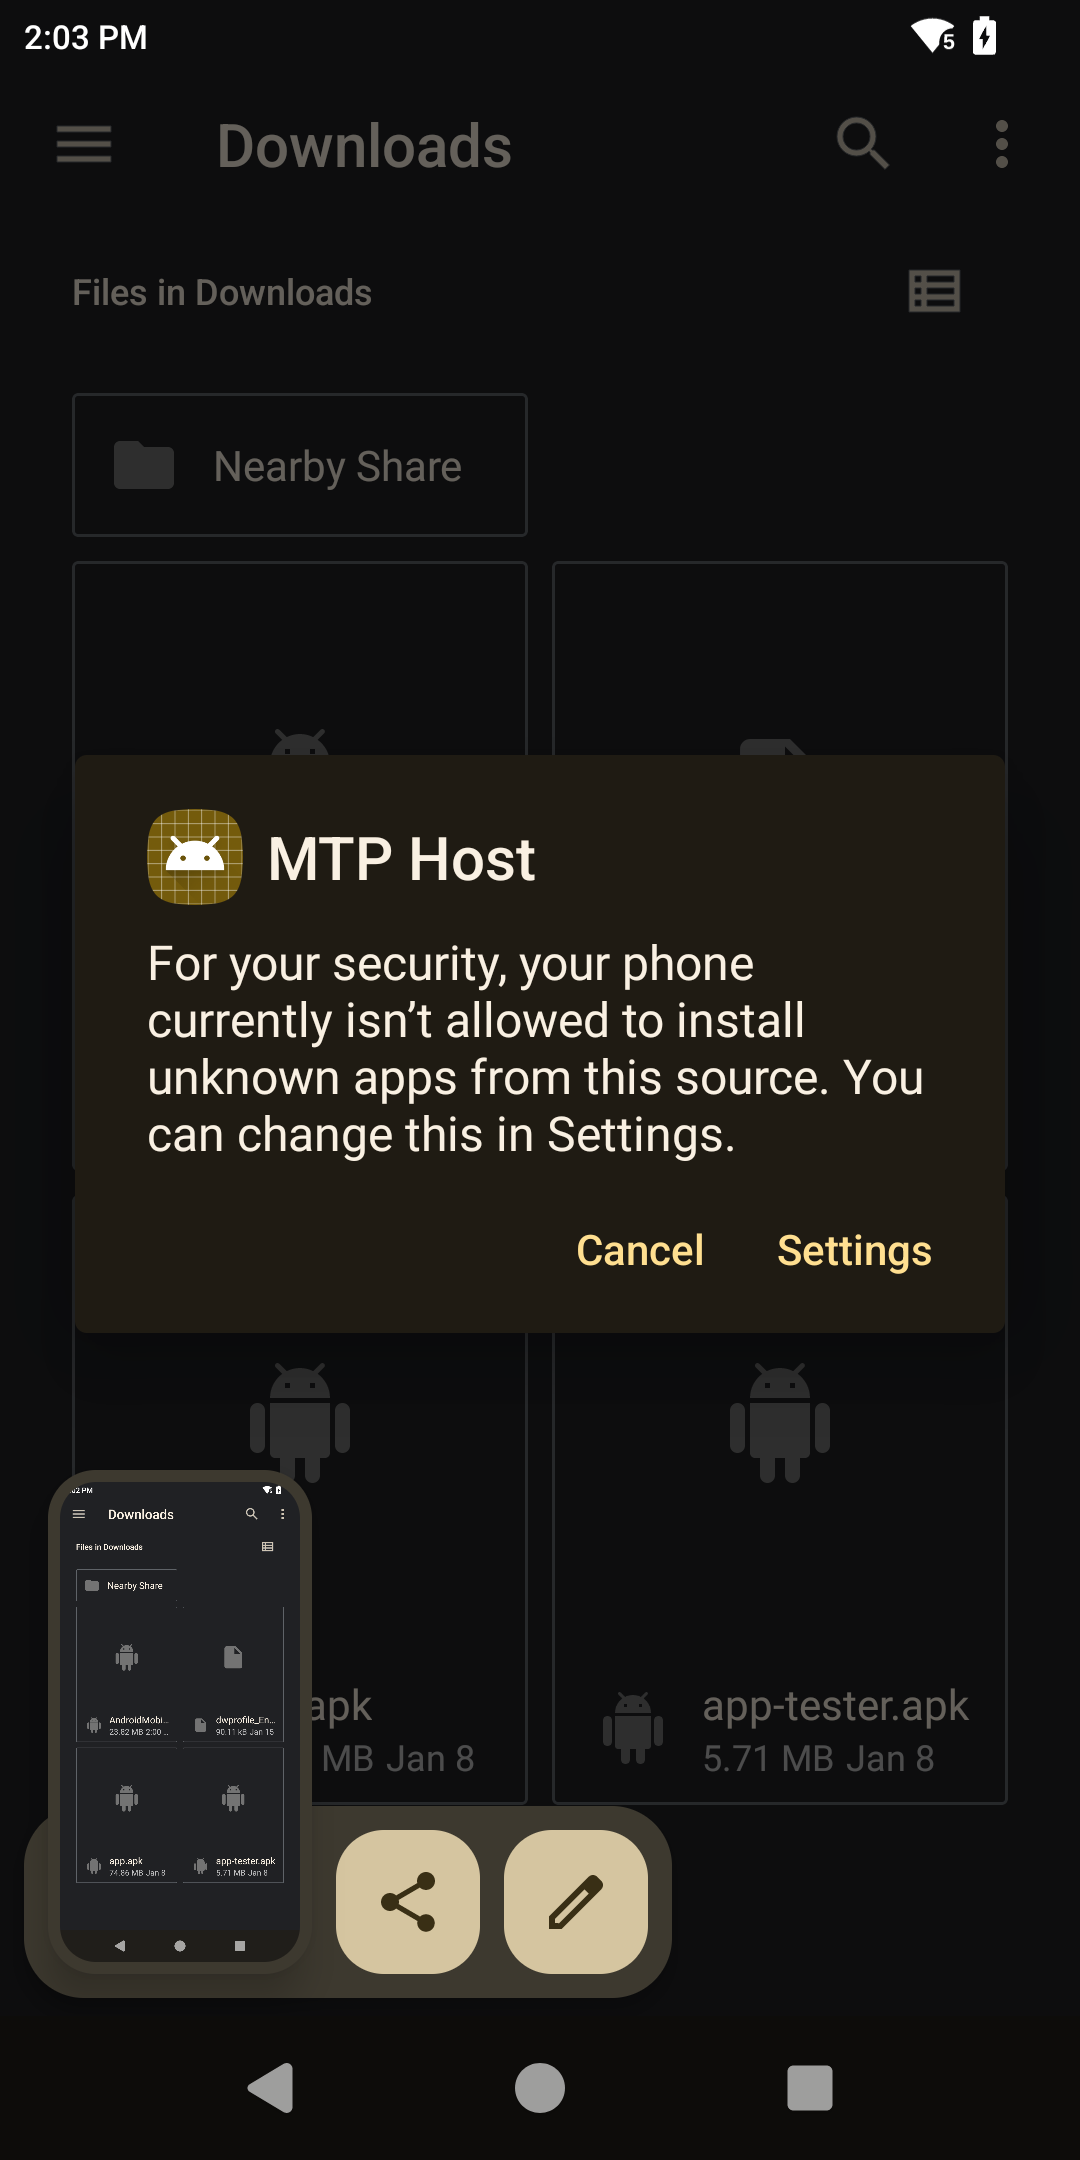
The first time an APK is installed from this source, Android prompts that the device is not currently allowed to install unknown apps from this source. Select Settings and authorise installation when prompted.
Once installation completes, the app is installed.
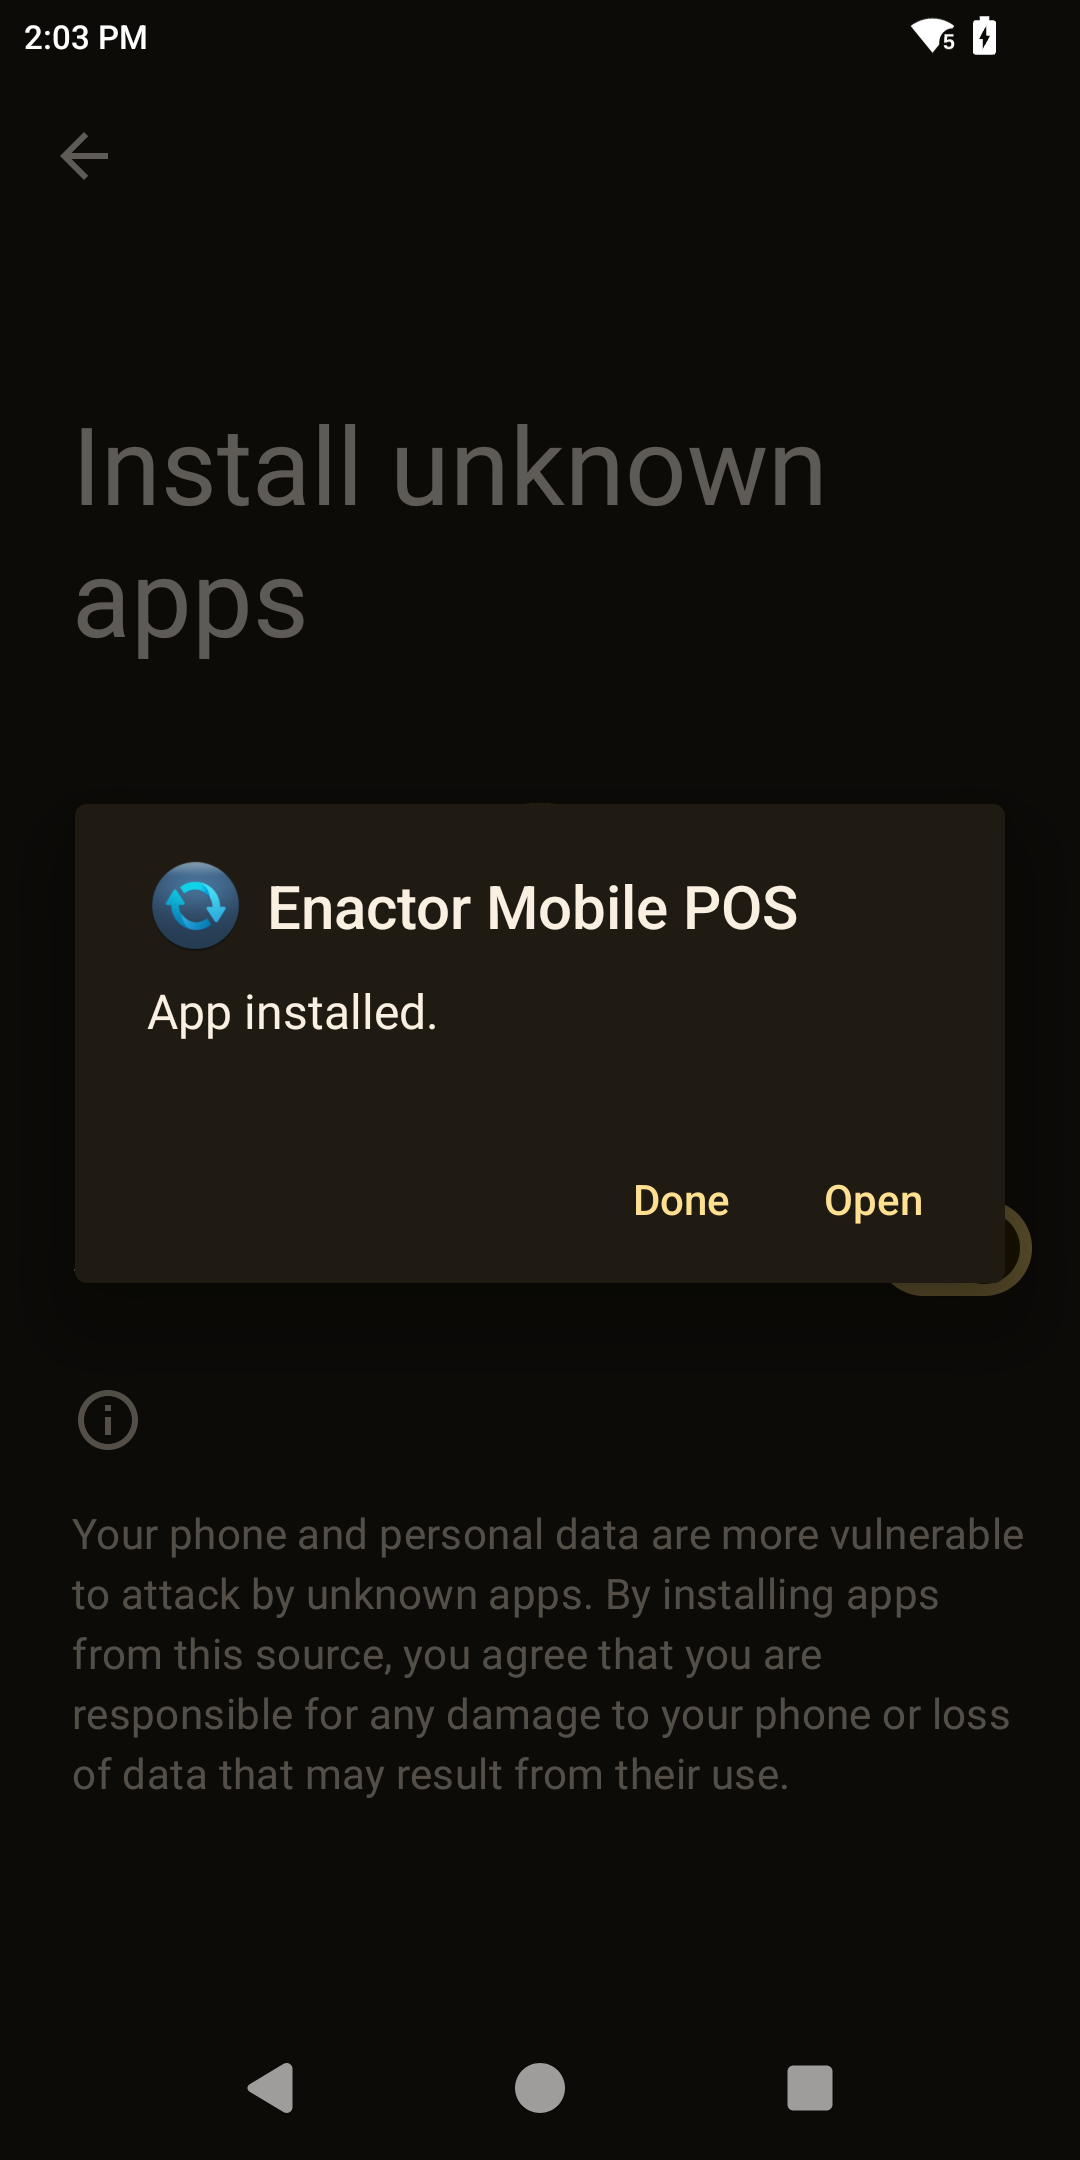
This completes the APK installation.
Configuring the Scanner with DataWedge
Zebra devices use a pre-installed app called DataWedge to configure and control the device's built-in scanner. Some configuration is needed in DataWedge to enable it to pass scanned input to Enactor.
Obtain the Enactor DataWedge profile file (dwprofile_EnactorV2.db) from
your Enactor representative and copy it to the device's file system (for
example, the Download folder) before starting.
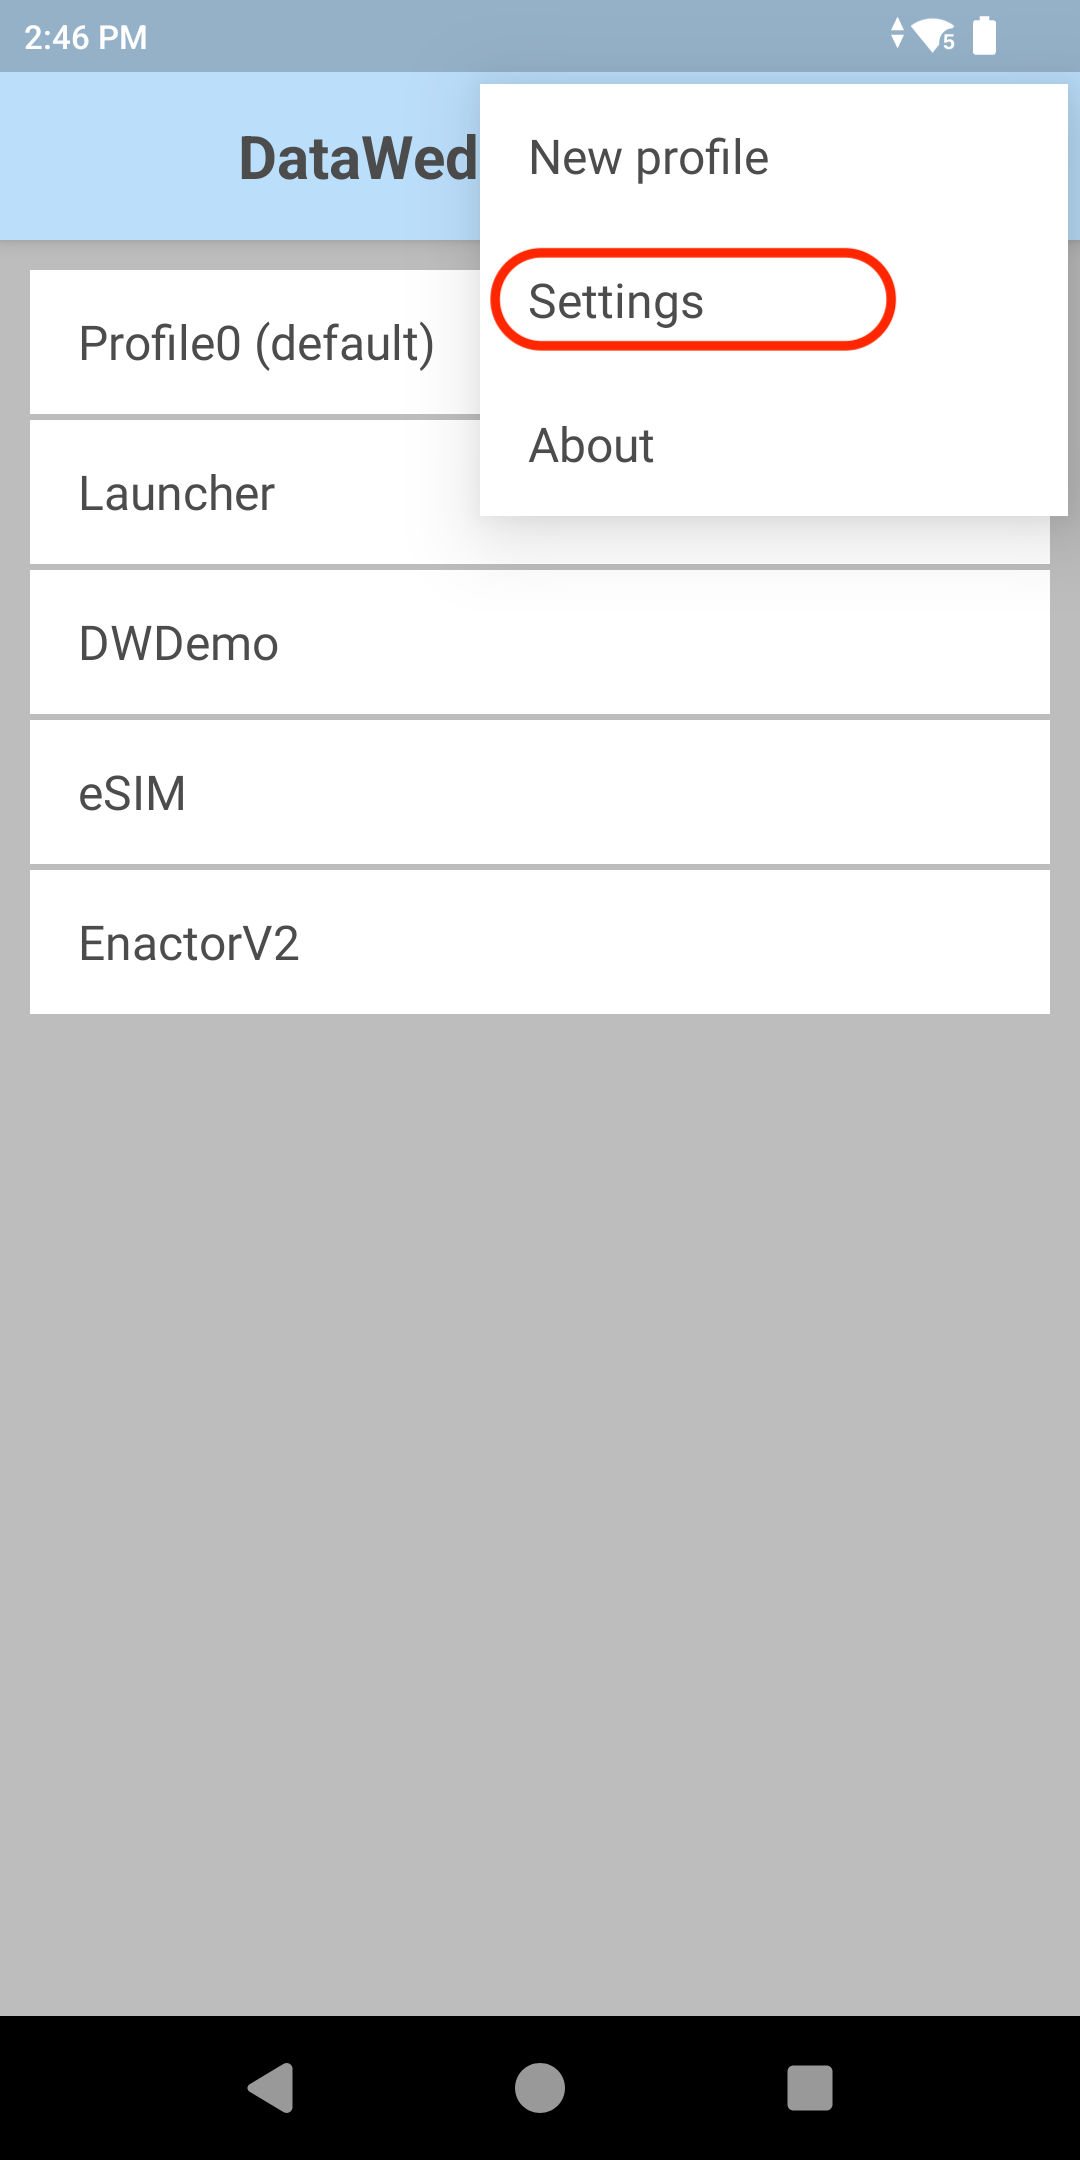
Open the DataWedge application - it loads the set of DataWedge Profiles. Select the top-right menu button to open the drop-down menu, then select Settings.
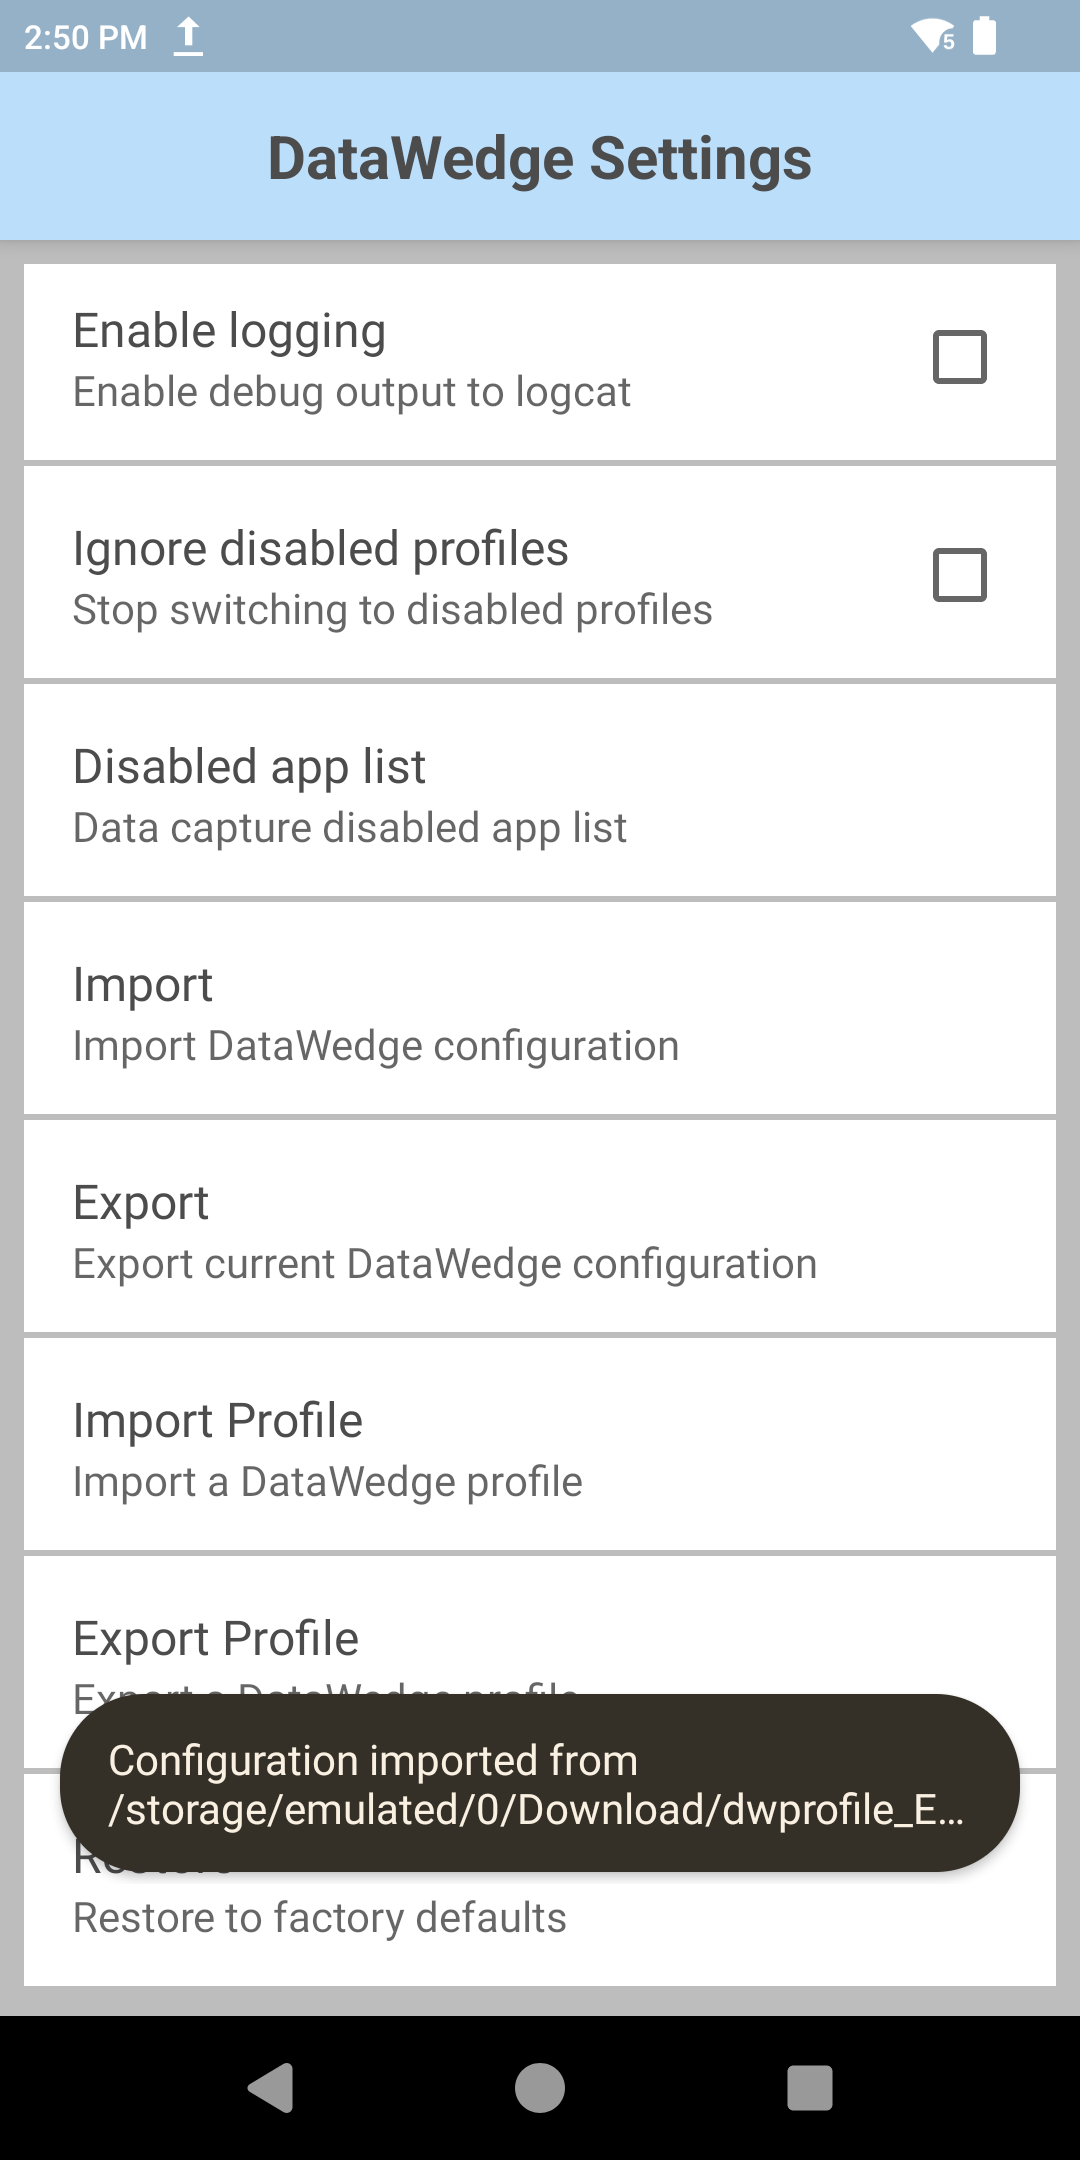
From the Settings menu, select Import Profile, then navigate the
Android file system to locate the dwprofile_EnactorV2.db file and select
it. Assuming a successful import, a confirmation message is displayed.
Select Import Profile, not Import. These are two different options on the Settings menu.
Select the Android Back button to return to the DataWedge Profiles, then select the EnactorV2 profile and select Associated apps.
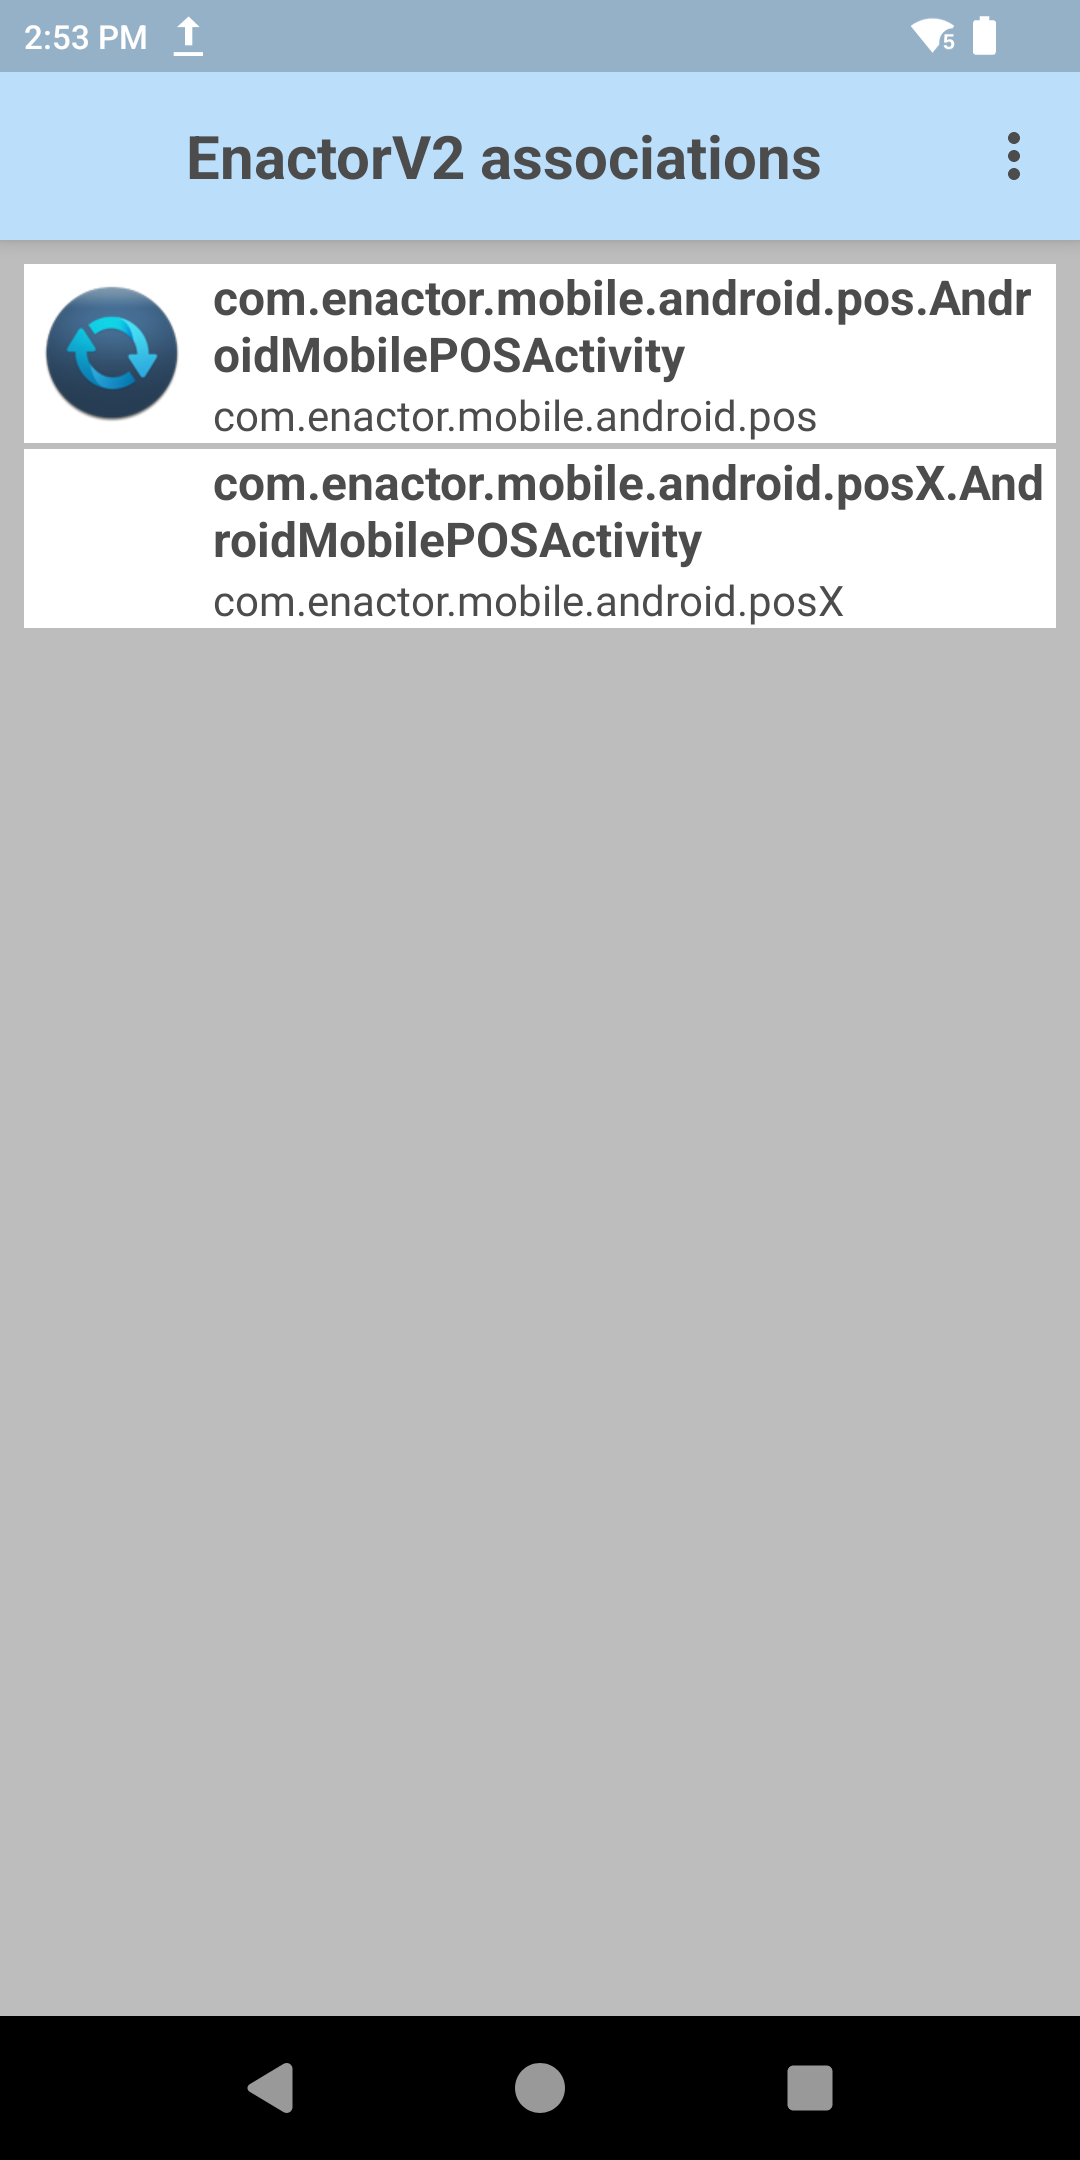
Select the top-right menu option, then select New app / activity.
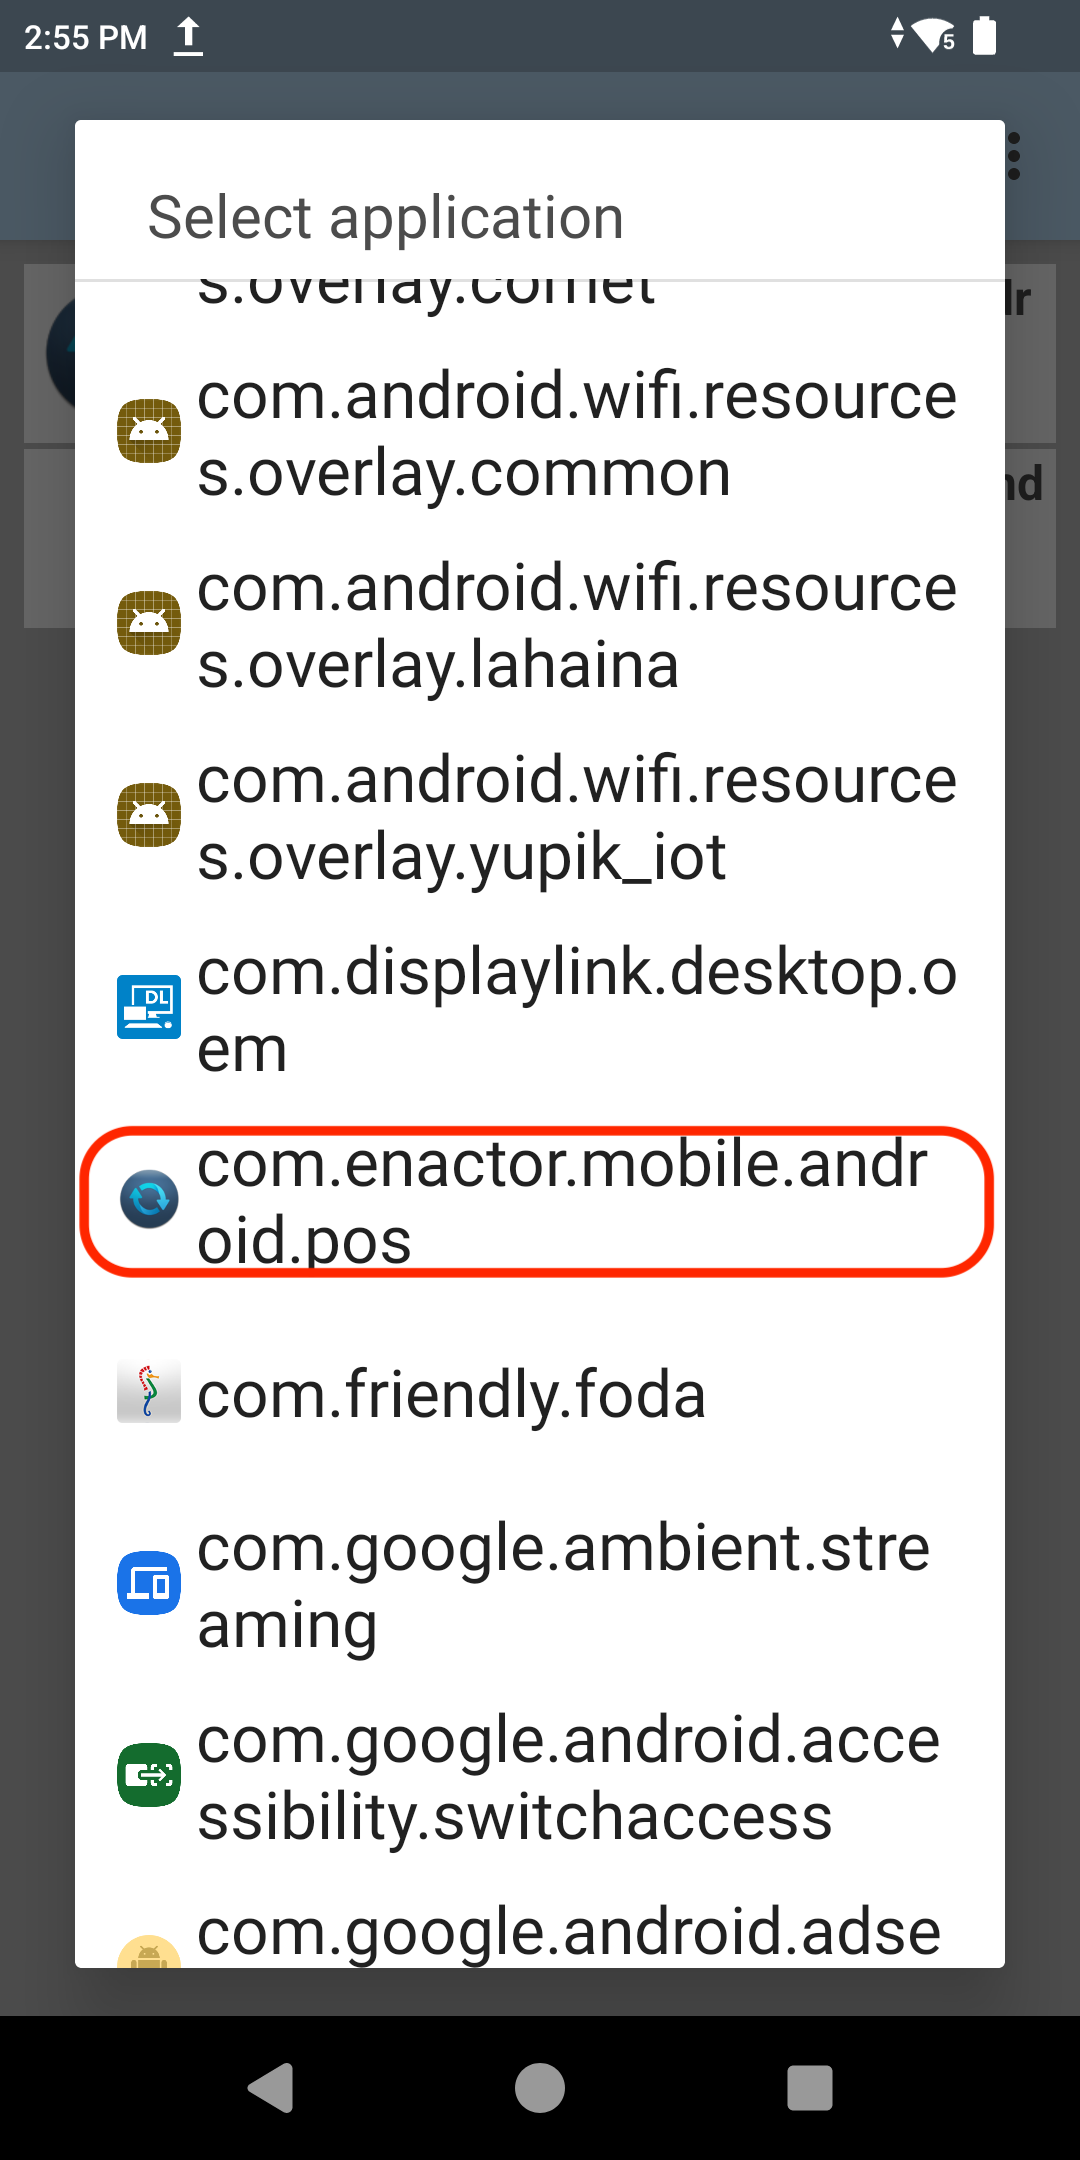
Scroll down the list until com.enactor.mobile.android.pos is reached and
select it.
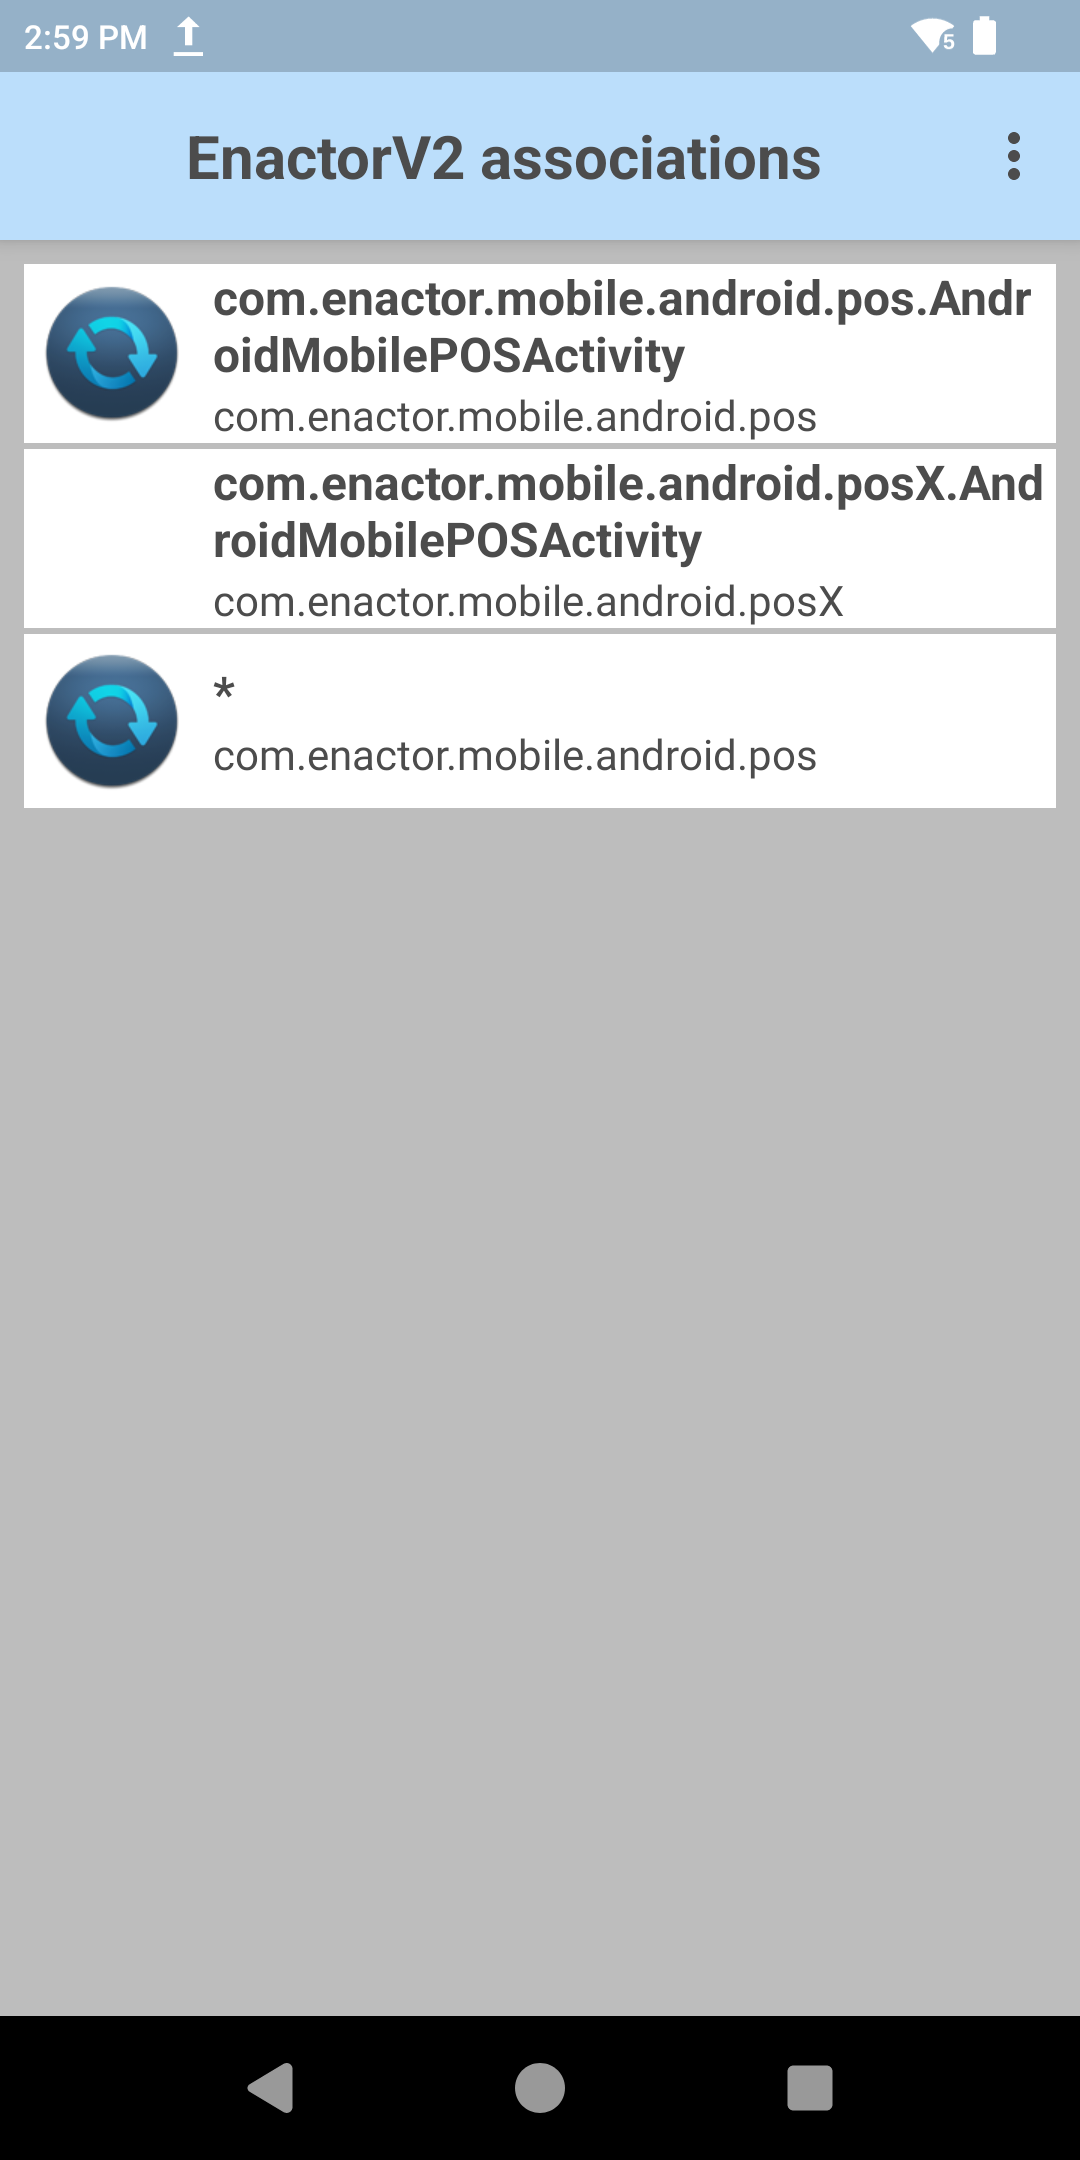
On the next screen, select *.

The Enactor POS application is now associated with the EnactorV2 profile.
This completes the DataWedge configuration, and the app can now be closed.
Configuring the POS Terminal to use the Zebra Scanner
The POS Terminal is configured to use the Zebra device's built-in scanner. The POS Terminal maintenance application can be accessed through:
Main Menu > Configuration > Organisation > POS Terminals
Edit the POS Terminal for the relevant Zebra device, select the Peripherals > Input tab, and configure the following values.
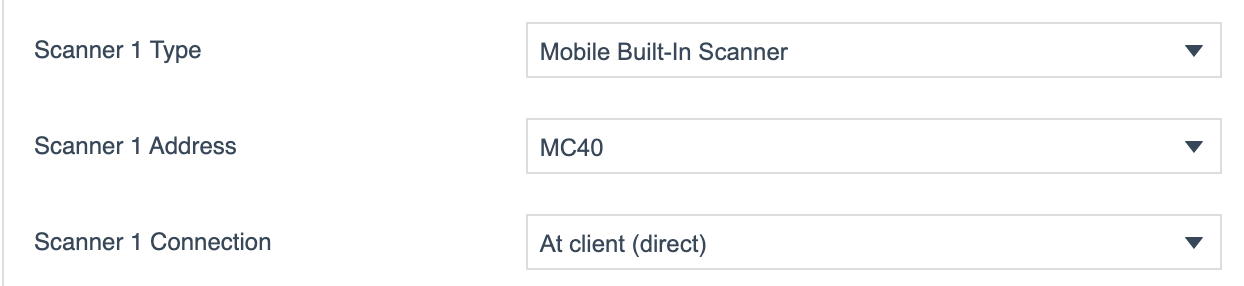
| Field | Value |
|---|---|
| Scanner 1 Type | Mobile Built-In Scanner |
| Scanner 1 Address | TC27 (or MC40) |
| Scanner 1 Connection | At client (direct) |
This completes the POS Terminal configuration.
Broadcasting
To deliver the configuration change to the device, broadcast the following entity:
- POS Terminal
After broadcasting, restart the POS application for the POS Terminal scanner configuration change to take effect.
Useful Links and Documentation
- Configuring the Mobile Client Application on Android - Configuring a mobile device using Client Configuration Sets and Option Sets
- PDP Server Installation Instructions for Windows - Installing the PDP server on Windows
Enactor provides a sample Client Configuration Set and Option Set for mobile devices, together with a document describing how to configure a mobile device using them. The Option Set should not normally require any amendment. Obtain these samples from your Enactor representative.