How To Configure SCO POS Language Selection
Introduction
This configuration guide provides comprehensive instructions for enabling and managing language selection within the Enactor Self-Checkout (SCO) POS application. The guide details the process for configuring locale selection at the start transaction screen, including the creation of new menus and menu events to support multiple languages.
The purpose of this guide is to demonstrate the steps to configure the SCO POS to display language selection options on the welcome screen, allowing customers to choose their preferred language before starting a transaction.
Overview
This guide covers the configuration for the following:
- Menus - Create an
SCO_LANGUAGEmenu with language buttons using theSwitchLocaleevent - Roles - Assign the correct user role to authorise SCO language selection
- Broadcasting - Deliver configuration changes to the POS
Prior Training / Experience
You should be familiar with the following:
- Estate Manager Configuration
- SCO Configuration
- Data Broadcasting
- Menus, User Roles and Images
Configuration Steps
This guide describes how to configure the SCO (Self-Checkout) Language Selection feature, enabling the system to display language options for user selection.
Menus
To enable the use of the language selection feature, appropriate Menus and Role privileges should be configured separately.
The Menu Maintenance application can be accessed through:
Configuration > System > Menus

Select Create New Menu.
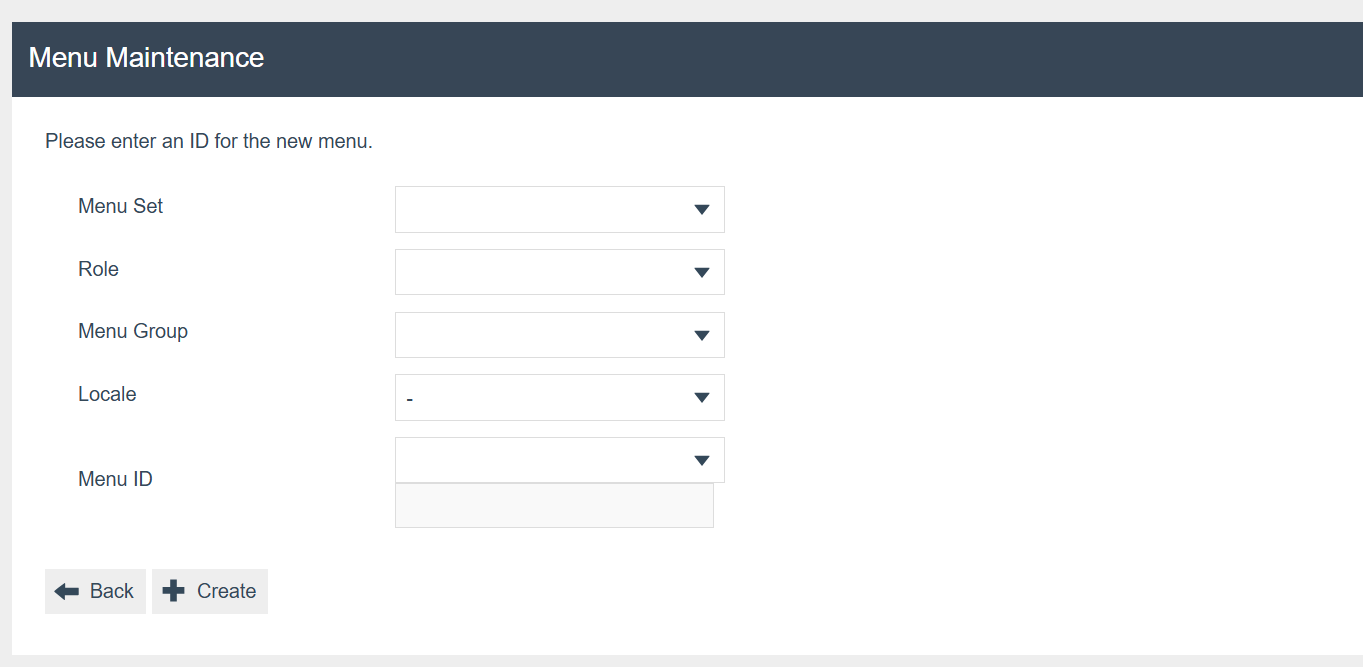
SCO_LANGUAGE menu.
Set the appropriate values as follows:
| Configuration | Example Value | Description |
|---|---|---|
| Menu Set | POS | Select the appropriate Menu Set |
| Role | Self Checkout System Role | This should align with the role associated to your SCO user |
| Menu Group | Default Standard POS | Select the appropriate Menu Group |
| Locale | - | Leave as default |
| Menu ID | SCO_LANGUAGE | The menu ID must be set to SCO_LANGUAGE |
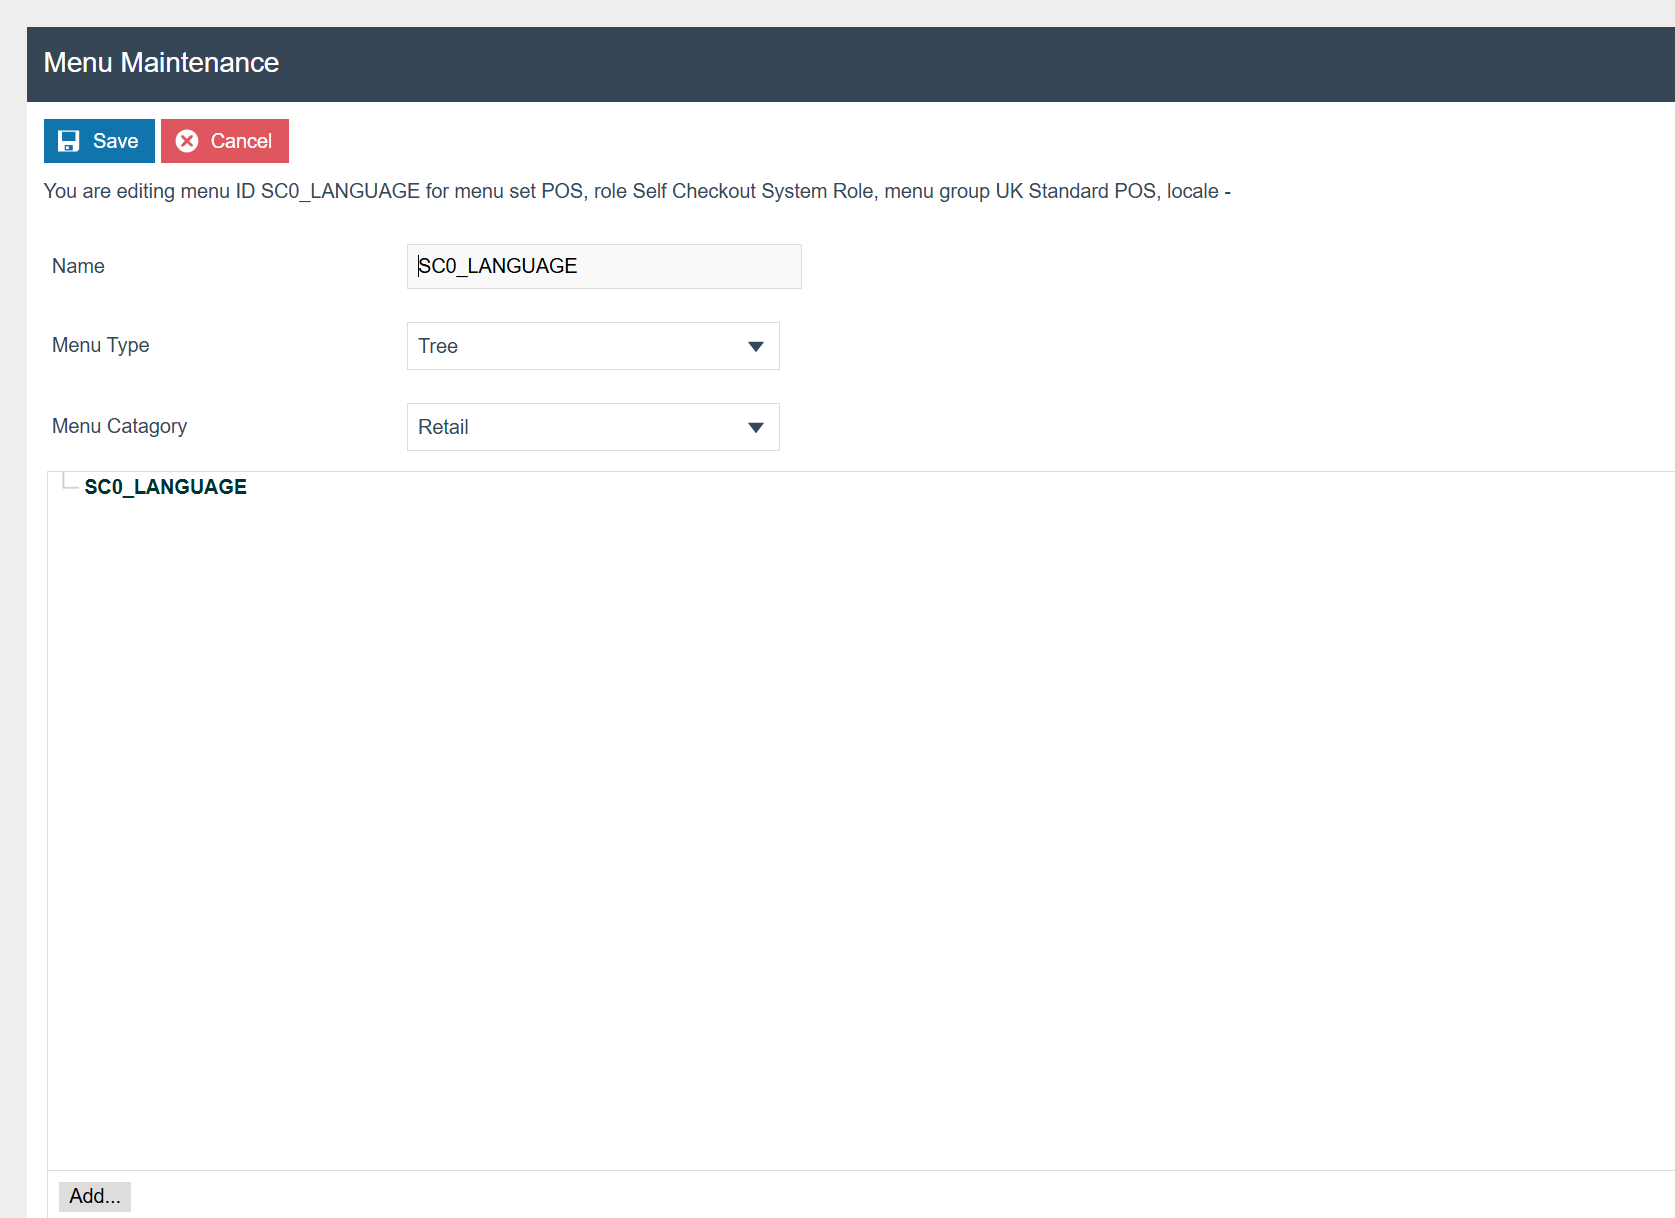
SCO_LANGUAGE menu after creation. Select Add to add a new language button.
Select Add to add a new button.
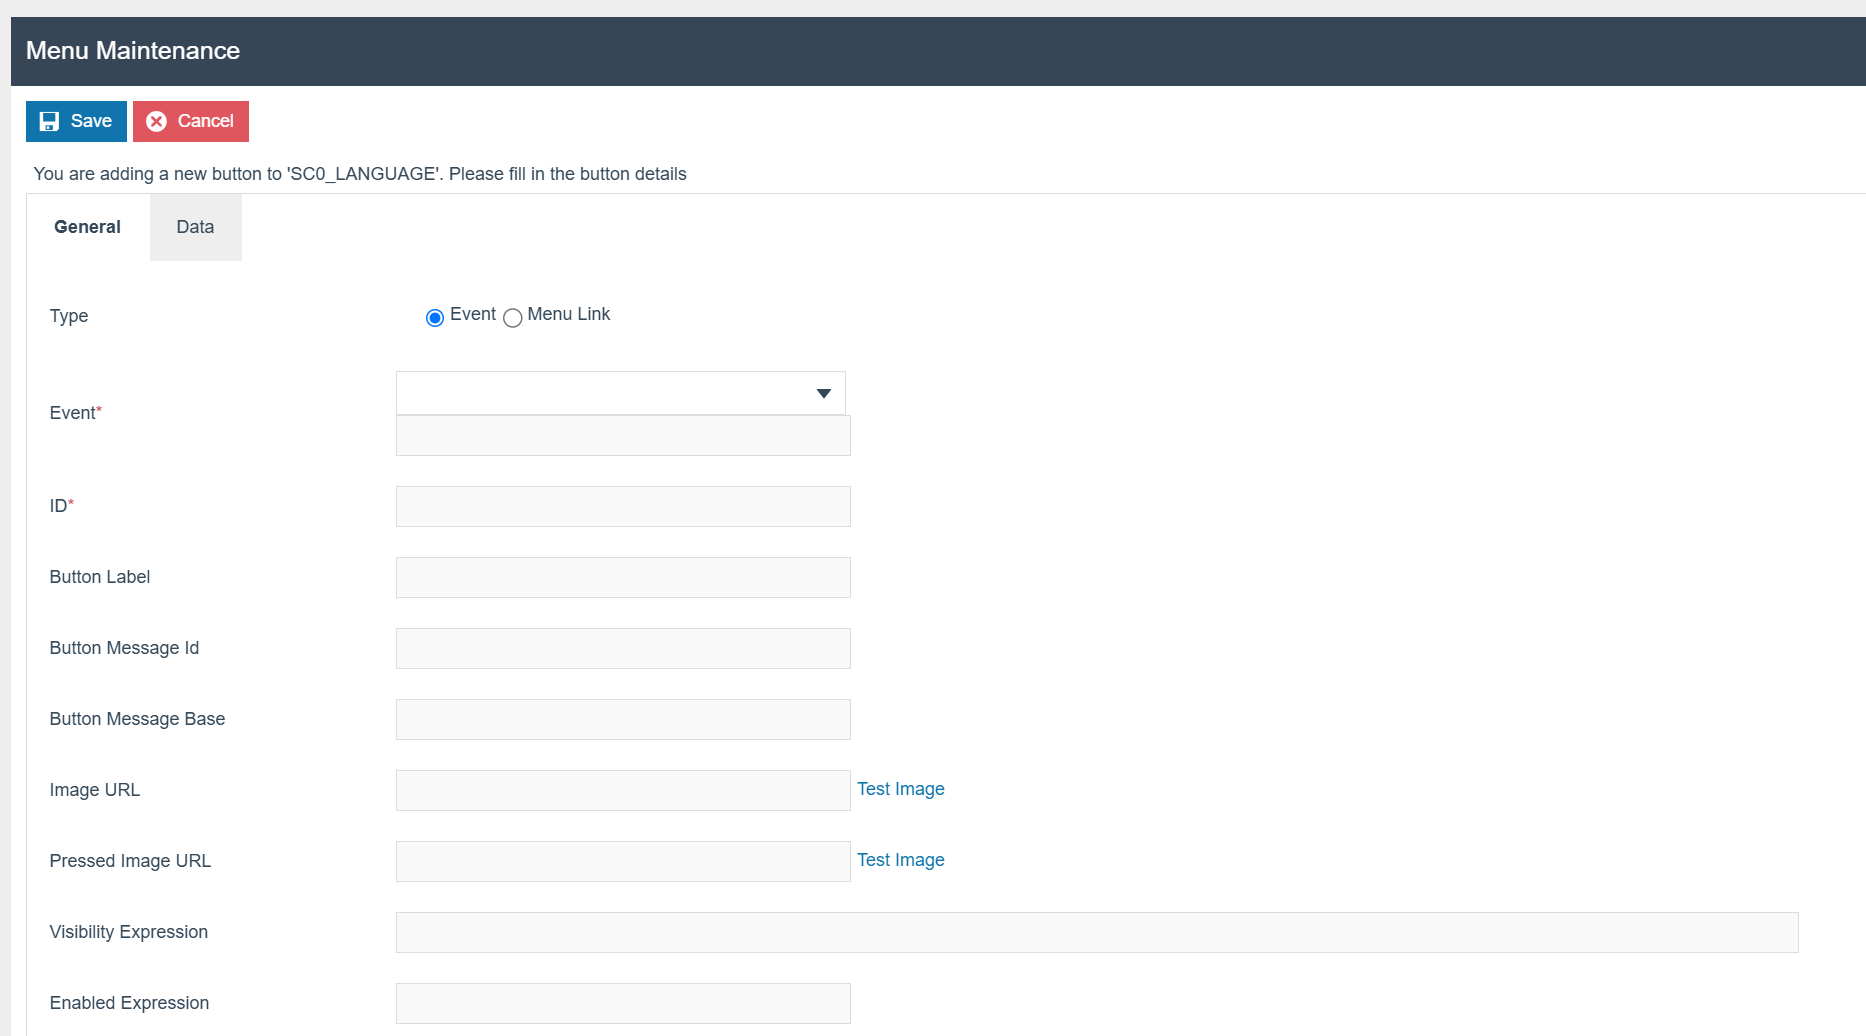
The following parameters should be set to create a new language on the SCO_LANGUAGE menu.
| Configuration | Example Value | Description |
|---|---|---|
| Type | Event | Defines the type of menu button |
| Event | SwitchLocale | Defines the menu event |
| ID | English | Defines the menu button ID |
| Button Label | English | Defines the menu button label |
| Image URL | Image://FLAGS/en-GB.png | URL for the flag image |
| Pressed Image URL | Image://FLAGS/en-GB.png | URL for the flag image when pressed |
Configuring Menus and configuring Images are further described in separate how-to guides.
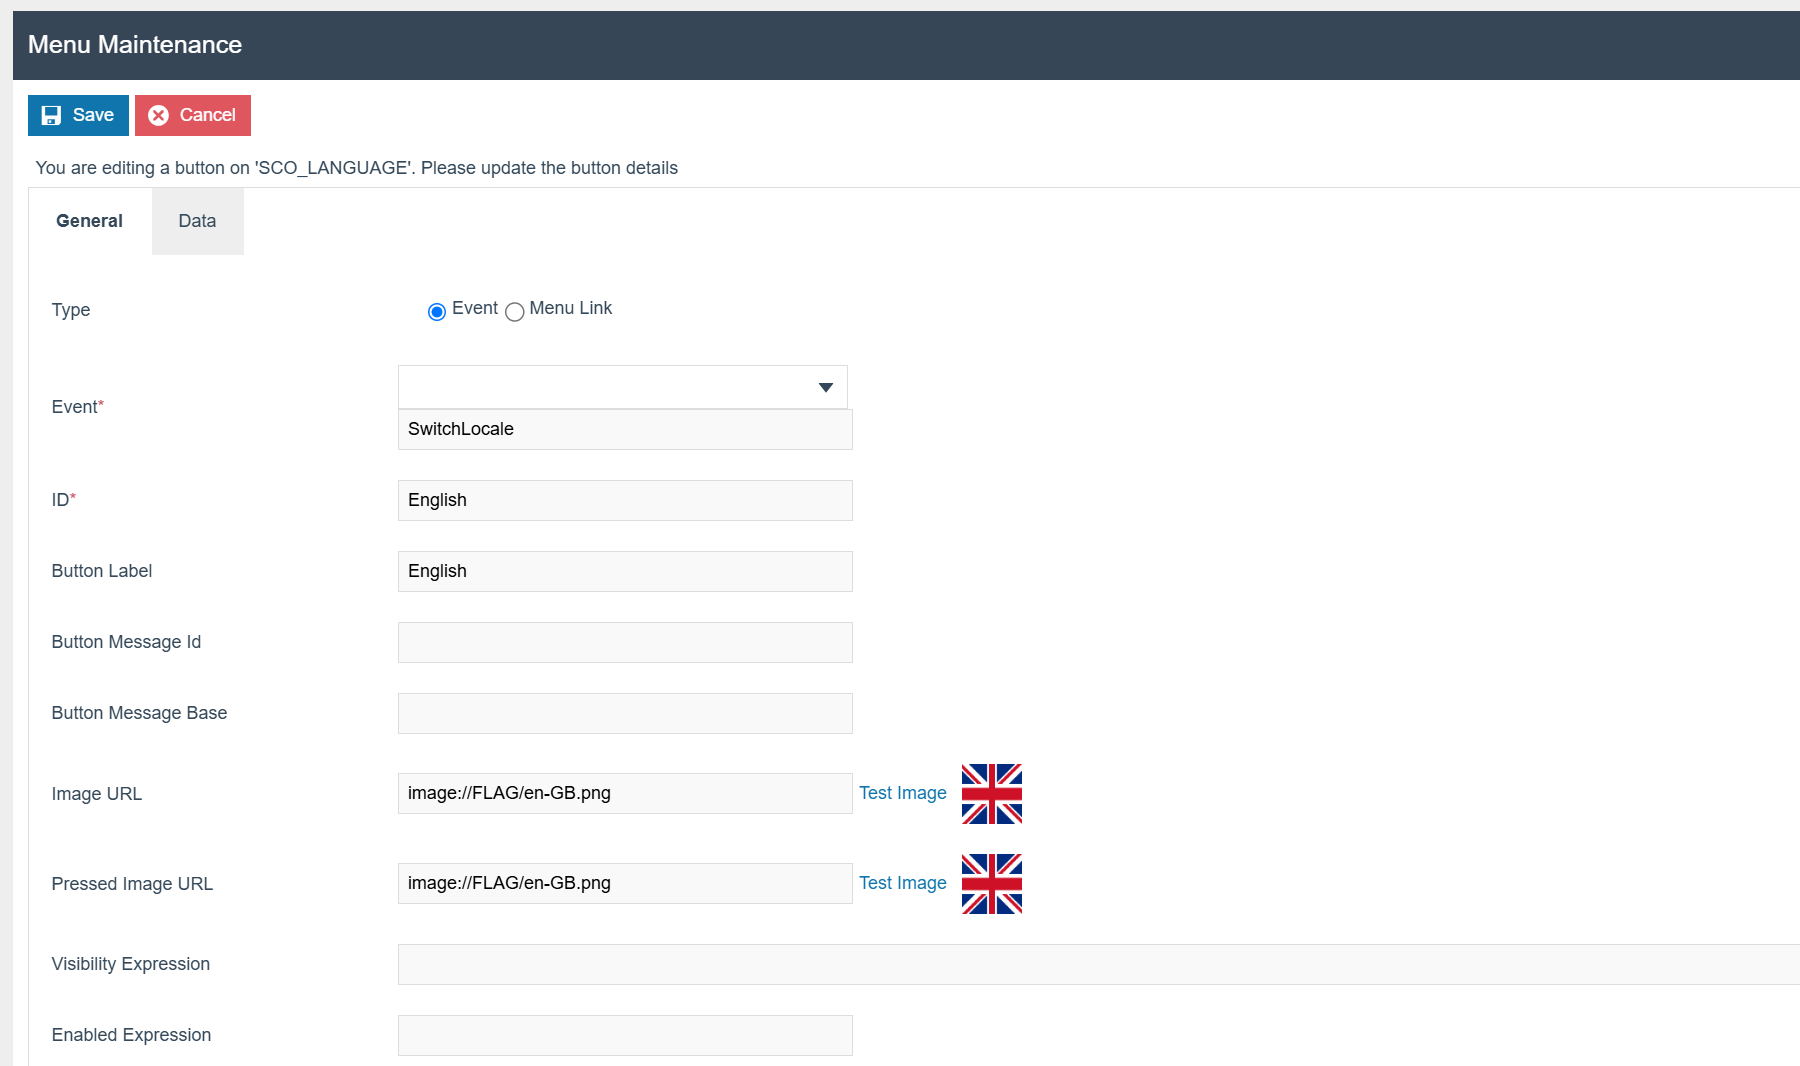
SwitchLocale event and UK flag image.
Select the Data tab.
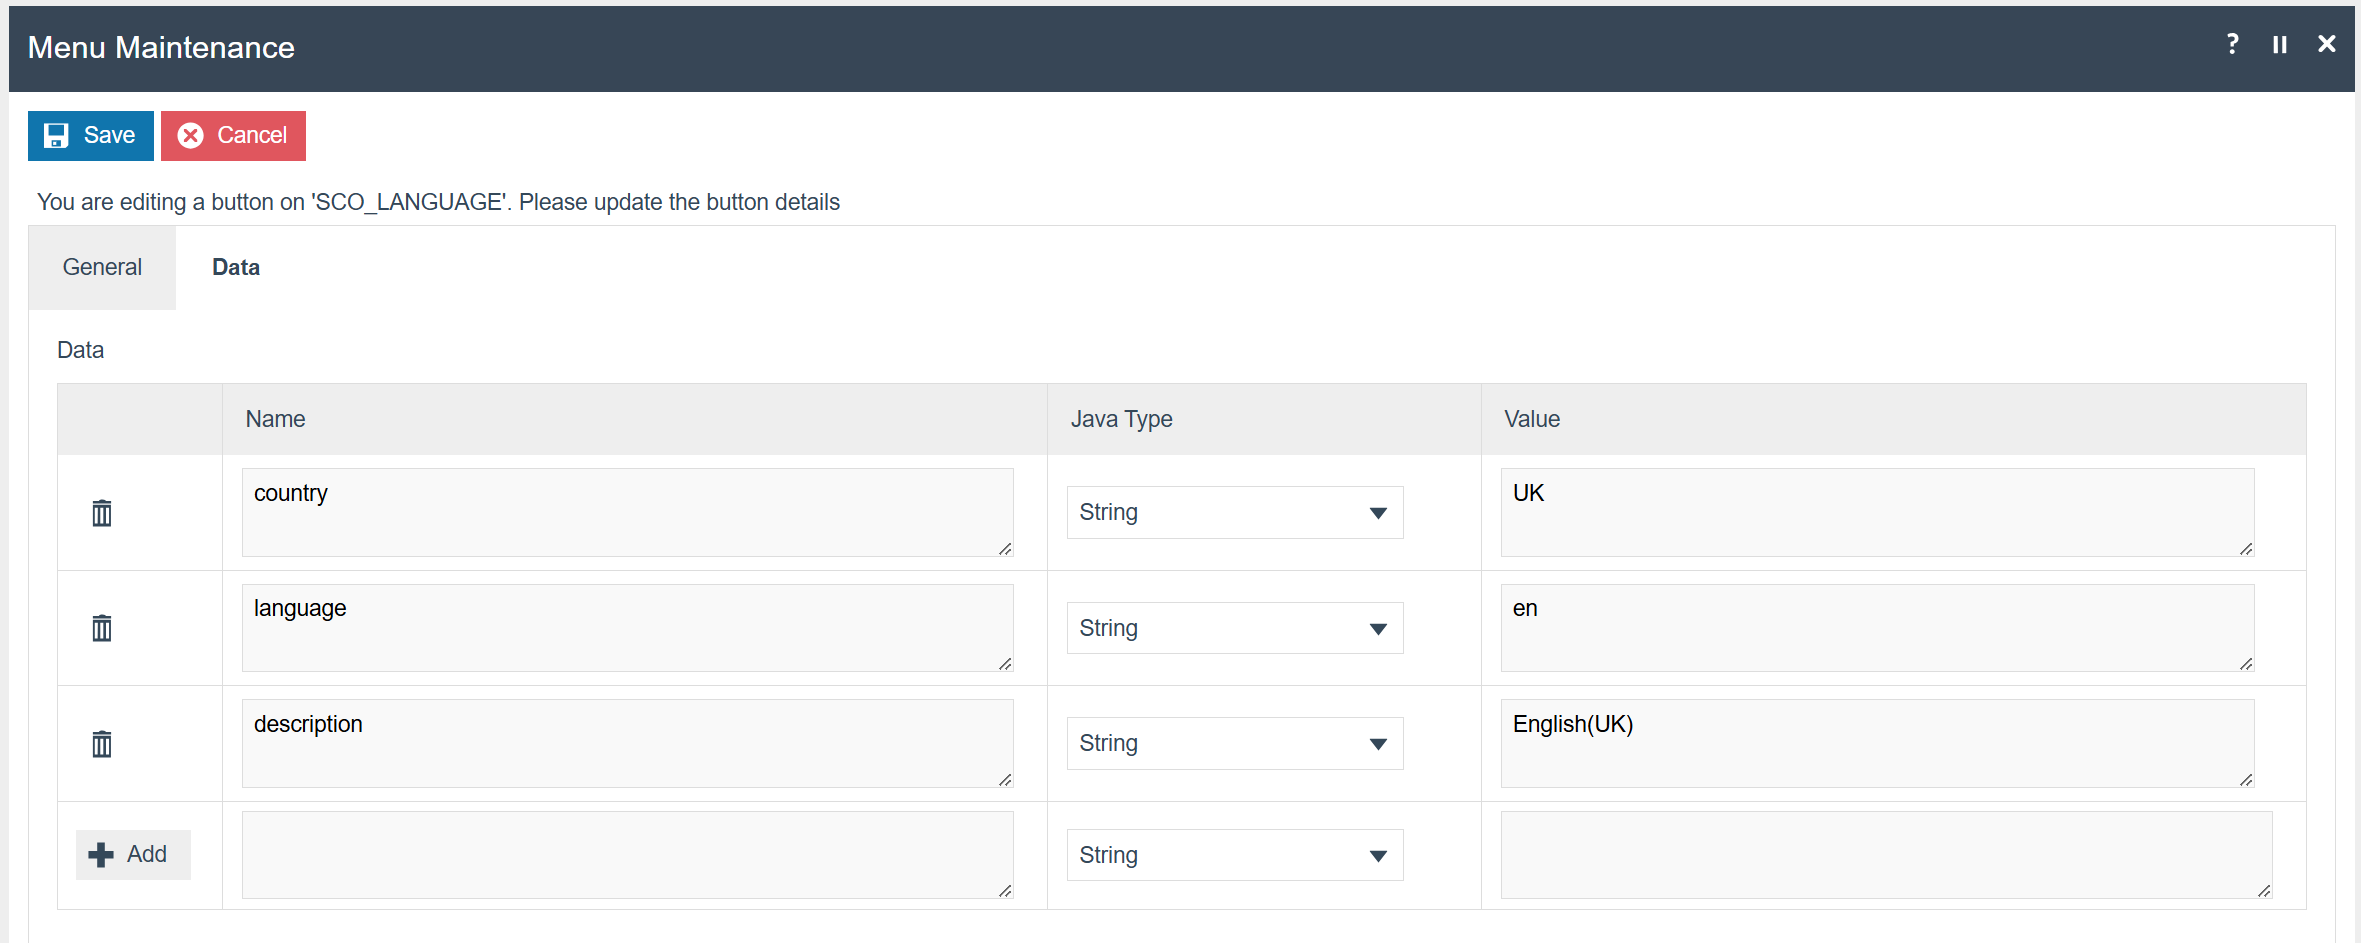
The following parameters should be set in the Data tab:
| Configuration | Example Value | Description |
|---|---|---|
| Country | UK | Country code |
| Language | en | Language code |
| Description | English(UK) | A human-readable description of the selected language and region |
Repeat this process for any additional languages.
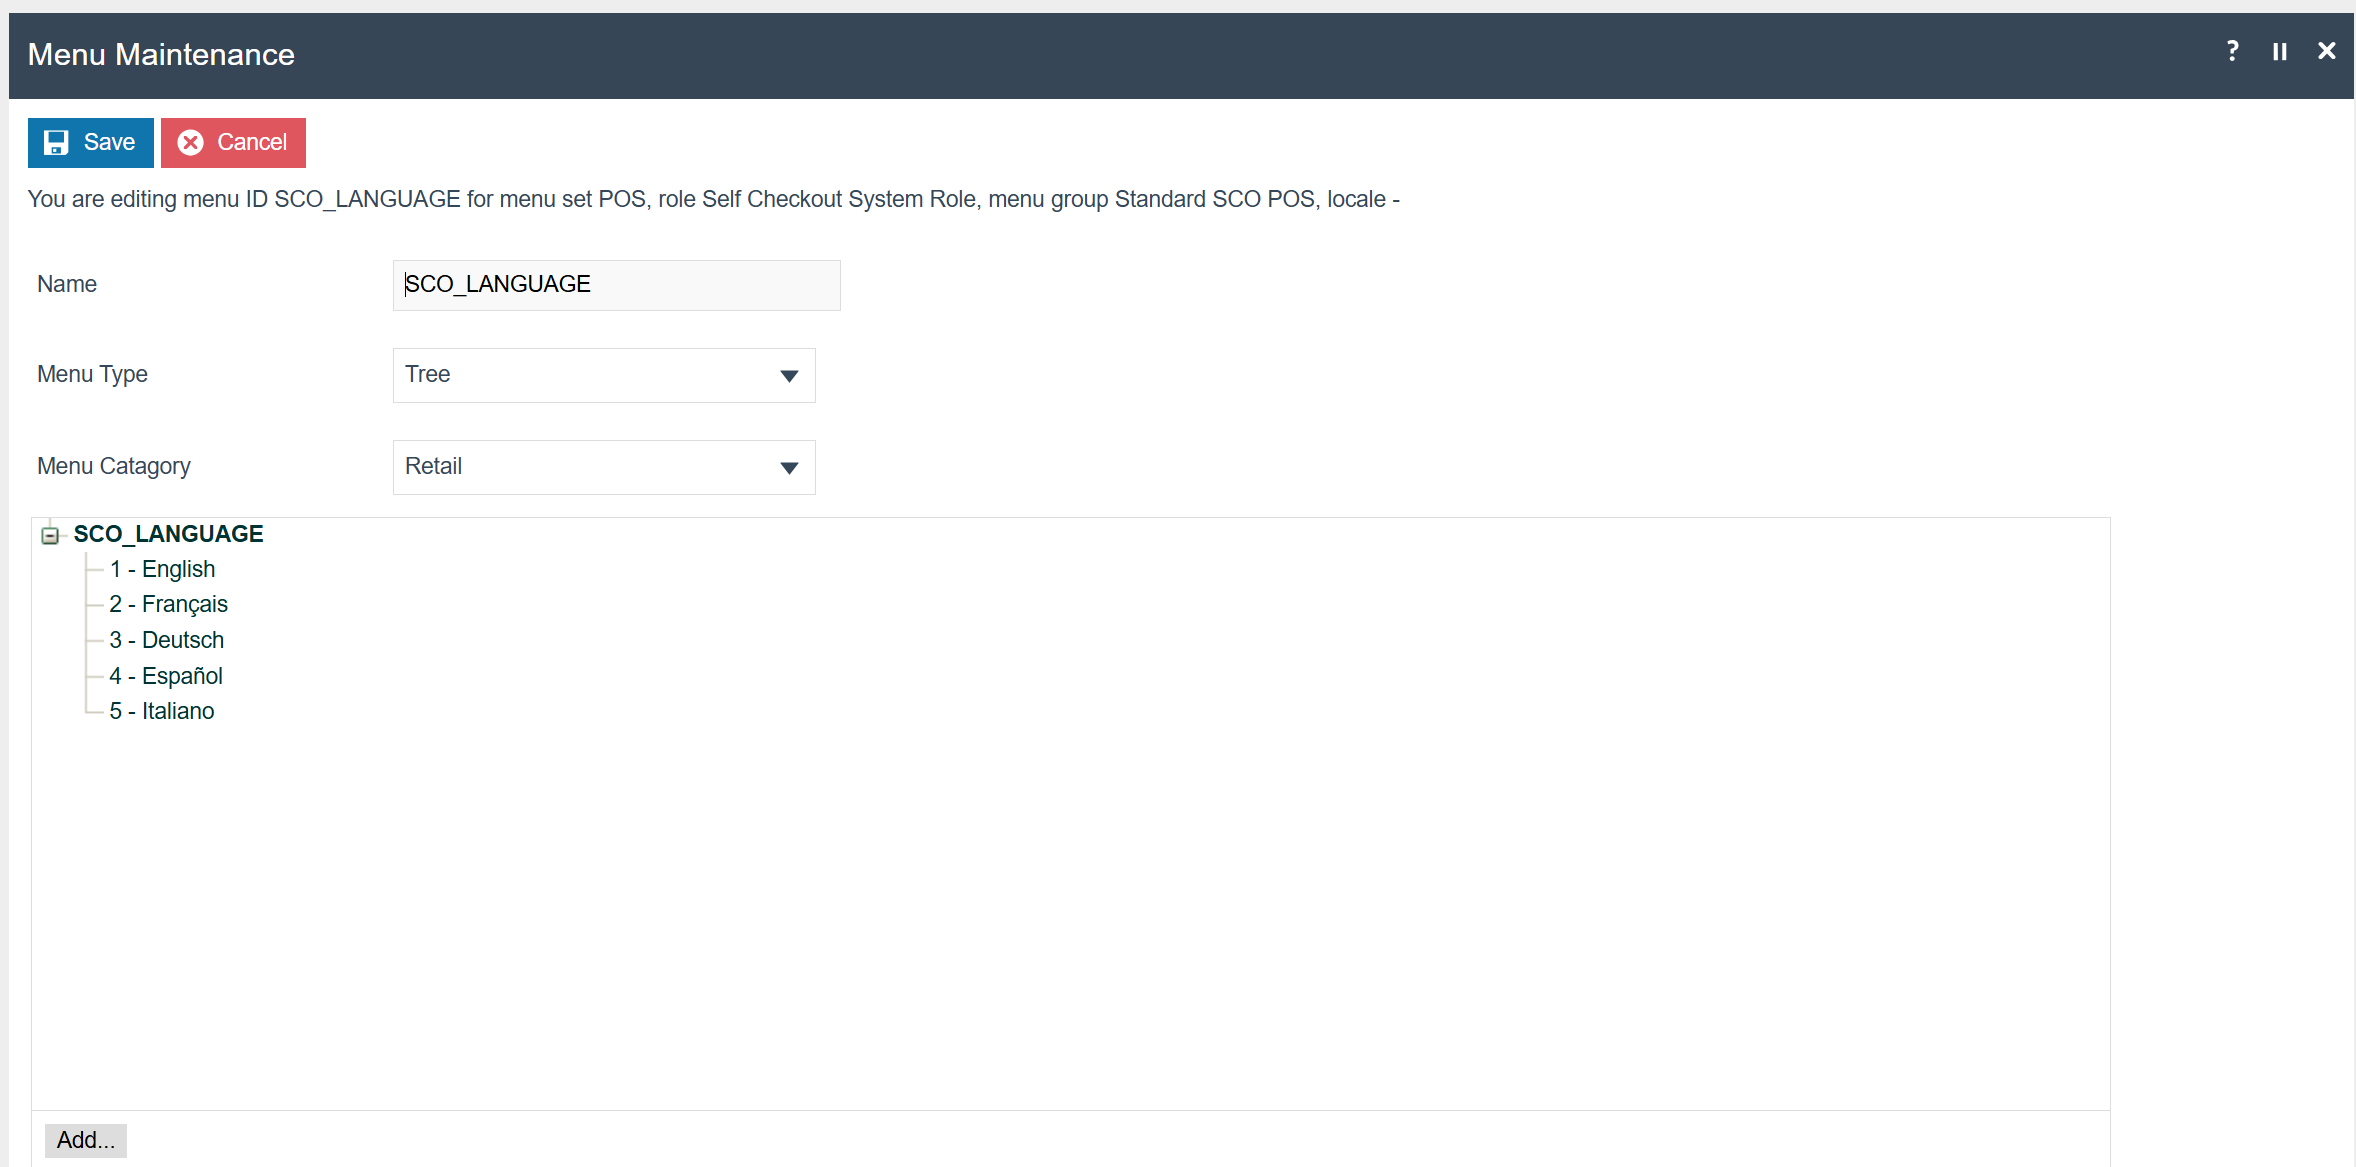
SCO_LANGUAGE menu with five configured language options.
Roles
The User Role maintenance application can be accessed through:
Configuration > HR > User Roles

For the language selection menu to display on the welcome screen, the SCO user must have a role that corresponds to the role configured in the menu. In this example, the role is Self Checkout System Role.
The user role assigned to the SCO terminal must match the role specified when creating the SCO_LANGUAGE menu. If the roles do not match, the language selection buttons will not appear on the welcome screen.
Broadcasting
To deliver the configuration changes to the POS, broadcast the following entities:
- Menu
- Images
- Role
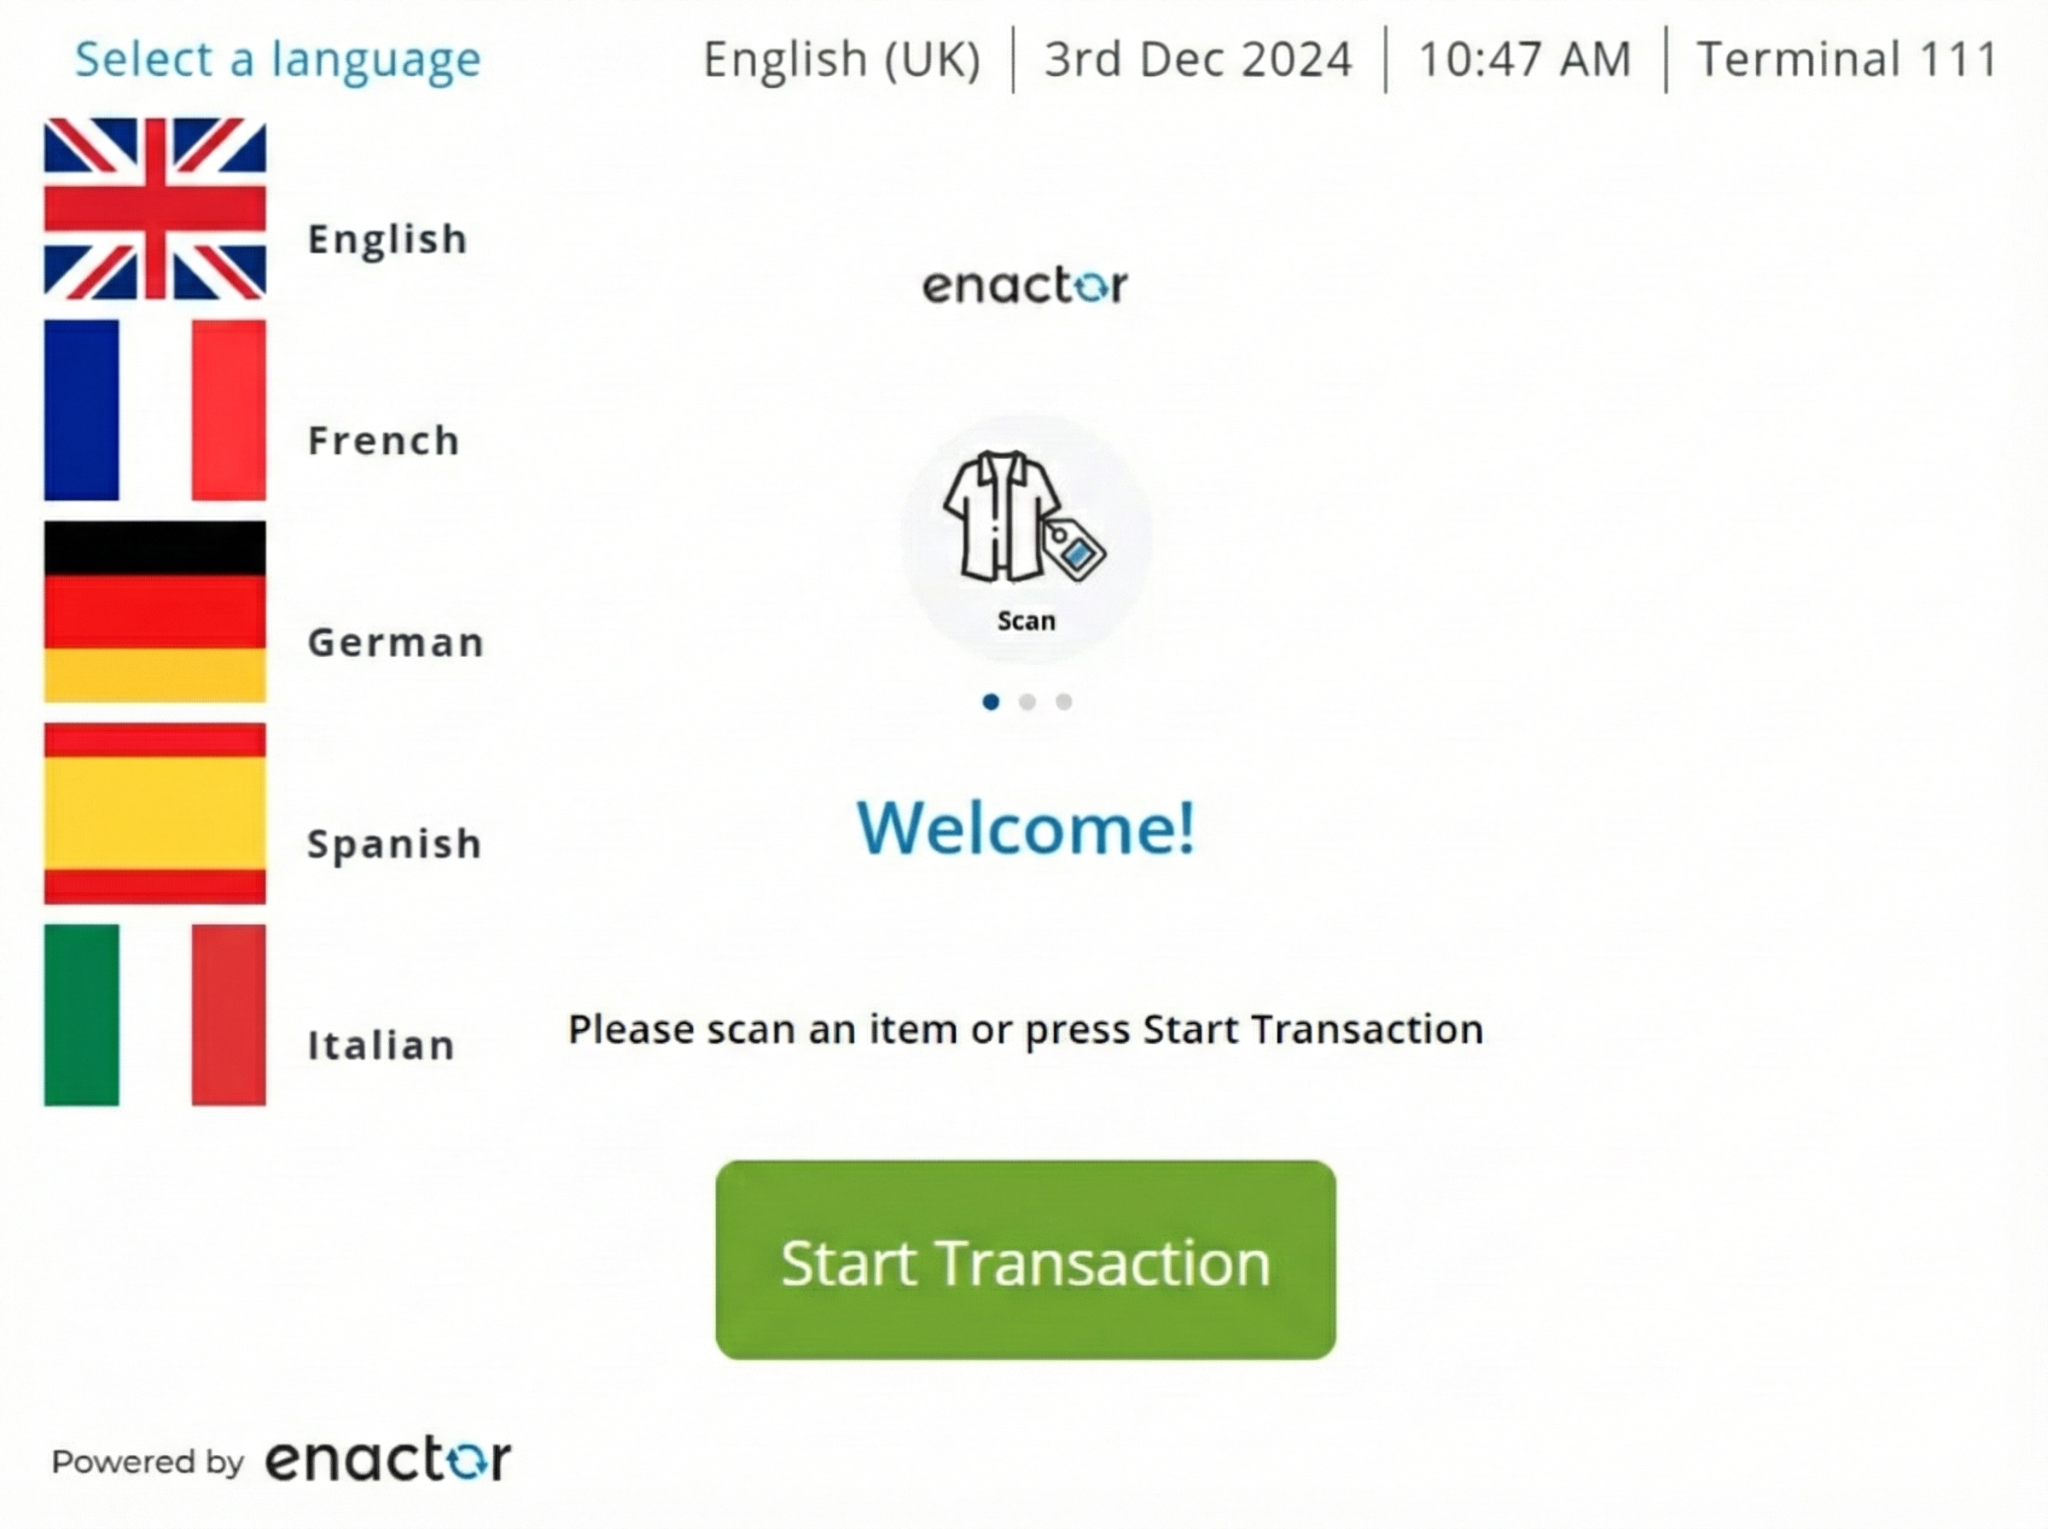
POS Functionality
Following is the SCO screen where the languages can be selected as configured: