How To Configure CRM POS
Introduction
The purpose of this guide is to show how to configure and use the CRM POS Launch feature, which allows users to start the POS system directly in CRM mode. This setup restricts access to CRM functions only, providing a streamlined interface for customer management.
This guide covers the CRM Launch and CRM Client Search POS modes only. General CRM configuration and customer management are covered in separate guides.
Overview
This guide covers:
- CRM Launch - Restricts the POS to CRM functionalities from startup.
- CRM Client Search - Configures the POS to start up with direct access to a customer search interface.
Prerequisites
Prior Training/Experience
You should be familiar with the following:
- Estate Manager configuration
- Data broadcasting
- Menus and user roles
Configuration Steps
This section describes configuring the CRM POS Launch and CRM Client Search modes, which directly start the POS into the selected CRM functionality.
POS Terminal
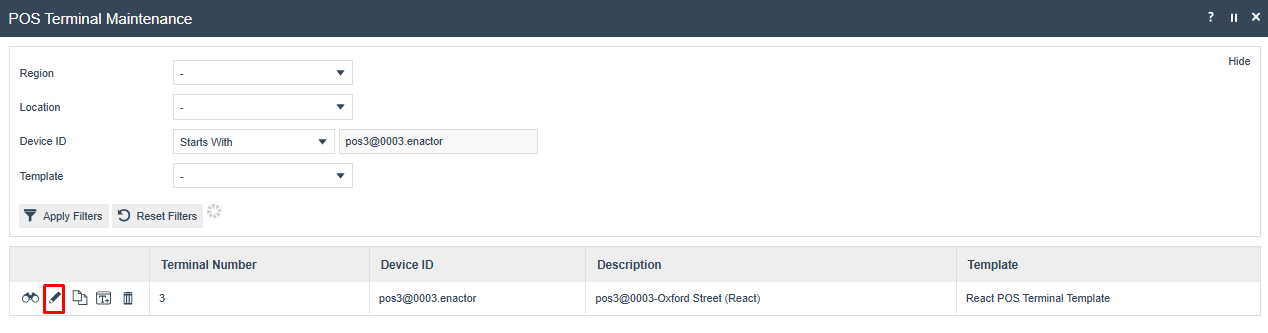
The POS Terminal configuration determines how the POS operates, including which functionalities are available at start-up. This configuration could equally be applied to a POS Terminal Template.
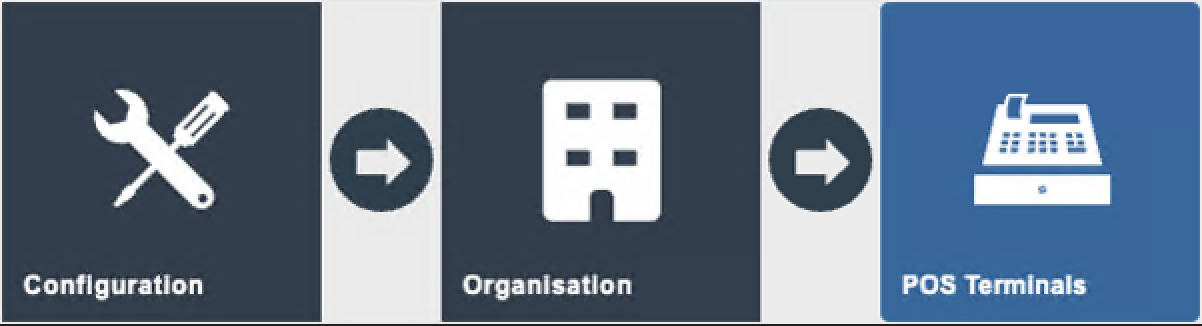
Navigate to POS Terminals using the Search or the path: Main Menu > Configuration > Organisation > POS Terminal
User Interface Tab
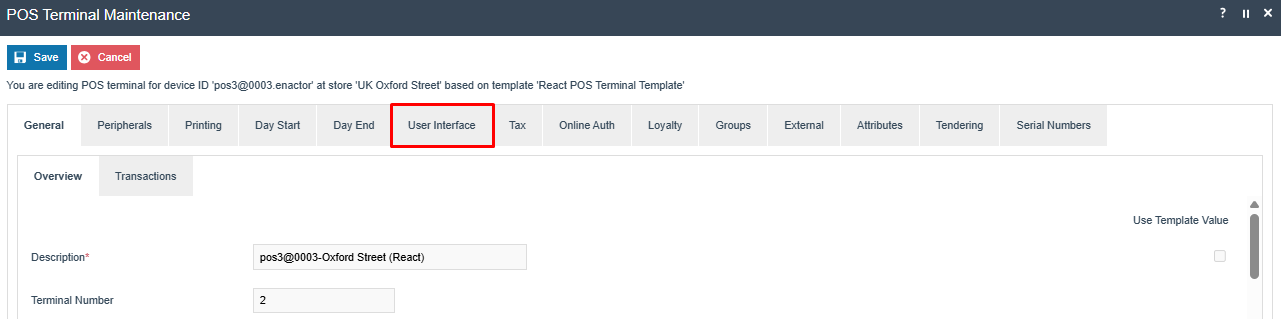
On the User Interface tab, set the appropriate values to configure the CRM launch mode:

| Field | Value | Description |
|---|---|---|
| Default Launch Event | CRMSearchStart | Directs the POS to open directly in the client search interface. |
| Default Launch Event | CRMLaunchStart | Directs the POS to open directly into the CRM menu. |
| Display Launch Menu | Checked | This value is required for the default launch event to work. |
This completes the POS Terminal configuration.
Role Configuration
Access to the CRM Launch menu is gated by a User Role. The Menu configuration (below) assigns a Role to the CRM_LAUNCH menu, and only Users who hold that Role - directly or through a User Template - can access the menu once the POS starts.
Navigate to User Role Maintenance using the Search or the path: Main Menu > Configuration > HR > User Roles
Create a new User Role for CRM Launch access, or reuse an existing one. The reference configuration includes a dedicated CRM-POS role for this purpose. Set the Role's Description and Authorisation Level on the General tab.
Creating User Roles and setting Authorisation Levels is fully described in the User Role Configuration section of the Configuring Users, User Roles and User Templates how-to guide.
This completes the Role configuration.
Privileges Configuration
Menu access alone does not grant permission to use a function - the Role also needs the matching Privileges enabled on its Authorised Functions tab. Without these, a User can reach the CRM Launch menu but cannot run the functions behind its buttons.
On the Authorised Functions tab of the Role, set Application Package to Enactor CRM (and Enactor POS for the CRM Client Search function), then filter by Process to locate and enable the Functions needed for the events used on the CRM_LAUNCH menu: Overview, Customers, Diary, Jobs, Manager, and Messages.
Filtering and enabling Authorised Functions, including the Allowed/Authorised privilege pattern used by some functions, is fully described in the User Role - Authorised Functions Tab section of the Configuring Users, User Roles and User Templates how-to guide.
This completes the Privileges configuration.
Menus
To enable the CRM POS modes, an appropriate Menu must be configured.
Navigate to Menus using the Search or the path: Main Menu > Configuration > System > Menus

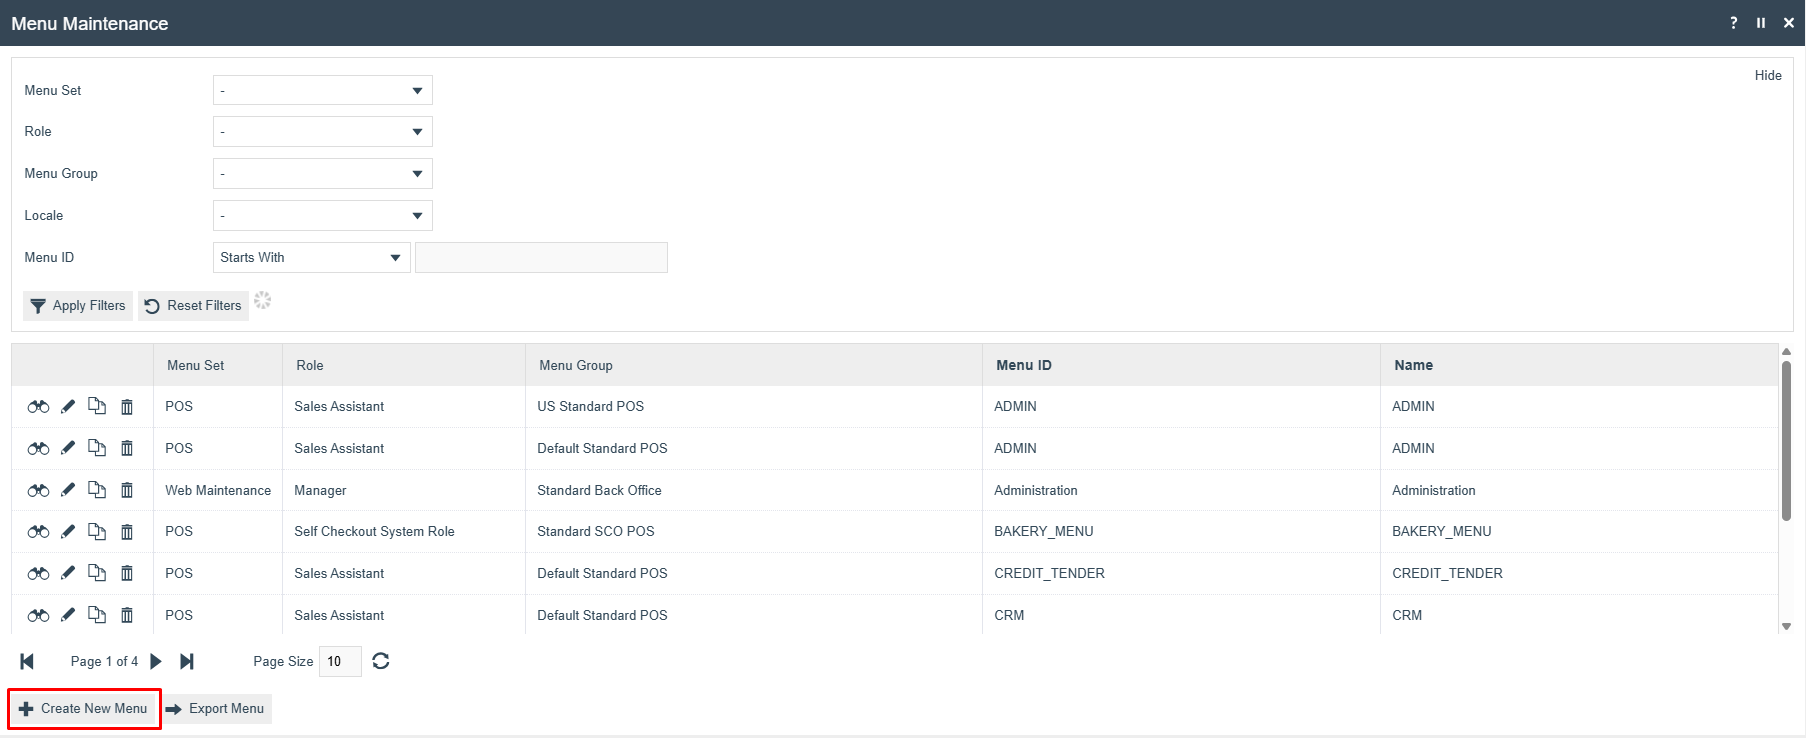
The following parameters should be set to create the CRM menu:
| Field | Value | Description |
|---|---|---|
| Menu Set | POS | POS is selected. |
| Role | Sales Assistant | Select the Role that should have access to this menu - the Role configured in Role Configuration above (e.g. CRM-POS), or any other Role appropriate to this menu. |
| Menu Group | Default Standard POS | Select the appropriate menu group. |
| Locale | English (UK) | Select the appropriate locale. |
| Menu ID | CRM_LAUNCH | This is a fixed menu ID and must be used. |
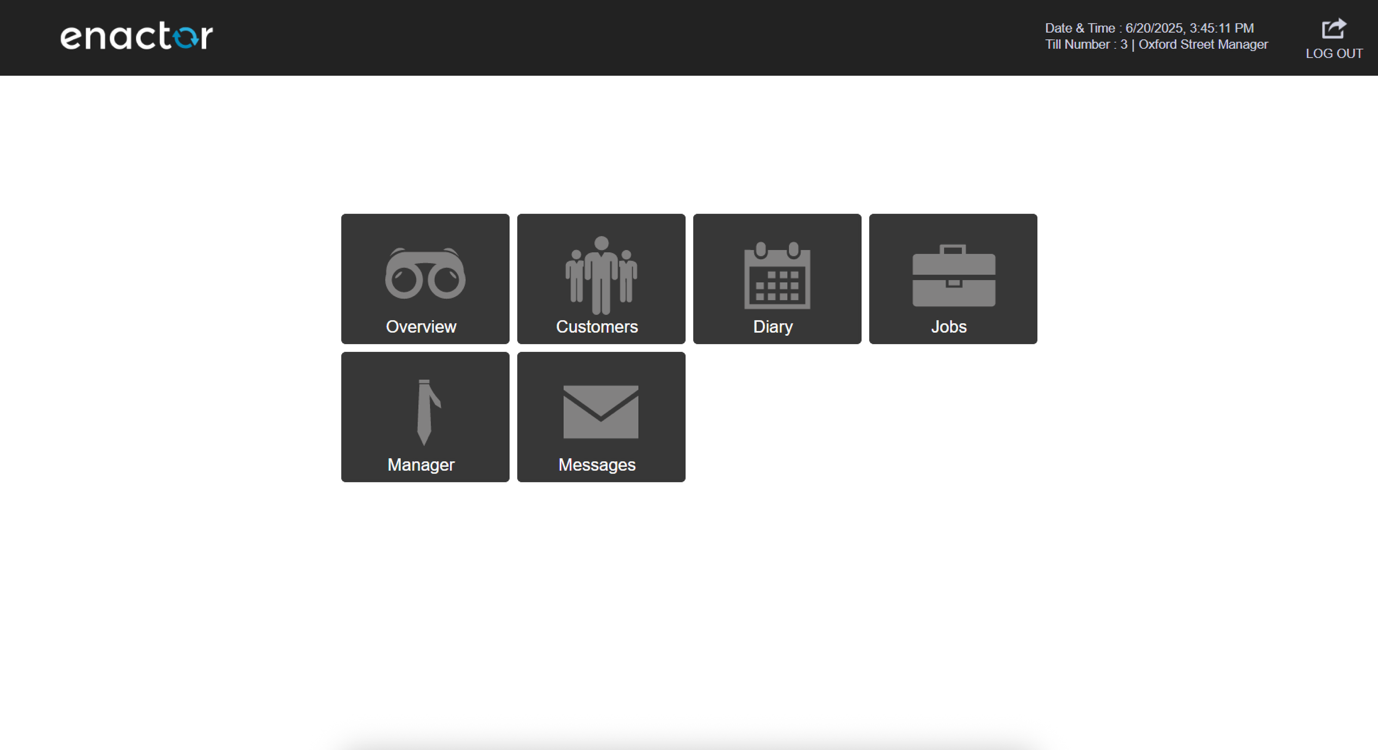
The following menu events are supported in the CRM Launch Menu:
- Overview
- Customers
- Diary
- Jobs
- Manager
- Messages
These can be selected from the event dropdown when configuring menu buttons under the CRM_LAUNCH menu.
If you already have an existing CRM menu, you can copy it and rename the new copy to CRM_LAUNCH for use with the CRM launch features. This allows you to retain the original structure while customising it to suit your CRM functionality requirements.
Configuring Menus is further described in the Configuring Menus how-to guide.
This completes the Menu configuration.
User Templates
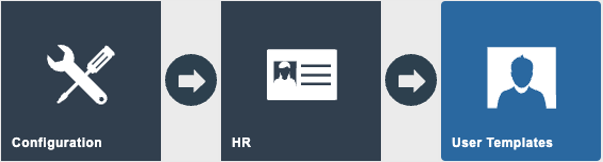
Navigate to User Templates using the Search or the path: Main Menu > Configuration > HR > User Templates
For users to successfully log onto the POS and access the CRM Launch menu, they must have the appropriate role assigned that corresponds to the role in the menu's configuration. If the user does not possess this role, they will be unable to access the CRM functionality as intended.
Most users are assigned to a User Template. Their User Template controls the User Roles that are assigned to them.
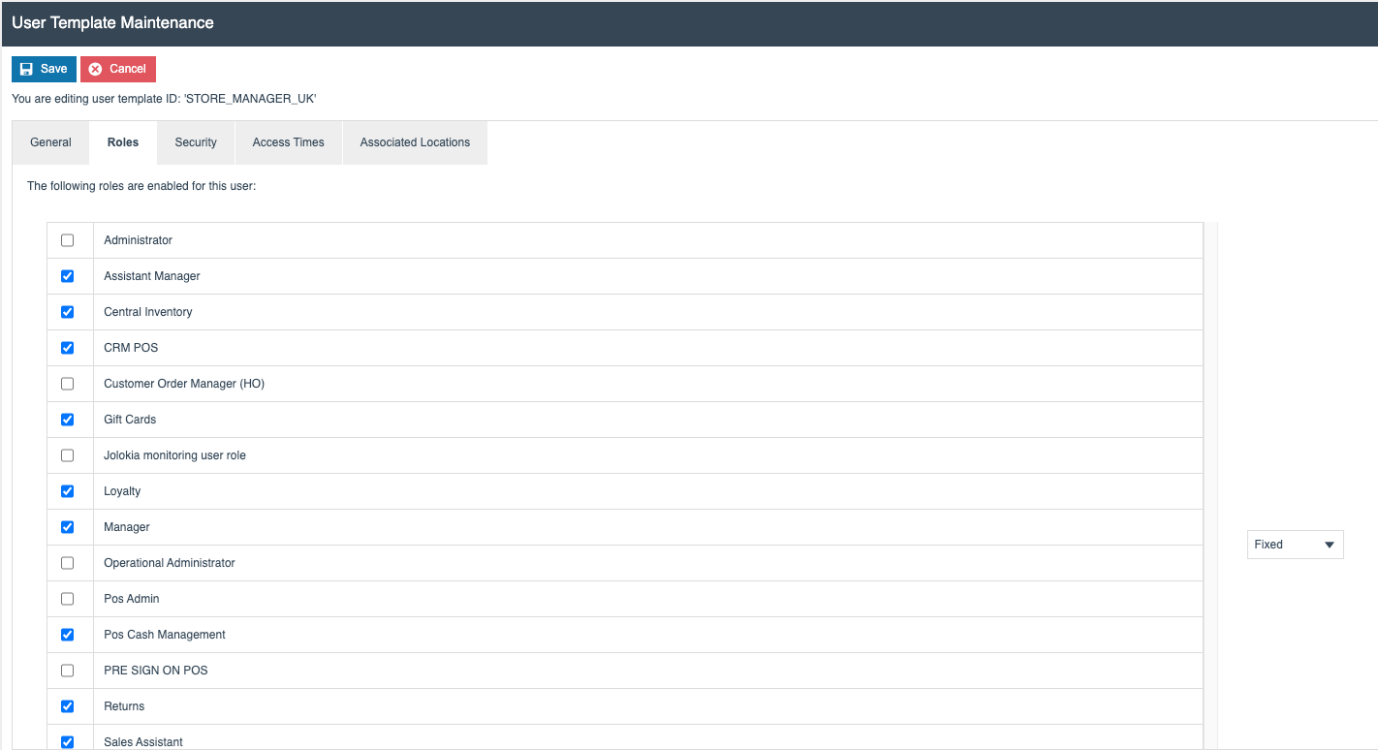
If users are configured individually without the use of a template, the role can be assigned to each user via the User Maintenance application.
This completes the User Template configuration.
Broadcasting
To deliver the configuration changes to the POS, broadcast the following entities:
- POS Terminal / POS Terminal Template
- Menu
- Users
- User Templates
This completes the Broadcasting configuration.
POS Functionality
CRM Search Functionality
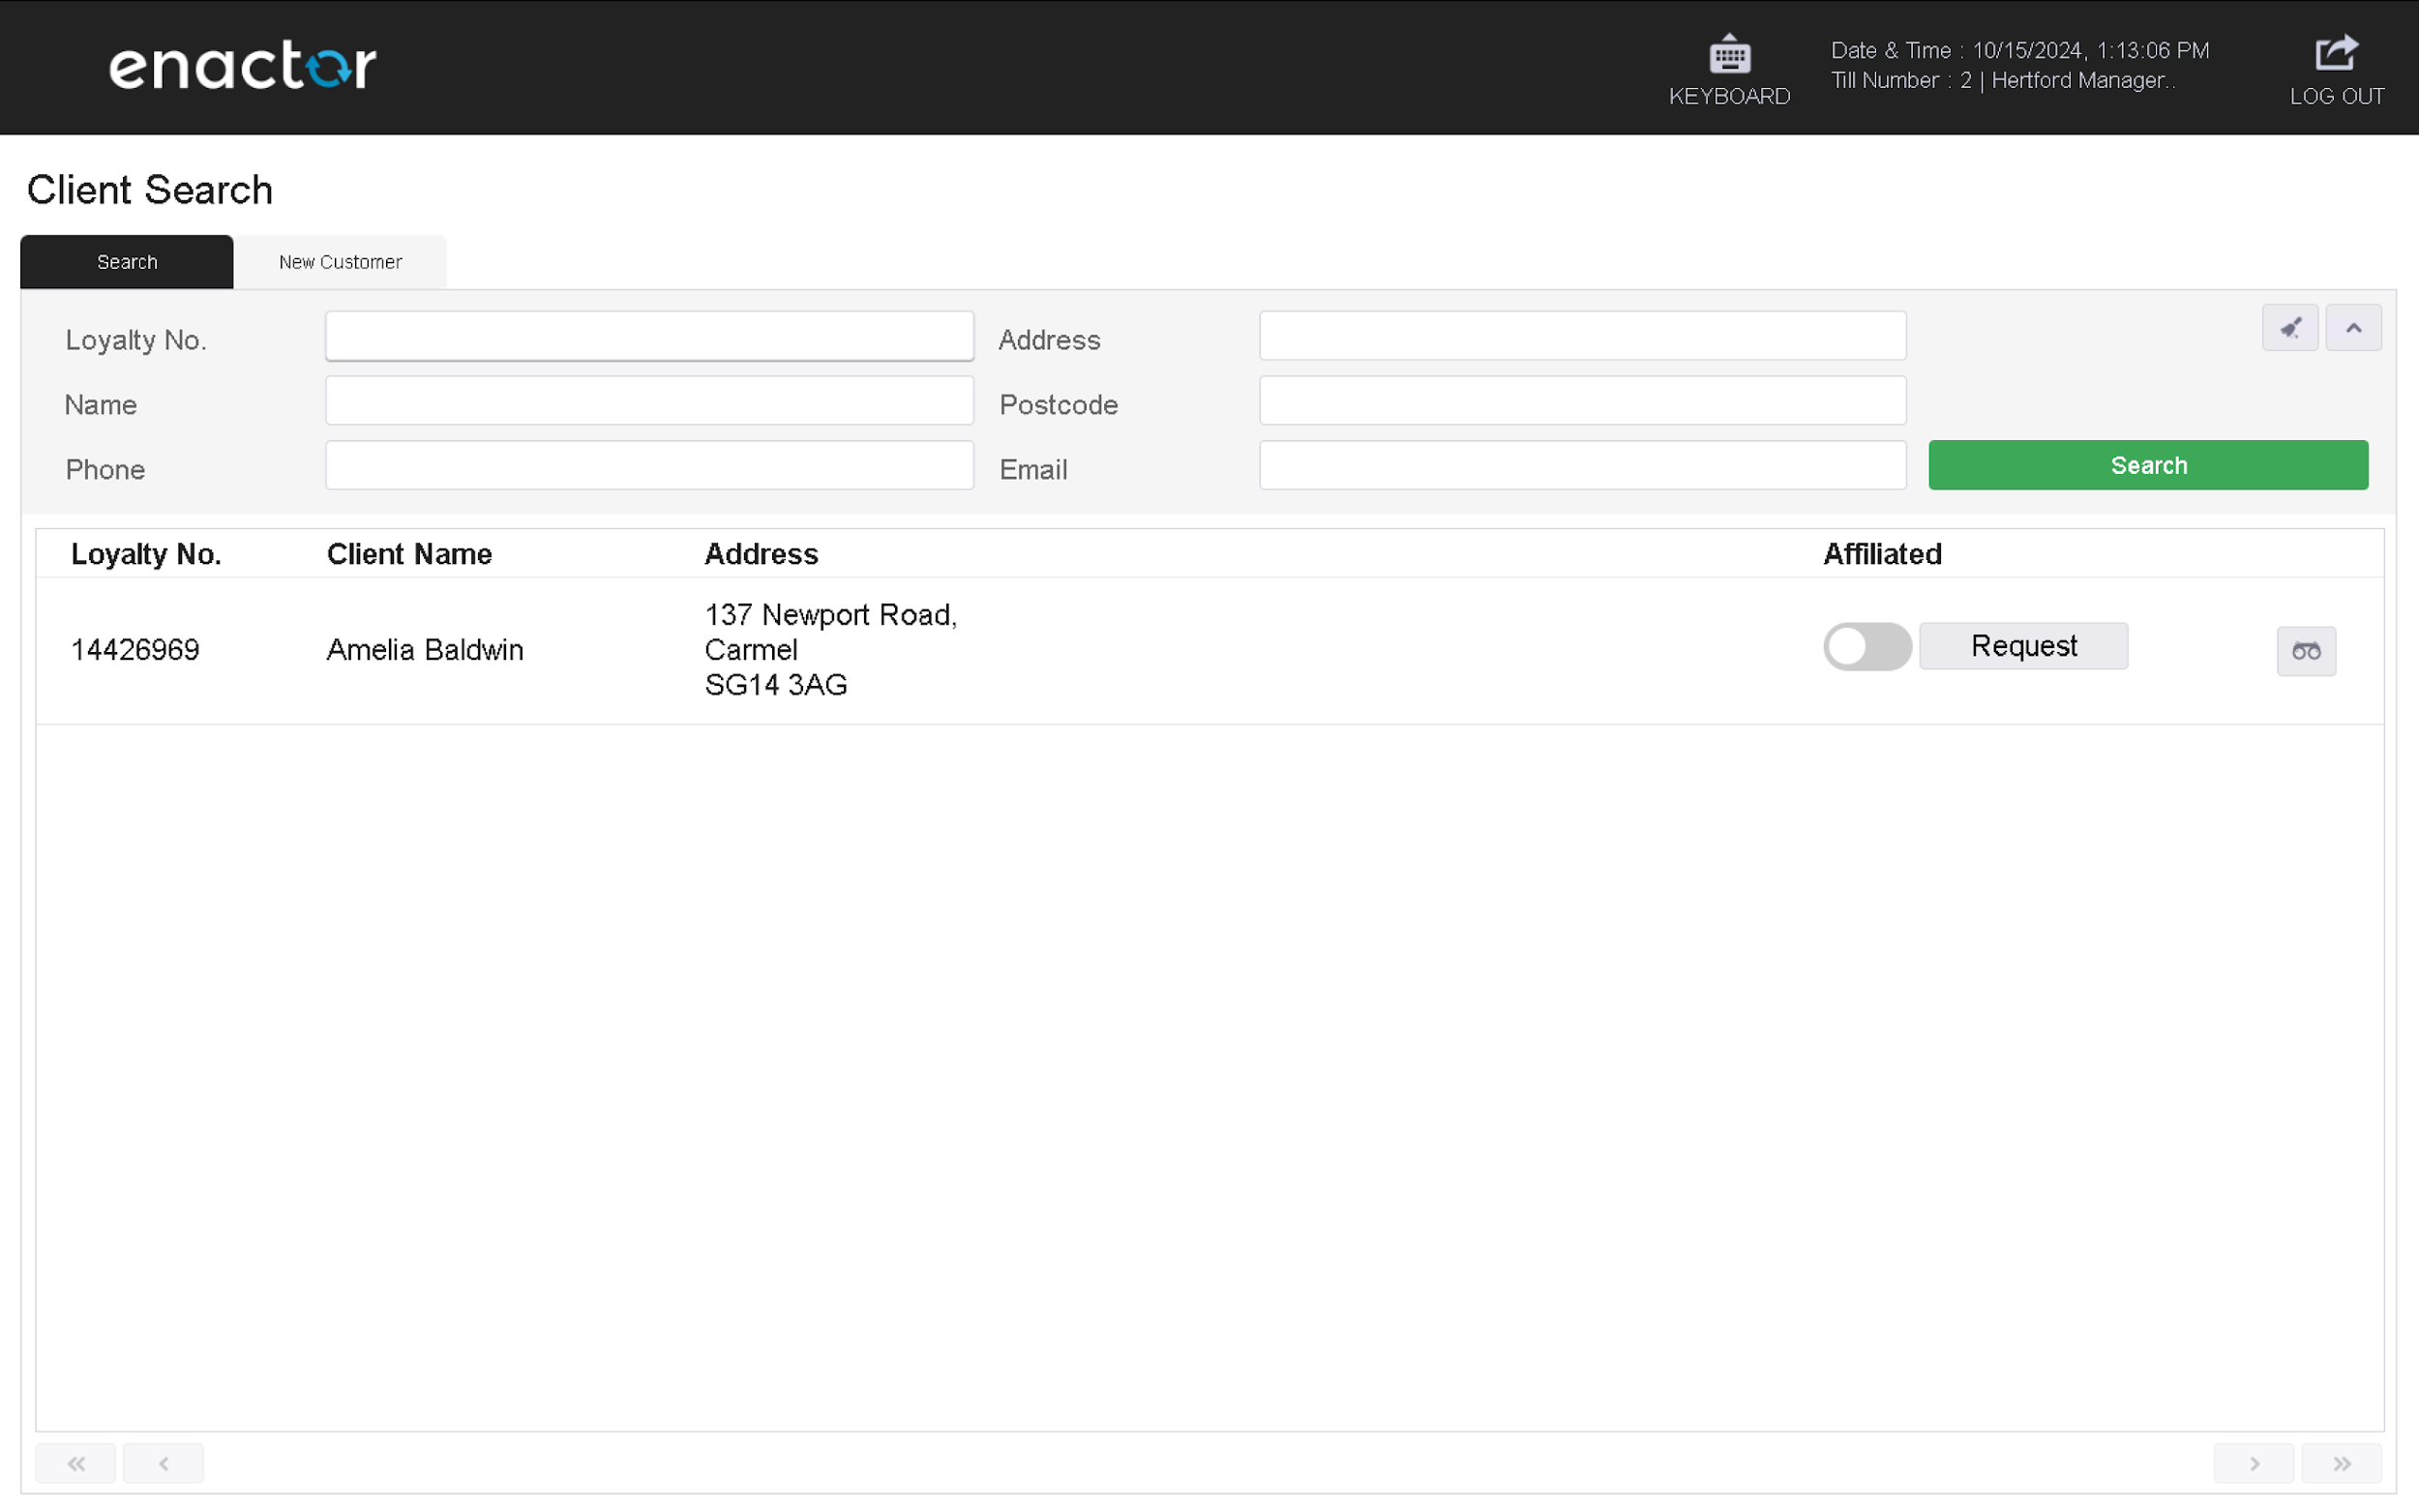
Start the POS and log in. The POS navigates directly to the CRM search screen, where the POS operator can search for customer records using the available search criteria:
CRM Launch Functionality
Start the POS and log in. The POS navigates directly to the CRM Launch menu:
Further Reading
Supporting Guides and Further Information
For additional information and further reading on CRM POS, please see the following guides:
| Document | Description |
|---|---|
| How To Guide: Configuring Customers | Configuring core Customer Data, Customer Types, and Customer Groups |
| How To Guide: Configuring Loyalty | Configuring Customer Loyalty schemes and POS integration |
| Configuring Menus | Full menu configuration guide, including Sale, Tender, and Launch menus |
| Addendum 1 - Menu Layouts | Reference guide to all 17 Enactor POS menus, including the Launch and CRM menus |