How To Install Kitchen Display on Windows
Introduction
This guide explains the installation of the PDP Thin Client Kitchen Display on Windows.
Enactor's kitchen display offers staff a clear overview of current and upcoming orders on screens in the kitchen.
Restaurants can have as many display stations as they need, setting them up so that the system automatically routes orders to the proper food preparation station.
Overview
The guided steps described in this document are required to configure and install the PDP thin client application as a kitchen display.
Prerequisites
Prerequisites required to install the PDP client as a kitchen display.
-
Deployed PDP Server (Mobile Service) to host the thin client kitchen display
-
Installation files ('X' specifies the version):
-
EnactorPDPClient-X.X.XXX.XXX.XXX-example.ini
-
EnactorPDPClient-X.X.XXX.XXX.XXX.msi
-
-
The following configuration should be pre-configured in the EM in readiness for the installed kitchen display:
| Configuration | Comments |
|---|---|
| Location printer | Configured as a kitchen display, mapped to the kitchen over IP, Host Address/port and device ID. |
| Product Preparation Type | Product preparation area ID and description e.g. mains area |
| Product Preparation Peripheral Mapping | Peripheral Type set to bump bar, linked to location printer and product preparation type |
| Product | Linked to product preparation type |
Configuration Steps
Devices
Instances of Software architectural elements are defined in configuration as Devices, each with a unique Device ID, differentiated functionally by the software Services offered, based on Device Type and individually by the specific instance (Device ID) executing on a given Host Name. Each Device is therefore defined in association with a Device Type. Device Type configuration is described in the next section, although is not normally required except for customisation or to accommodate special requirements.
Browse to the Estate Manager (EM). Example URL for the EM is:
https://{EMA_HOST}/WebMaintenance/
Navigate to Device Maintenance configuration using the Search or the path:
Estate Manager > Device Maintenance

Each kitchen display thin client installation requires its own unique device ID. The Device is linked to the Kitchen Display device type and location.
From the device maintenance screen, select 'Create a new Device'.
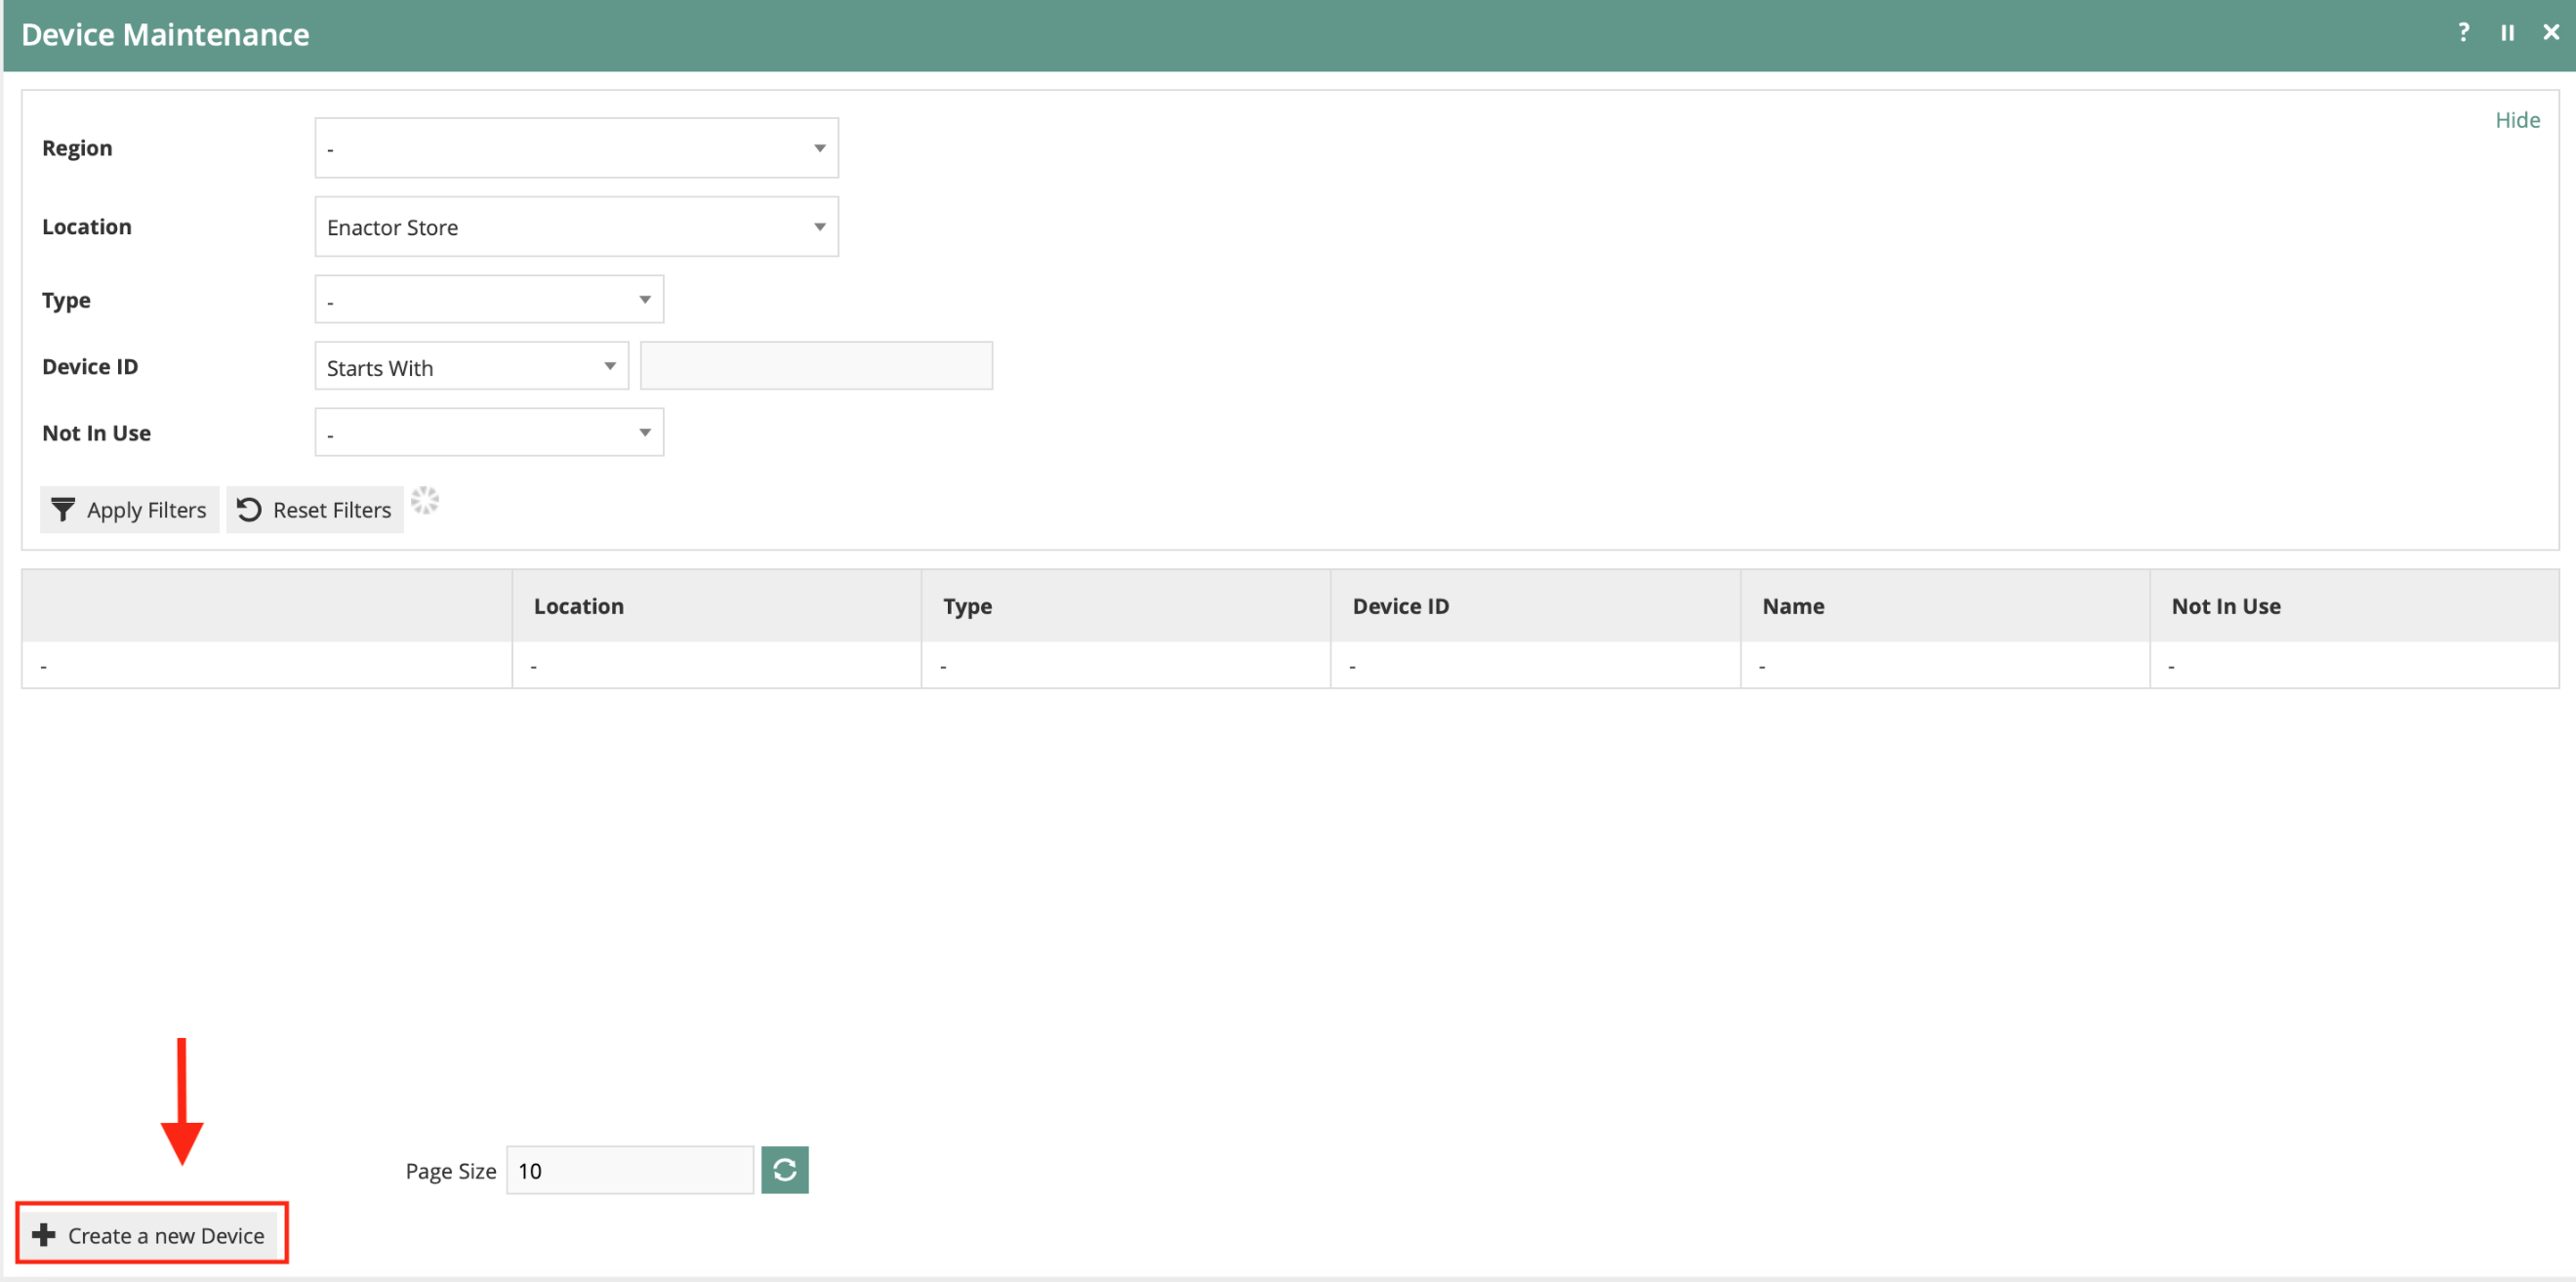
Enter a unique device ID e.g. <KD01@0001.enactor> - the example provided references the KD number, Location ID and Company.
Select 'Create' to add the additional configuration required for the new device.

The kitchen display device should be configured as follows:
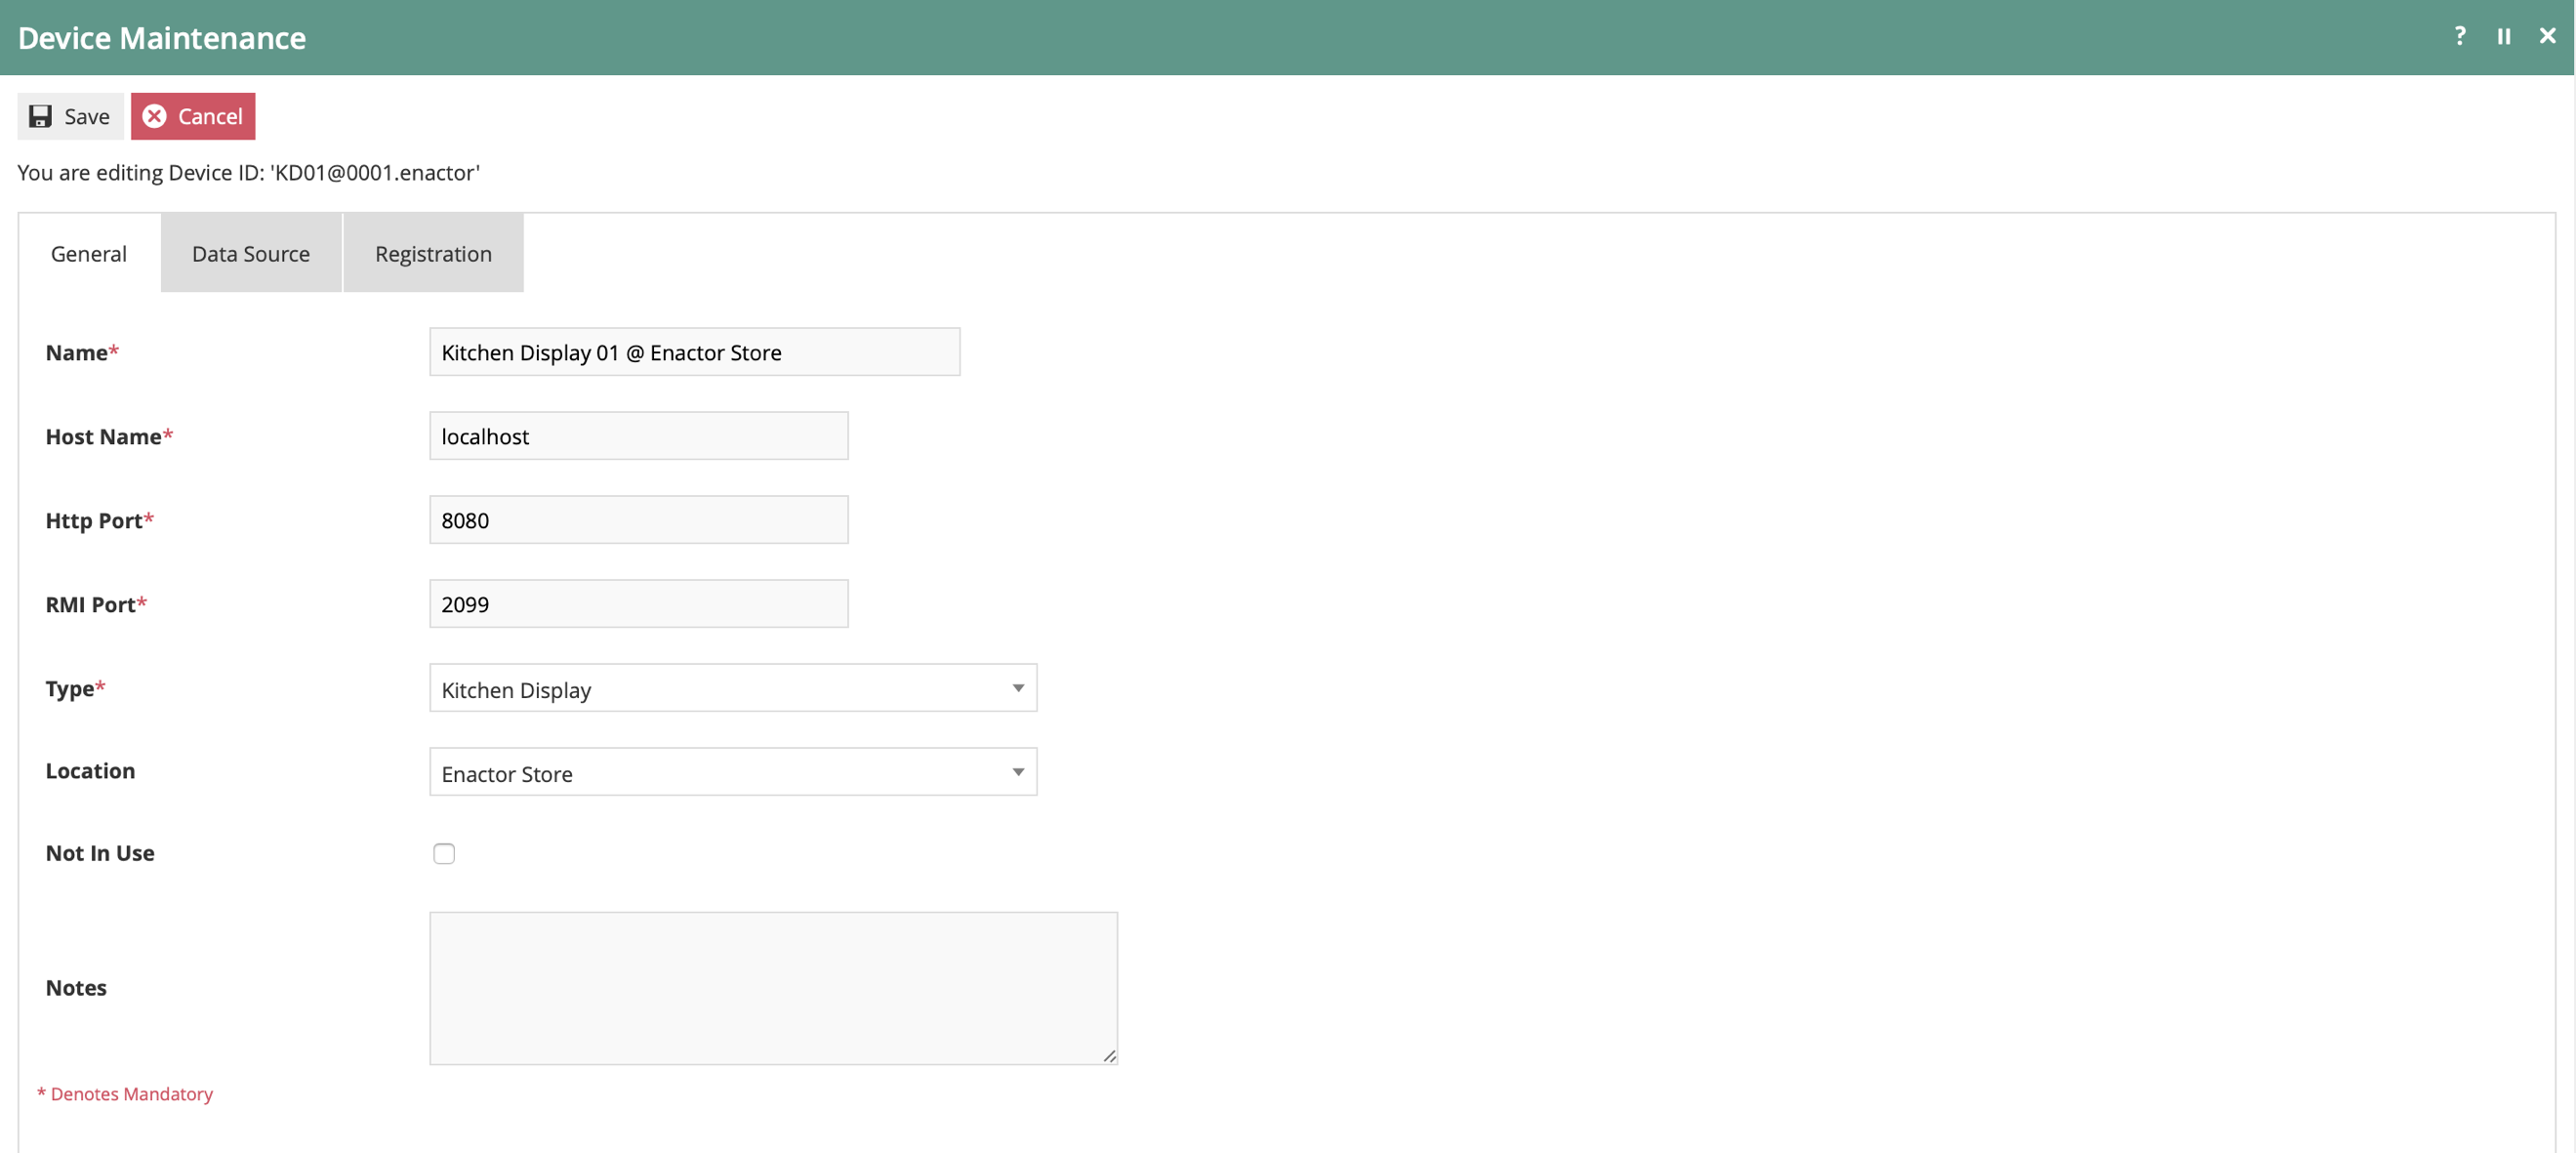
Set the values for the kitchen display device as:
| Configuration | Description |
|---|---|
| Name | Name that best describes the configured device |
| Host Name | Set the host name to 'Localhost' |
| Type | Select 'Kitchen Display' from the drop-down selection |
| Location | Select the relevant location for the device |
| Not in Use | Selecting this option indicates the device is not in use, leave unchecked |
| Notes | Additional information about the device can be captured in the notes section |
The MSI Installation
The Enactor PDP Thin Client is installed on the PC hosting the kitchen display.
Pre-Installation
There are 2 files that are used to install the PDP Thin Client Application:
-
EnactorPDPClient-x.x.x-example.ini - a file with all configuration data for this Thin Client installer; this file will be copied to installer.ini and modified to configure specific values required prior to running the installer.
-
EnactorPDPClient-x.x.x.msi - the Windows installer for the PDP Thin Client with version x.x.x
Create the installer.ini file
The installer will look for a special file, installer.ini, in the same directory with the script file and the Windows installer database (MSI).
To create the installer.ini file, copy the EnactorPDPClient-x.x.x-example.ini to installer.ini.
Edit the installer.ini file
The enactorClient.xml configuration file for the PDP Thin Client is created by the installer using the data from the installer.ini file.
The installer.ini file is a Windows INI file with key and value pairs identified by key=value. We will replace values in the file as needed for the PDP Thin Client.
Required Modifications
The installer.ini file needs to be modified to meet the requirements of the device being installed. The example file that is provided with the installer contains all values that are possible for the installer. Not all values will need to be set. Use the values from the worksheet unless otherwise instructed.
| Property | Value Example | Comments |
|---|---|---|
| APPLICATION_URL | http://{PDP_HOST}:39901 | Where X is the root directory for the installation, the URL should point to the PDP host and port |
| DEVICE_ID | kd1@0001.enactor | Device ID for kitchen display device type |
| PARENT_THEME | KitchenDisplay | Fixed value, enter as described |
| THEME | KitchenDisplay1024x768 | Depending on the display resolution, configure the example value or KitchenDisplay1920x1080 |
| SERVER_PROCESS_ID | KitchenDisplay/ThinClientStartUp | Enter value as described |
User Installation
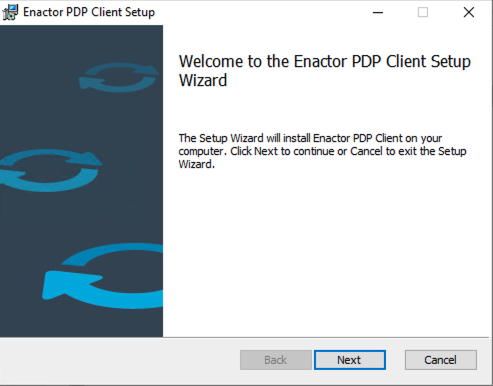
To install the PDP Thin Client, open a command prompt as the administrator and run the command.
The following command will start the installation and output an installer.log:
msiexec /i EnactorPDPClient-x.x.x.msi /L*V "installer.log" TARGETDIR="C:\"
The installation pop-up window will appear.
Choose Next.
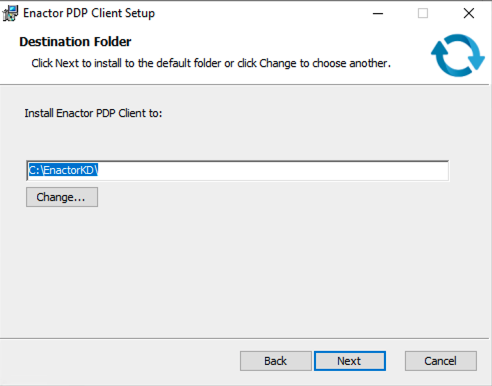
Add the destination location for the installation.
Choose Next.
Choose Install.
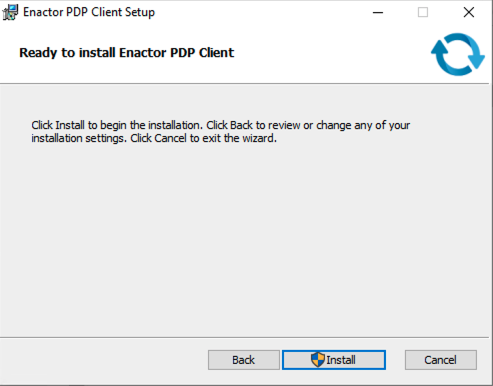
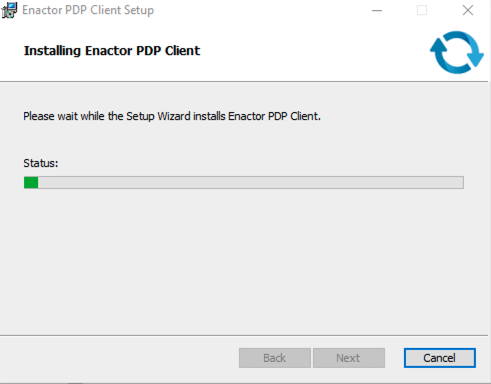
Installation will proceed.
Choose Finish.
The PDP Client is installed and ready for use.

Run the application from the shortcut 'Enactor PDP Client' created on the Windows desktop.

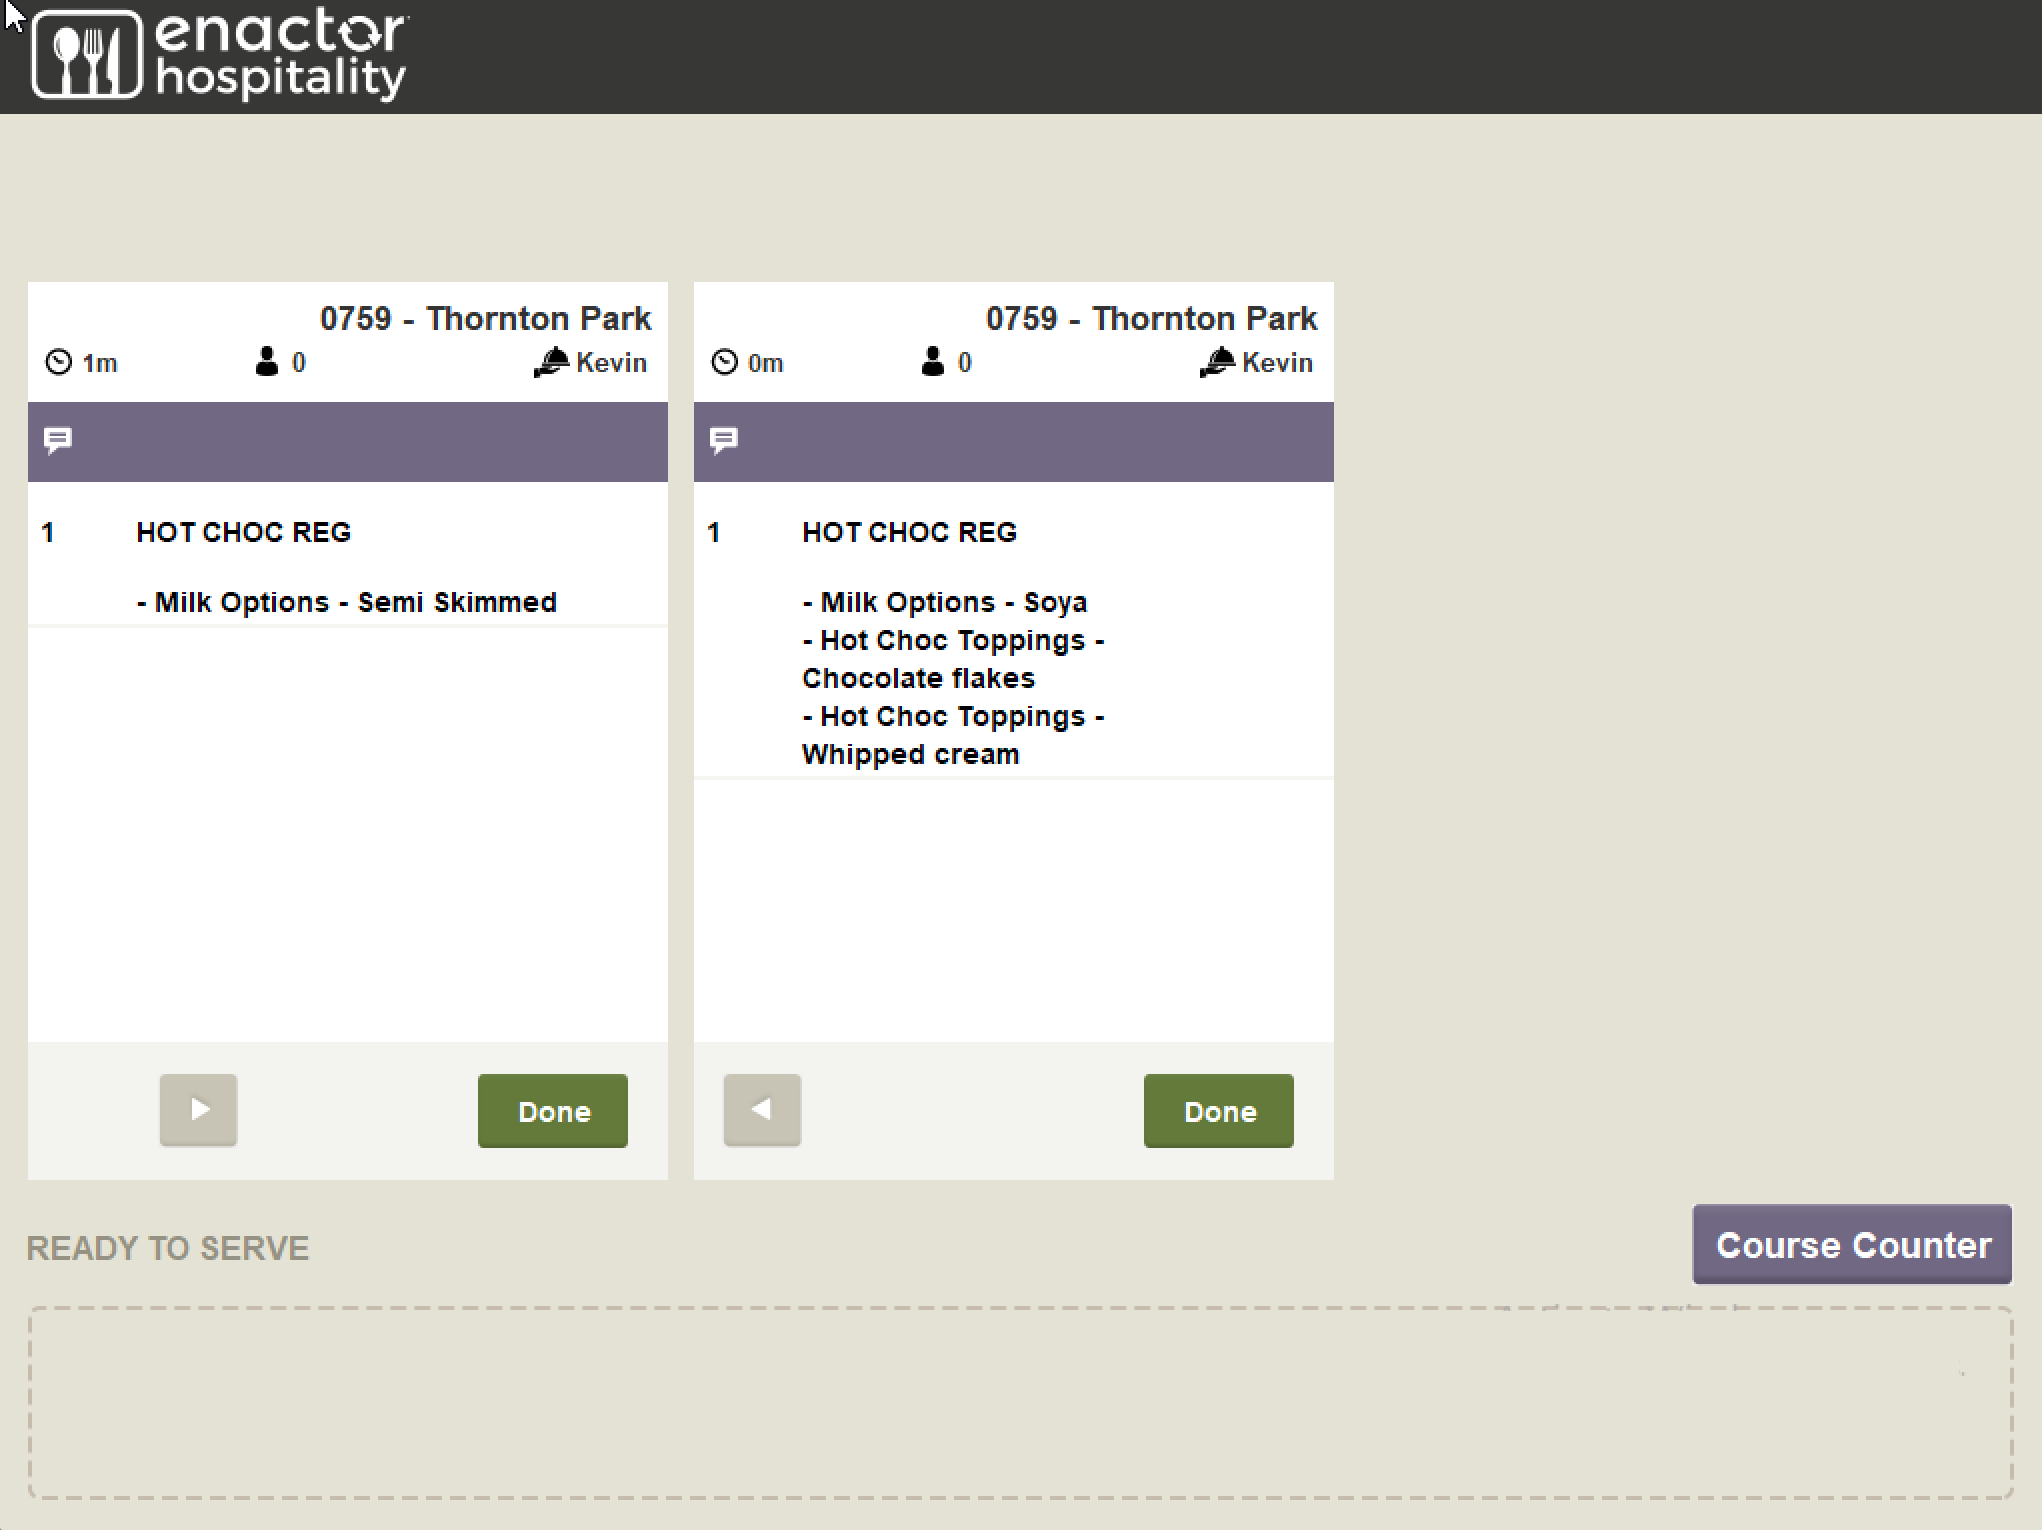
Kitchen Display Screen
Example Kitchen Display on a PC with a 1024x768 resolution.
Logs
Logs are output to X:\{Enactor_Home}\pdpClient\logs.
Uninstalling the Thin Client Application
Navigate to Windows > Control Panel > Programs and Features, select and highlight the Enactor PDP Client, then select Uninstall.