Create a New Enactor React Application with Android App
Overview
This tutorial will guide you how to create a React Application with an Android App using the Enactor Application Wizard.
What you will learn
-
How to generate a React Application with a Android App through the Enactor Application Wizard.
-
How to run the generated react app.
Pre-requisites
-
An Eclipse installation with Enactor Tools plugin and npm (Node Package Manager) should be set up on the machine. Should be connected to the Enactor VPN and should set the NPM registry to https://npm.enactor.co.uk.
-
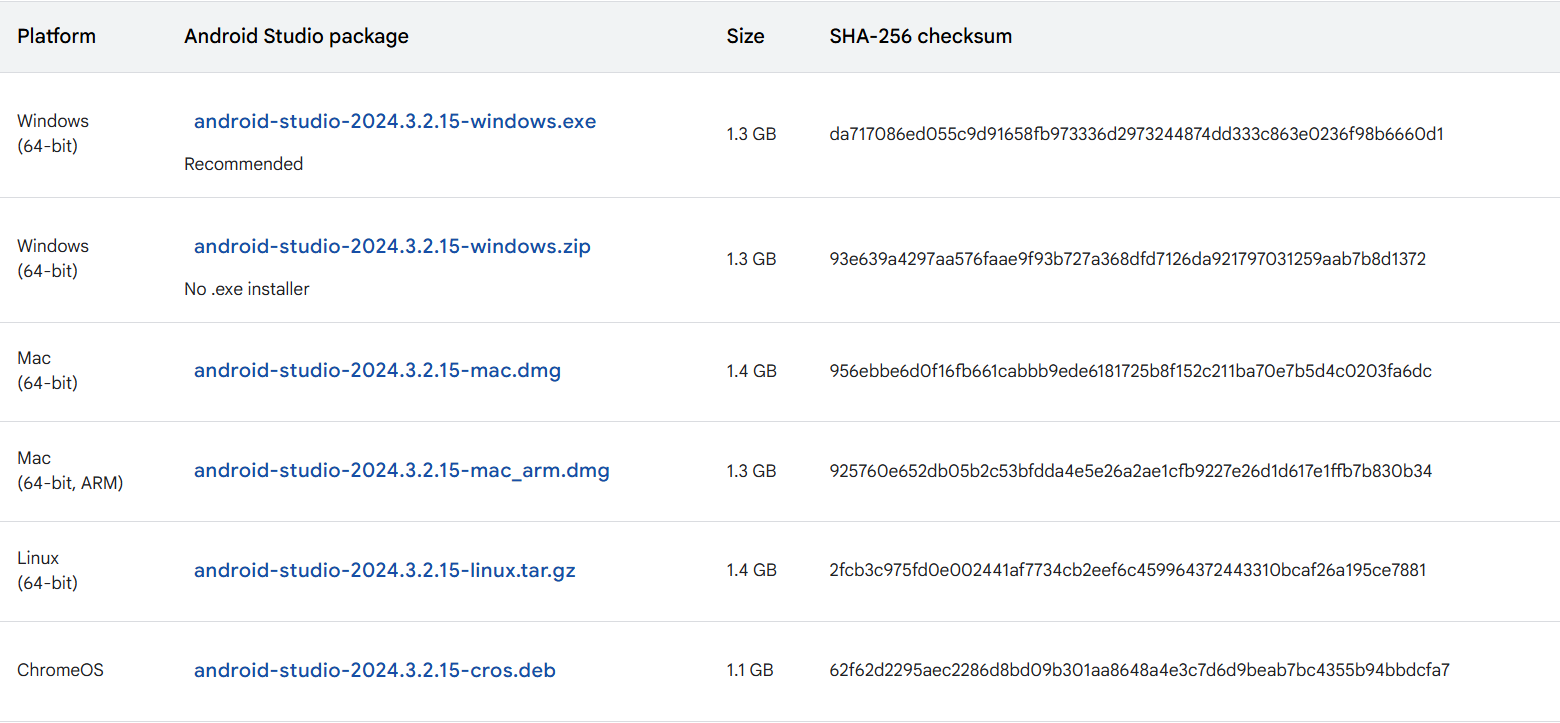
You should download and install the version of Android Studio compatible with your operating system.
Exercises
Generating the Application
Refer Create new React Application to configure the details in the wizard upto the Version Configuration Page.
Once you have navigated to the Version Configuration page, select TRUNK-SNAPSHOT from the Enactor Platform Version dropdown list.

Then click Next button and refer to Create new React Application for configuring the Maven Configuration page.
After navigating to the Prompt Type Configuration page, the React radio button should be selected as the default option. Keep the default values for the browser type and version. You may change the type to JavaFX if preferred.
Tick Android App checkbox under Enable Additional Launch Options.
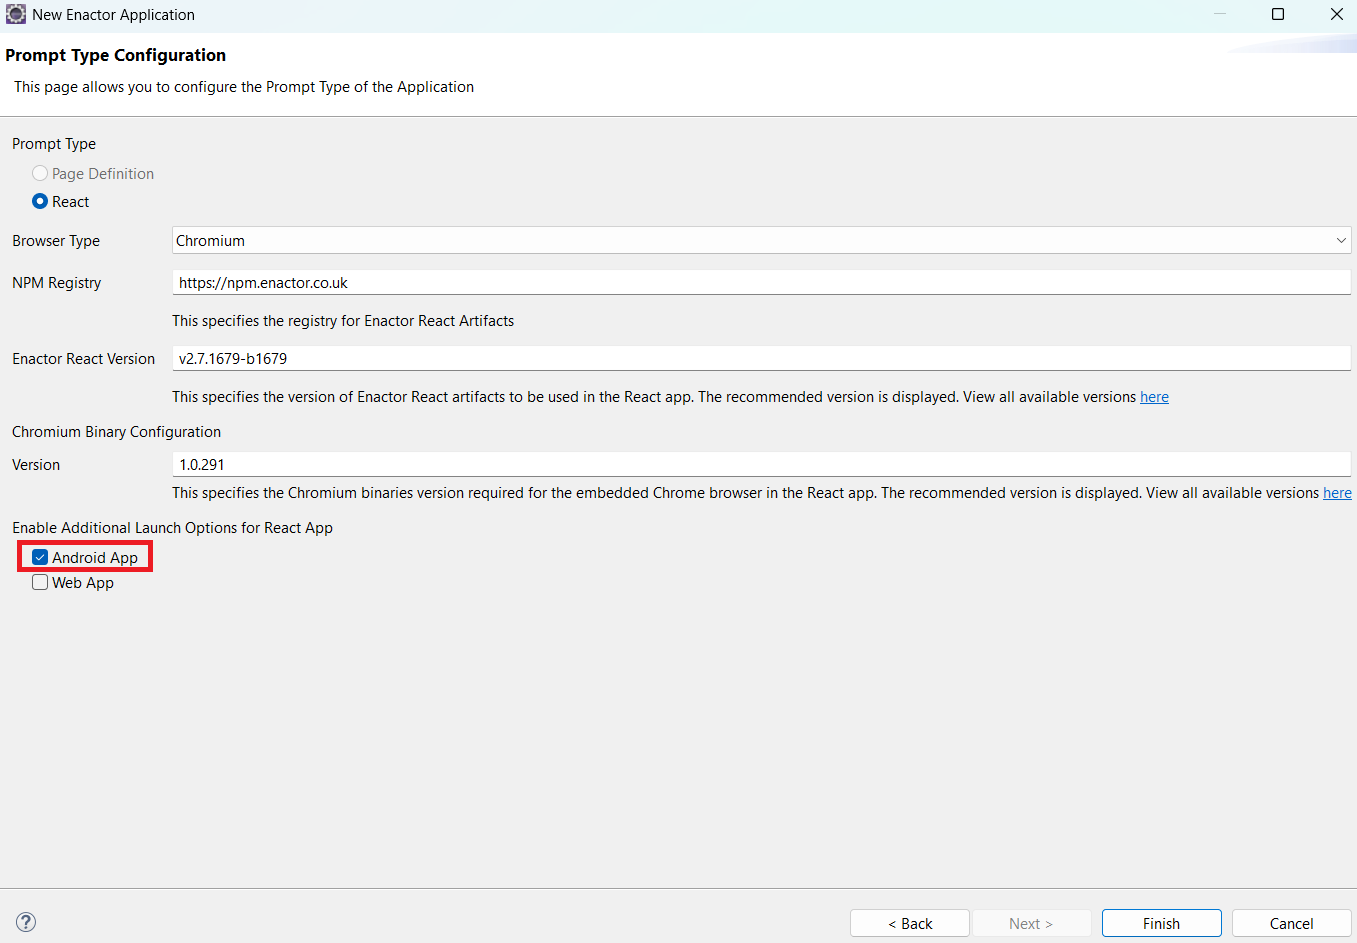
Click finish and wait for the React and Android project setup to complete.
Build the generated application
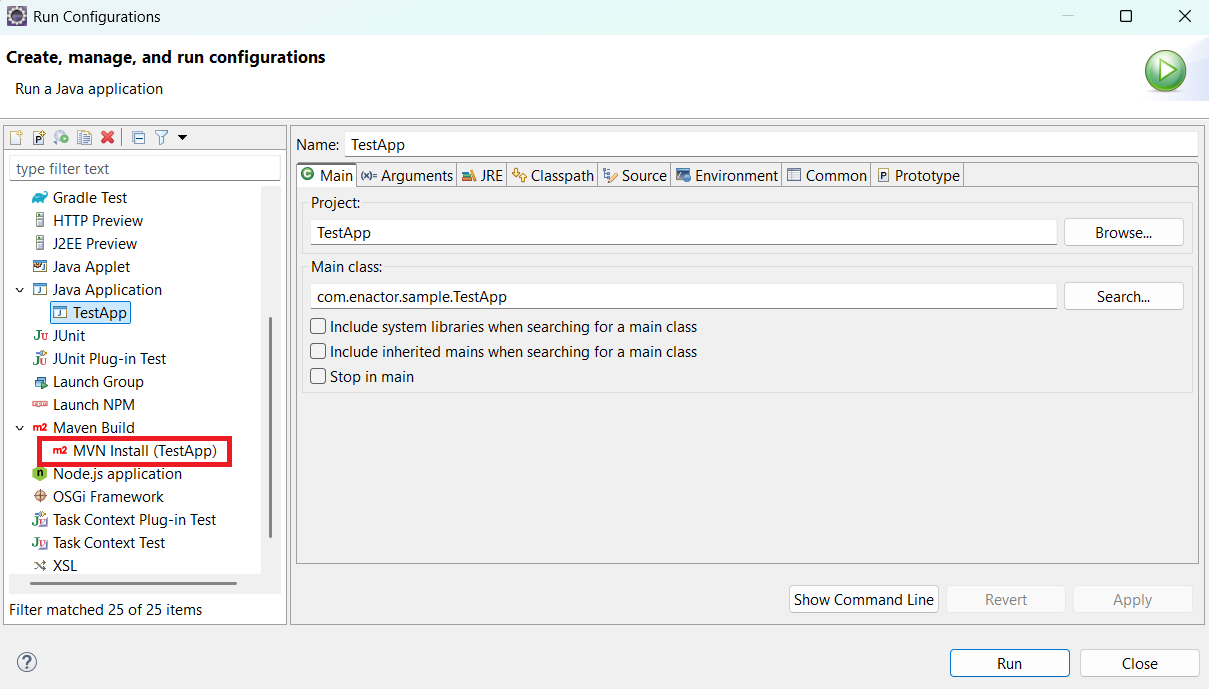
To run the generated application you have to build React project. For this first go to Run Configuration -> Maven Build - > Maven install (TestApp) and click Run.
After build is completed, right click on the project and click on Maven -> Update Project.
Run the generated Android Application
Open Android Studio, then open the Android project you previously created by navigating to, File -> Open -> Select your created Android project folder.
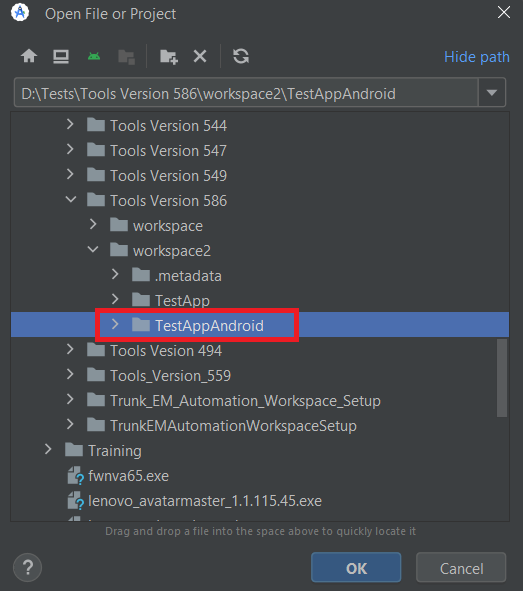
Click the OK button.
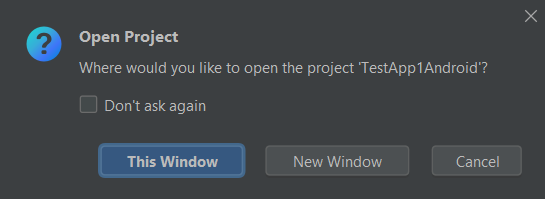
You may then be prompted with "Where would you like to open the project?" (select This Window or New Window, depending on your preference.)
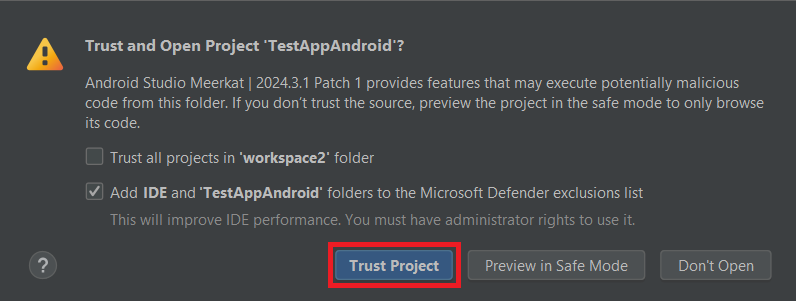
A pop-up message may appear with the option "Trust and Open Project". Click Trust Project to proceed.
After that, you must select Java 1.8 as the build-time Java version.
- Navigate to File -> Settings -> Build, Execution, Deployment -> Build Tools -> Gradle
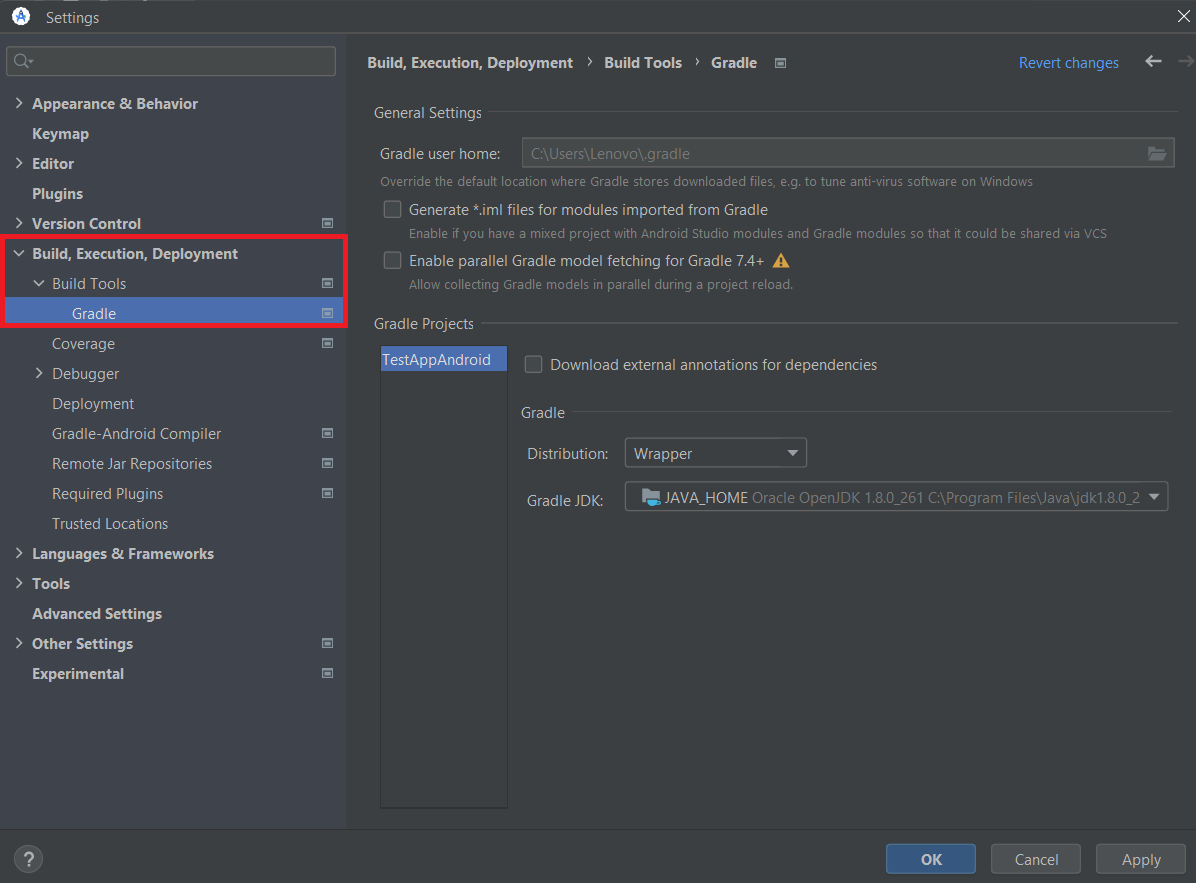
- Under Gradle JDK, click the dropdown list and select the version corresponding to Java 1.8.
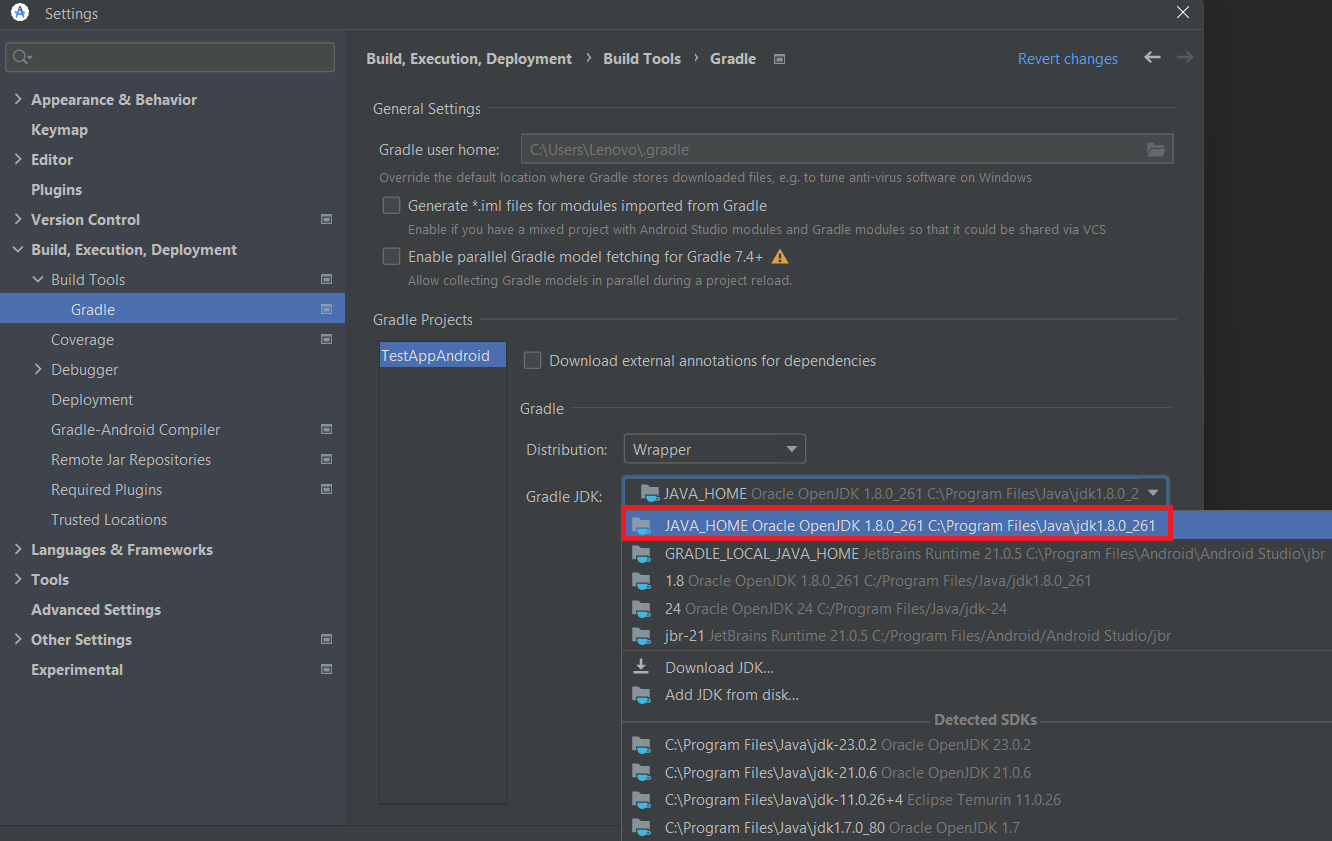
- Then Click the Apply Button.
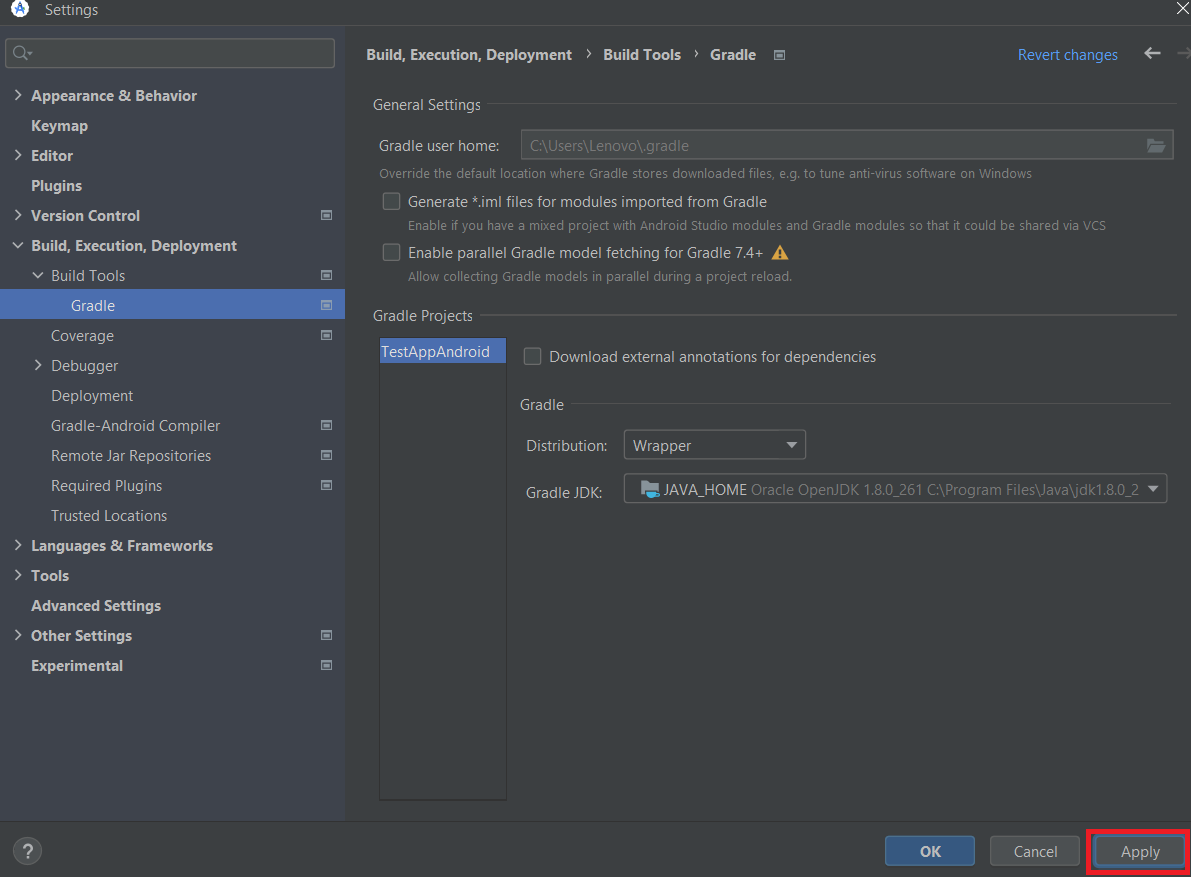
- After that, Click the OK Button.

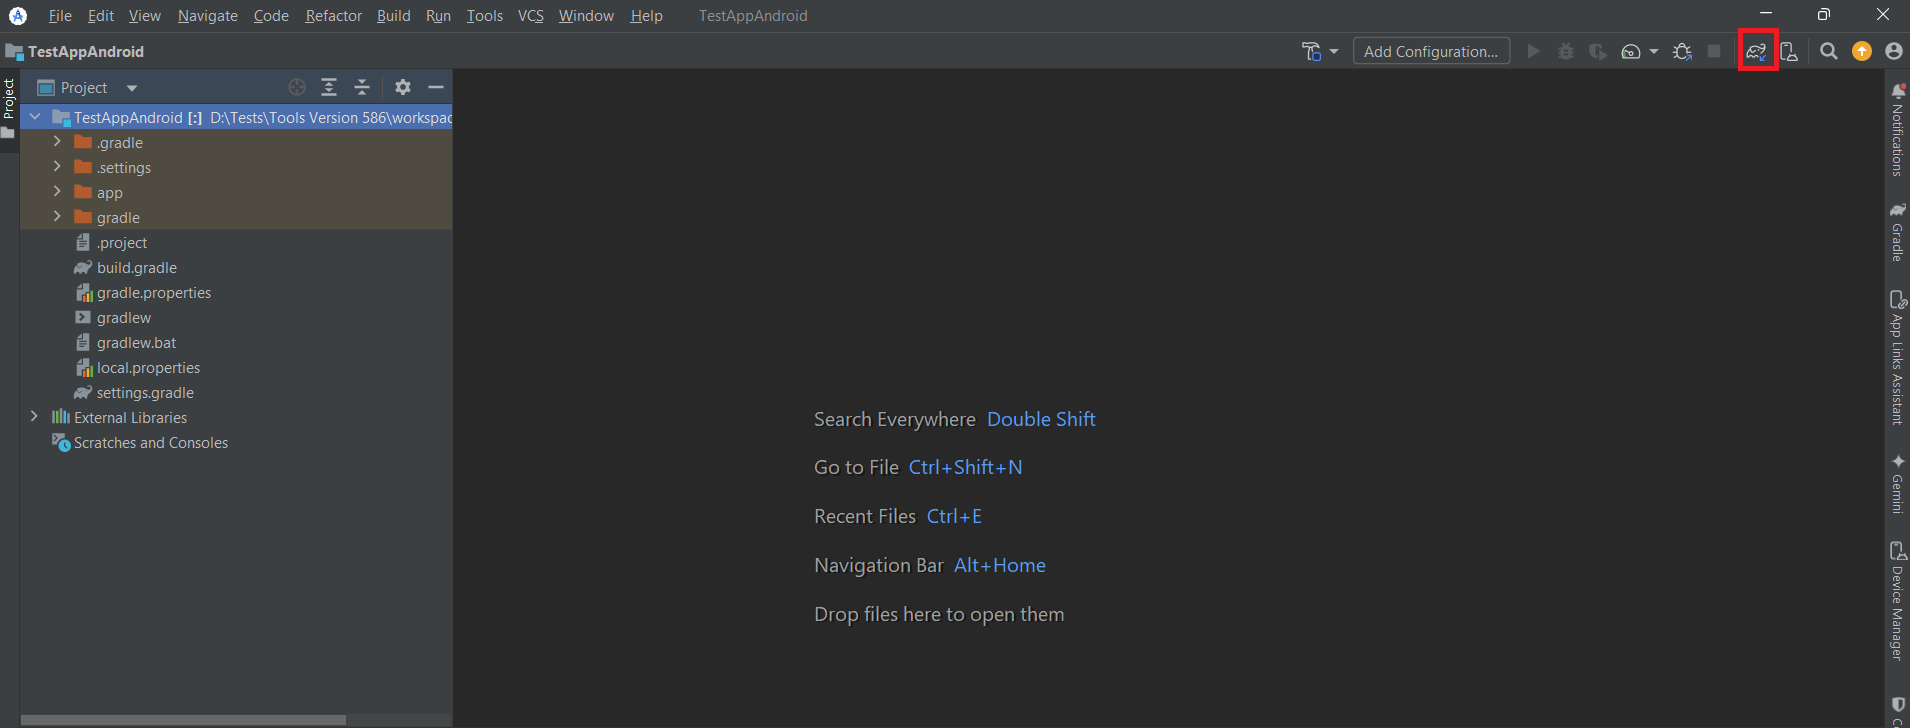
Then, you need to sync the Gradle project to ensure the selected JDK and configuration changes are applied properly.
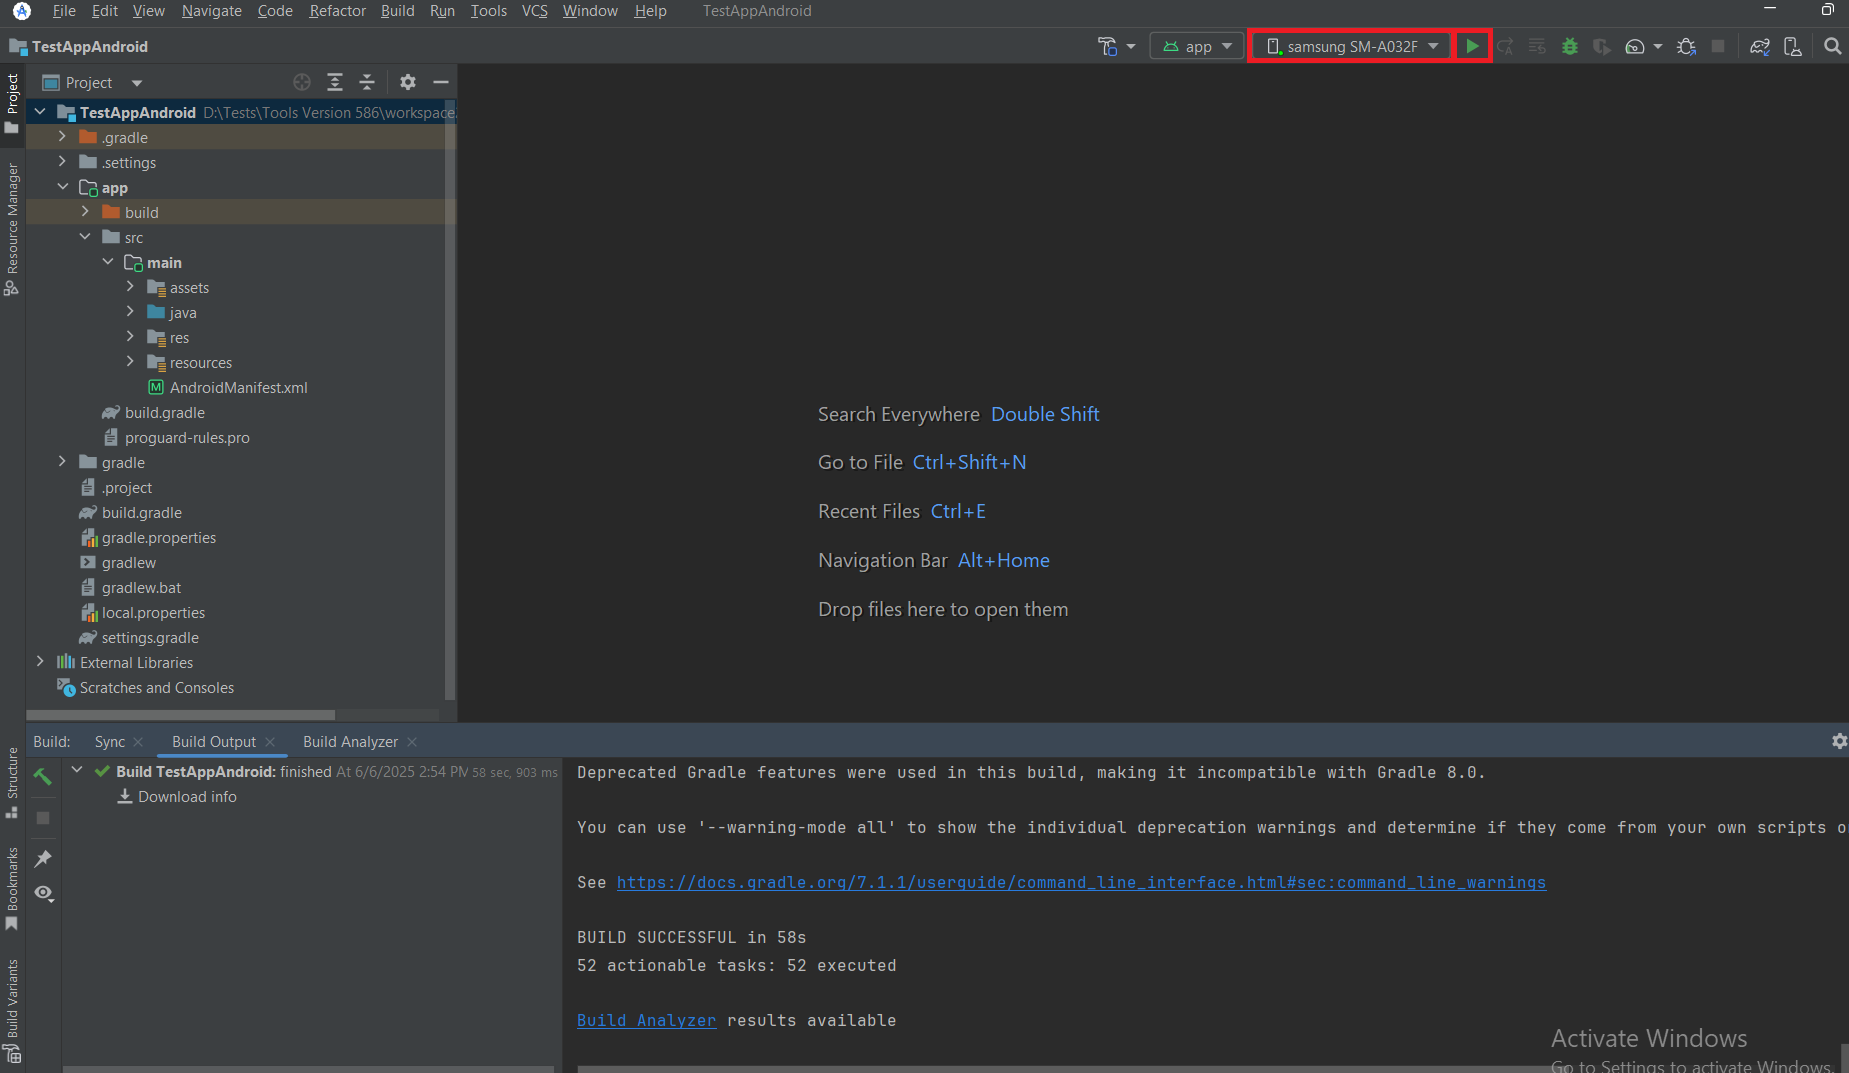
Finally, run the app. (Make sure your Android device is connected and appears in the device selection list in Android Studio before launching the application.)
When running the app, if a build error related to the Android Build Tools version 33.0.0 occurs (e.g., "Installed Build Tools revision 33.0.0 is corrupted"), you can resolve it by following the workaround provided in the Android build error documentation. The issue typically involves missing dx files, which can be fixed by copying d8 to dx and d8.jar to dx.jar as described in the solution.
Once the app is successfully launched, it will appear on your connected Android device.