Synchronise React Prompt
Overview
This tutorial will guide you through synchronizing a React component with changed inputs, outputs and events.
What you will learn
How to synchronise a React Prompt.
Pre-requisites
Should follow Create a new React Prompt and have the knowledge to create a new React Prompt.
Exercises
Creating a new Prompt
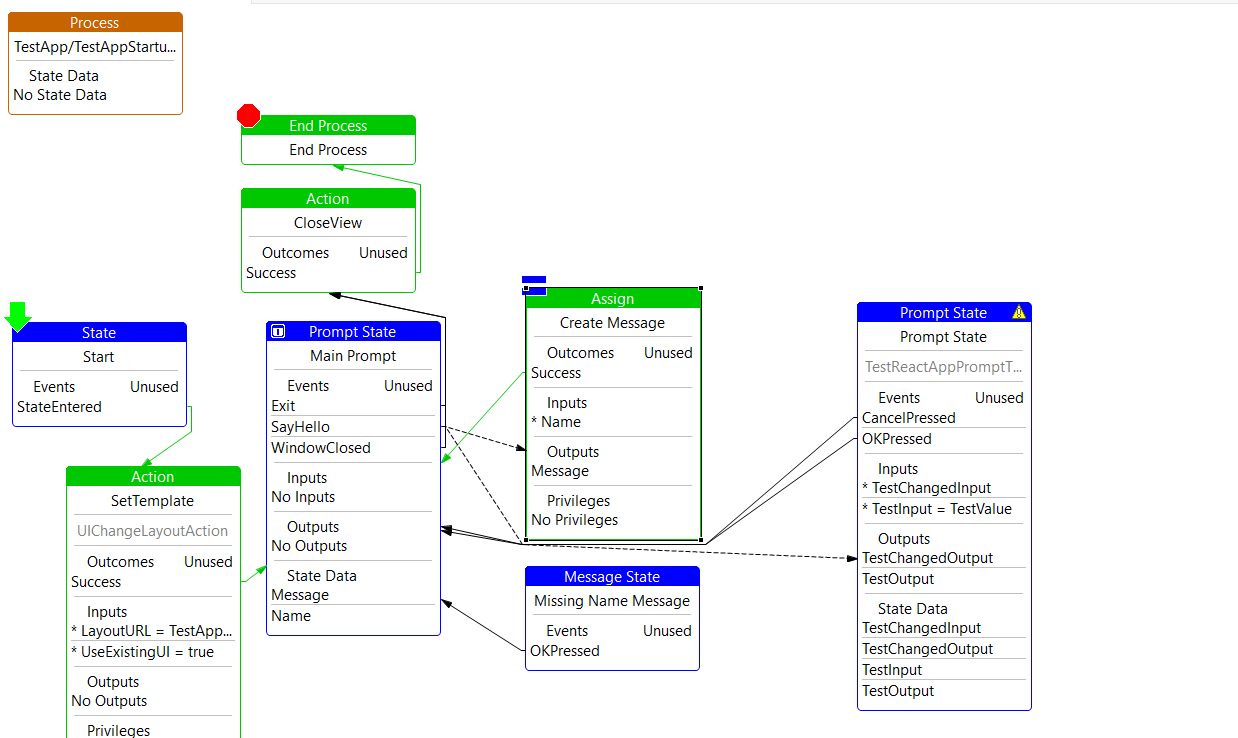
Follow the steps in Create a new React Prompt tutorial, So that you should have the newly added "Prompt State" in the Application Process.

Correct Mappings should be available for the new state as mentioned in the tutorial.
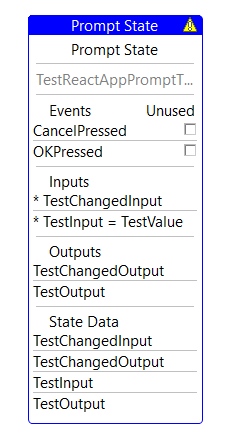
Now double click on the input section of the new prompt state and add TestChangedInput with variable type as String. After adding the input, add value for the TestChangedInput ( Shift+Double Click on the input section) as "TestChangedValue".
Add a new Output to the prompt state as TestChangedOutput with variable type as String.
Double click on the Events section and add CancelPressed as a new event. Map the StateEndered outcome to Main Prompt.
Save the changes.
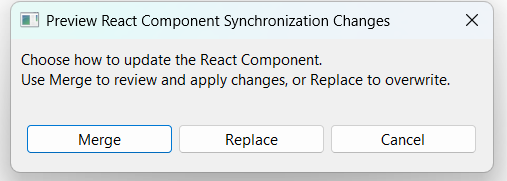
Right click on the Prompt state and navigate to Synchronise -> Synchronise React Prompt.
Choose Merge option from the pop up message and the Merge Editor should open.
The added changes should be visible in the merge editor.
Select copy all the non conflicting changes from right to left button and click Apply.

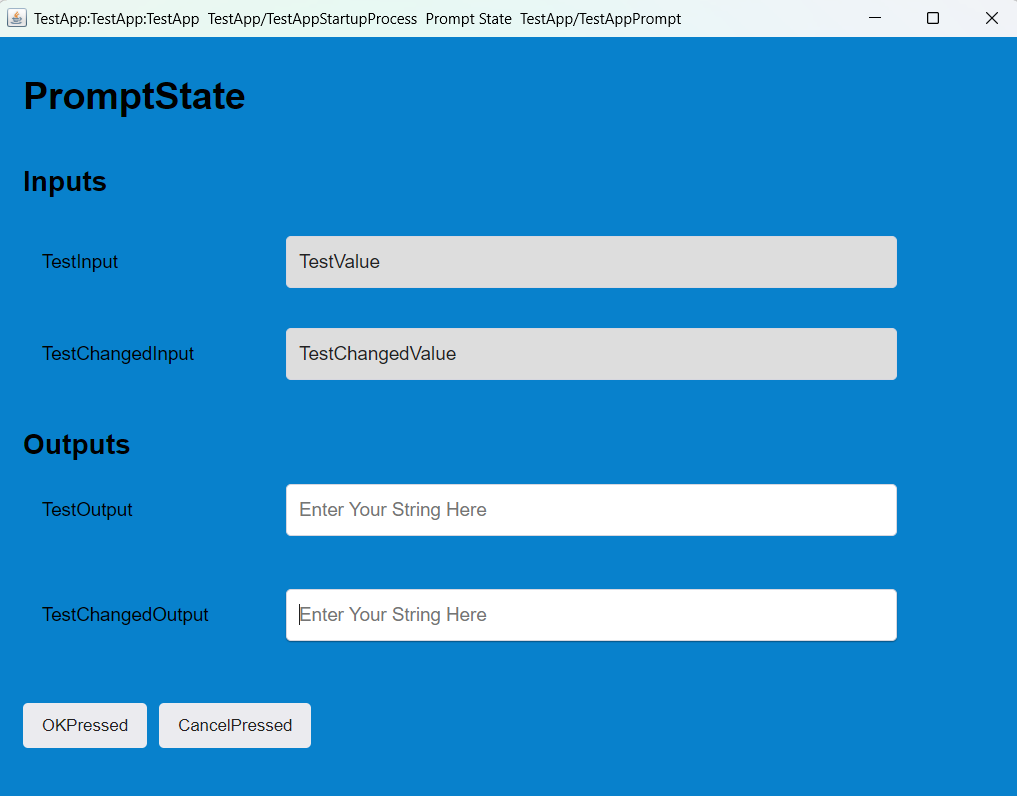
Then, navigate to to the Swing Application and new prompt should appear as follows.