Application Processes
Overview
An Enactor Application Process is a core design element that represents the Controller in the Model-View-Controller (MVC) architecture used by the Enactor ToolSet. It is responsible for driving and controlling the execution flow of applications within the Enactor Runtime Framework.
In this architecture:
-
Entities represent the Model.
-
User Interfaces serve as the View.
-
Application Processes manage the coordination and logic, acting as the Controller.
In this tutorial, you will create a new Application Process that displays a pop-up message.
What you will learn
- How to create a new Application Process
- How to Add a new Message State
- How to use Application Process Editor
Pre-requisite
Should have followed Enactor Hello World Application Tutorial
Exercises
Create New Application Process
Open TrainingReactApplicationStartupProcess Application Process using the Application Process Editor.
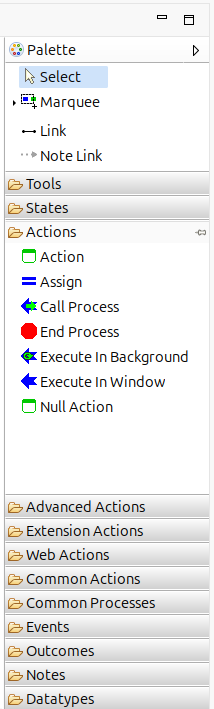
Go to Process Editor Palette, expand Actions, drag and drop the Call Process Action to Process Editor
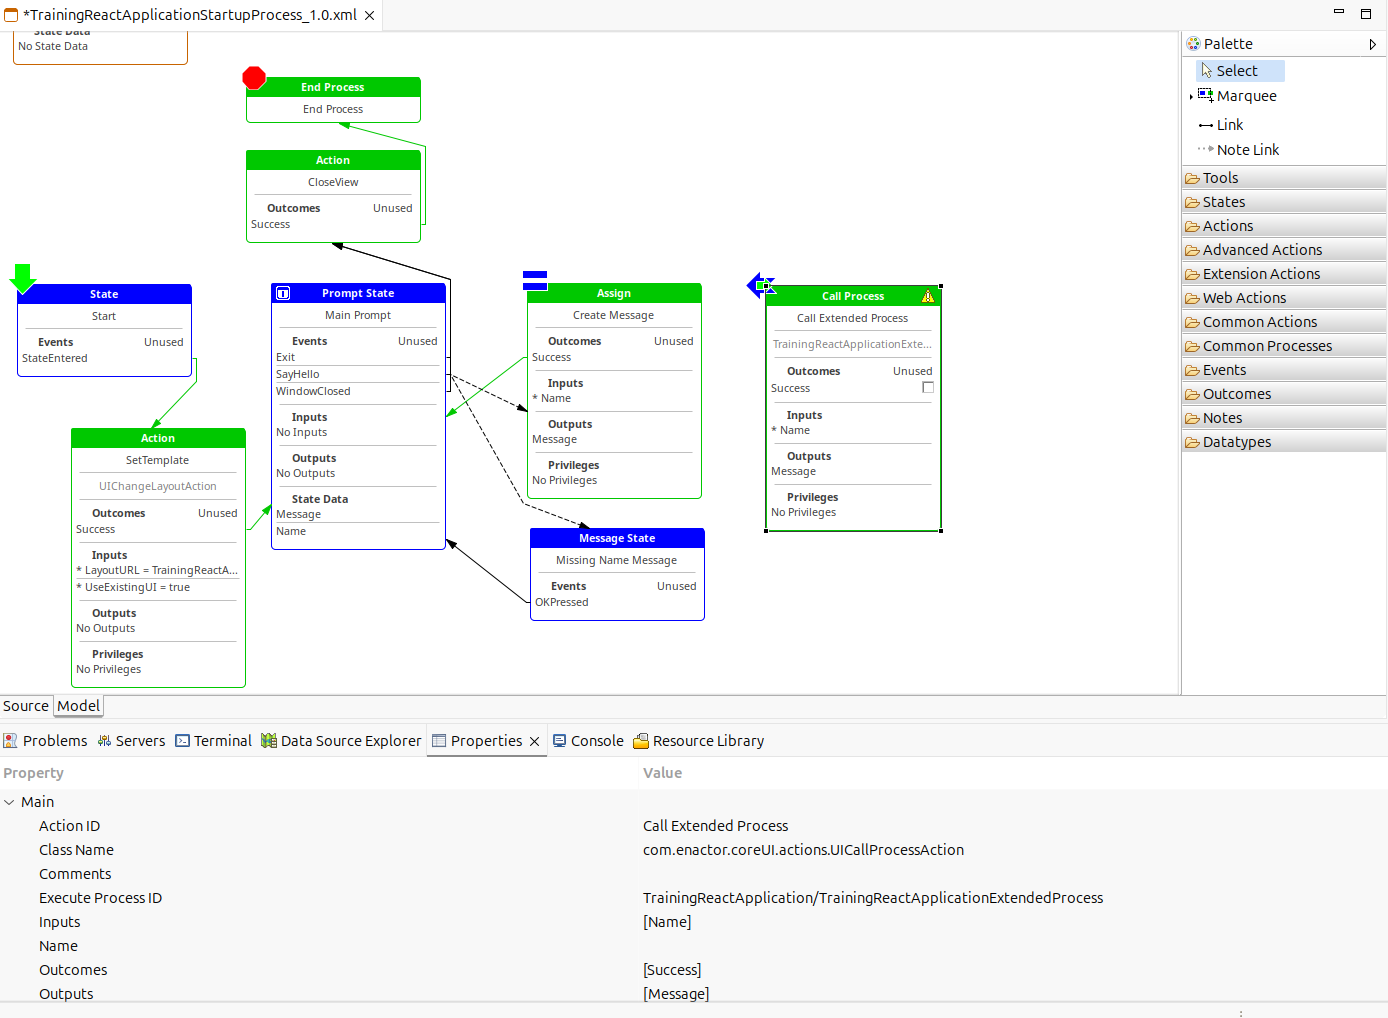
Right-click the Call Process action and select Show Properties. Then update the following properties.
| Property | Value |
|---|---|
| Action ID | Call Extended Process |
| Execute Process ID | TrainingReactApplication/TrainingReactApplicationExtendedProcess |
| Inputs | Name [java.lang.String] |
| Outputs | Message [java.lang.String] |
You can also double-click the action in different action sections on the editor to edit Inputs and Outputs
You can also drag and drop Inputs ,Outputs from Main Prompt's State Data
Add Name as an Input and Message as an Output to the New Call Process. You can drag and drop these Input/Outputs from Create Message Action. When you hover over the Inputs/Outputs Section, you will See the drag-and-drop icons
Click the outcome link connecting Create Message State to Main Prompt and delete it.
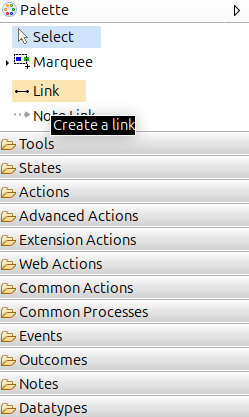
Select Link from the Palatte and Link the Success Outcome of the Create Message action to the Call Extended Process Action. Also, link Sucess Outcome of the Call Extended Process Action to the Main Prompt.
Your Application Process Should Look like Below After the Changes.

Double Click on the New Process to Implement it.
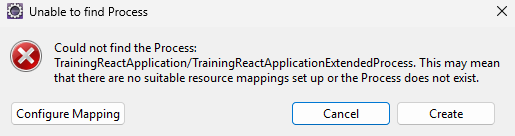
Click Create to generate the new Process

Check the Default Values and Click Finish to generate the new Application Process.
Add a New Message State
Go to Process Editor Palette, expand States, drag and drop a State into Application Process Editor.
Update Below State Properties.
| Property | Value |
|---|---|
| State ID | Start |
| Events | StateEntered |
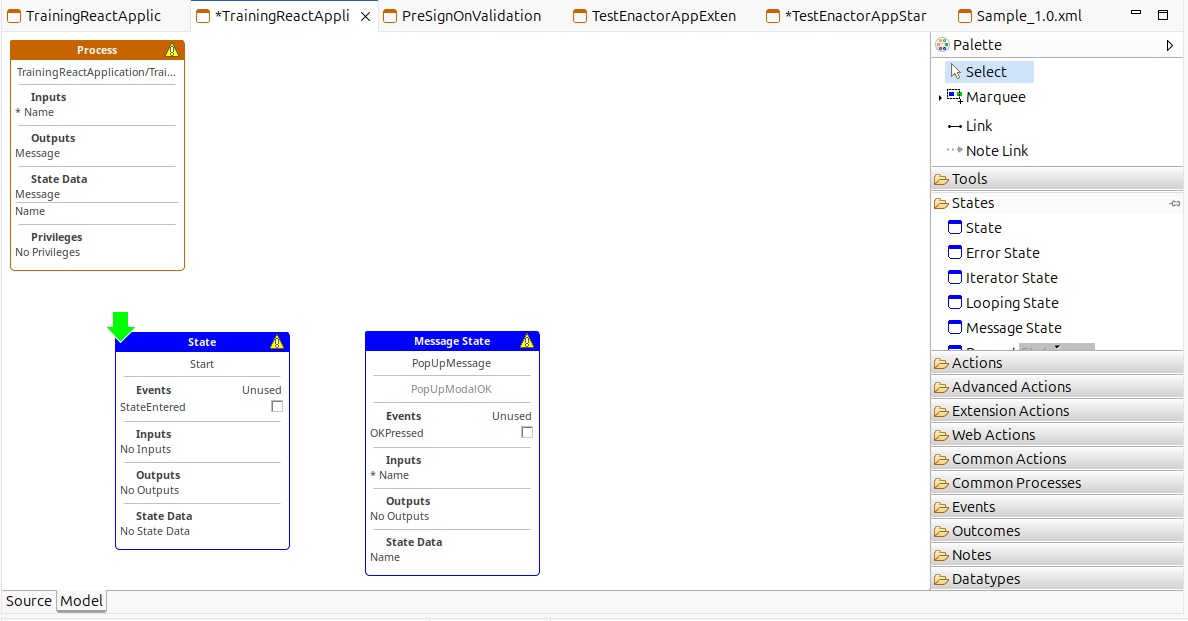
Go to Process Editor Palette, expand States, drag and drop Message State into Application Process Editor
Update Below State Properties.
| Property | Value |
|---|---|
| State ID | PopUpMessage |
| Events | OKPressed |
| URL | /Message/PopUpModalOK |
| Inputs | Name [java.lang.String] |
| Message Text | Hello ''{name}'' |
Save the Process Changes. Your Application Process Should look like below.
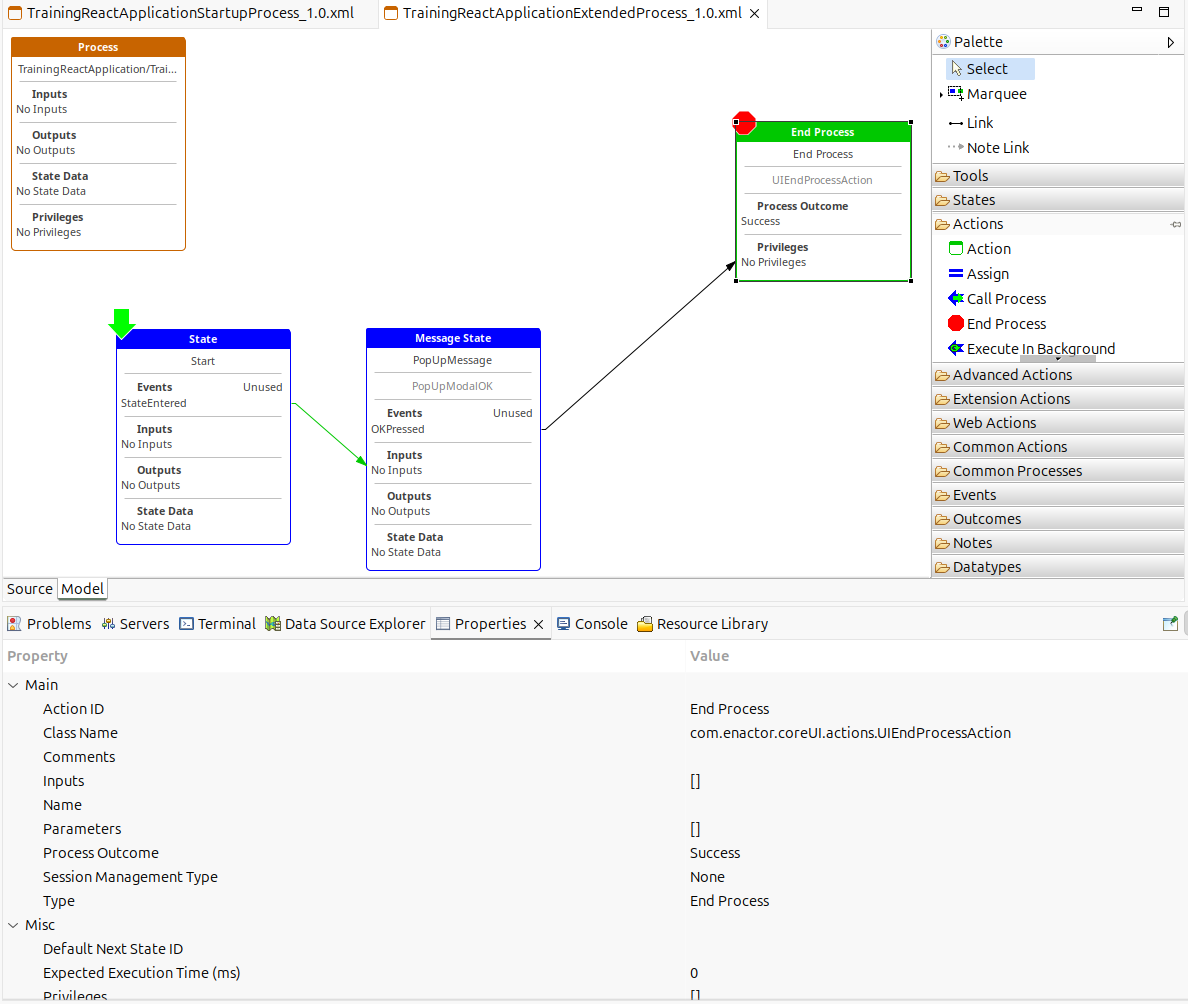
Go to Process Editor Palette, expand Actions, drag and drop End Process to Application Process Editor
Update Below Action Properties
| Property | Value |
|---|---|
| Process Outcome | Succcess |
Select Link from the Palatte and link the StateEntered Outcome of the Start State to PopUpMessage State. Also Link OKPressed event of the Call PopUpMessage State to End Process Action
Save the Process Changes.
Your Application Process Should look like below.
Run the Application
Recall how the Hello World application was run earlier and relaunch it to see the updated pop-up message changes.
