Beanshell Action
Overview
This tutorial will guide you through the process of adding a new BeanShell Action.
What you will learn
- How to create a new Beanshell Action.
Pre-requisite
Exercises
Add a new Beanshell Script Action to Application Process
Open Previously created TrainingReactApplicationExtendedProcess Application Process using the Application Process Editor.
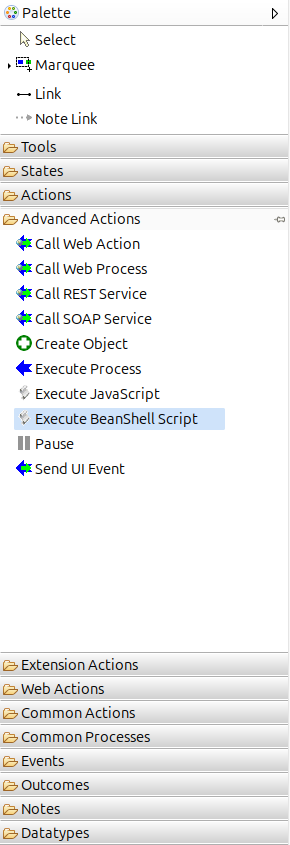
Go to Process Editor Palette, Expand Advanced Actions, Drag and Drop Execute Beanshell Script to Process Editor
Right-click the BeanShell Script Action and select Show Properties. Then update the following properties.
| Property | Value |
|---|---|
| Action ID | GenerateDisplayMessageBeanshellAction |
| Inputs | Name [java.lang.String] |
| Outcomes | Success |
| Outputs | Message [java.lang.String] |
You can also double-click the Action in different Action Sections on the editor to edit Inputs, Outcomes, and Outputs
You can also drag and drop Inputs ,Outputs from Process State Data
Link the Success Outcome of the GenerateDisplayMessageAction Action to GenerateDisplayMessageBeanshellAction Action. Select Link from the Palette and link Sucess Outcome of the GenerateDisplayMessageAction to the End Process Action.
Save the Process Changes.
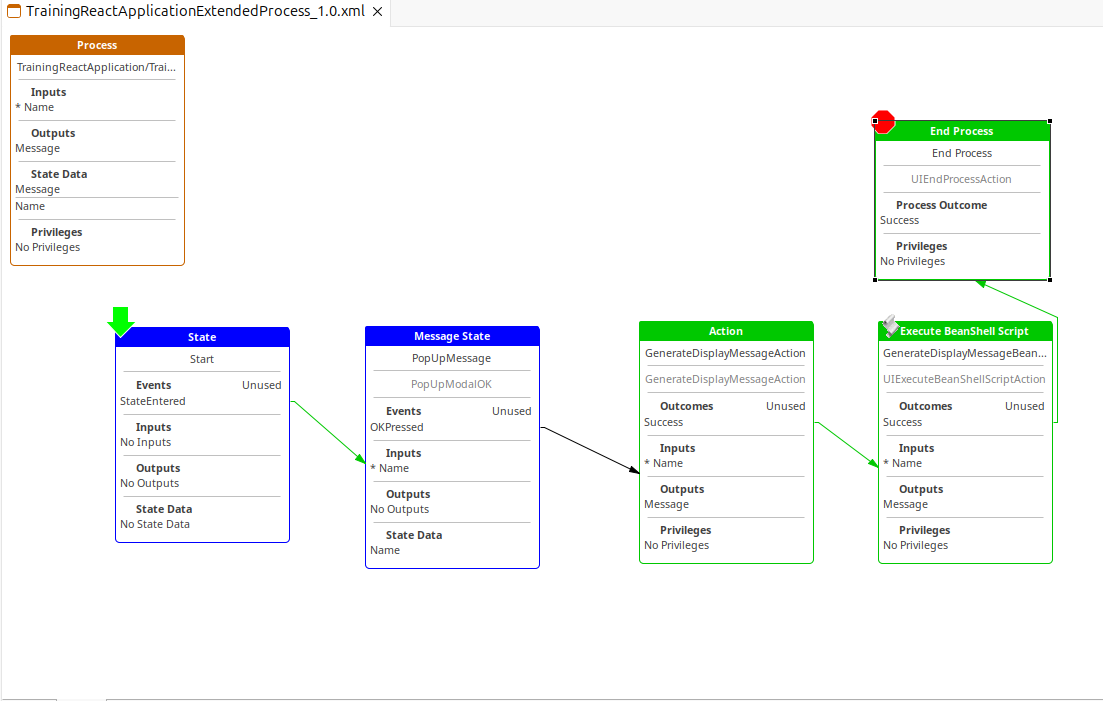
After Above Changes your Application Process should look like below.
Create the Beanshell Script
Double-click on GenerateDisplayMessageBeanshellAction in the Process Editor to open the BeanShell Script Editor.
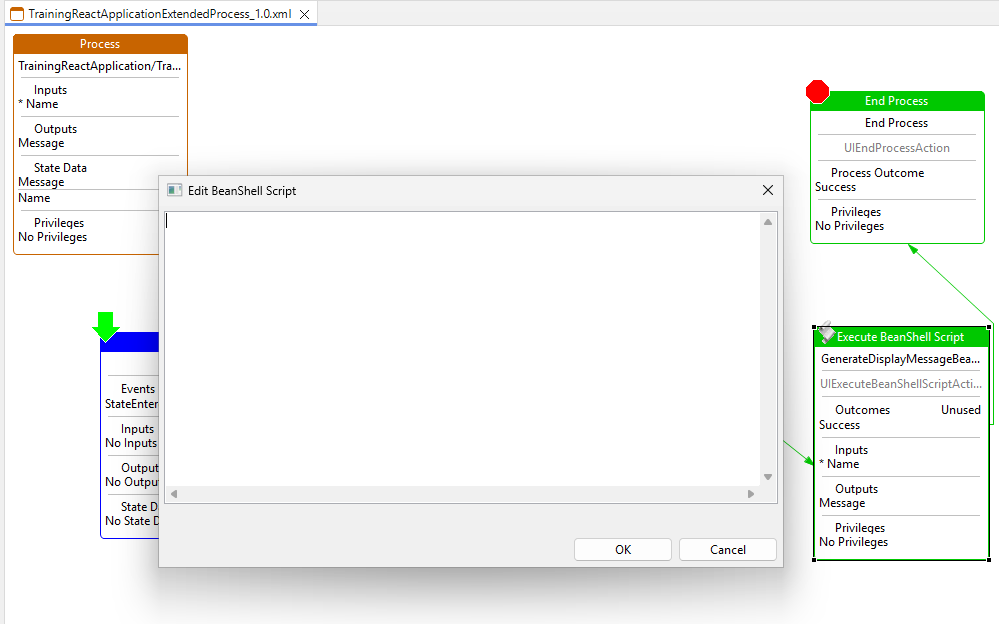
You can now Add your own custom logic as required. In the example below, the given name is converted to lower before being displayed.
message =
  "Hello " +
  strings.toLowerCase(name) +
  "  !  " +
  " This Greeting Message Was Generated from a BeanShell Action";
outcome = "Success";
Save the Process Changes.
Refer Beanshell Scripting with Application Process Editor to learn more details on writing scripts.
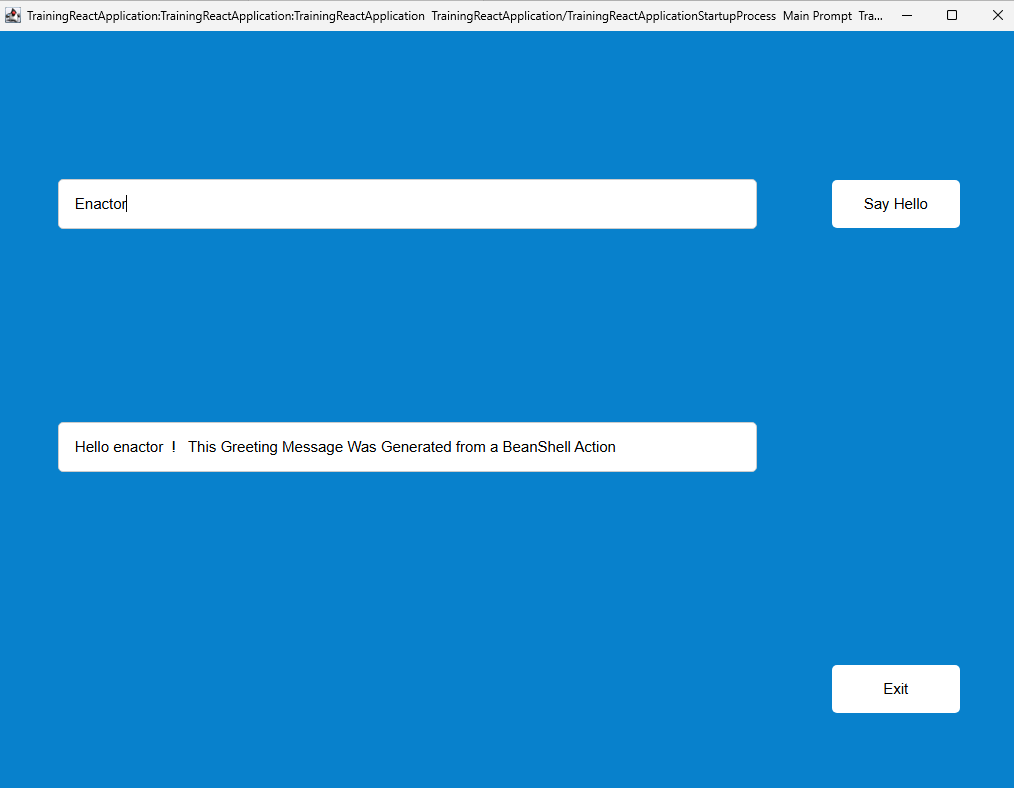
Run the Application
Recall how the Hello World application was run earlier and relaunch it to see new Beanshell Action changes.
Further Reading
Refer Beanshell Actions