Managing Basket Items
Overview
The basket holds every item added to the current transaction. Each line carries the product's style, colour and size, its price, and once you start changing things,its quantity and any promotions that apply.
This tutorial walks through the three everyday basket operations on the POS Sale screen: adding items, changing an item's quantity, and removing an item entirely.
What you will learn
- How adding a product creates a new basket line
- How to select a basket line to bring up its item-action menu
- How to change a line's quantity with Change Quantity
- How to remove a line with Item Void and a reason code
- That promotions recalculate automatically as the basket changes
Exercises
Step 1 - Add items to the basket
-
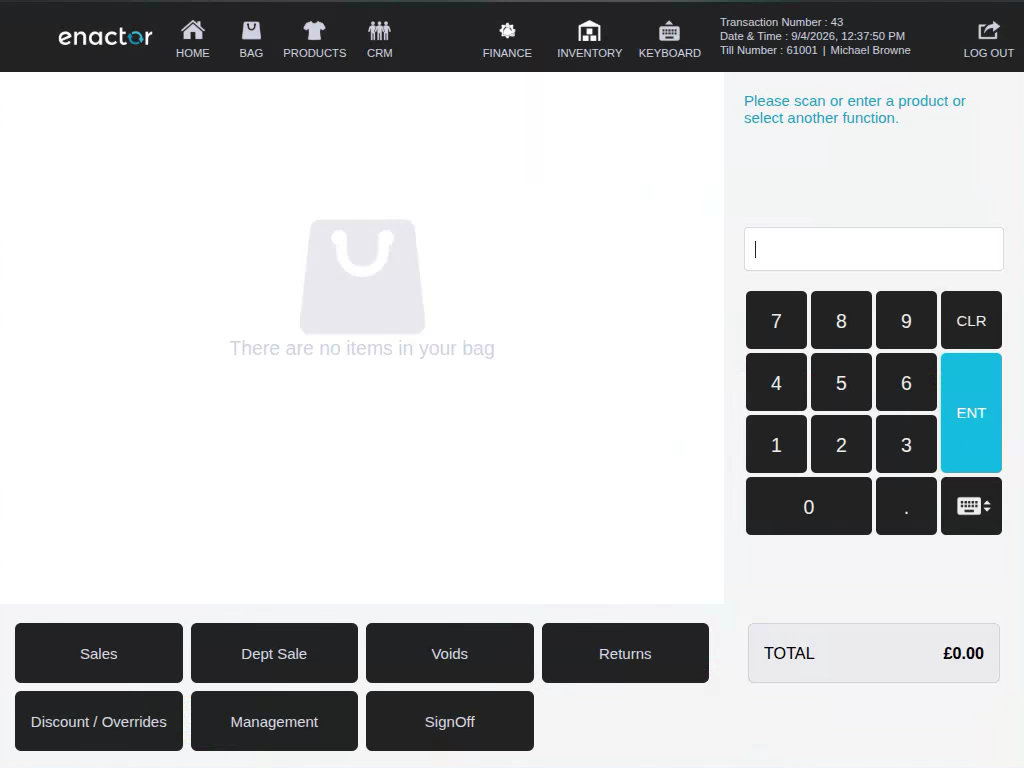
With an empty basket, scan or enter a product code in the input field.
-
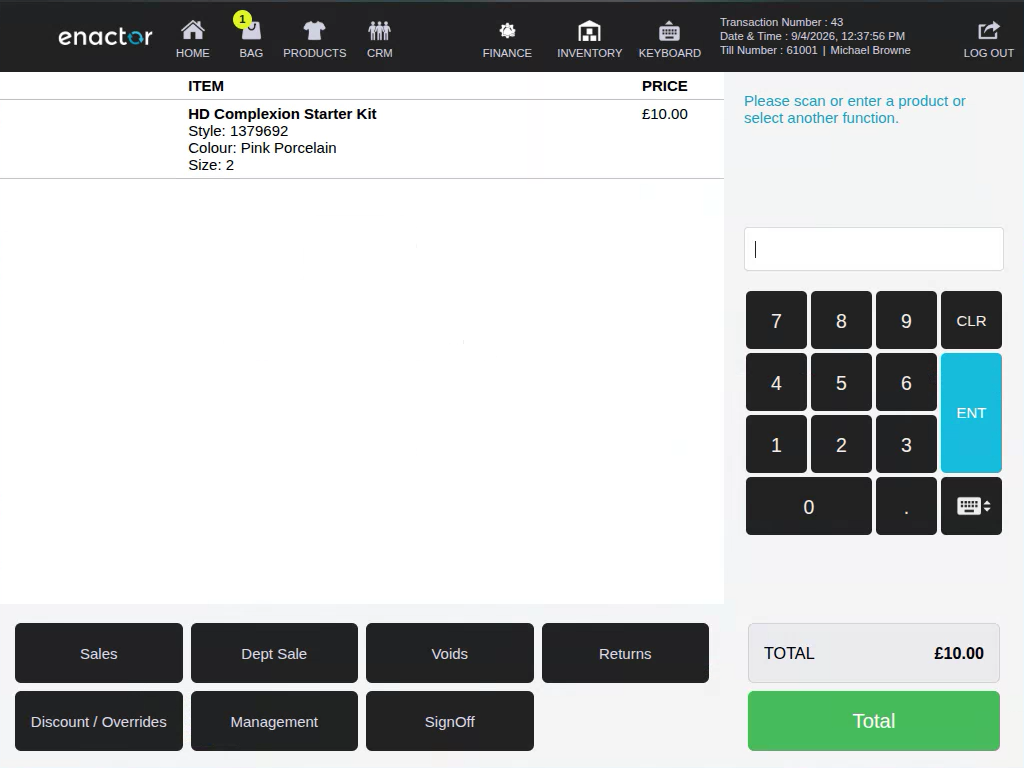
The product is added as a new basket line, showing its style, colour, size and price.
-
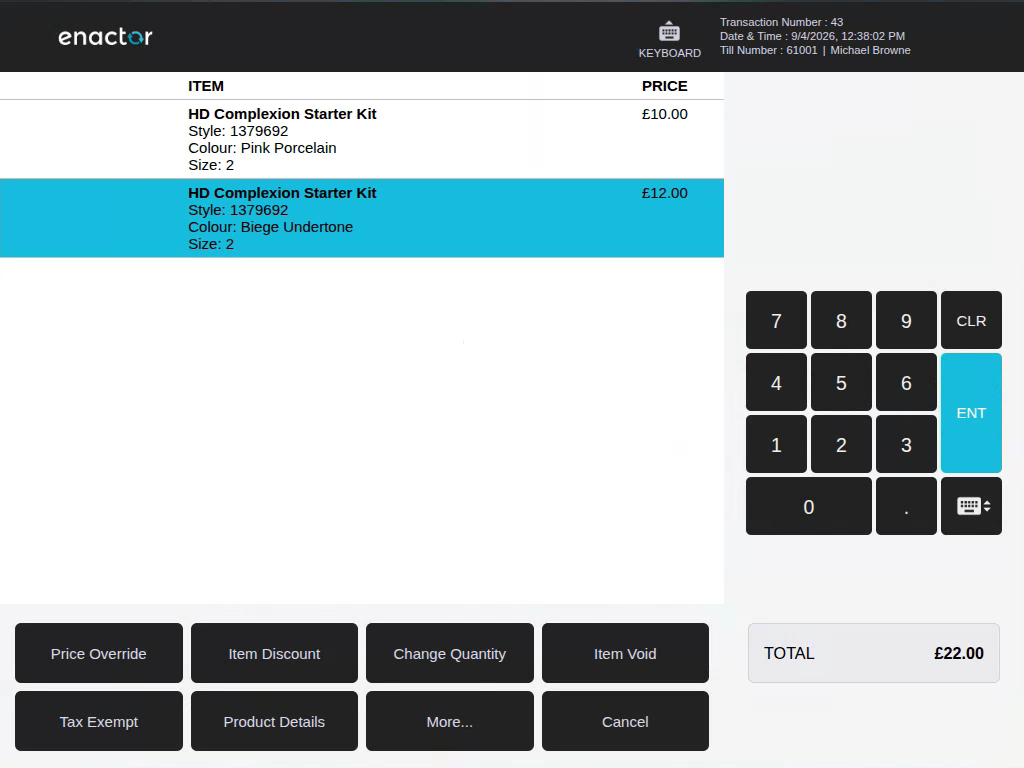
Scan or enter a second product code. It's added as its own line underneath the first, and is selected automatically.
Step 2 - Modify a basket item's quantity
-
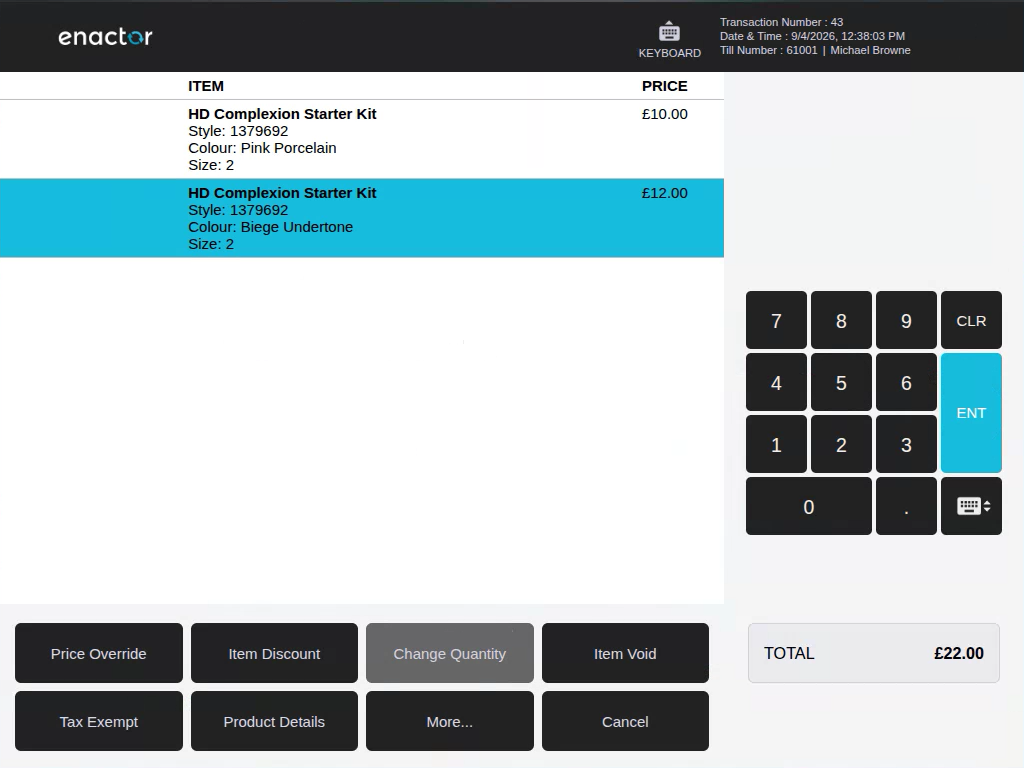
Tap a basket line to select it. The bottom menu switches from the usual function buttons to a set of item actions: Price Override, Item Discount, Change Quantity, Item Void, Tax Exempt, Product Details, More..., and Cancel.
-
Tap Change Quantity. A popup prompts "Please enter the quantity" with a numeric keypad, defaulted to
1. -
Enter the new quantity and tap OK.
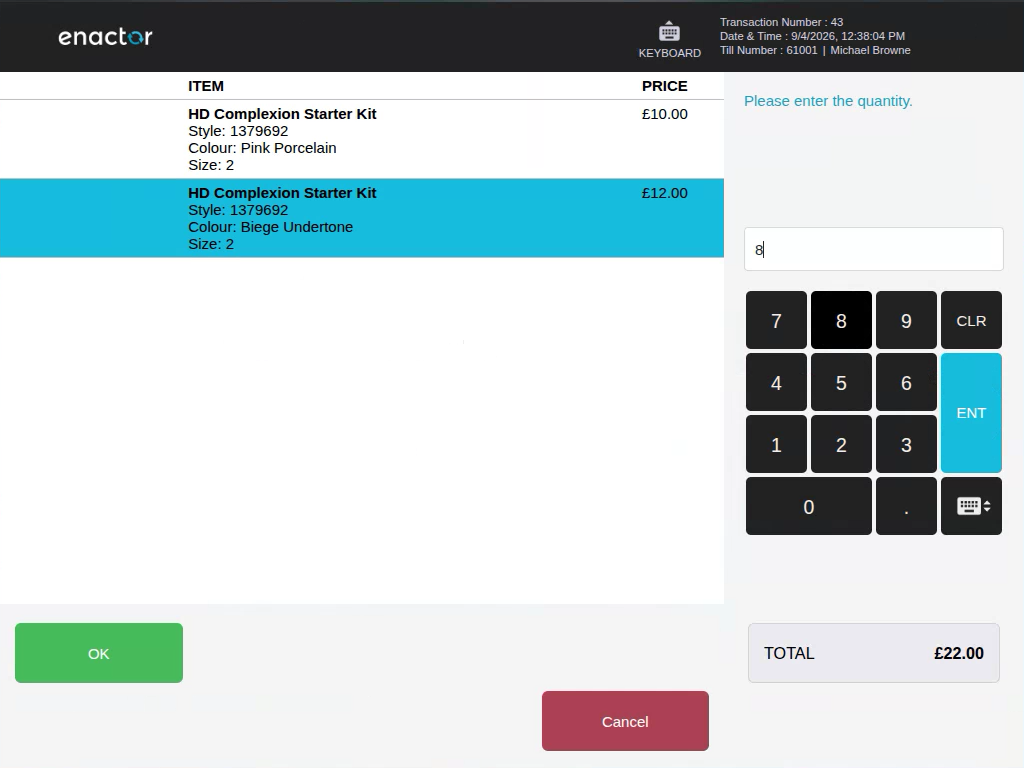
-
The basket line updates to show the new quantity and its extended price. If a quantity-based promotion applies, it's recalculated automatically and listed as its own line underneath.
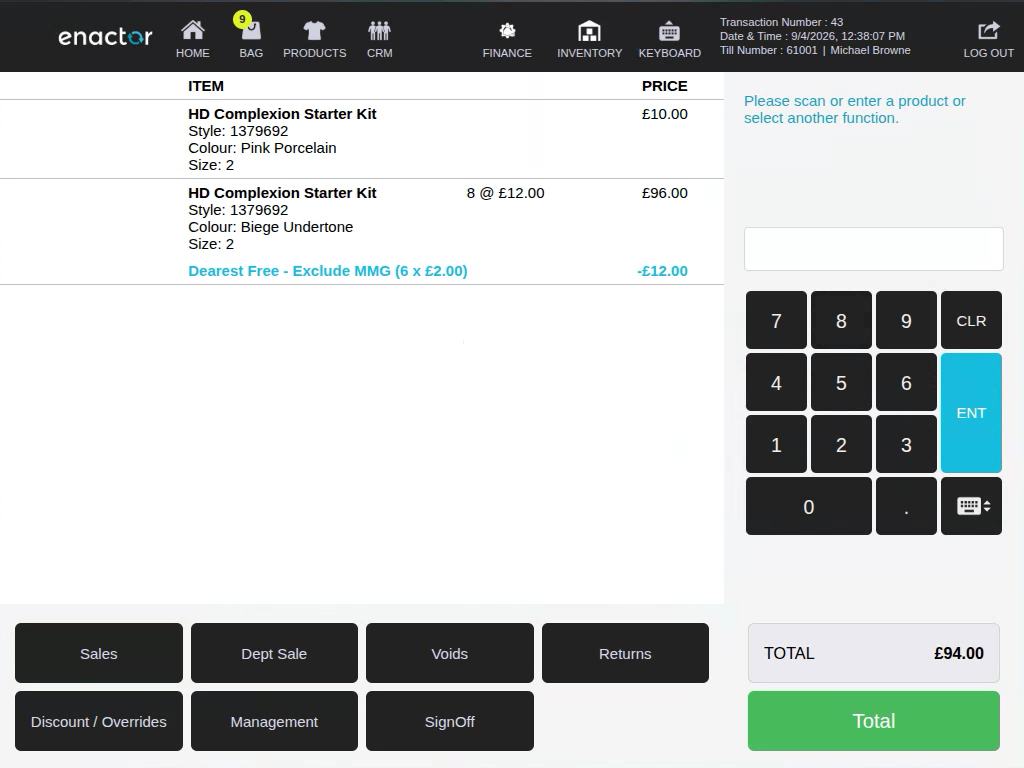
Promotions are re-evaluated against the whole basket on every change - you don't need to do anything extra to keep them in sync.
Step 3 - Remove an item from the basket
-
Tap the basket line you want to remove. The item-action menu appears again for that line.
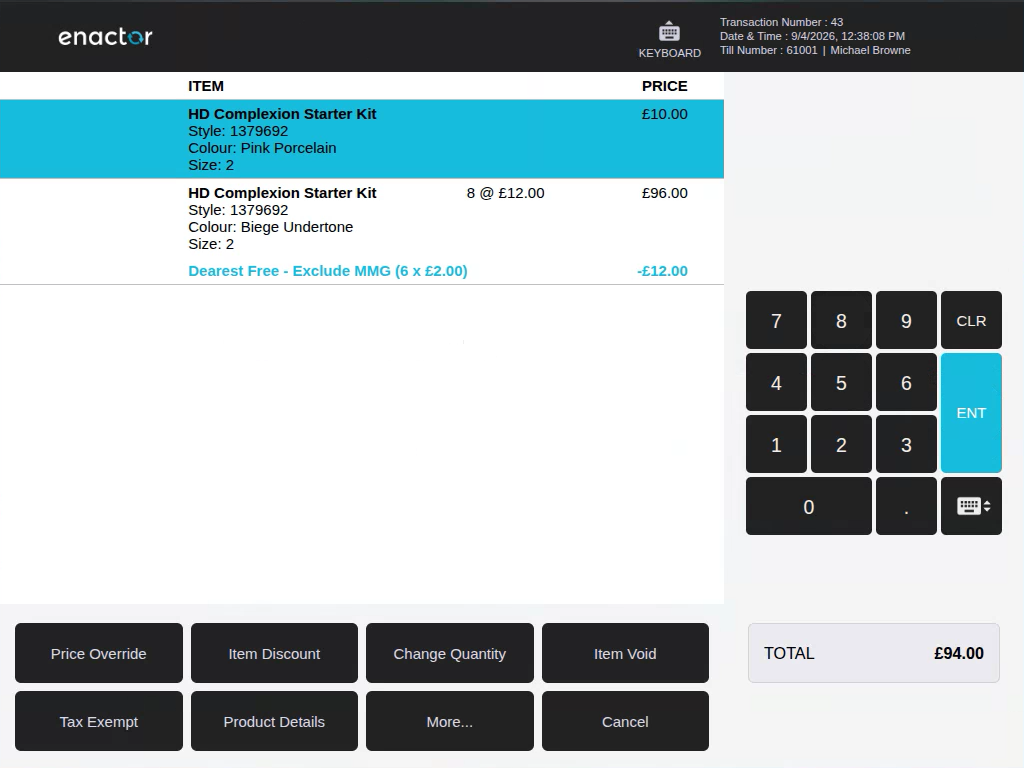
-
Tap Item Void. A list of reason codes appears (Item Faulty, Customer Left Store, Operator Error, Item Faulty - Witness Capture, Item Change - Customer Capture, Item Change - Capture Reference).
-
Select the reason that applies and tap OK.
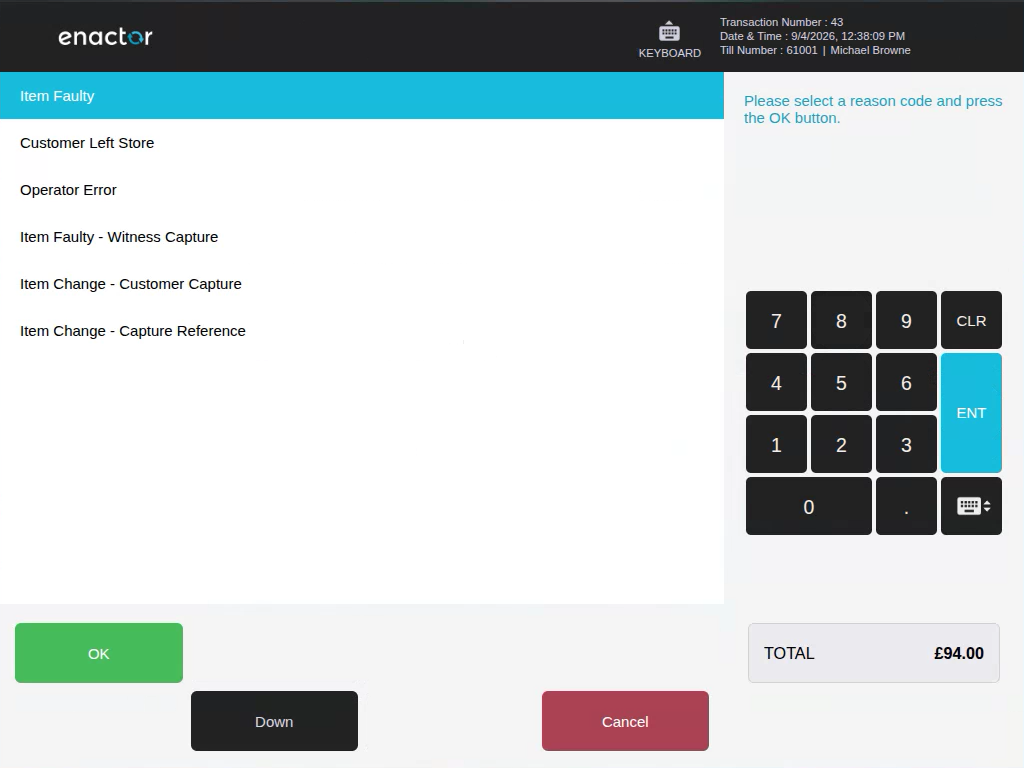
-
The line is shown struck through with its price zeroed out of the total, and any promotion is recalculated against the remaining basket.
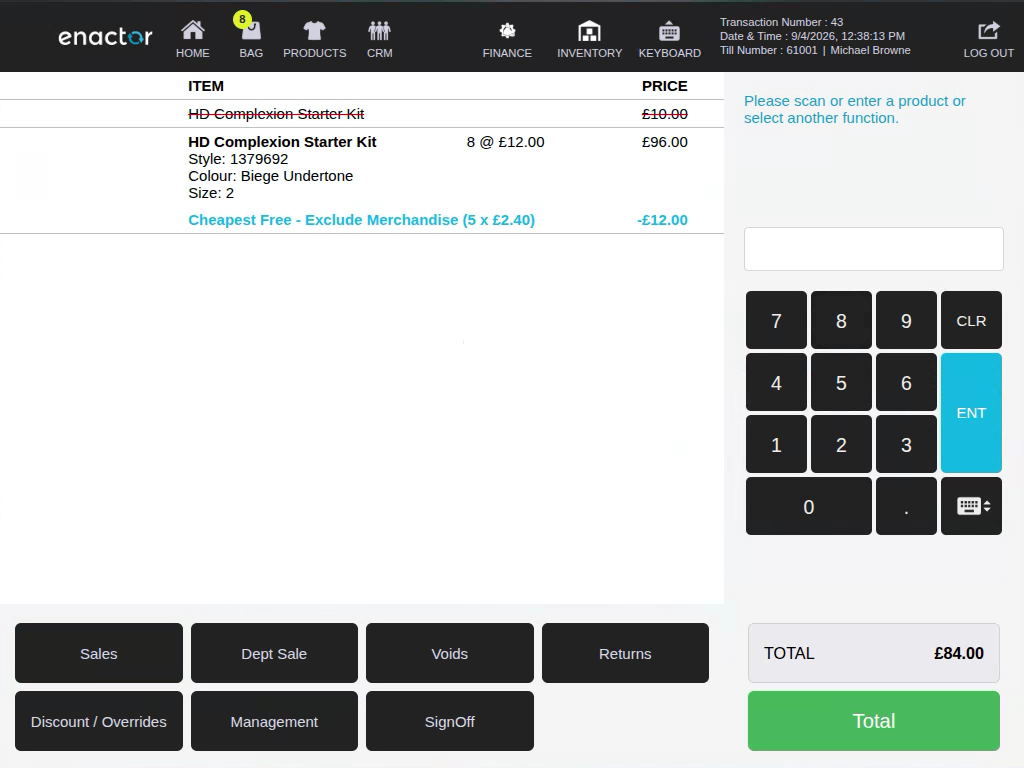
Step 4 - Confirm the result
-
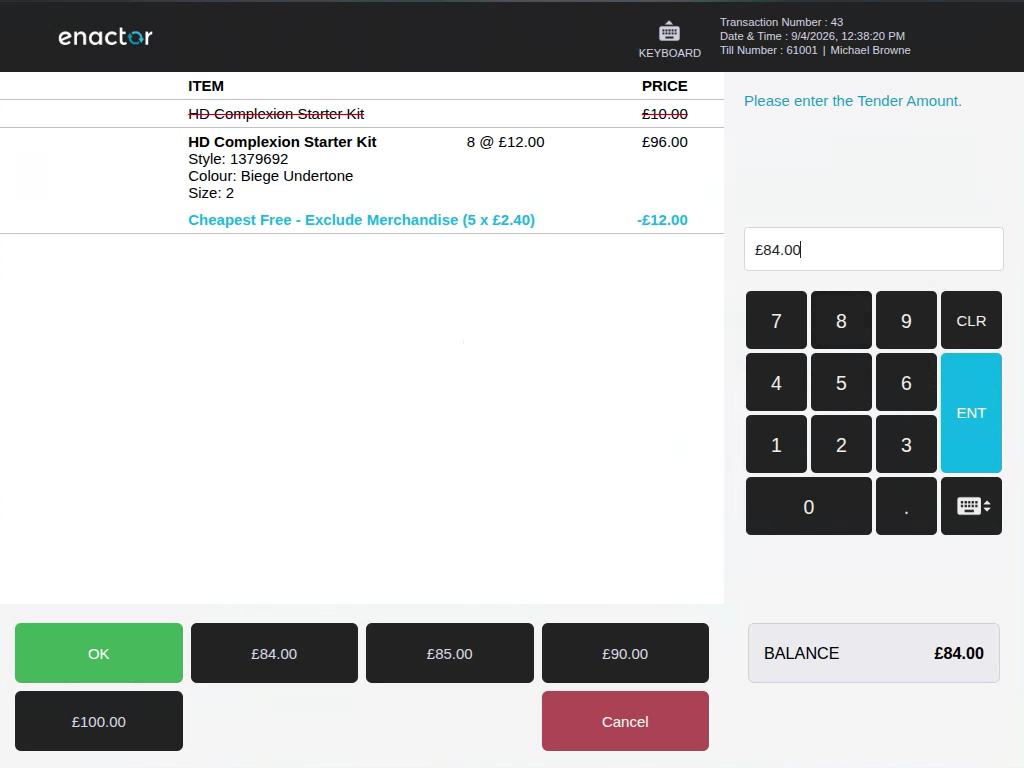
Tap Total, then confirm the tender amount to complete the sale.
-
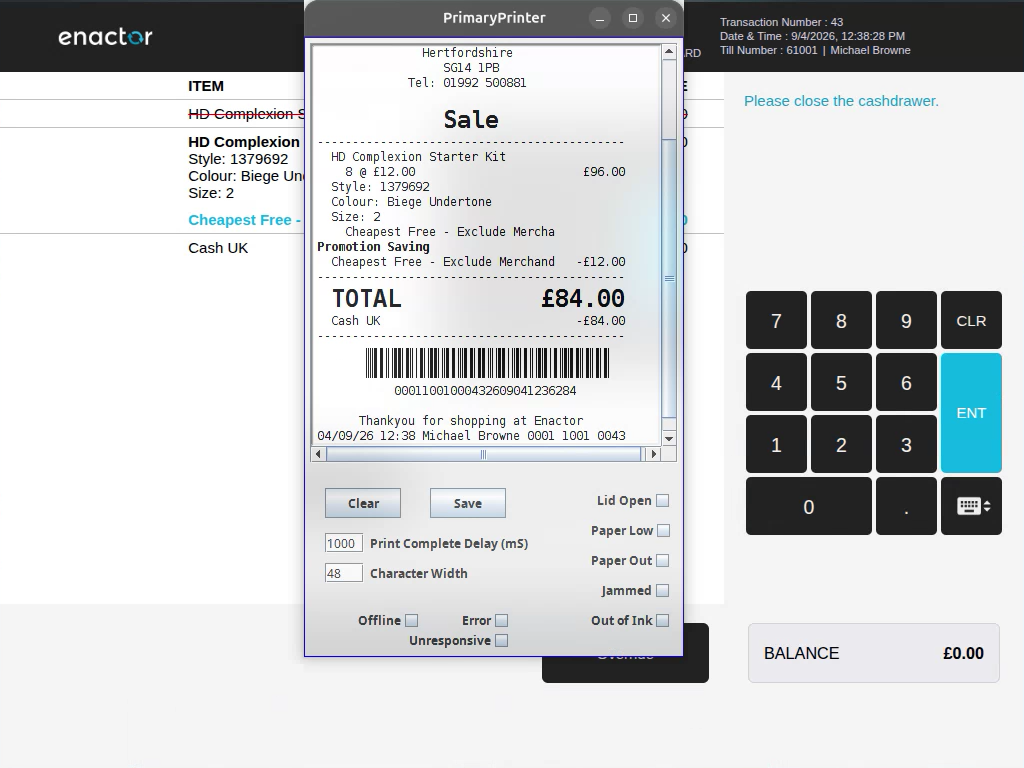
The receipt reflects only what's left in the basket: the voided item is gone, the modified line shows its final quantity, and the recalculated promotion is listed as a saving.
Recap
- Scanning or entering a product code adds it to the basket as a new line.
- Tapping a basket line selects it and swaps in the item-action menu.
- Change Quantity modifies a line's quantity; Item Void removes it (with a reason code).
- Promotions are recalculated automatically whenever the basket changes - no manual step needed.
- The item-action menu also has Price Override, Item Discount, Tax Exempt, and Product Details, for cases beyond quantity and removal.