React Extension Development with Web POS
Overview
This guide walks through the workflow for developing a React UI Extension against a running Web POS instance. By the end you will learn how to develop a react screen with the ability to reflect the changes with a simple browser reload.
What You Will Learn
- How to connect the Web POS to a UI Extension project running in development mode
- How the watch-and-preview dev script works and how to reflect changes in the Web POS
Pre-requisites
- Web POS is Setup
- Training POS Extension is Generated
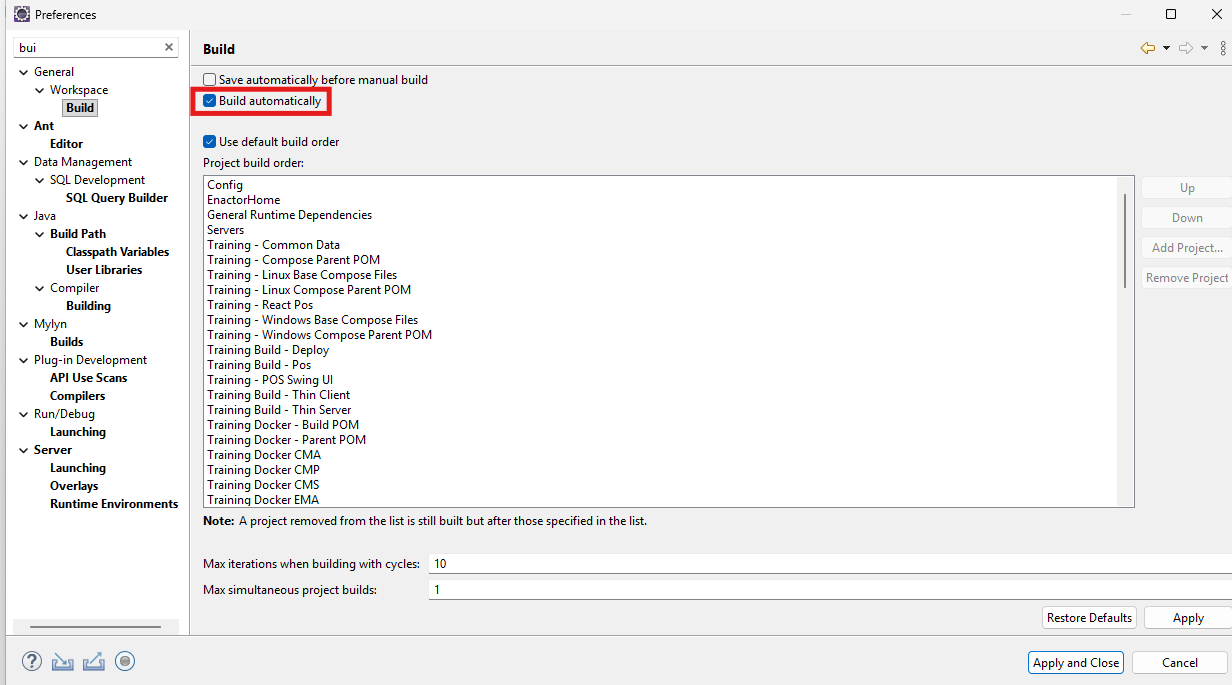
- Build Automatically is enabled in Eclipse -- select Project menu and confirm Build Automatically is checked
- Ensure that VS Code is set as the preferred editor for .js and .jsx files in Eclipse if you prefer VS Code for js development.
-
Open File Associations
-
Navigate to Window -> Preferences.
-
Select General -> Editors -> File Associations.

-
-
Add the File Extensions
- If .jsx or .js is not already listed under File types, Click the Add... button next to the file types list.
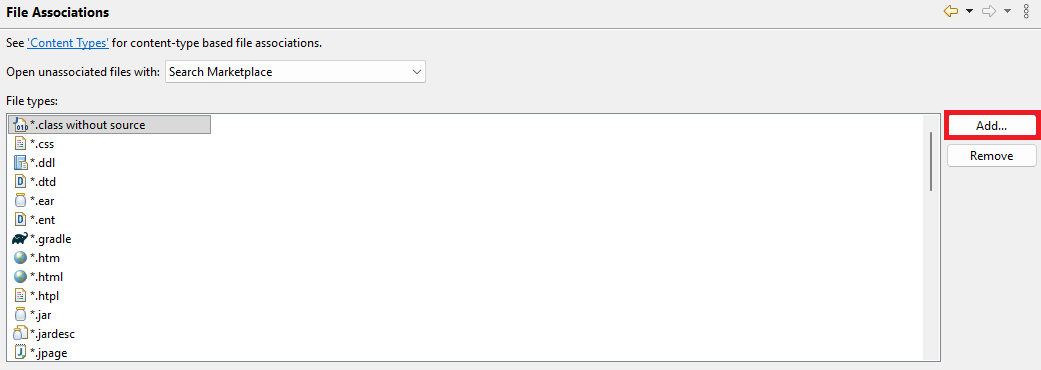
- Type _.jsx (or _.js if needed) and click OK.

-
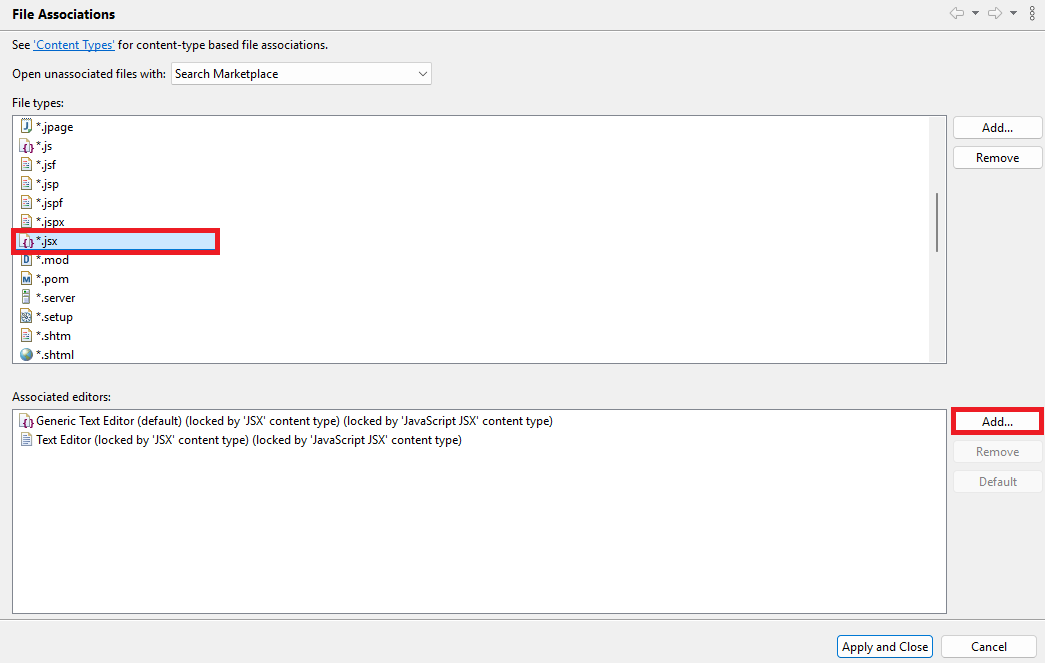
Link Visual Studio Code
-
Select _.jsx (or _.js) from the file types list.
-
Click the Add... button next to the Associated editors list.
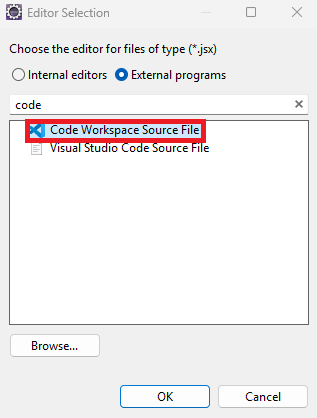
- Select the External programs radio button.
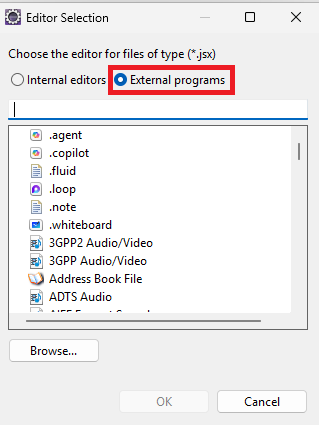
- Type
codein the search bar and find Visual Studio Code from the list.
-
Click OK.
-
Select Visual Studio Code from the associated editors list.
-
Click the Default button on the right.

- Finally, click Apply and Close
-
-
Update POS Extension to run in Dev Mode
By default, the package.xml file is configured to load the extension from a local FILE path. For development against a running dev server, this must be changed to a URL source.
Open the package.xml file in your extension project.
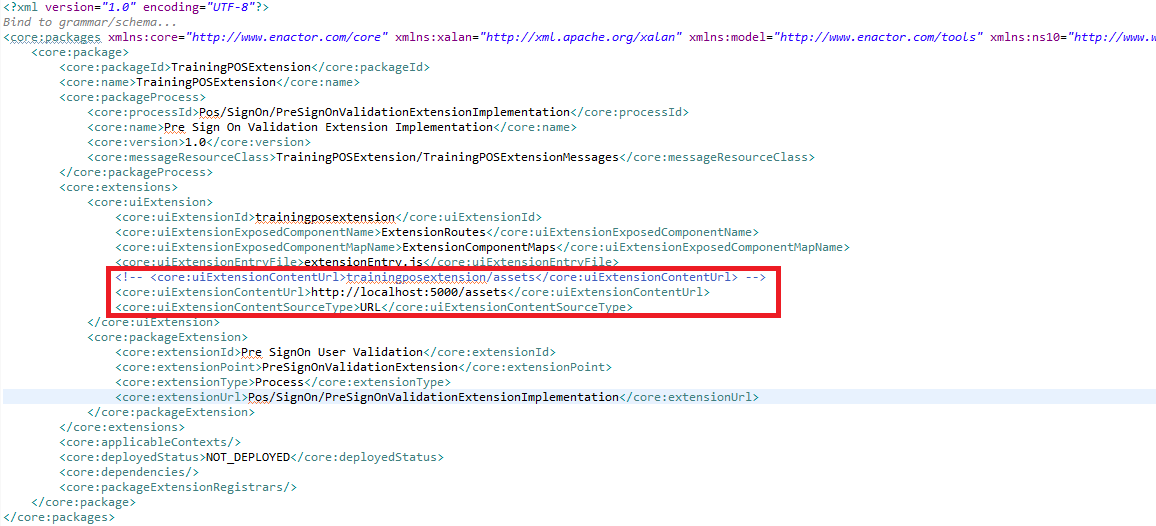
Locate the source configuration entry and change the source type from FILE to URL.
<core:uiExtensionContentSourceType>URL</core:uiExtensionContentSourceType>
Uncomment the following line and update the port to match your local development server (default is 5000). Then, comment out the existing core:uiExtensionContentUrl value.
<!-- Comment this line -->
<!-- <core:uiExtensionContentUrl>trainingposextension/assets</core:uiExtensionContentUrl> -->

<!-- Uncomment and update port if needed -->
<core:uiExtensionContentUrl>http://localhost:5000/assets</core:uiExtensionContentUrl>
Save the file.
Add the POS Extension Dependency to Web POS
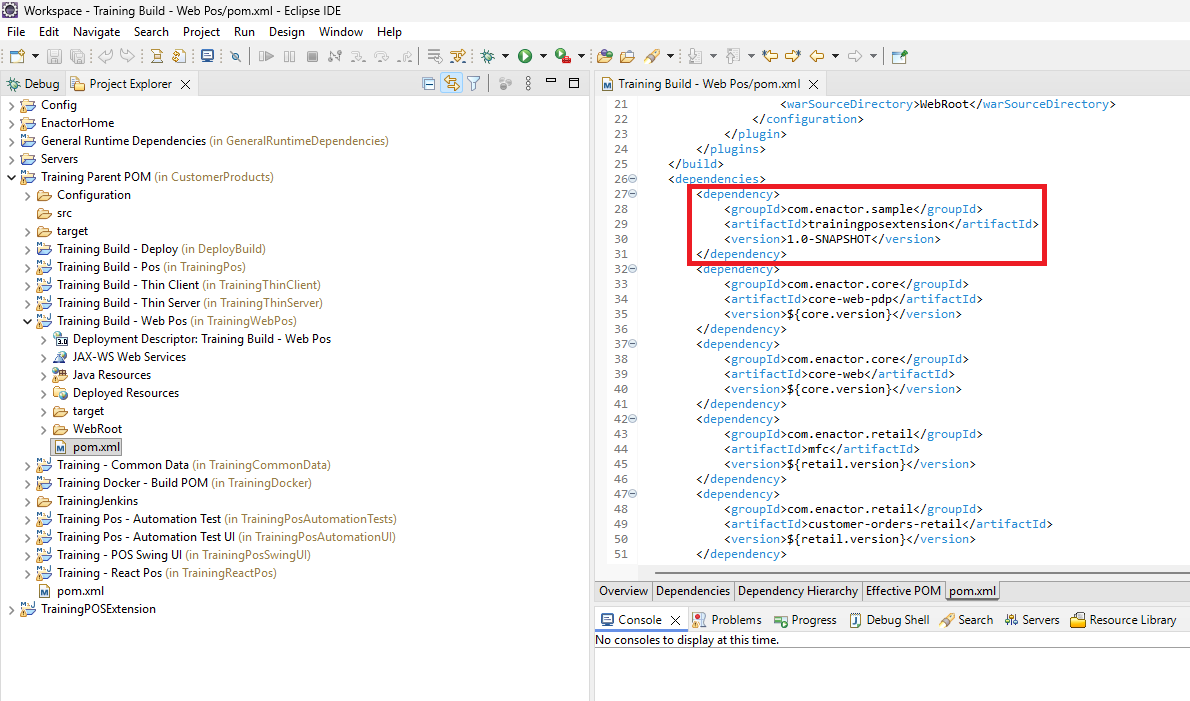
The Web POS must include the extension project as a dependency to the Web POS inside the pom.xml file.
open the Training - WebPos project pom.xml file and add the extension project as a dependency.
Save the changes.
Start the Web POS
Launch the Web POS Tomcat server from Eclipse.
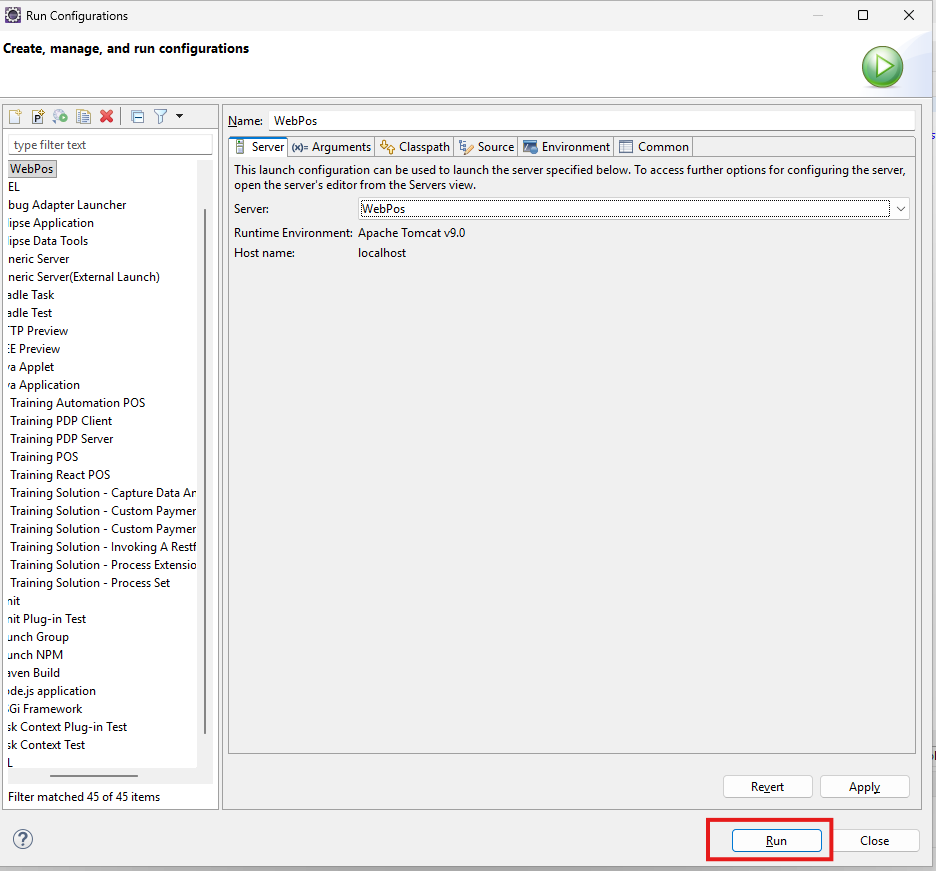
Select Run menu -> Run Configurations
Expand the Apache Tomcat group and select WebPos
Click Run... button
( This will take a few minutes to launch )
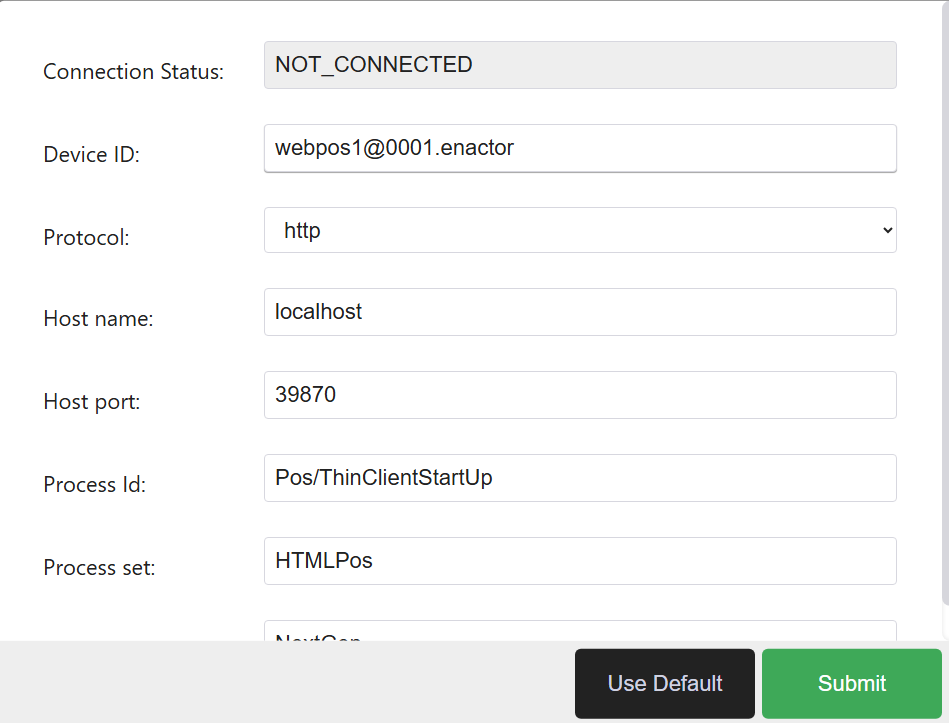
Once started, confirm the Web POS is accessible in the browser through http://localhost:39870/WebPos/HTMLPosVite/index.html
Use webpos1@0001.enactor as the Device Id and submit.
Start the Extension Dev Server
The extension should run in Dev Mode.
Right Click on trainingposextension folder inside src-js/packages folder of the POS Extension and Click Run Node Dev Sever to run the Extension in Dev Mode
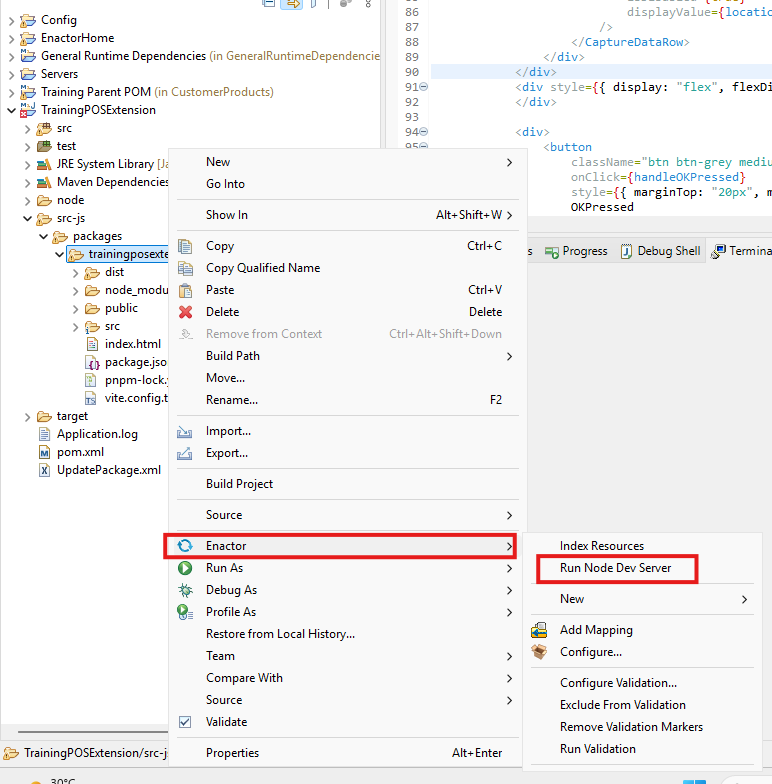
Click Run Node Dev Server...button
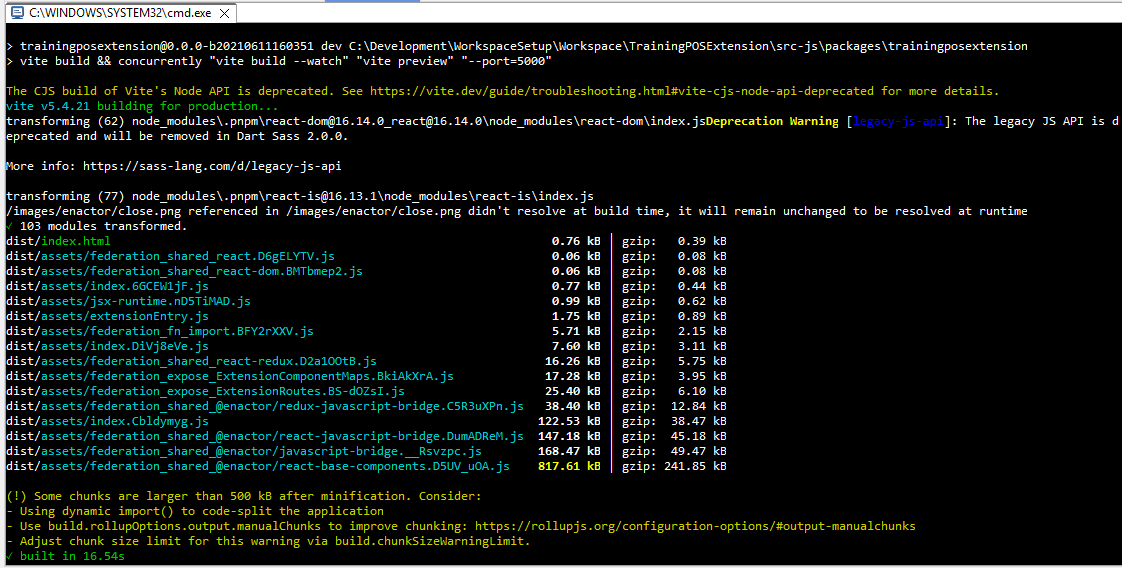
Confirm that the terminal output shows the dev server is running and listening.
Live Reload After Code Changes
With the dev server running, any changes you make to your extension's source files are automatically rebuilt. After the build, simply reload the browser to see the updated output in Web POS .No server restart is needed.
At this stage, the extension project does not yet include any React components. The next tutorial will guide you through creating your first custom React component and observing live changes directly in Web POS.