React UI Extension Tutorial
Overview
So far you have customised the POS backend using Application Processes, Java Actions, and BeanShell scripts. The next step is frontend customisation, where you can change and extend what the user sees and interacts with on the POS screen using React-based UI components.
In this exercise you will work with the PreTenderingExtensionImplementation process you already generated in the Create a POS Extension tutorial. You will navigate from its Prompt State to the React component that renders it, make a change, and verify it in the POS.
What you will learn
- How a Prompt State in an Application Process maps to a React component.
- How to edit a UI extension and verify the chnage.
Pre-requisites
- Create a POS Extension
- Basic working knowledge of React (components, props, JSX)
Exercises
Open the Generated Process
- Open
TrainingPOSExtension/src/META-INF/deployments/Process/Pos/Sale/PreTenderingExtensionImplementation_1.0.xmlin the Application Process Editor.
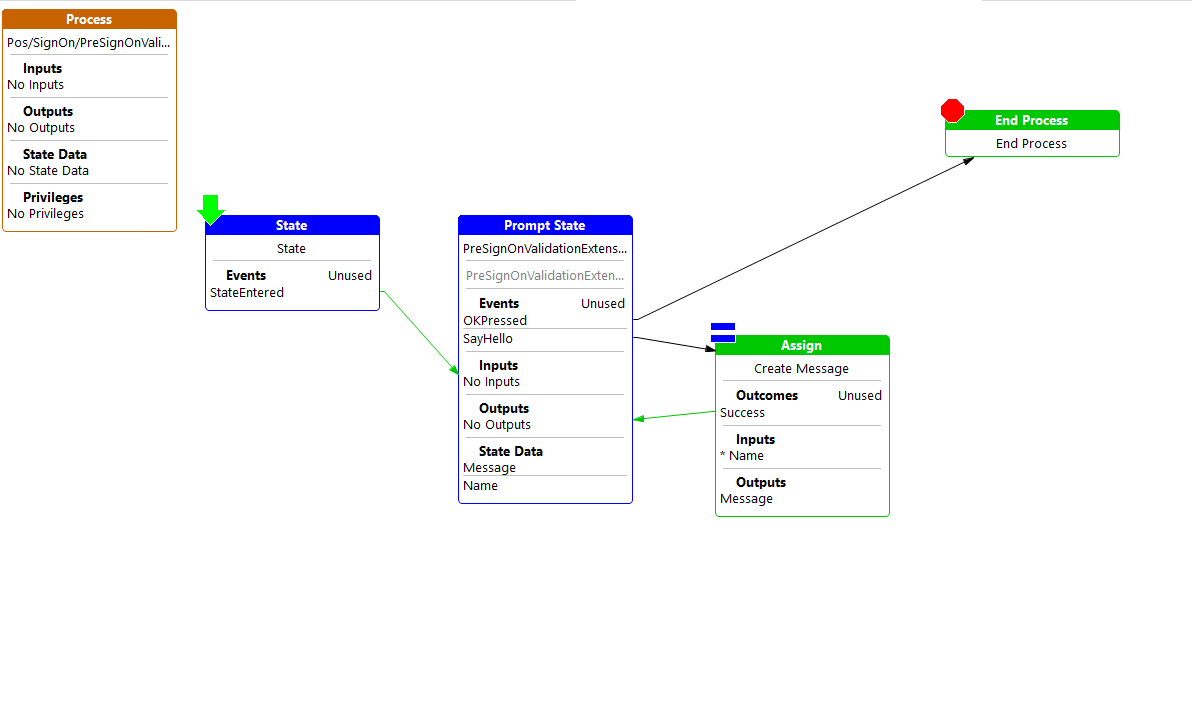
The generated process contains a State, a Prompt State, an Assign action and an End Process — the same template you saw when the Pre SignOn extension was generated.
Navigate to the React Component
The Prompt State is linked to a React component through its URL property. Eclipse can jump straight to that component from the Process Editor.
- Right-click on the Prompt State and choose Go To -> Go To React Component.
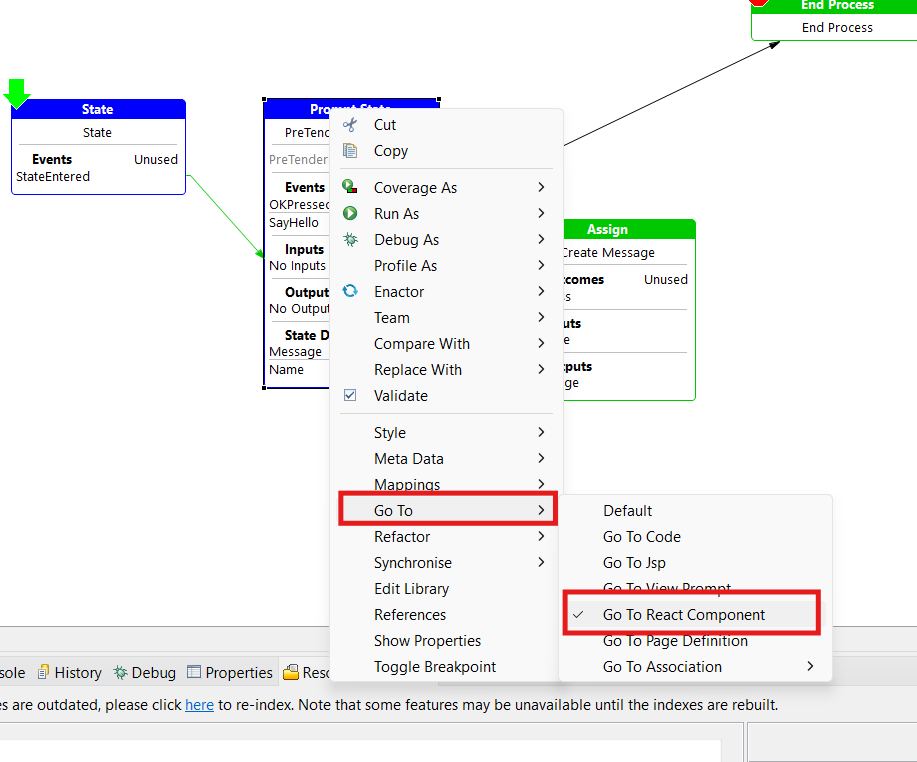
-
If more than one component is mapped to the URL, select the one from the extension from the menu that appears.
-
The React component file opens in your configured editor.
Run the POS and Observe the Extension
-
Go to Run -> Run Configurations -> Java Application, select Training React POS and click Run.
-
Once the POS starts, sign on and start a sale.
-
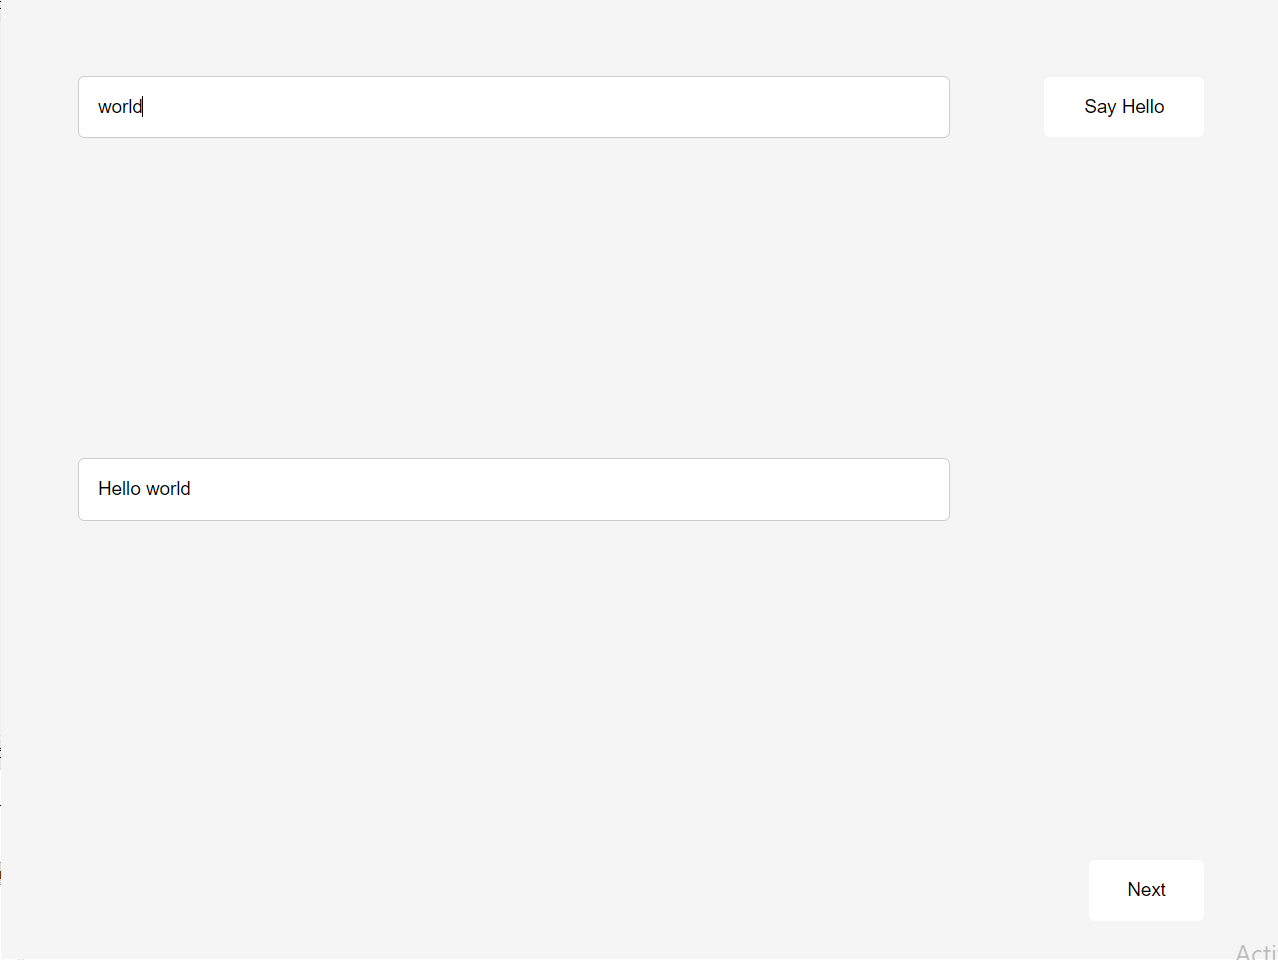
Add '0WXIVEX' item to the basket and click Total to start tendering. The Pre Tendering React prompt should render before the standard tender selection screen.
Modify the React Component
-
Switch back to the React component file you opened earlier.
-
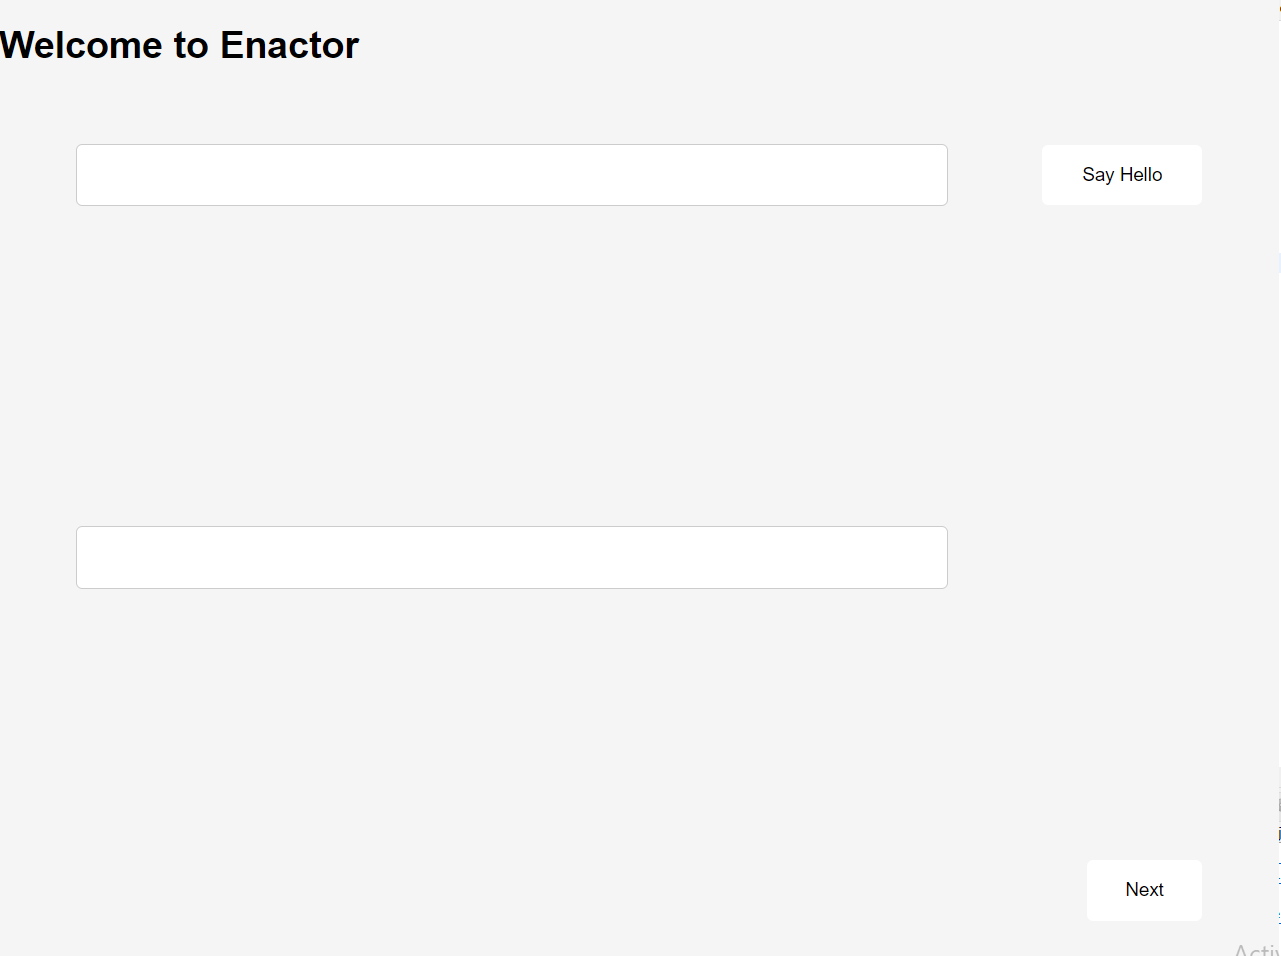
Make a small visible change — for example, update the heading text to
Welcome to Enactorso the change is easy to spot in the POS.
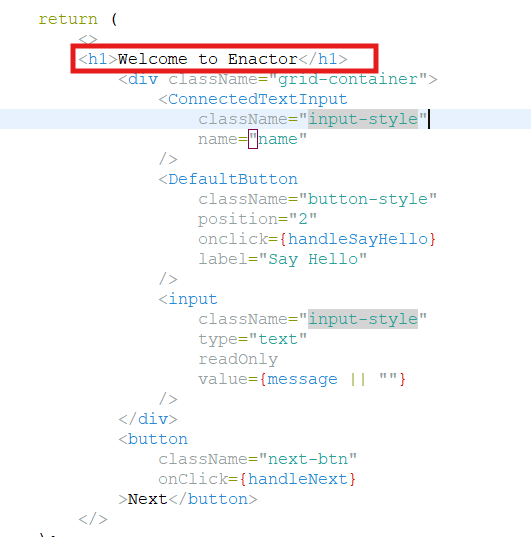
- Save the file.
Rebuild and Verify
-
Stop the running POS.
-
Run Run -> Run Configurations -> Maven Build -> MVN Install (TrainingPOSExtension) again and wait for the build to finish.
-
Run Run -> Run Configurations -> Java Application -> Training React POS again.
-
Sign on, start a sale, add an item and click Total as before. The Pre Tendering prompt should now reflect your change.
Summary
In this exercise, you identified a Prompt State within an existing Application Process, traced it to the corresponding React component responsible for rendering the UI, modified the component, rebuilt the POS Extension using Maven, and verified the changes in the POS.