Receipts
Overview
This document will show you how to edit Receipt Document Templates. We will cover:
- Locating and editing Format Entries
Receipt Document Editor
Bring up the Open Resource dialog and search for StandardReceiptTemplate48 When searching for a long file name you can use the capital letters of the filename, for example SRT48 would match the above file | 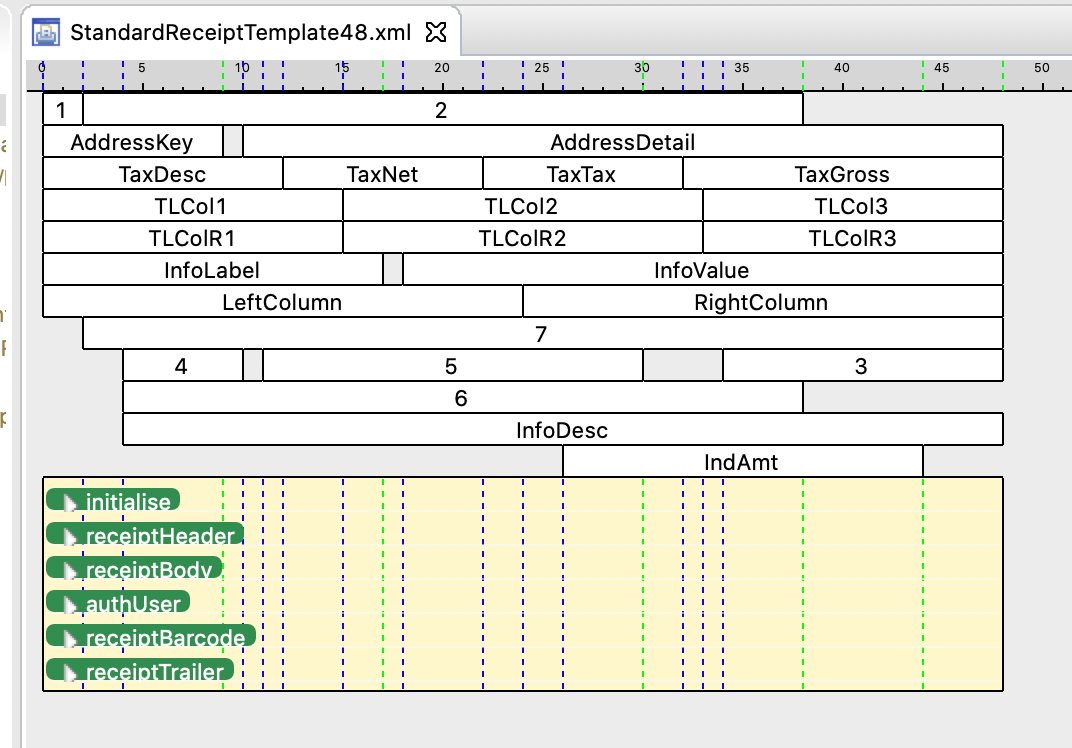 |
| Ensure the Designer tab is selected |  |
| Open the Outline View and expand Elements → receiptHeader (Format Element) → headerLines (Format Element) → HeaderLines (Column) In the designer view we can see there is an expression #{location.headerLines} that takes the headerLines variable from the location object | 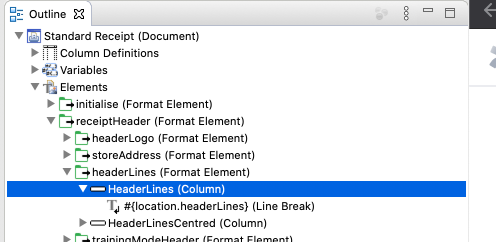 |
| Bring up the Open Resource dialog and search for ReceiptGeneralFormatEntries. Ensure the Format Entries tab is selected | |
| From the Outline view expand Format Entries → headerLines (Format Entry) → Elements → HeaderLines (Column) |  |
Open the Palette, select and drag on a Line Break to the right of the existing Line Break containing the expression #{location.headerLines} | 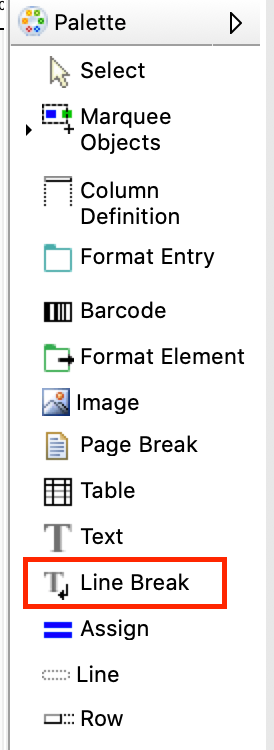  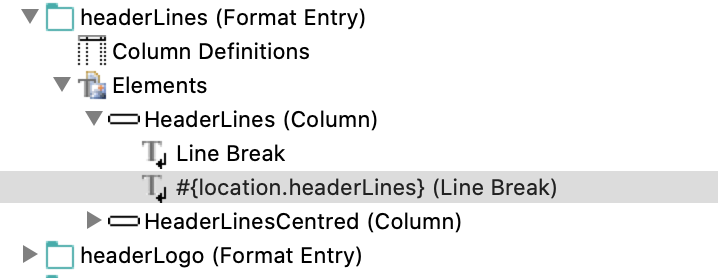 |
Edit the Value property of your new line break setting the value to Welcome to <CUSTOMER NAME> Save the file | 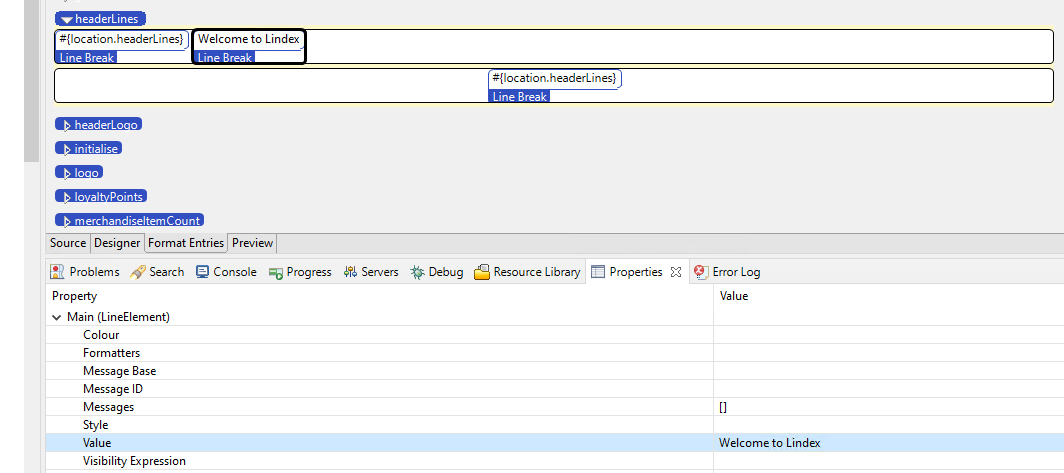 |
| Launch Pos Application, complete a transaction (you can sell Product ID 1007970078) and view the updated receipt in the Test Printer | 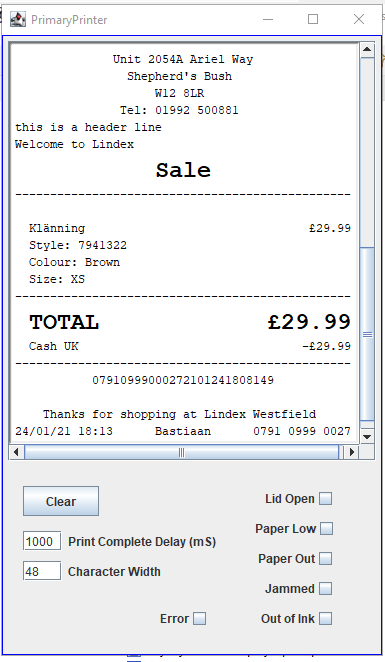 |