Branding and Stylesheets in React
Overview
The React POS supports the same branding and Stylesheet configuration as used by the Thick POS, this document will show you how to complete the following:
-
Apply a custom logo
-
Apply a custom stylesheet
Pos Terminal Branding
The Pos Terminal / Template maintenance application allows you to edit the branding style of a given terminal
Available options include:
-
Setting Logo branding images
-
Stylesheet overrides
Theme Set
Open Pos Terminal Template Maintenance Application from your Estate Manager (http://localhost:39830/WebMaintenance)
You can find this by using the Search dialog:
Alternatively, you can navigate to it from the menu option:
Configuration → Organisation→ POS Terminal Templates

Click the edit button next to the the terminal for the react pos device:
REACT_RETAIL_FIXED_POS_TEMPLATE - For the Fixed POS
![]()
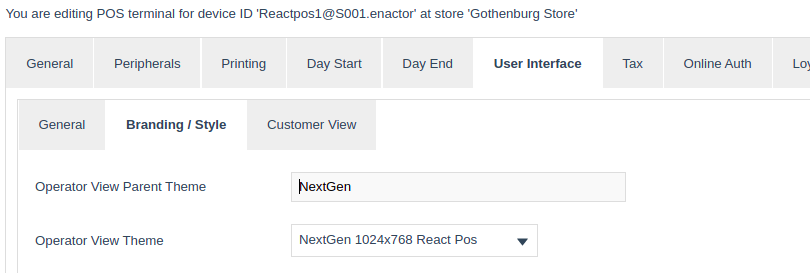
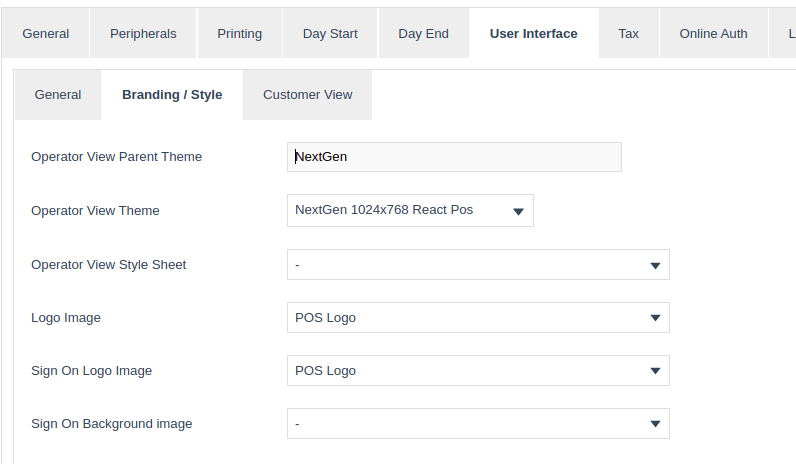
Once in edit mode navigate to User Interface → Branding/Style
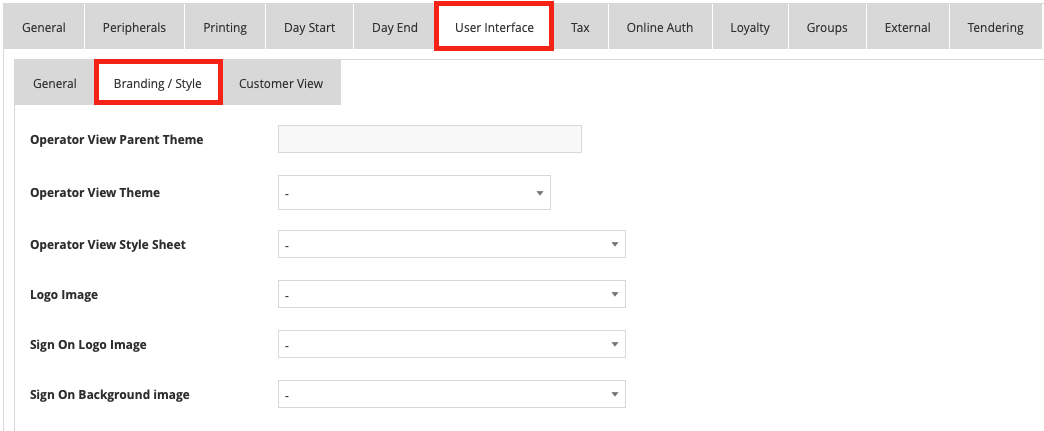
Check that the operator view theme is set to ‘NextGen 1024x768 React Pos' and Operator View Parent Theme is set to 'NextGen’, updating if necessary
Ensure all other options are left blank
Click Save

Branding Images
Download and unzip the TestLogo.zip
Open Image Maintenance from your Estate Manager again using the search dialog, or from the following menu:
Configuration → Media → Images
Click Upload a new Image
![]()
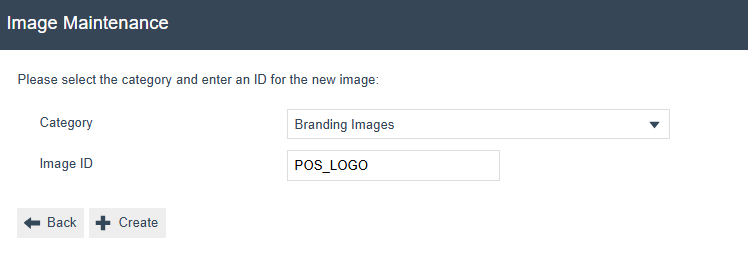
For the Category Select Branding Images
Enter POS_LOGO as the Image ID
Click Create
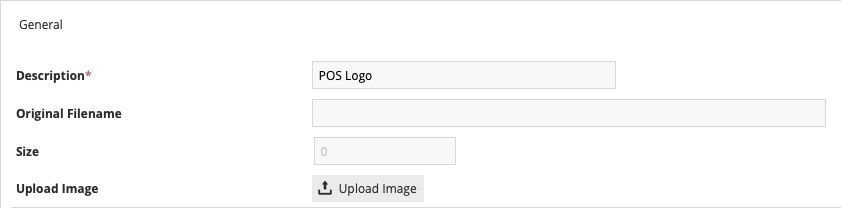
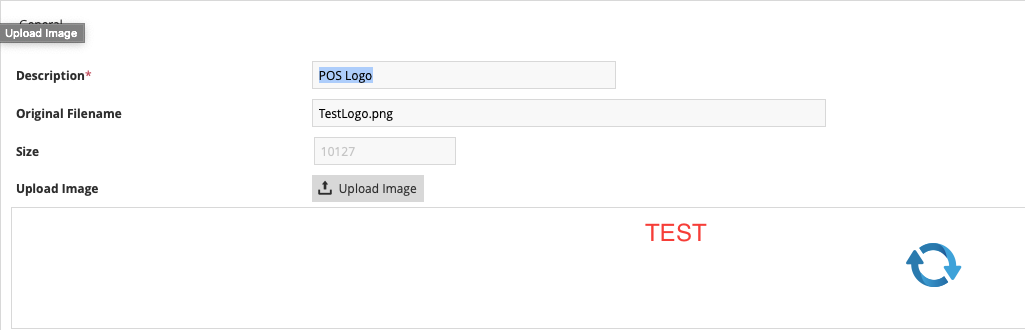
For the Description, enter POS Logo
Click Upload Image
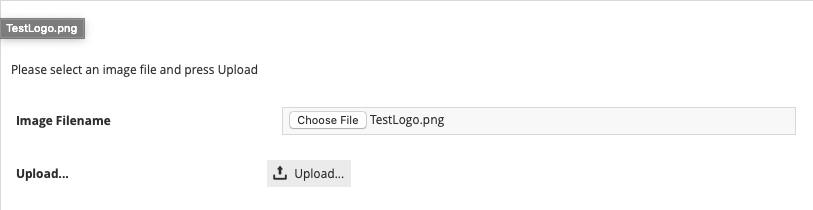
Choose the TestLogo.png file previously unzipped
Click Upload
Click Save
Return to the Pos Terminal Template Maintenance Application
Select to edit the same Pos Terminal Template you did previously
Navigate to User Interface → Branding/Style
For the field Logo Image and Sign On Logo Image and then select POS Logo from the drop down options
Click Save
When prompted to confirm that templated entities should be updated click OK
In Eclipse, copy the Branding directory from EnactorHome/estateManager/Data/Common/Image/BRANDING to:
EnactorHome/posReact/Data/Common/Image
If the BRANDING directory is not visible under the estateManager folder, select the folder and hit F5 to refresh it
This step is needed as both the Estate Manager and ReactPos application are sharing a database.
Normally the files would be copied down when a broadcast was triggered

kill the Fixed Pos by clicking the Terminate button on the Console view and then relaunch it:

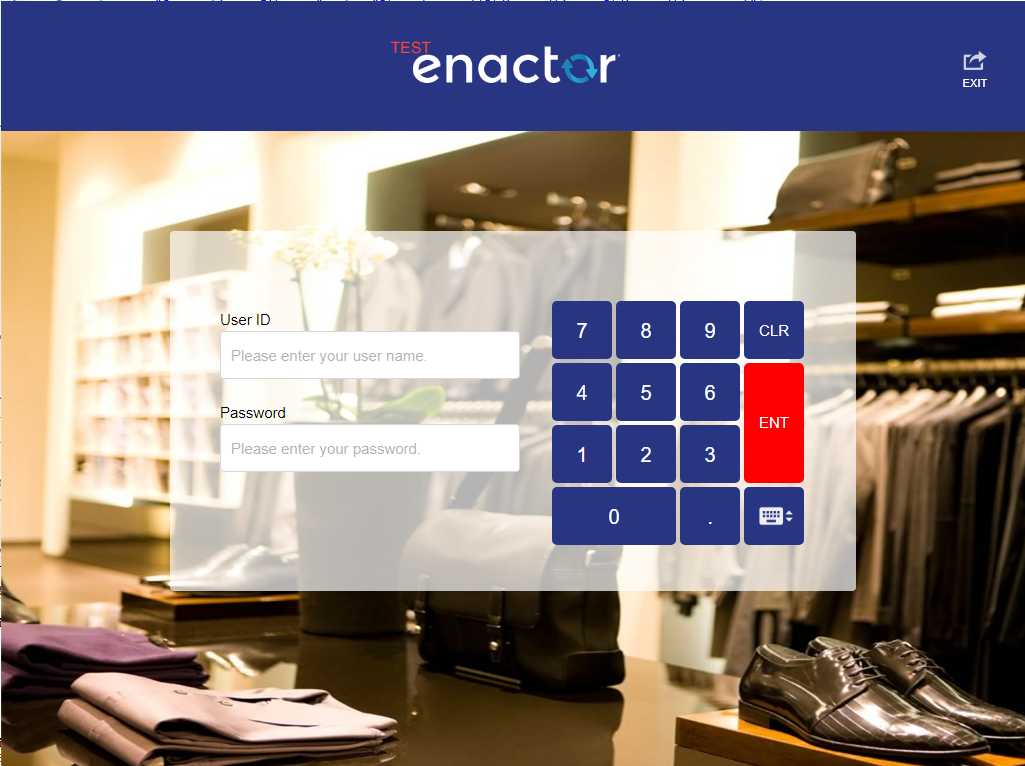
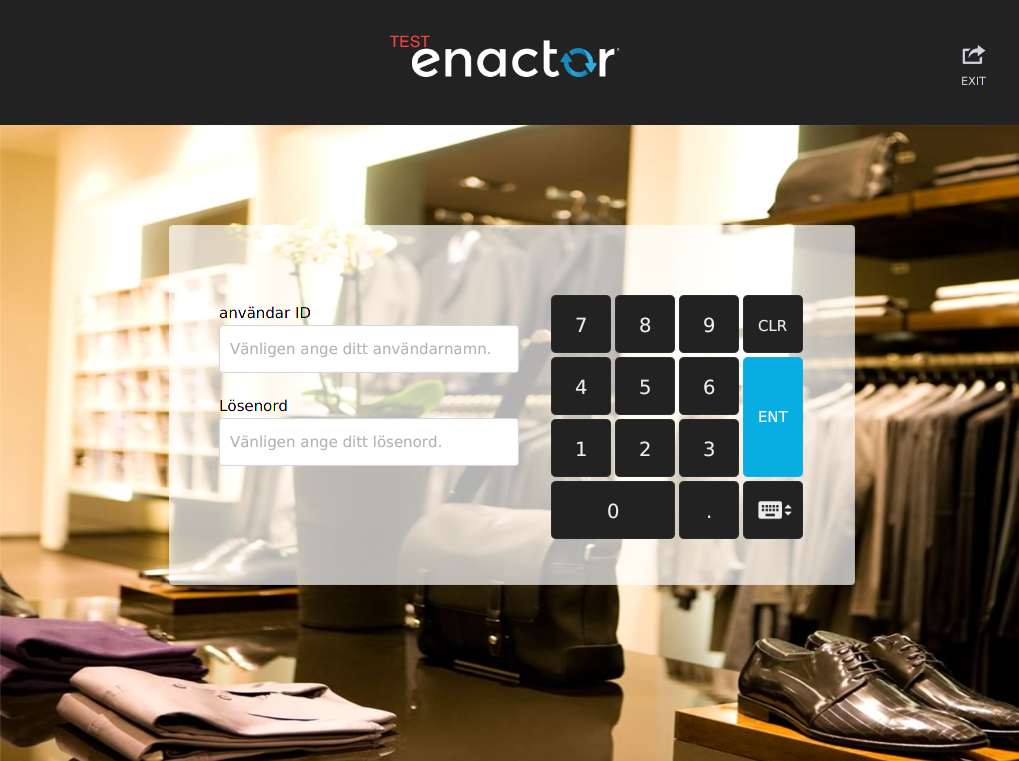
Once the application has started you should see the new logo appear in place of the previous logo
Stylesheets
Download and unzip the TestStyles file
See React Stylesheet for customer theming
Open Configuration → Stylesheet Maintenance from your Estate Manager
Click Create Style Sheet
![]()
For the Style Sheet Path enter pos.css
Click Create

For the Name, enter POS Styles
Click Upload
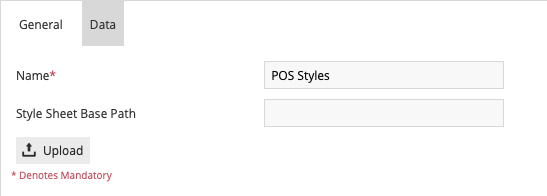
Choose the pos.css file previously unzipped
Click Upload

To see the style that was uploaded,
Select Effective Style Data to view the uploaded stylesheet
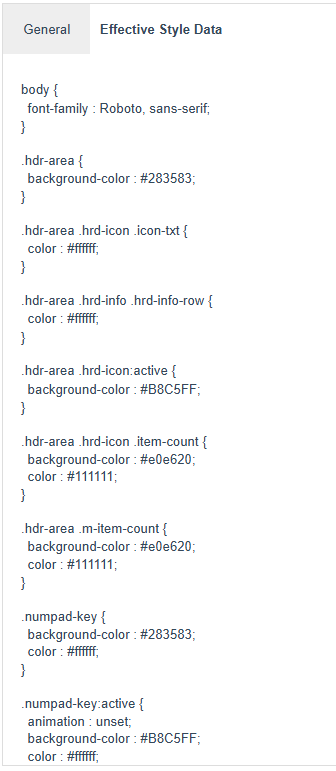
Click Save
Return to the Pos Terminal Template Maintenance Application
Select to edit the same Pos Terminal you did previously
Navigate to User Interface → Branding/Style
For the field Operator View Style Sheet select POS Styles from the drop down list
Click Save
When prompted to confirm that templated entities should be updated click OK

kill the Fixed POS by clicking the Terminate button on the Console view and then relaunch it:
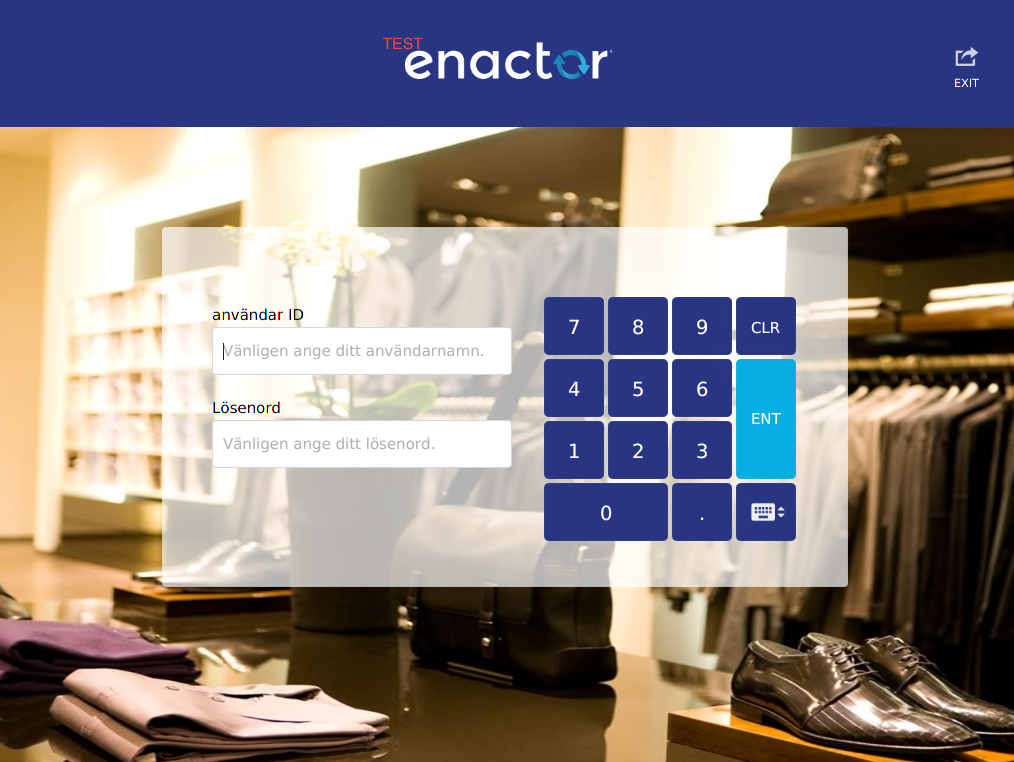
Once the React POS has launched, you should see the changes in the stylesheet taking effect
The stylesheet styles defined in Pos Terminal Maintenance takes the first priority.
-
You can also define your styles in the POS Extension project as well
-
First you need to create a new scss file in the assets forlder in the extension project called training.scss
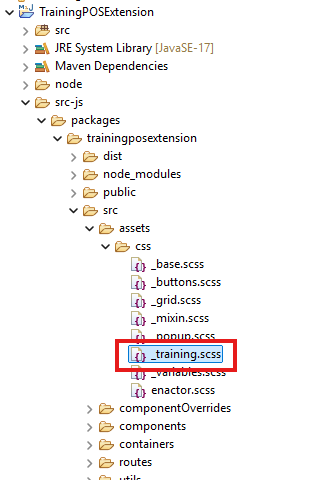
-
Import it into the enactor.scss fle like this
...
...
@use "./training"
- Then in the _training.scss file add this simple style.
.numpad-key.enter {
    background-color: rgb(255, 0, 0);
    color: #fff;
}
- Now after relaucing the React POS you can see the the styling is added to the enter key of the num pad.