Setting up React Pos dev environment
Please consider the customer name provided when creating the templated customer projects when you see Template Customer / Template / template-customer terms in this documentation.
Prerequisites
-
You should have already set up the enactor eclipse workspace environment using Setting up a Development Workspace.
-
Follow the following two sections and set up the PDP Server and Web Pos Server.
-
PDP Server and Web Pos Server should be already started and running.
-
Visual Studio Code is used as the IDE for React Pos development.
-
Download and Install Visual Studio Code from https://code.visualstudio.com/download.
-
VS Code plugin installation
Open vscode.
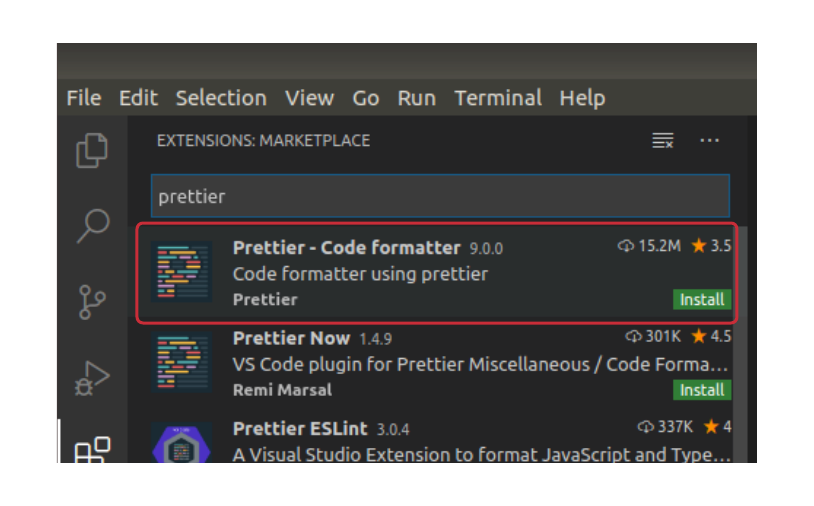
Click on the Extensions icon from the left panel
-
Search prettier. Select Prettier - Code formatter.
-
It will open a details page on the right panel. Click on the install button.
OPTIONAL: Similarly you can install SVN and extension which lets you to see code history/code comparison/commit changes inside vscode. (These can be done via the svn in eclipse setup)
Starting React Pos
-
Go to File → Open Folder...
-
Navigate to the react pos project from the file system and open.

-
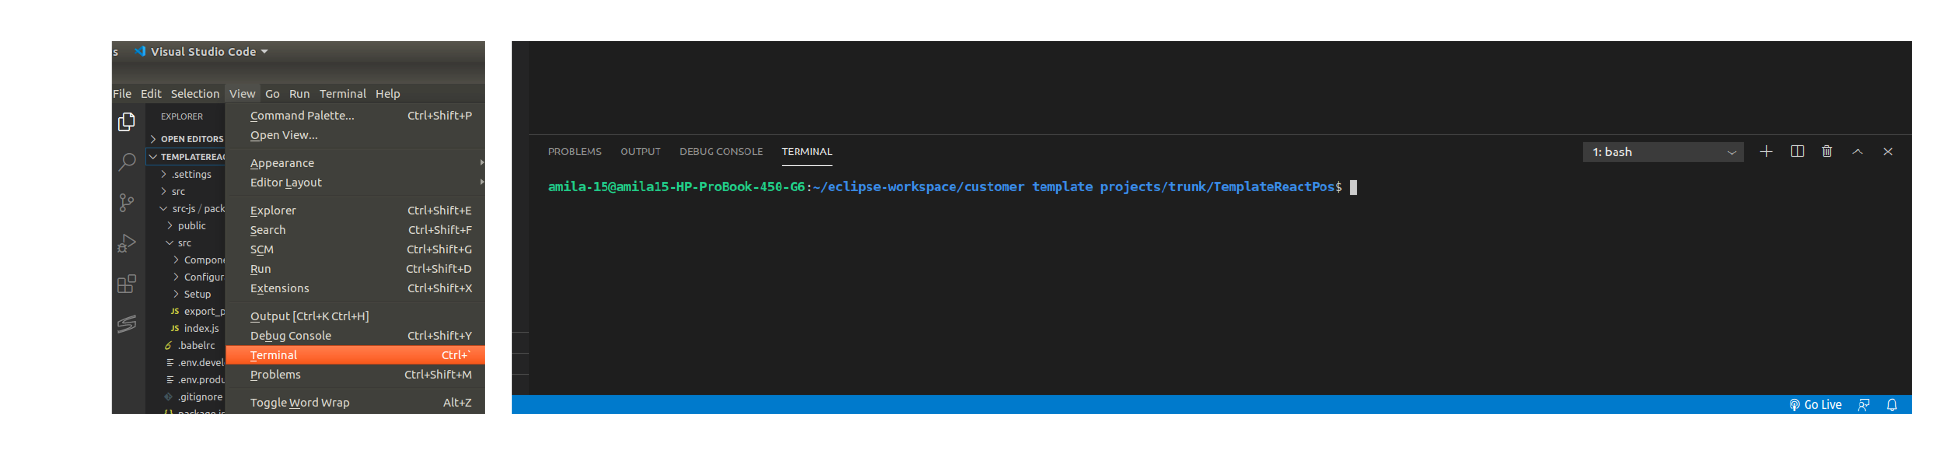
Go to View → Terminal
-
This will open up terminal inside the vscode.
If you are connected to the Enactor network
-
Set the npm package registry location as npm registry.
npm set registry https://npm.enactor.co.uk
npm login
If you are outside of the Enactor network
-
Set the npm package registry location as npm registry.
npm set registry https://npm.enactor.co.uk
npm login -
User will be requested for the following. Use the credentials of Active Directory.
-
username
-
password
-
email
-
If login fails from within VSCode, try using an external terminal window
This will set your npm registry to the Enactor Verdaccio repository
-
Navigate into the template-customer-react-pos and run the following commands.
cd src-js/packages/template-customer-react-pos/
npm install
npm start -
This will start the pos in http://localhost:3000.
To remove the Enactor register
You need to delete the registered details in your .npmrc file
Mac: located at ~/.npmrc
Windows: run npm config ls -l to find the location.
-
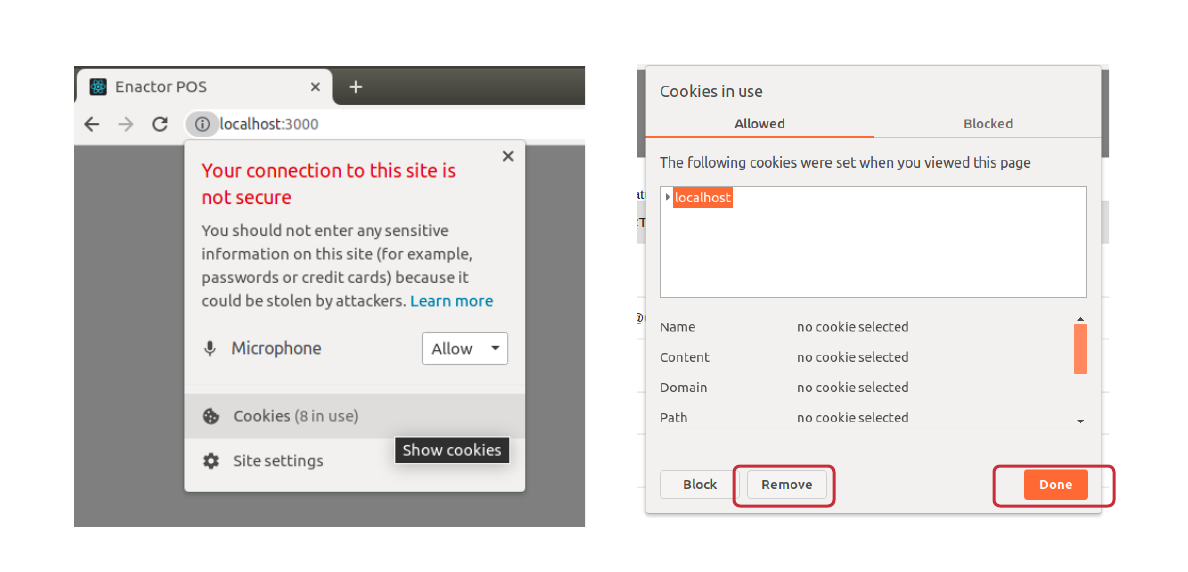
If you don’t see the view given above try clearing browser cookies and refreshing the page.
-
This is something you should do often after when a white screen appears after restarting either of PDP Server / Web Pos Server/ React Pos app.
-
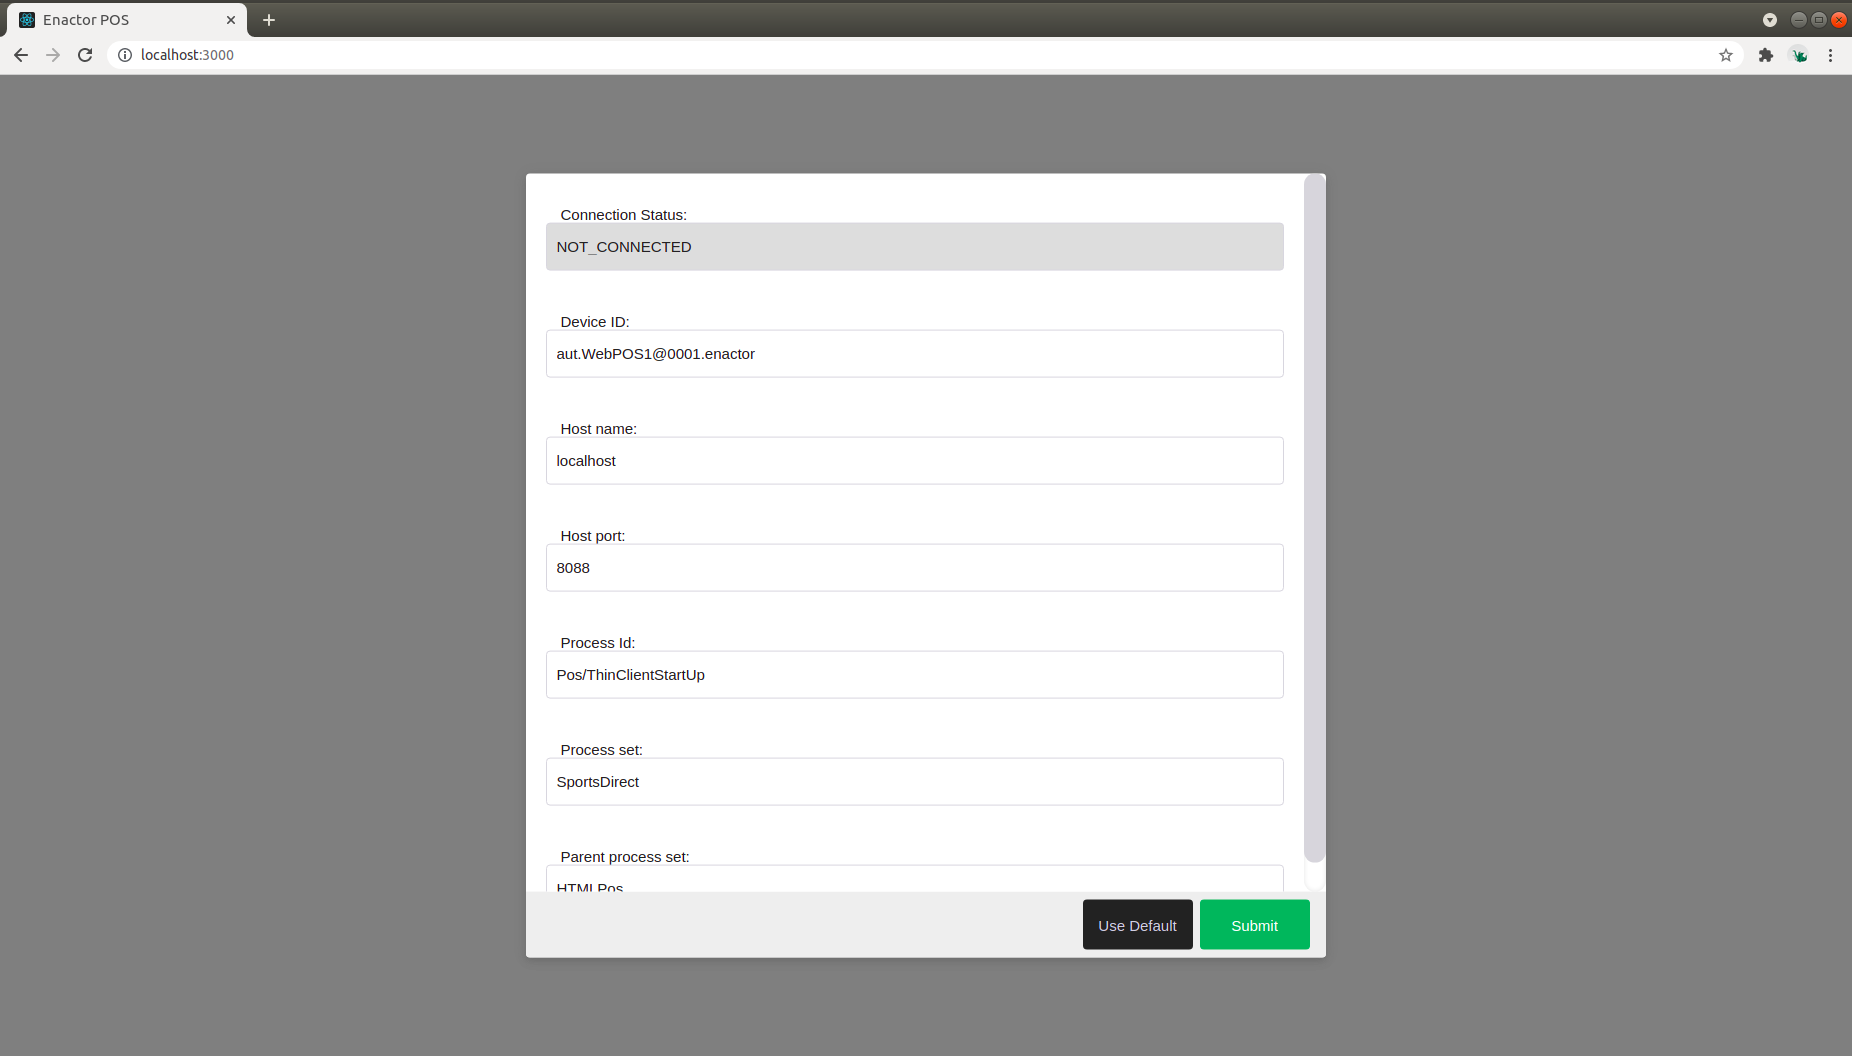
Click on Submit button.
-
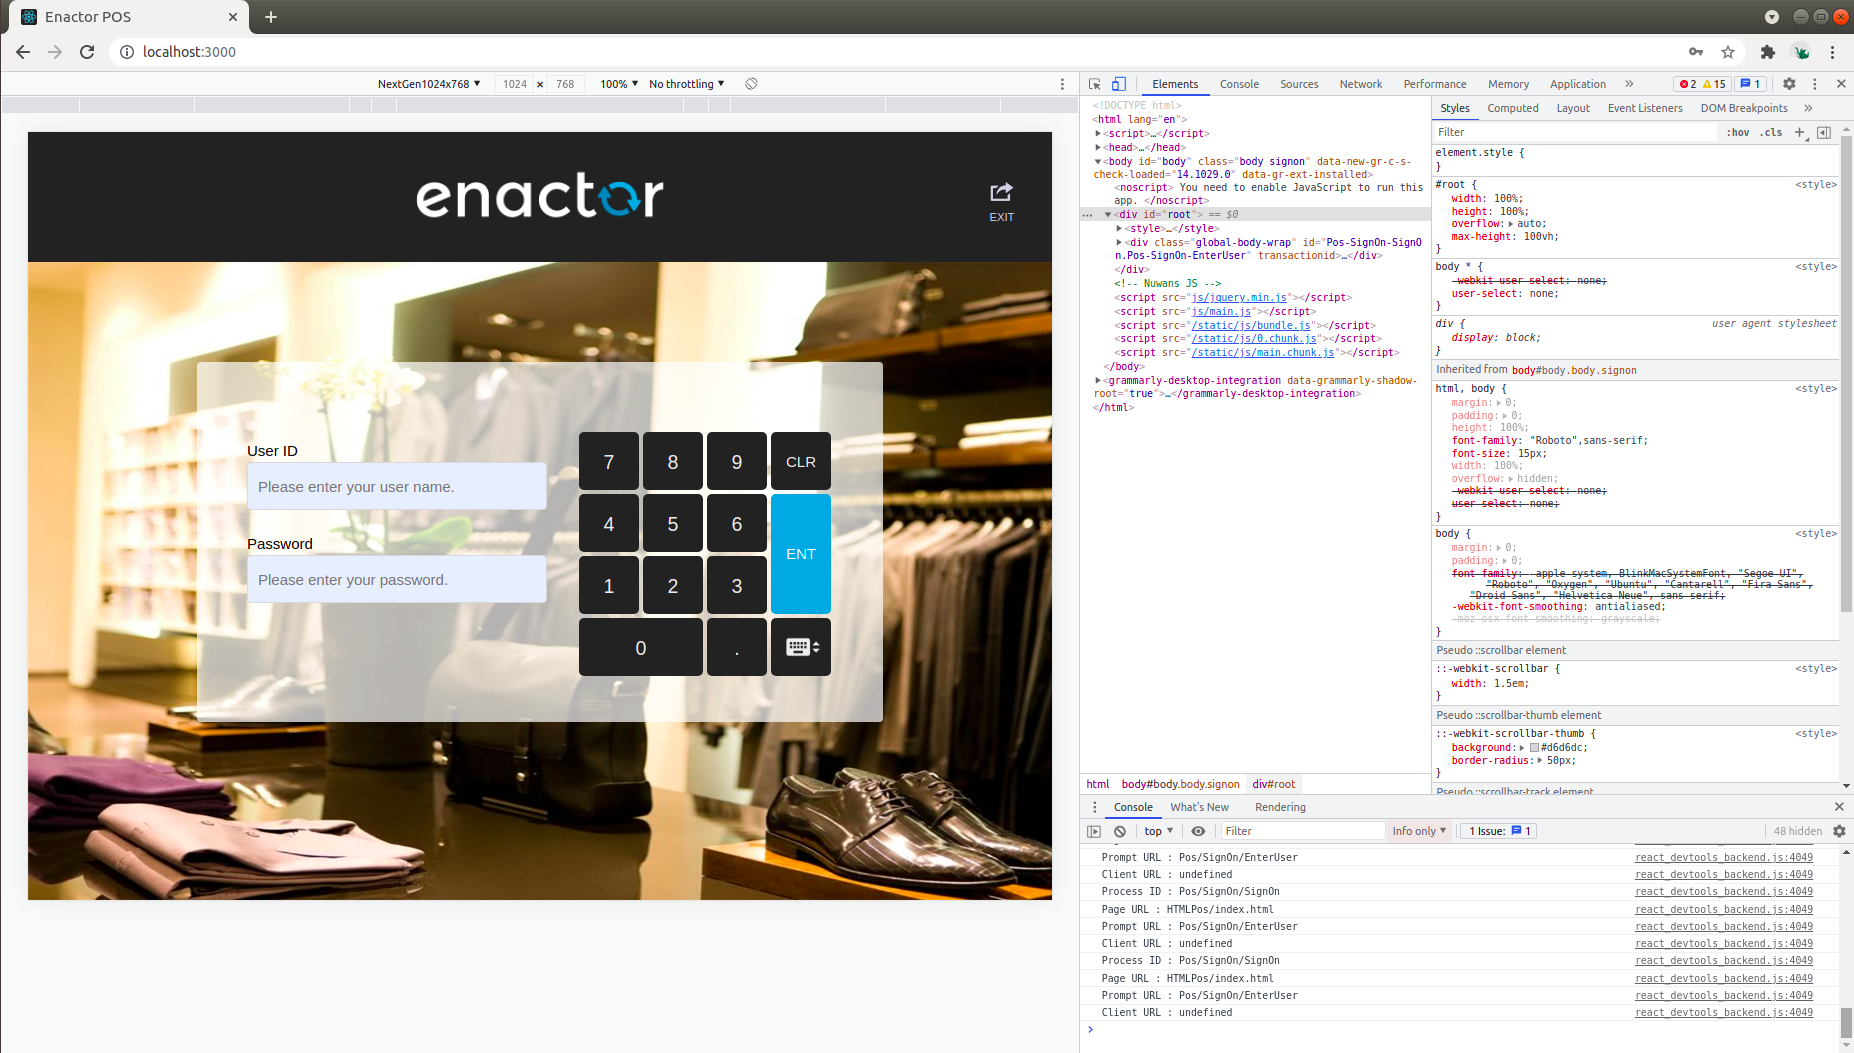
Right-click → Inpect to open the the Chrome Dev Tools to the right side.
Installing dev tools in the browser
-
Google react dev tools.
-
Go to the chrome extension listed in search results and install to your browser.
-
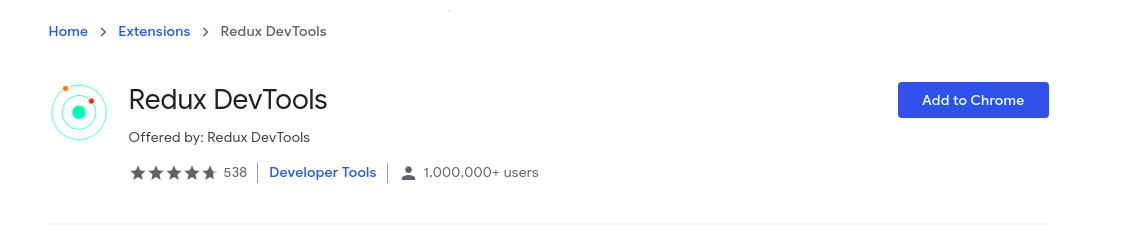
Google redux dev tools and install it as well.
-
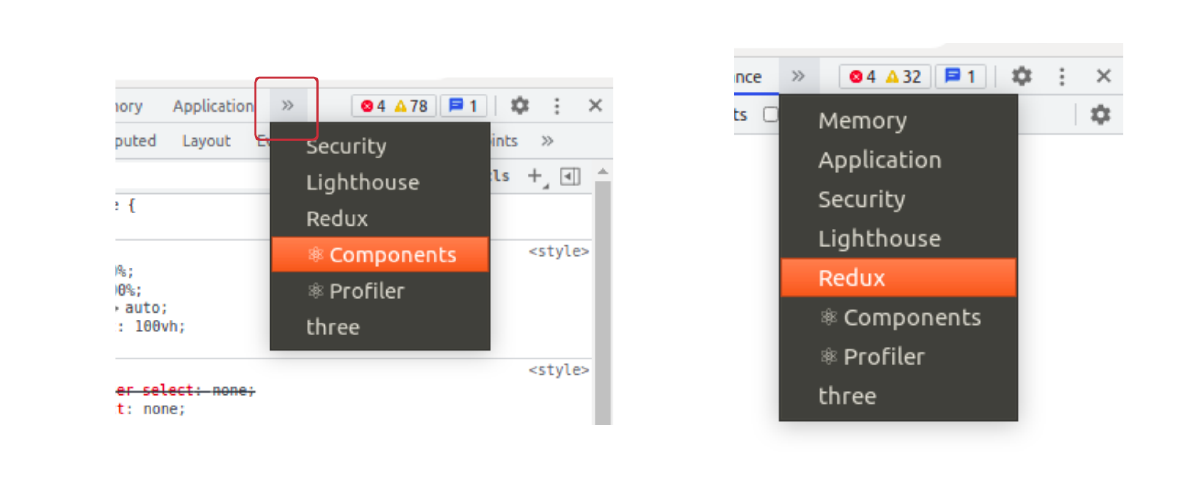
In the chrome’s Inspect view,
-
Click on the double arrow right top and click on Components.
-
This will show the React Component structure of React Pos application. (This lets you to see the component level state and React virtual DOM structure)
-
Similarly you can open Redux dev tools view.\
-
-
You will see Redux dev tools view opened like this.
-
This is really helpful to view the React Pos App state.