Pos Automation - Validate Sale
Overview
This tutorial will guide you how to automate the basic POS Sale Feature
What you will learn
How to use the following steps
Pre-requisites
Should have setup a Working Development Workspace. Refer Workspace Setup
Exercises
Add Automation Script File
Right click on the Automated Tests project and create a new package in the test folder, feature.retail.pos.tutorials.sale
Make sure your package is registered in the testNG.xml
Right click on the package and create a new cucumber test PosSale.feature
Add the Steps
-
First you have to start from adding the step to sign on as a given user. Refer Login as a user
-
After login, you have to inspect the Component Id for the Input Box in the transaction page so that you can enter the productID. (Refer Component Inspection).
- Add the component entries to
.propertiesfile ( Refer Component Details to set up Client Property file).
your entry would be like
COMPONENT_INPUT_BOX=InputBox
- You can directly add the ProductID and Product Description to the step or else you can add data entries to data property file and use the variables. Refer Data property File
If defined in the data property file,
your entries would be like
PRODUCT_1=001
PRODUCT_1_DESCRIPTION=KAT VON D Eye Liner
- Using the component Inspection find the Component ID for the Receipt List. (Refer Component Inspection).
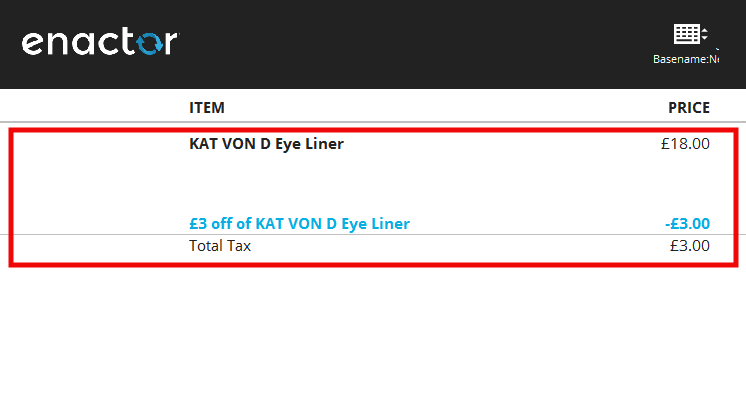
- Add the component entries to
.propertiesfile ( Refer Component Details to set up Client Property file).
your entry would be like
COMPONENT_RECEIPT=Receipt
- When you press the buttons to continue the sale, you will be navigated to the following pages. Therfore the Window names should be inspected and add the window entries to
.propertiesfile ( Refer Window Details to set up Client Property file).
- "Select Tender" page
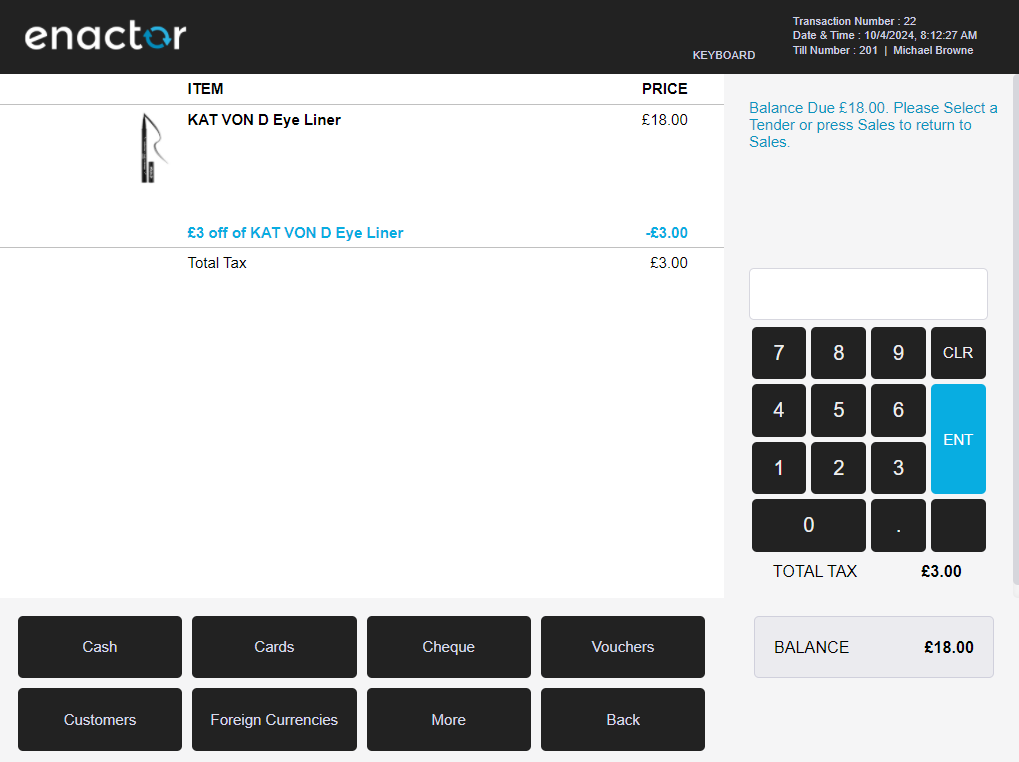
- "Enter Cash Tender Amount" page
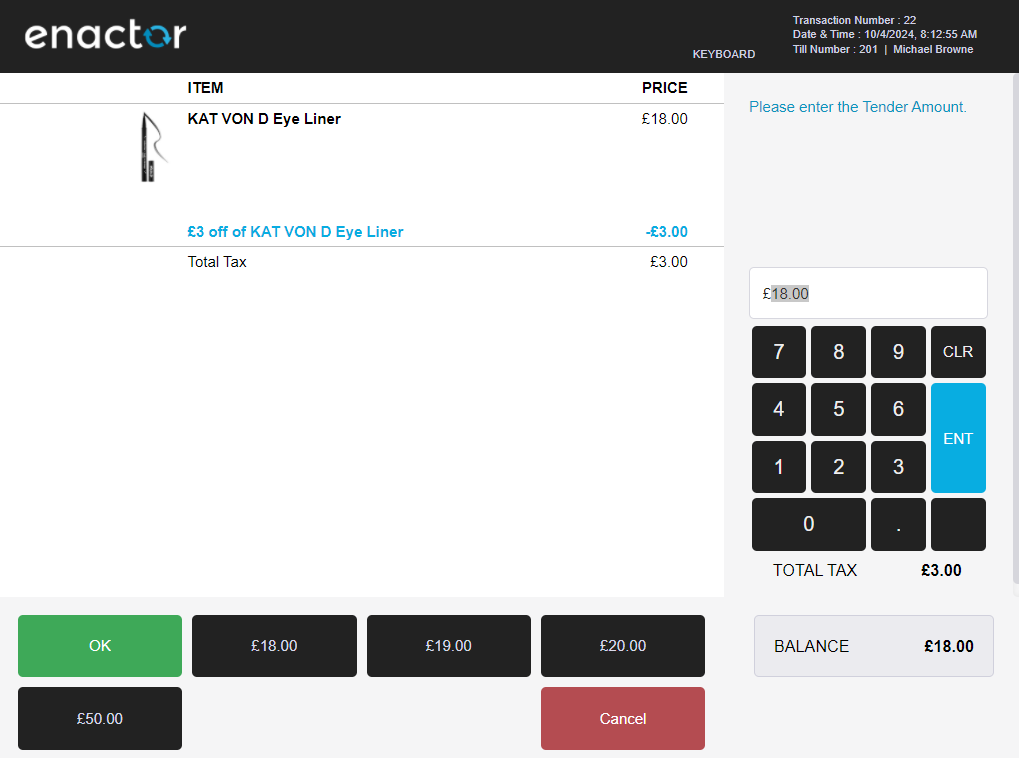
- "Await Drawer Closed" page
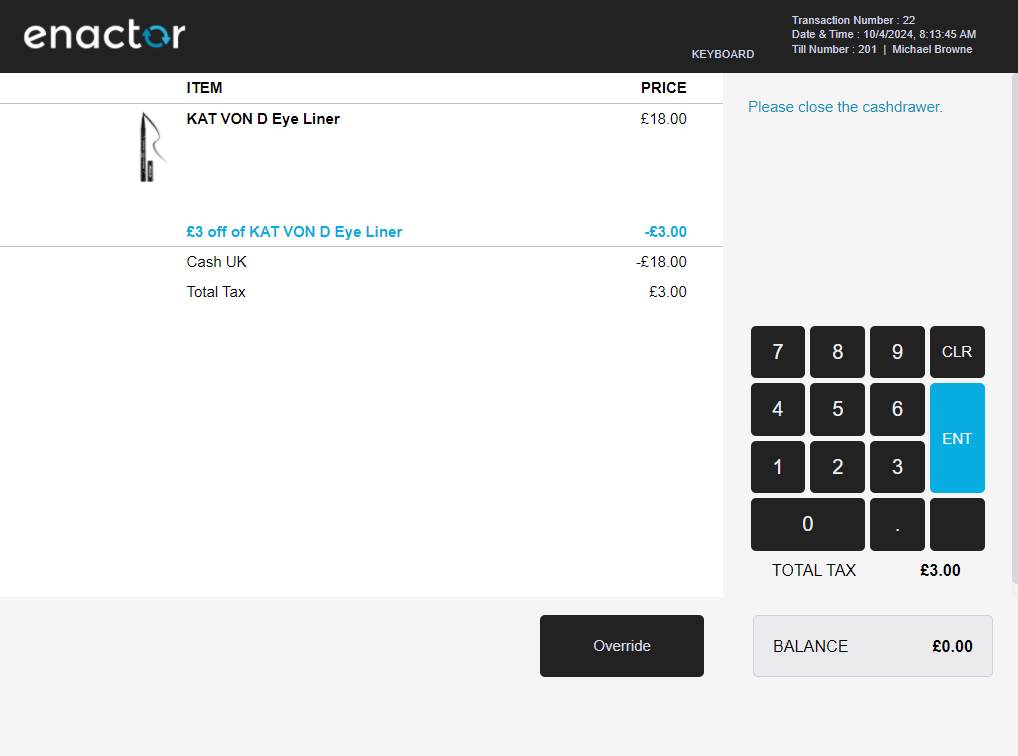
- External "Cash Drawer" window
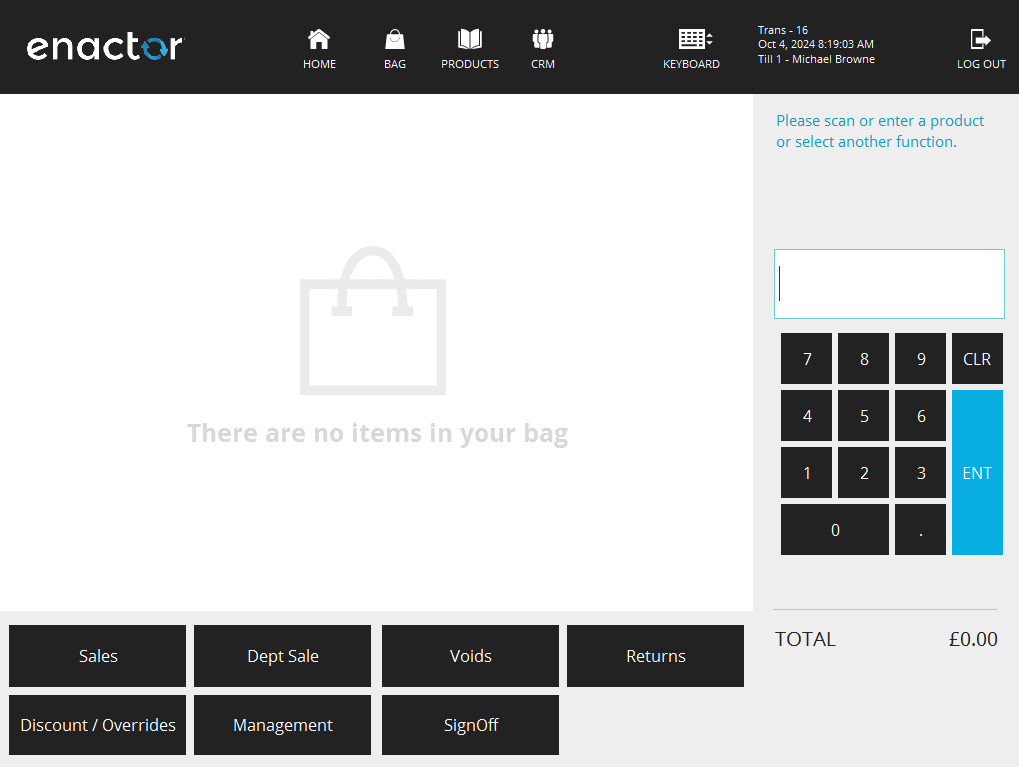
- "Transaction Basket" page
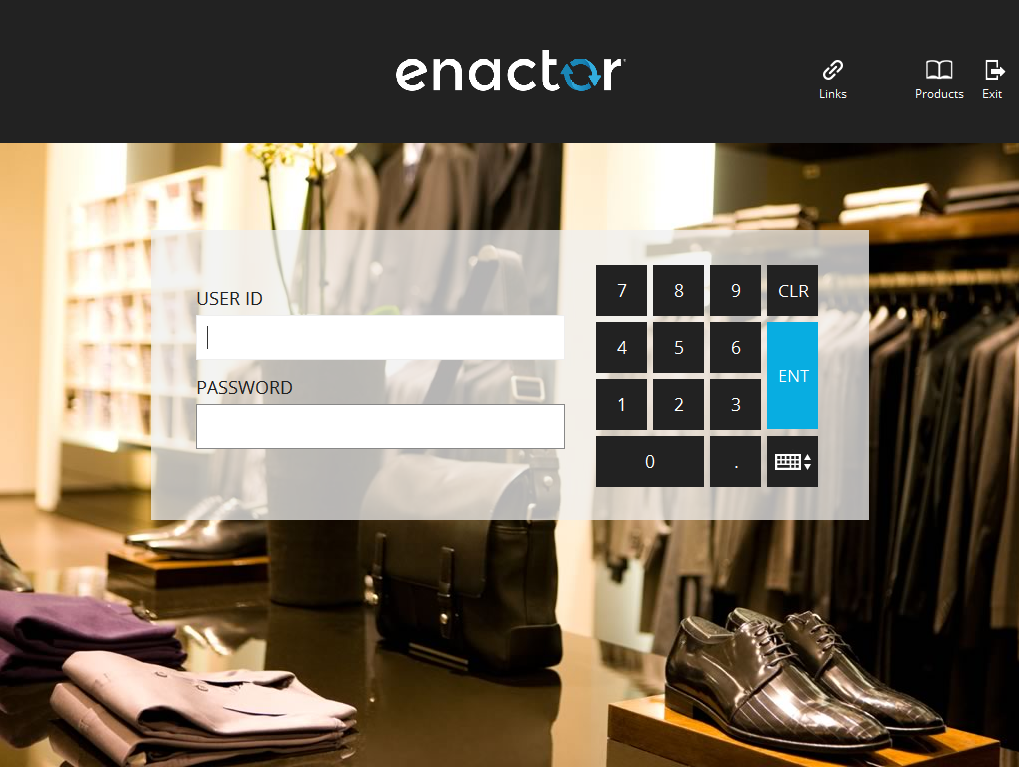
- "Enter User" page
When updated the client property file,
your entries would be like
WINDOW_SELECT_TENDER=Point-of-Sale Application:Point-of-Sale Application:Select Tender  Pos/Tender/DoTender  SelectTender  NextGen1024x768/Pos/Tender/SelectTender
WINDOW_ENTER_CASH_TENDER_AMOUNT=Point-of-Sale Application:Point-of-Sale Application:Enter Tender Amount  Pos/Tender/GetTenderAmountMain  EnterTenderAmountWithSuggestions  Pos/Tender/EnterCashTenderAmount
WINDOW_AWAIT_DRAWER_CLOSED=Point-of-Sale Application:Point-of-Sale Application:Wait Drawer Closed  Pos/Transaction/AwaitDrawerClosed  AwaitDrawerClosed  Pos/Transaction/AwaitDrawerClosed
WINDOW_CASH_DRAWER=Cashdrawer
WINDOW_TRANSACTION_BASKET=Point-of-Sale Application:Point-of-Sale Application:Sale  Pos/Sale/Sale  SignedOnState  NextGen1024x768/Pos/Sale/Sale
WINDOW_ENTER_USER=Point-of-Sale Application:Point-of-Sale Application:Enter User Pos/SignOn/SignOn EnterUserState NextGen1024x768/Pos/SignOn/EnterUser
-
To check the receipt details Refer Check Receipt Details
-
Now you can write the feature file for Sign On feature
 Scenario: Sale of SKU that has a style - Cash
    Given user signs on as "Sales Assistant"
    And user enters "${Product 2}" into "Input Box" field
    And user presses "ENT" button
    And "${Product 2 Description}" is displayed in "Receipt" list
    When user presses "TOTAL" button and "Select Tender" page shown
    And user presses "Cash" button and "Enter Cash Tender Amount" page shown
    And user presses "OK" button and "Await Drawer Closed" page shown
    And receipt display with following details
      | address   | ${Street 1},${Street 2},${Town},${County},${Postcode} |
      | telephone | Tel: ${Store Phone 1}                                 |
      | item      | ${Product 2 Description},${Product 2 Price}           |
    When user presses "Close" button on external "Cash Drawer" window
    Then "Transaction Basket" page is shown
    When user presses "SignOff" button
    Then "Enter User" page is shown